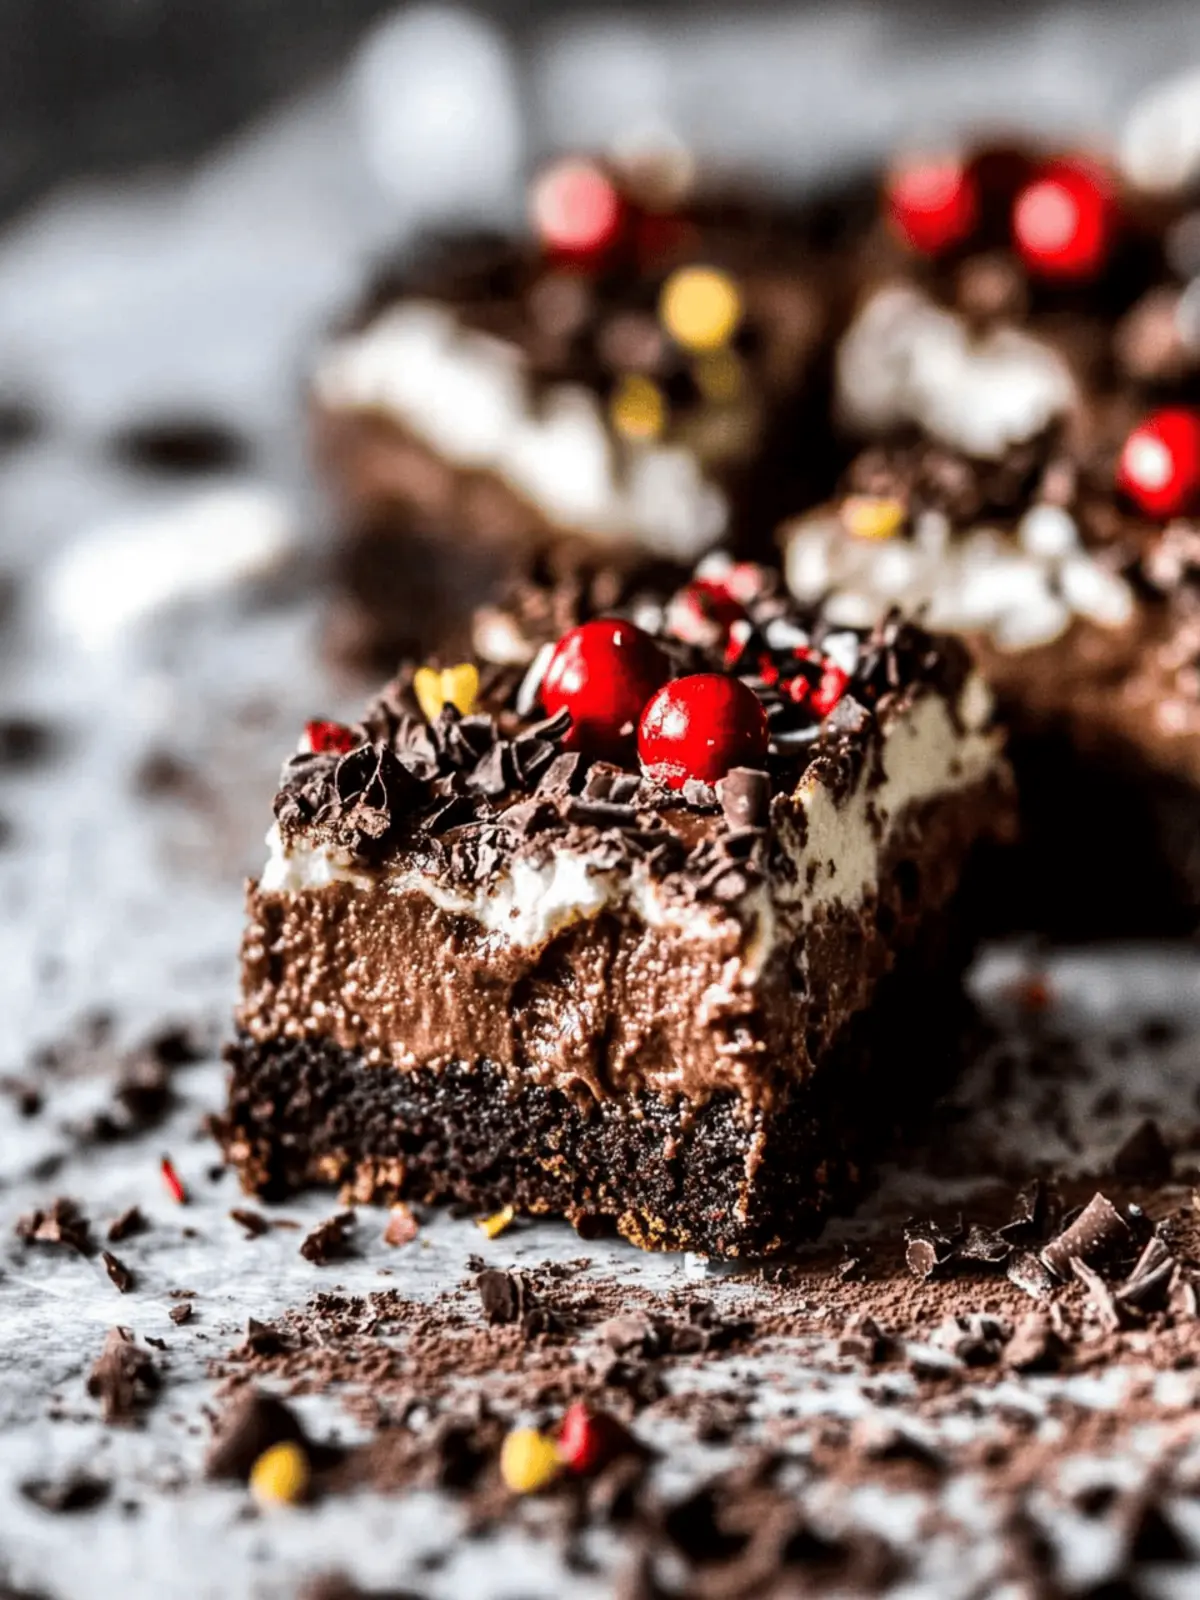
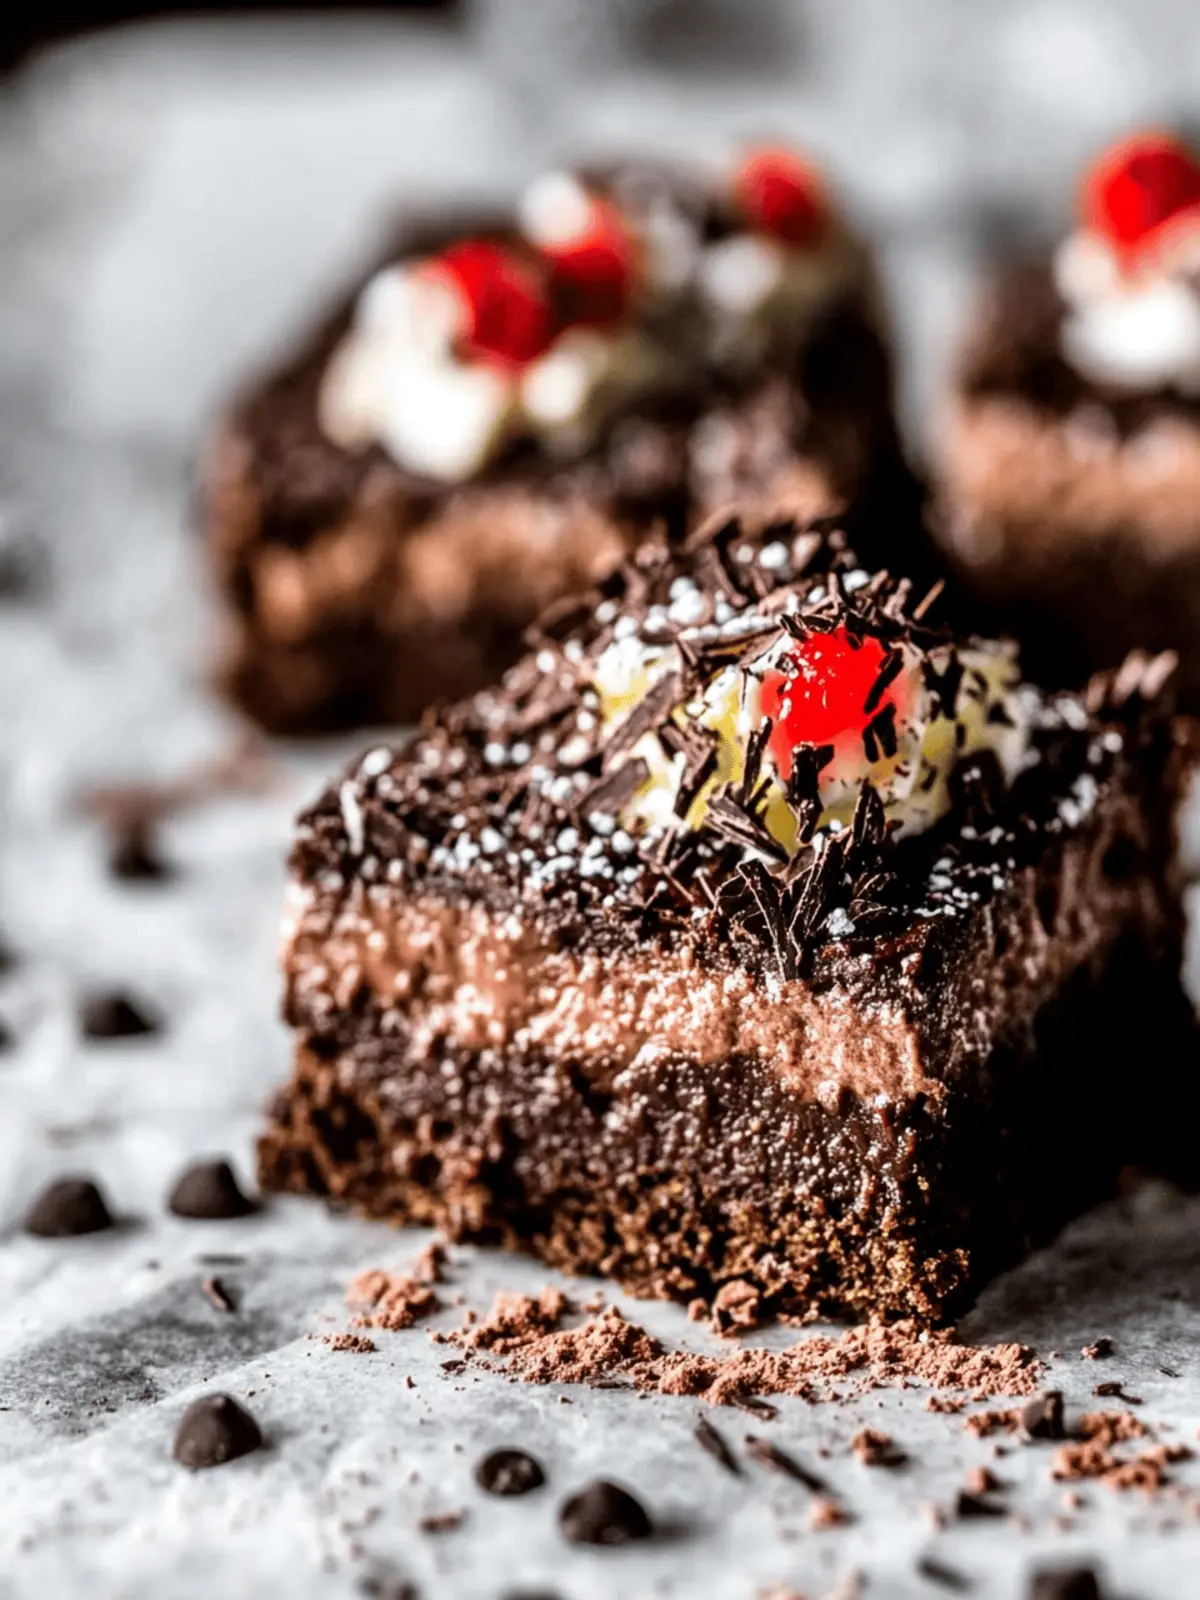
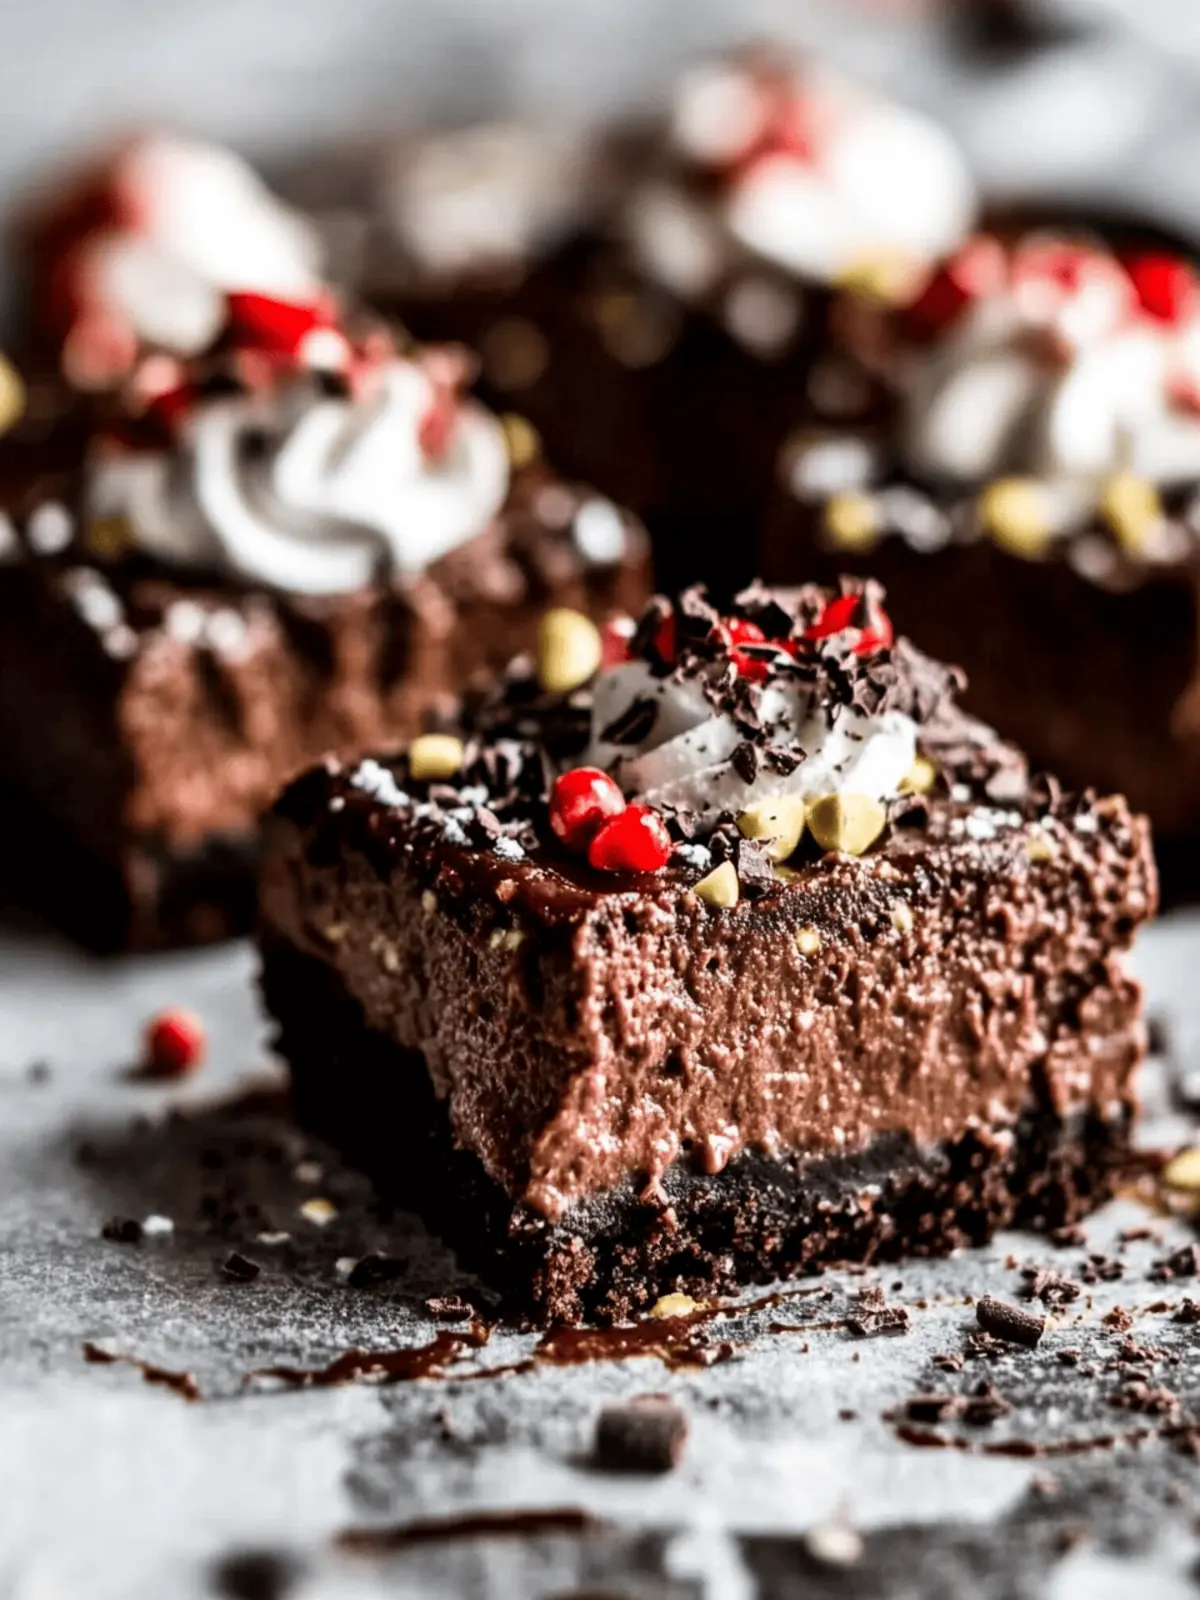
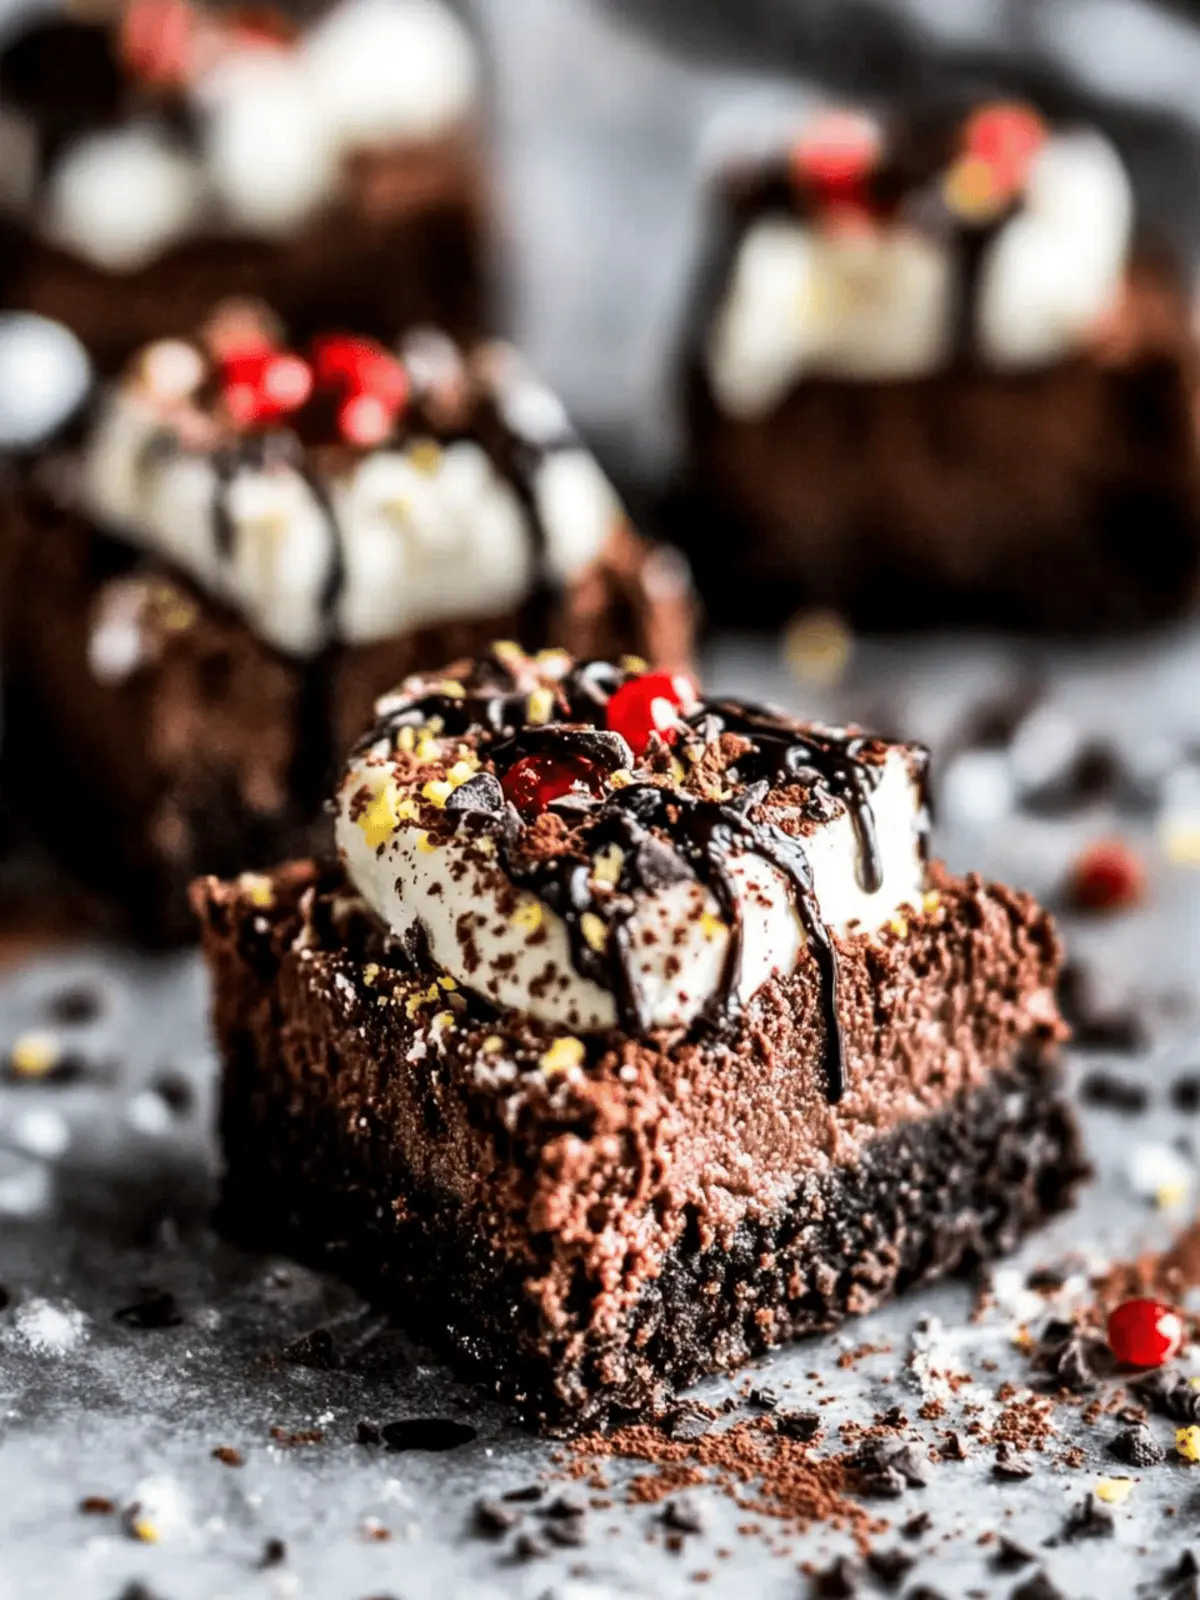
There’s nothing quite like the cozy embrace of a chilly evening, when the scent of cocoa wafts through the air, and the promise of something sweet lingers on the palate. Recently, I found myself craving a dessert that could capture that very warmth, something more indulgent than your average treat. That’s when I stumbled upon the idea of hot cocoa cheesecake bars—an unexpected twist that marries the rich creaminess of cheesecake with the comforting flavors of a beloved wintertime drink.
Picture this: a crispy Oreo crust, a velvety chocolate filling that dances on your tongue, and cascades of hot fudge and cookie crumbles on top. These bars don’t just look delightful; they’re the perfect solution for those nights when you want to impress guests or simply indulge in a little self-care with a cozy dessert. Whether you’re a seasoned chef or just someone who longs for home-cooked loveliness, these hot cocoa cheesecake bars are bound to bring smiles and warmth to your table. Let’s dive into this delicious recipe that is both a crowd-pleaser and a simple joy to make!
Why are hot cocoa cheesecake bars so irresistible?
Decadent layers: The creamy cheesecake paired with rich cocoa will have you diving in for seconds.
Crunchy crust: A delightful Oreo base adds the perfect texture, providing a satisfying crunch that perfectly complements the soft filling.
Garnished to impress: Topped with cascades of hot fudge and cookie crumbles, these bars are a feast for both the eyes and the palate.
Quick bake: With just 45 minutes of baking time, you can whip up a showstopper dessert in no time!
Crowd favorite: Ideal for gatherings or cozy nights in, these bars are bound to become a favorite among friends and family.
Versatile treat: Serve them warm or chilled; they’re delicious either way, making them perfect for any occasion!
Hot Cocoa Cheesecake Bars Ingredients
Get ready to indulge with these must-have ingredients for your hot cocoa cheesecake bars!
For the Crust
• Whole Oreo cookies – use around 24 to 30 for a rich, chocolaty base that pairs perfectly with the cheesecake filling.
• Unsalted butter – 6 tablespoons, melted to help bind the crust together for a deliciously crispy texture.
• Kosher salt – just a pinch brings out the sweetness of the Oreos and adds balance to the crust.
For the Cheesecake Filling
• Plain cream cheese – 2 8oz bars, at room temperature to ensure it blends smoothly and creates a creamy texture.
• Granulated sugar – 1/2 cup for that perfect level of sweetness without overwhelming the flavors.
• Brown sugar – 1/4 cup enhances the depth of flavor with its caramel undertones.
• Cocoa powder – 1/4 cup to give the filling its rich chocolate essence, driving home that hot cocoa vibe.
• Large eggs – 2, added one at a time to create the perfect creamy consistency as they blend in.
• Pure vanilla extract – 1 tsp for a touch of warmth that complements the chocolate beautifully.
• Kosher salt – a pinch to elevate all the flavors in this decadent filling.
For the Garnish
• Store-bought hot fudge sauce – 1 cup plus more for drizzling on top, adding that luxurious finishing touch.
• Chopped Oreos – 1/2 cup for sprinkling on top, giving an extra crunch and reinforcing the Oreo theme in your dessert.
Feel free to explore variations within these key ingredients to tailor your hot cocoa cheesecake bars to your taste!
How to Make Hot Cocoa Cheesecake Bars
-
Preheat the oven to 325°F. Prepare your 8X8 baking dish by spraying it with nonstick cooking spray, ensuring easy removal later.
-
Combine the crushed Oreo cookies, melted butter, and a pinch of kosher salt in a large bowl. Mix until everything is well blended, then press this mixture gently into the bottom of the prepared baking pan for your crust.
-
Beat together the cream cheese, granulated sugar, brown sugar, and cocoa powder in another large mixing bowl. Mix until it becomes smooth and creamy, ideal for a luscious cheesecake filling.
-
Add the eggs one at a time, mixing well after each addition. Then stir in the vanilla extract and another pinch of kosher salt until everything is combined into a thick, velvety mixture.
-
Fold in the hot fudge sauce gently, creating a delightful chocolate swirl in your cheesecake filling. Pour this creamy concoction over the prepared Oreo crust, spreading it evenly.
-
Bake the cheesecake for about 40 to 45 minutes, or until the center is slightly jiggly. Don’t worry; it will firm up as it cools!
-
Cool the baked cheesecake at room temperature before refrigerating it for at least 3 hours or ideally overnight. This chilling time allows the flavors to meld beautifully.
-
Garnish with extra hot fudge drizzled on top and sprinkle the chopped Oreos for an added crunch. Slice into bars and serve with a smile!
Optional: Top with whipped cream for added indulgence!
Exact quantities are listed in the recipe card below.
Storage Tips for Hot Cocoa Cheesecake Bars
Room Temperature: Allow hot cocoa cheesecake bars to sit out for up to 2 hours, but remember that they’re best when stored properly to maintain freshness.
Fridge: Store any leftovers in an airtight container in the refrigerator. They’ll stay delicious for up to 3-4 days, ready for your late-night cravings!
Freezer: You can freeze these bars for up to 2 months. Wrap each piece tightly in plastic wrap, then place in a freezer-safe container for optimal freshness.
Reheating: For the best experience, enjoy these bars chilled or let them sit at room temperature for a bit before indulging. Reheat in the microwave for 10-15 seconds if you prefer them warm!
Expert Tips for Hot Cocoa Cheesecake Bars
-
Room Temperature Cream Cheese: Ensure your cream cheese is at room temperature to avoid lumps in your filling. This makes for a smooth and creamy texture in your hot cocoa cheesecake bars.
-
Avoid Overbaking: Keep an eye on the cheesecake! If it’s slightly jiggly in the center, it’s perfect. Overbaking can lead to a dry texture, so pull it when it’s just right.
-
Chill Time Matters: Always refrigerate your cheesecake bars for at least 3 hours or overnight. This extra time allows flavors to meld and results in a firmer texture.
-
Layer Your Fudge: For an extra indulgence, spoon some hot fudge sauce between the Oreo crust and the cheesecake filling to create a delicious surprise in every bite!
-
Customize Your Toppings: Feel free to get creative with the toppers. Try adding mini marshmallows or a sprinkle of cocoa powder for whimsy and added flavor in your cheesecake bars.
-
Storage Tips: Store leftovers in an airtight container in the refrigerator. They’ll keep well for about 3-4 days, making sweet treats ready for those late-night cravings!
What to Serve with Oreo Cheesecake Bars?
The perfect dessert deserves a meal that delights the senses and complements its decadent charm.
-
Fresh Berries: Juicy strawberries or raspberries add a touch of brightness, contrasting the rich creaminess of the cheesecake bars beautifully. Their tartness cleanses the palate after each bite.
-
Whipped Cream: A light dollop of freshly whipped cream enhances the sweet experience, offering a fluffy texture that pairs harmoniously with the dense bars. It also makes the presentation incredibly inviting.
-
Coffee: A warm cup of coffee brings out the deep chocolate flavors, creating a cozy atmosphere when enjoying your dessert. Whether it’s a bold espresso or creamy latte, it’s the ideal companion.
-
Chocolate Drizzle: Enhance the indulgence by drizzling warm hot fudge over your slices. This layered chocolate flavor celebrates the bars’ core ingredients while adding a touch of rich elegance.
-
Ice Cream: A scoop of vanilla or mint chocolate chip ice cream alongside the bars provides a delightful contrast in temperature and creaminess, creating a party on your taste buds.
-
Nutty Toppings: Toasted pecans or walnuts sprinkled on top add a satisfying crunch, offering a different texture while balancing the sweetness of the dessert. Their earthy flavor pairs perfectly with the chocolate.
-
Coconut Flakes: For a tropical twist, sprinkle some toasted coconut flakes on top. They bring a delightful chewiness and sweetness, complementing the chocolate notes beautifully.
-
Chilled Milk: Pair your bars with a tall glass of ice-cold milk; its creamy coolness is classic and pairs perfectly with the rich flavors of the cheesecake bars.
Indulging in your Oreo cheesecake bars with these delightful accompaniments will elevate your dessert experience into something truly special!
Make Ahead Options
These hot cocoa cheesecake bars are perfect for meal prep enthusiasts looking to save time! You can prepare the crust by combining the crushed Oreos and melted butter up to 24 hours in advance; just keep it covered until you’re ready to bake. Additionally, the cheesecake filling can be made up to 3 days ahead and stored in the refrigerator, but be sure to fold in the hot fudge sauce just before pouring it over the crust for optimal freshness. Once baked, let the bars cool completely and refrigerate for at least 3 hours or overnight. This ensures they’ll be just as delicious when you’re ready to garnish and serve them!
Hot Cocoa Cheesecake Bars Variations
Feel free to elevate your hot cocoa cheesecake bars by trying out these delicious twists for a more personalized treat!
-
Gluten-Free: Substitute standard Oreos with gluten-free Oreos and use a gluten-free cookie or graham cracker for the crust.
-
Dairy-Free: Swap cream cheese for a dairy-free cream cheese alternative and use coconut oil instead of butter.
-
Nutty Crunch: Add 1/2 cup of chopped nuts, like walnuts or pecans, to the crust for a toasty texture and delicious flavor.
-
Minty Fresh: Mix in 1/2 tsp of peppermint extract into the cheesecake filling for a cool, festive twist that evokes holiday cheer.
-
Spicy Kick: Incorporate a pinch of cayenne pepper or cinnamon into the cocoa powder for a warm and inviting spice that brightens up the flavor profile.
-
Decadent Drizzle: Swap hot fudge with caramel sauce or a fruity sauce for an unexpected flavor contrast that adds a juicy brightness to every bite.
-
Cheesecake Swirl: Reserve a small portion of the filling, mix it with additional cocoa powder, and swirl it through the cheesecake before baking for an eye-catching design.
-
Boozy Delight: For the adults, mix in a tablespoon of your favorite liqueur like Kahlua or Bailey’s for a rich and indulgent flavor that warms the soul.
Get creative and enjoy experimenting! Each variation brings a new layer of joy to your hot cocoa cheesecake bars.
Hot Cocoa Cheesecake Bars Recipe FAQs
What is the best way to select ripe ingredients?
For the best results, ensure your cream cheese is at room temperature before use—it mixes smoother that way! As for your Oreos, select ones that are fresh without any dark spots; they should be soft yet firm for the perfect crust.
How should I store leftover hot cocoa cheesecake bars?
Absolutely! Store your leftover bars in an airtight container in the refrigerator. They’ll stay delightful for 3-4 days. For those late-night cravings, just remember to let them chill perfectly!
Can I freeze hot cocoa cheesecake bars?
Yes, you can! To freeze, tightly wrap each bar in plastic wrap, then place them in a freezer-safe container. They can be stored this way for up to 2 months. When you’re ready to enjoy, simply thaw them in the fridge overnight.
What should I do if my cheesecake bars are too jiggly after baking?
No worries! Slight jiggle is actually what you want. If they are very jiggly, give them more baking time in 5-minute increments. Just keep an eye out—overbaking can lead to dryness, which we definitely want to avoid!
Are these bars safe for people with allergies?
It’s important to note that these hot cocoa cheesecake bars contain dairy and gluten due to the cream cheese and Oreos. If you’re making them for someone with allergies, you can substitute gluten-free Oreos and dairy-free cream cheese to accommodate their needs.
What’s the ideal way to garnish the bars?
To really impress, I recommend drizzling extra hot fudge sauce over the top before cutting them. Sprinkle with crushed Oreos at the very end for that visual appeal and a yummy texture contrast. Enjoy!

Irresistible Hot Cocoa Cheesecake Bars You'll Crave
Ingredients
Equipment
Method
- Preheat the oven to 325°F. Prepare your 8X8 baking dish by spraying it with nonstick cooking spray.
- Combine the crushed Oreo cookies, melted butter, and a pinch of kosher salt in a large bowl. Mix until blended, then press the mixture into the bottom of the baking pan for the crust.
- Beat together the cream cheese, granulated sugar, brown sugar, and cocoa powder until smooth and creamy.
- Add the eggs one at a time, mixing well after each addition, then stir in the vanilla extract and another pinch of kosher salt until combined.
- Fold in the hot fudge sauce gently, then pour the filling over the Oreo crust, spreading it evenly.
- Bake for 40 to 45 minutes, or until the center is slightly jiggly. Allow to cool at room temperature before refrigerating.
- Garnish with hot fudge and sprinkle with chopped Oreos. Slice into bars and serve.


