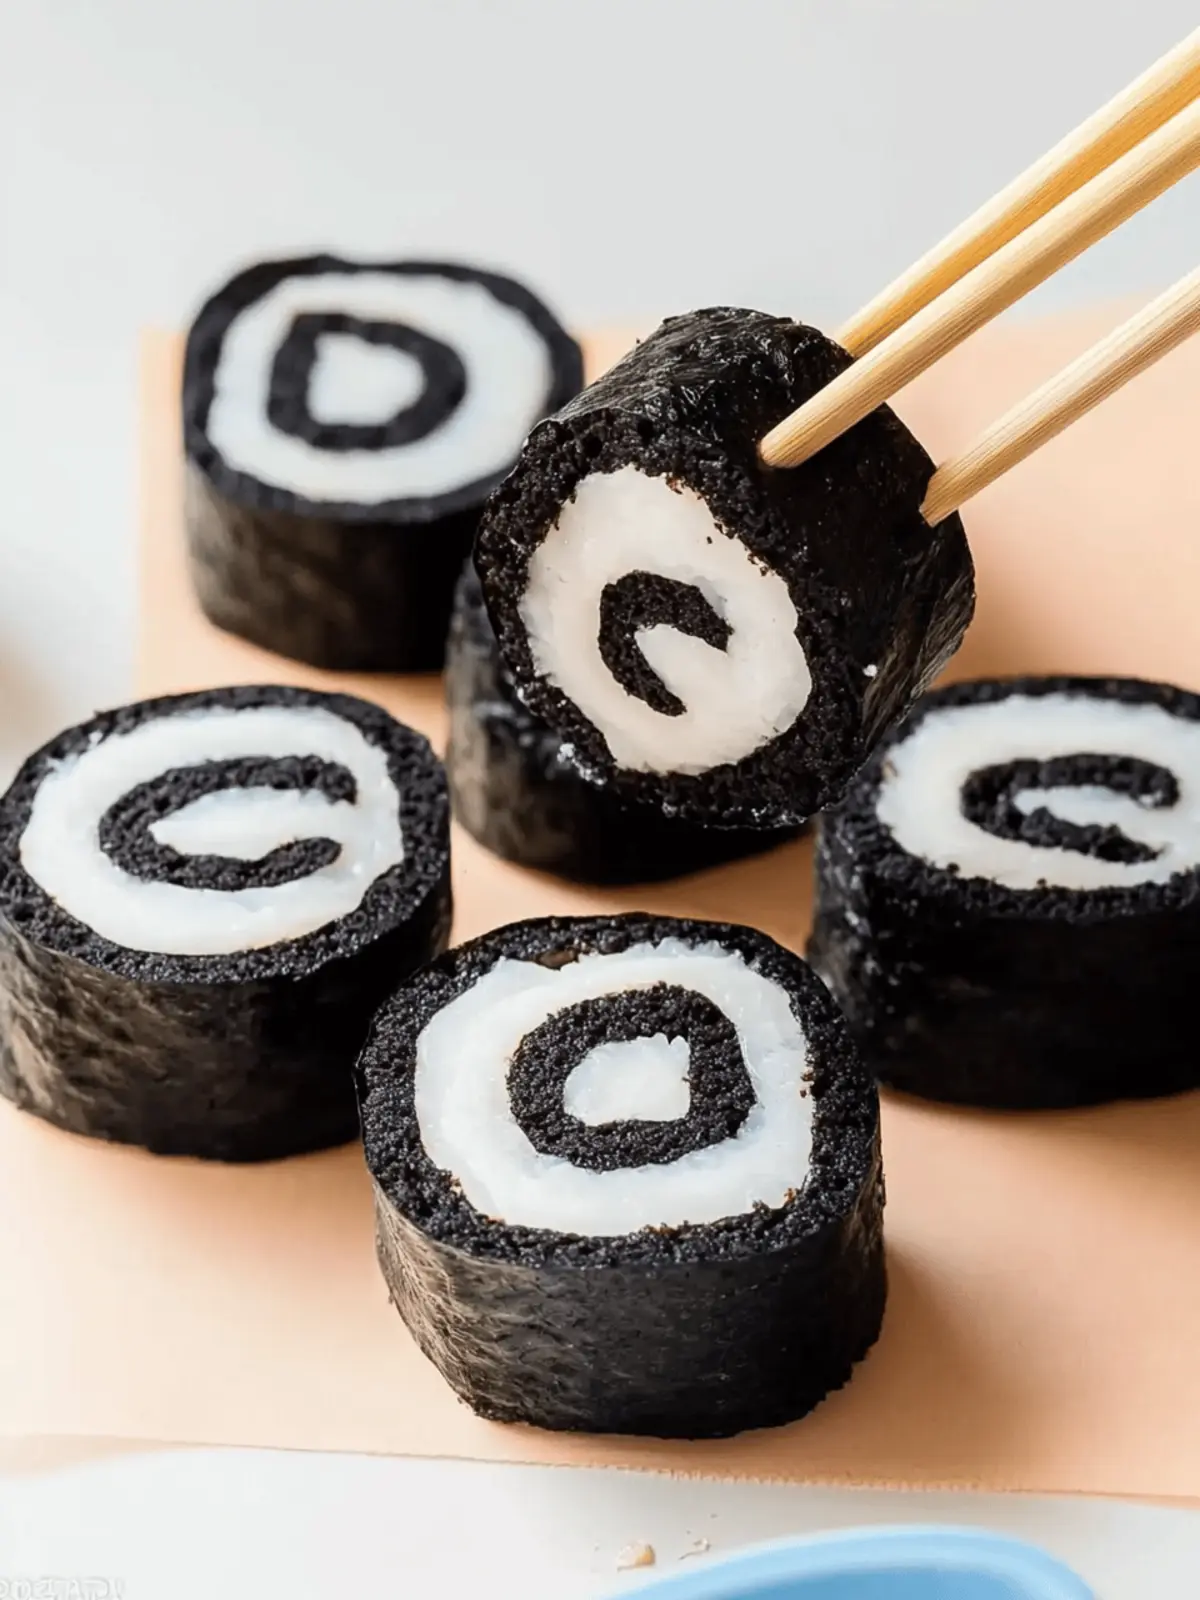
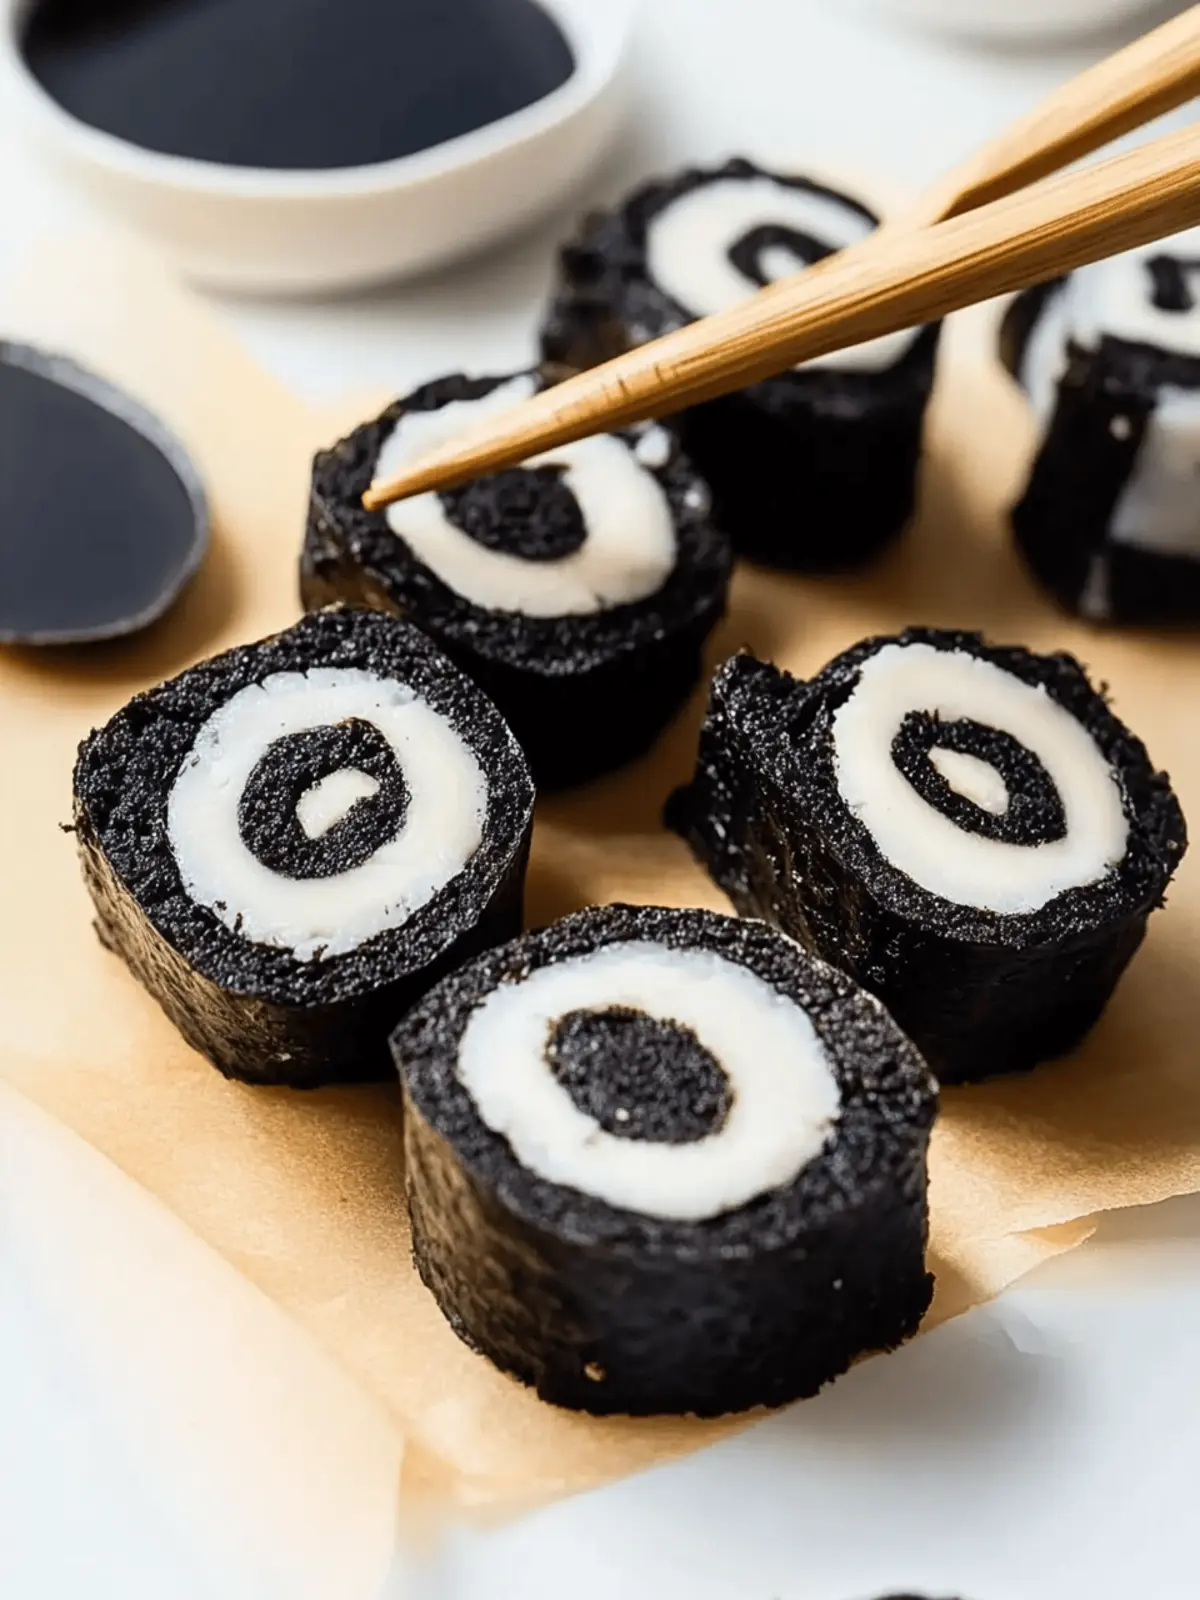
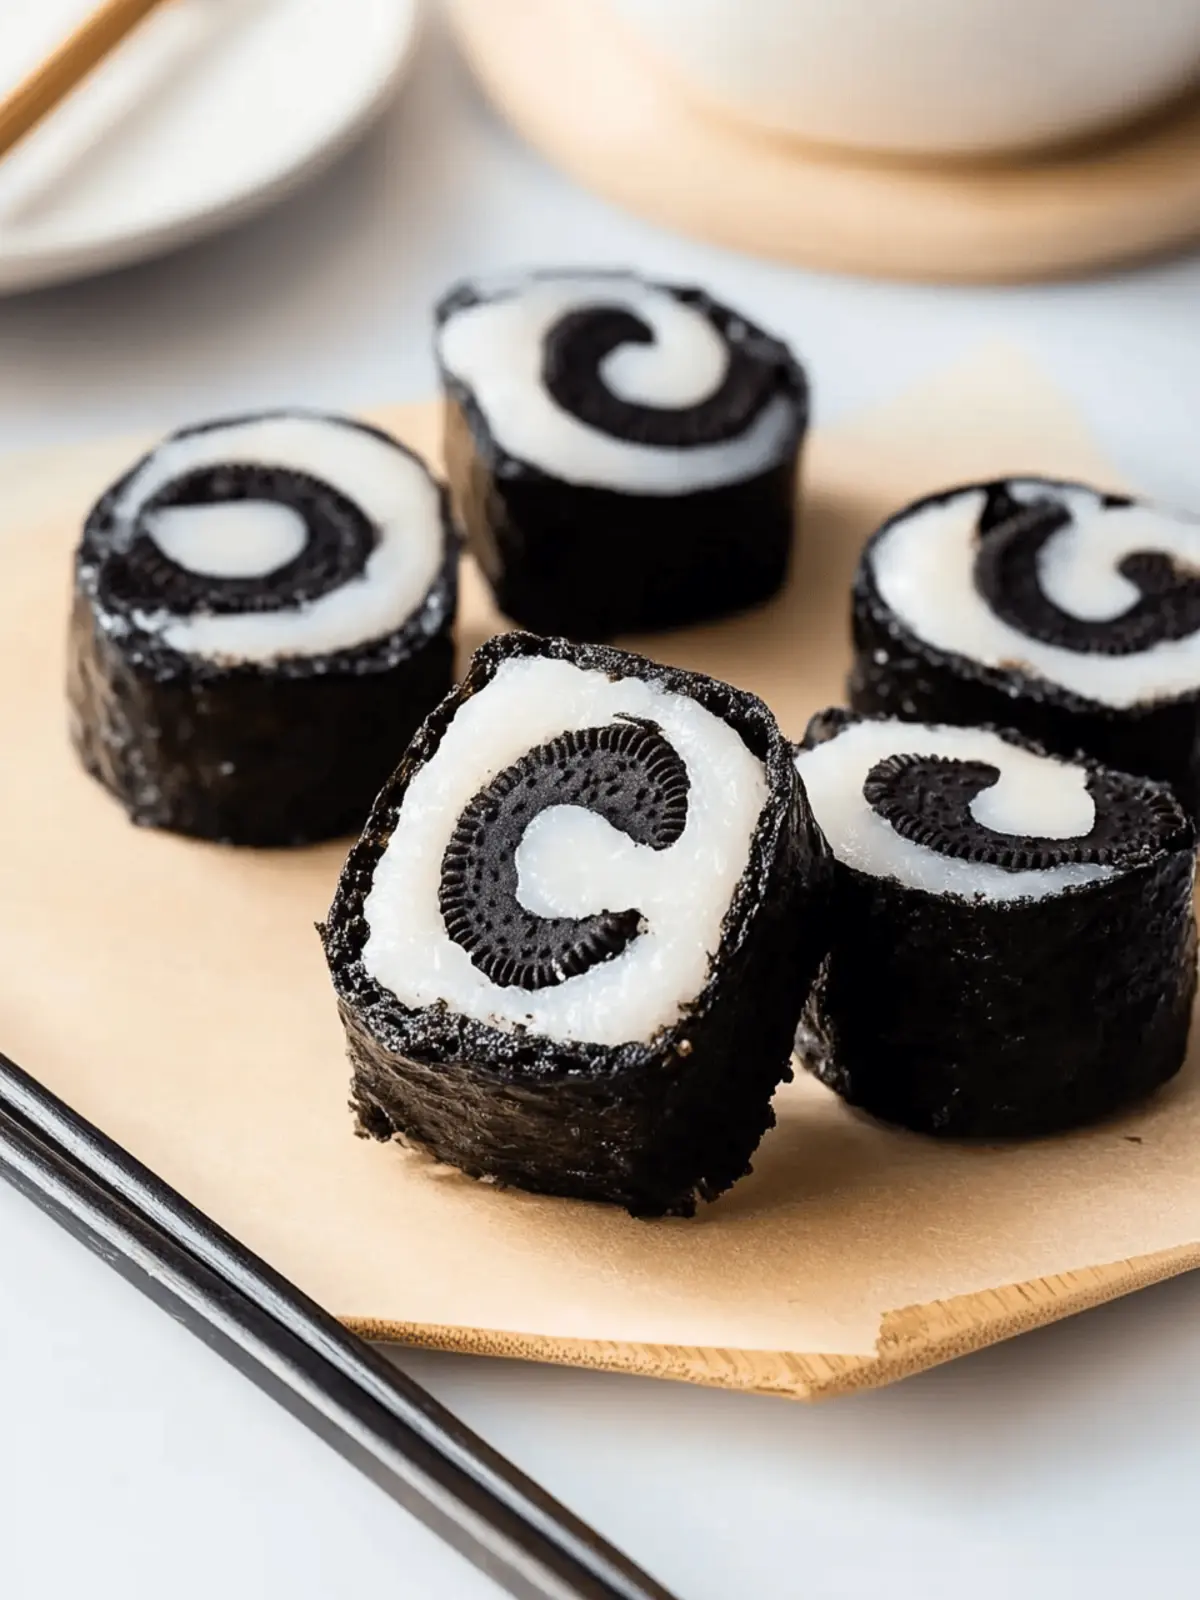
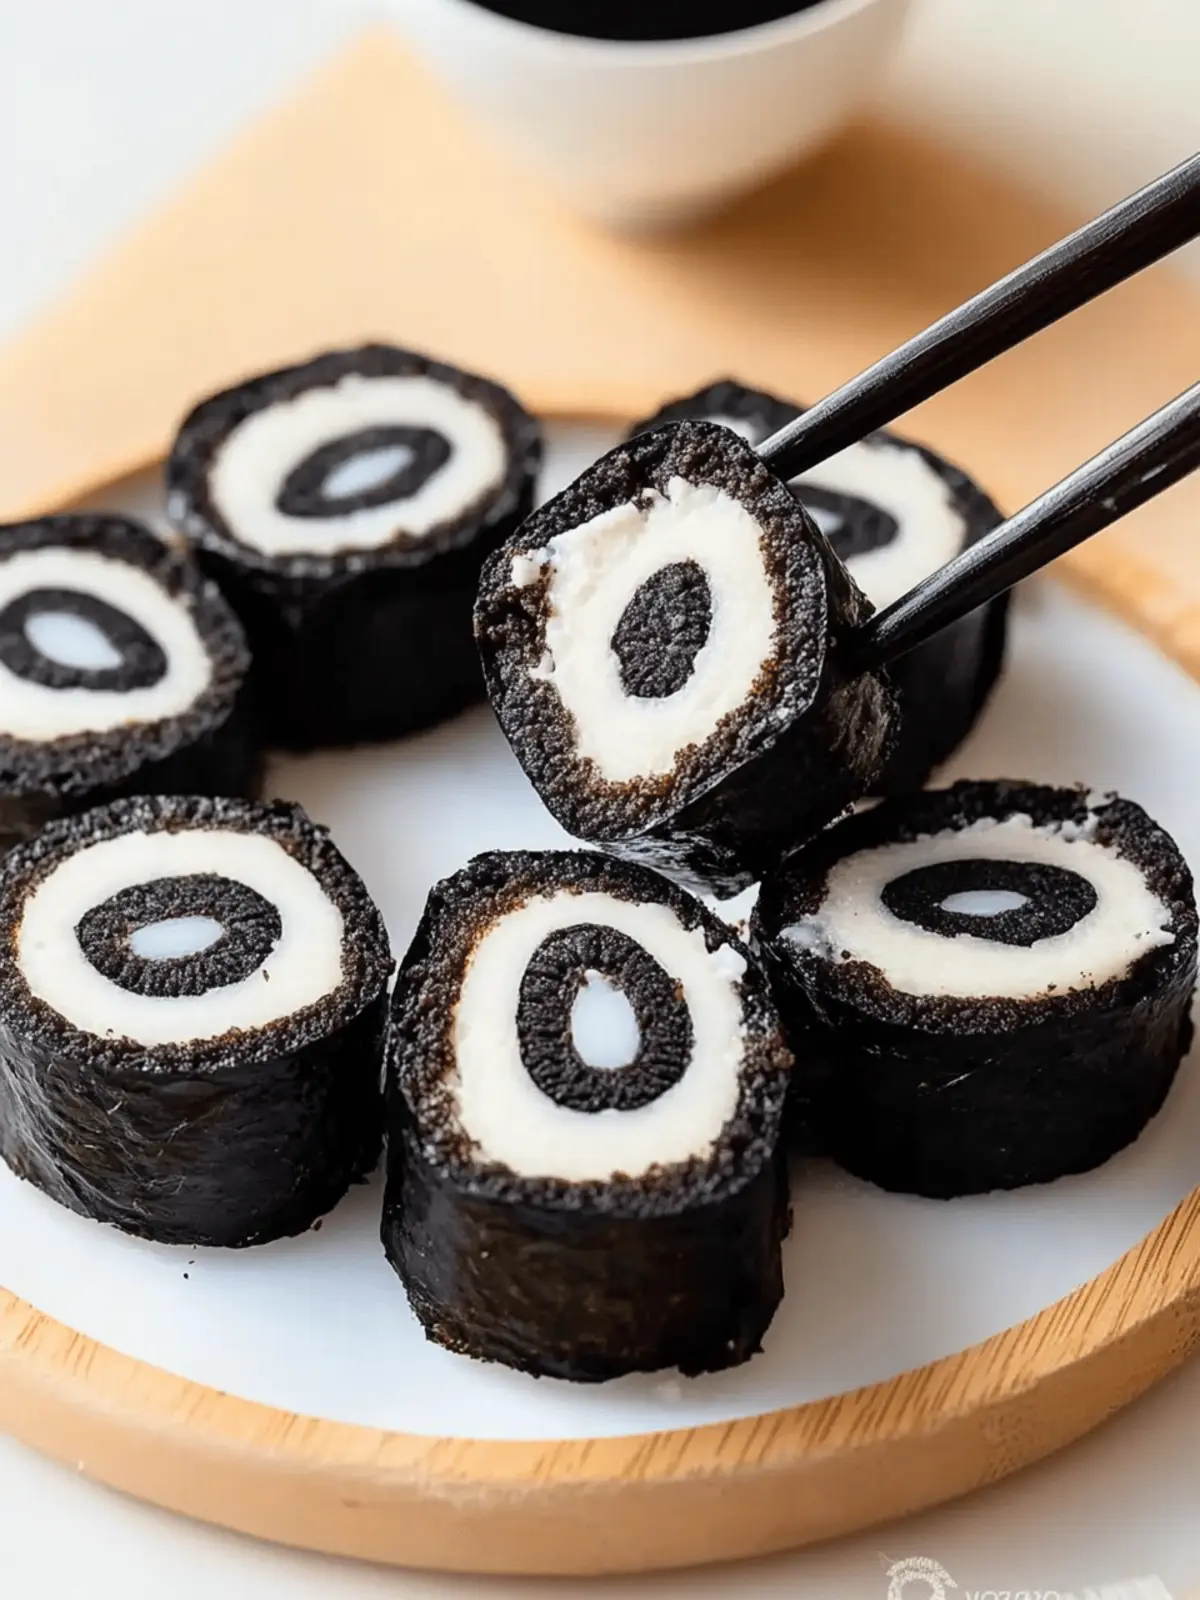
There’s a certain thrill that comes from whipping up something unexpected in the kitchen, and today, I’m excited to share a truly delightful surprise: Oreo Sushi! Picture this: a creamy, luscious treat that not only satisfies your sweet tooth but also redefines dessert in the most playful way. When I first encountered this concept, I couldn’t help but think how fun it would be to create a “sushi” roll out of my all-time favorite cookie.
This recipe is a fantastic blend of whimsical and delicious, perfectly suited for anyone tired of the same old desserts or fast food routines. With just three simple ingredients—Oreos, a splash of milk, and a bit of creativity—you’ll astonish friends and family with a treat that looks as impressive as it tastes. Whether you’re planning a gathering, hosting a potluck, or simply indulging your own sweet cravings, this Oreo Sushi will make you the star of the kitchen. Let’s dive in and roll up a batch of these delectable bites!
Why is Oreo Sushi a Must-Try?
Fun to Make: This Oreo Sushi is not only easy to whip up but also a fantastic activity for families or friends to enjoy together.
Unique Presentation: Impress your guests with a dessert that reimagines your favorite cookie in a wildly creative way.
Irresistible Sweetness: With the rich flavors of Oreos and creamy filling, every bite is a delightful explosion of taste.
No Baking Required: Perfect for those who want to satisfy their cravings without turning on the oven!
Crowd-Pleasing: Whether for a party or a cozy night in, this playful treat is sure to be a hit among both kids and adults.
Oreo Sushi Ingredients
For the Sushi Roll
• 24 Oreos – These classic cookies form the base of your delightful treat.
• 1/4 cup milk – Use full-fat milk for a creamier dough consistency.
• 2 teaspoons milk – This extra splash helps smooth out the Oreo cream for spreading.
For the Cream Layer
• Oreo cream filling – The star of this dessert, blend it with milk for a luscious texture!
How to Make Oreo Sushi
-
Blitz the Cookies: Start by placing the 24 Oreos in a food processor. Blend them until they transform into fine crumbs, resembling a sandy texture for your sushi base.
-
Combine with Milk: Add 1/4 cup of milk to the food processor and blitz again. You’ll want to mix until the Oreo crumbs combine with the milk to form a cohesive dough ball.
-
Shape the Dough: Gather the Oreo dough onto a sheet of plastic wrap. Press it down gently into a rough square shape, preparing it for rolling.
-
Roll Evenly: Use a rolling pin to roll the dough into an even layer, about 1/4 inch thick. Trim the edges to create a perfect square, ensuring even drying when rolled.
-
Prepare the Cream: In a separate bowl, mix the Oreo cream with 2 teaspoons of milk until it reaches a smooth and creamy consistency, perfect for spreading.
-
Spread the Cream: Evenly spread the luscious Oreo cream over the rolled-out Oreo square, making sure to cover every corner for maximum flavor.
-
Roll It Up: Carefully start rolling the Oreo dough from one side using the plastic wrap to guide you. Wrap it tightly, creating a sushi roll. You can rewrap it in plastic wrap if desired for better form.
-
Slice and Serve: Unwrap your roll and slice it into bite-sized pieces. Enjoy these sweet treats fresh for the best taste experience!
Optional: Drizzle with chocolate syrup for an extra indulgent touch.
Exact quantities are listed in the recipe card below.
What to Serve with Oreo Sushi?
Transform your dessert experience with delightful pairings that elevate the fun of Oreo Sushi.
-
Fresh Berries: Plump and sweet, they add a burst of freshness and balance the richness of the Oreo treat. A colorful addition makes every bite visually appealing, creating a vibrant dessert plate.
-
Chocolate Sauce: Drizzling this creamy sauce enhances the chocolate flavor, making each slice even more indulgent. It’s a simple touch that satisfies those with a serious sweet tooth.
-
Peppermint Tea: The refreshing notes of peppermint complement the sweetness of the Oreo Sushi, providing a nice contrast. Sip it warm or iced for a refreshing finish to your dessert!
-
Vanilla Ice Cream: The creamy texture and mellow flavor of vanilla ice cream create a luscious pairing that cools down the playful sweetness. A perfect scoop next to your Oreo Sushi will have everyone smiling.
-
Caramel Sauce: A gooey drizzle of caramel adds a rich, buttery sweetness that contrasts beautifully with the crispy cookies. It’s an enticing combination that’s hard to resist!
-
Coconut Whipped Cream: Light and fluffy, this creamy topping adds an exotic flair that pairs delightfully with chocolate. It’s a fun, whipped touch that makes your treat feel even more special.
-
Milkshake: Whether classic chocolate or a creamy vanilla, a milkshake brings a nostalgic vibe to your dessert table. Sip alongside your Oreo Sushi for a playful experience that embraces all things sweet!
-
Chocolate Covered Strawberries: These decadent bites invite a delightful contrast with the crunchy Oreo treat. They’re a charming, elegant addition sure to impress your guests.
Helpful Tricks for Oreo Sushi
-
Perfect Crumb Size: Ensure the Oreo crumbs are fine enough for a smooth dough; larger pieces won’t bind well.
-
Chill the Dough: If the dough feels too sticky, chill it in the fridge for 10-15 minutes before rolling for easier handling.
-
Uniform Thickness: Aim for a 1/4 inch thickness when rolling out the dough; this helps ensure even texture and easy slicing.
-
Slicing Technique: Use a sharp knife to slice the roll, cleaning it after every few cuts to maintain neat edges on your Oreo Sushi.
-
Creative Variations: Experiment by adding fillings like peanut butter or cream cheese for a twist on classic Oreo Sushi that everyone will love!
Oreo Sushi Variations
Feel free to get creative with this recipe and make it all your own—your taste buds will thank you!
-
Nut Butter Swirl: Add a layer of your favorite nut butter before rolling for a rich, nutty twist. The combinations are endless, like creamy peanut or indulgent almond!
-
Coconut Flakes: Sprinkle sweetened coconut flakes on the cream layer before rolling for a tropical flair. Every slice adds a chewy texture that complements the crunchiness of the Oreos!
-
Mint Madness: Mix mint extract into the cream for a refreshing mint-chocolate combo. This vibrant twist will transport you to a delightful dessert paradise!
-
Fruit Infusion: Add thin slices of strawberries or bananas inside the roll for a fruity surprise. The natural sweetness elevates your Oreo Sushi to a whole new level of deliciousness.
-
White Chocolate Drizzle: Melt white chocolate and drizzle it over the top before slicing. It’s a beautiful finishing touch that adds a luxurious sweetness to each bite.
-
Spicy Kick: Incorporate a bit of cayenne pepper into the cream for a chocolate-spicy fusion. It’s a daring choice but one that will keep your guests guessing their next flavor!
-
Matcha Magic: Sprinkle matcha powder into the dough for an earthy twist. The vibrant green adds a touch of sophistication and an unexpected flavor!
-
Double Stuffed Delight: Use Double Stuff Oreos for an extra creamy experience. It’s a dreamy indulgence that guarantees satisfaction in every bite.
How to Store and Freeze Oreo Sushi
Room Temperature: Enjoy your Oreo Sushi fresh for the best flavor, but it can be kept at room temperature for up to 1 day if tightly wrapped.
Fridge: Store any leftovers in an airtight container in the fridge for up to 3 days. This helps maintain the creamy texture and freshness of the Oreo cream.
Freezer: If you want to save some for later, freeze your Oreo Sushi slices in a single layer on a baking sheet, and once solid, transfer them to a freezer bag for up to 2 months.
Reheating: For a quick treat, thaw in the fridge when ready to enjoy; there’s no need to reheat as they taste best cold!
Make Ahead Options
These delightful Oreo Sushi treats are perfect for busy cooks seeking to streamline dessert planning! You can prepare the Oreo dough and cream filling up to 24 hours in advance. Simply follow the first five steps of the recipe and store the rolled-up dough tightly wrapped in plastic wrap in the refrigerator to maintain its texture. The cream can also be prepped ahead and kept in an airtight container. When you’re ready to serve, unroll the dough, spread the cream, and slice—resulting in a fresh and fun treat that’s just as delicious as if made the same day! This not only saves time but also allows for spontaneous celebrations with minimal effort!
Oreo Sushi Recipe FAQs
How do I choose the right Oreos for this recipe?
Absolutely! When selecting Oreos, look for packages that have an intact seal. Fresh cookies will have a soft, sandwich-like texture. Avoid Oreos with dark spots all over, as this can indicate staleness.
How should I store leftover Oreo Sushi?
Very! After making your Oreo Sushi, you can store any leftovers in an airtight container in the fridge for up to 3 days. This preserves the creamy filling and prevents the dough from drying out, allowing you to enjoy every sweet bite!
Can I freeze Oreo Sushi, and if so, how?
Definitely! To freeze your Oreo Sushi, slice it into pieces and lay them in a single layer on a baking sheet. Place the sheet in the freezer until the sushi is solid. Once frozen, transfer the slices to a freezer bag, ensuring as much air is removed as possible, and store for up to 2 months. When you’re ready to enjoy, simply thaw them in the fridge overnight—no need to reheat!
What can I do if the Oreo dough is too sticky?
If your Oreo dough feels too sticky to roll out, no worries! Chill it in the refrigerator for about 10–15 minutes. This will firm up the dough and make it easier to handle. If it’s still sticky after chilling, sprinkle a little extra finely crushed Oreo crumbs on your work surface before rolling.
Are there any dietary considerations I should keep in mind?
Absolutely! If you’re catering to allergies, keep in mind that Oreos do contain wheat and may have traces of milk, peanuts, and tree nuts due to their processing. For a vegan option, check for vegan-friendly Oreo flavors that eliminate dairy. Always read the labels before serving to ensure everyone can safely enjoy this fun treat!
How long does Oreo Sushi last at room temperature?
Great question! You can enjoy your Oreo Sushi at room temperature for up to 1 day if tightly wrapped. However, for the best flavor and texture, storing them in the fridge is recommended once you’re done indulging.

Delicious Oreo Sushi: Fun Treat for All Ages
Ingredients
Equipment
Method
- Start by placing the 24 Oreos in a food processor. Blend them until they transform into fine crumbs, resembling a sandy texture for your sushi base.
- Add 1/4 cup of milk to the food processor and blitz again. You'll want to mix until the Oreo crumbs combine with the milk to form a cohesive dough ball.
- Gather the Oreo dough onto a sheet of plastic wrap. Press it down gently into a rough square shape, preparing it for rolling.
- Use a rolling pin to roll the dough into an even layer, about 1/4 inch thick. Trim the edges to create a perfect square, ensuring even drying when rolled.
- In a separate bowl, mix the Oreo cream with 2 teaspoons of milk until it reaches a smooth and creamy consistency, perfect for spreading.
- Evenly spread the luscious Oreo cream over the rolled-out Oreo square, making sure to cover every corner for maximum flavor.
- Carefully start rolling the Oreo dough from one side using the plastic wrap to guide you. Wrap it tightly, creating a sushi roll.
- Unwrap your roll and slice it into bite-sized pieces. Enjoy these sweet treats fresh for the best taste experience!


