
The moment I opened my pantry and spotted a lonely pack of Oreos peeking out from behind a bag of flour, inspiration struck! What if I transformed those classic cookies into something luscious and unforgettable? That’s how my Oreo Red Velvet Cheesecake was born—a delightful fusion of creamy goodness and decadent flavor that redefines dessert as you know it.
Imagine treating yourself to individual cheesecakes, their bright red hue peeking through clouds of whipped cream, adorned with playful heart-shaped sprinkles. Perfect for a date night, a cozy gathering with friends, or simply to indulge after a long day, this recipe captures both whimsy and sophistication. Easy to assemble, with a crust made from crushed Oreos and a velvety filling that’s irresistibly rich yet light, it’s a showstopper everyone will rave about. So, let’s dive into this delightful recipe that turns ordinary moments into sweet memories!
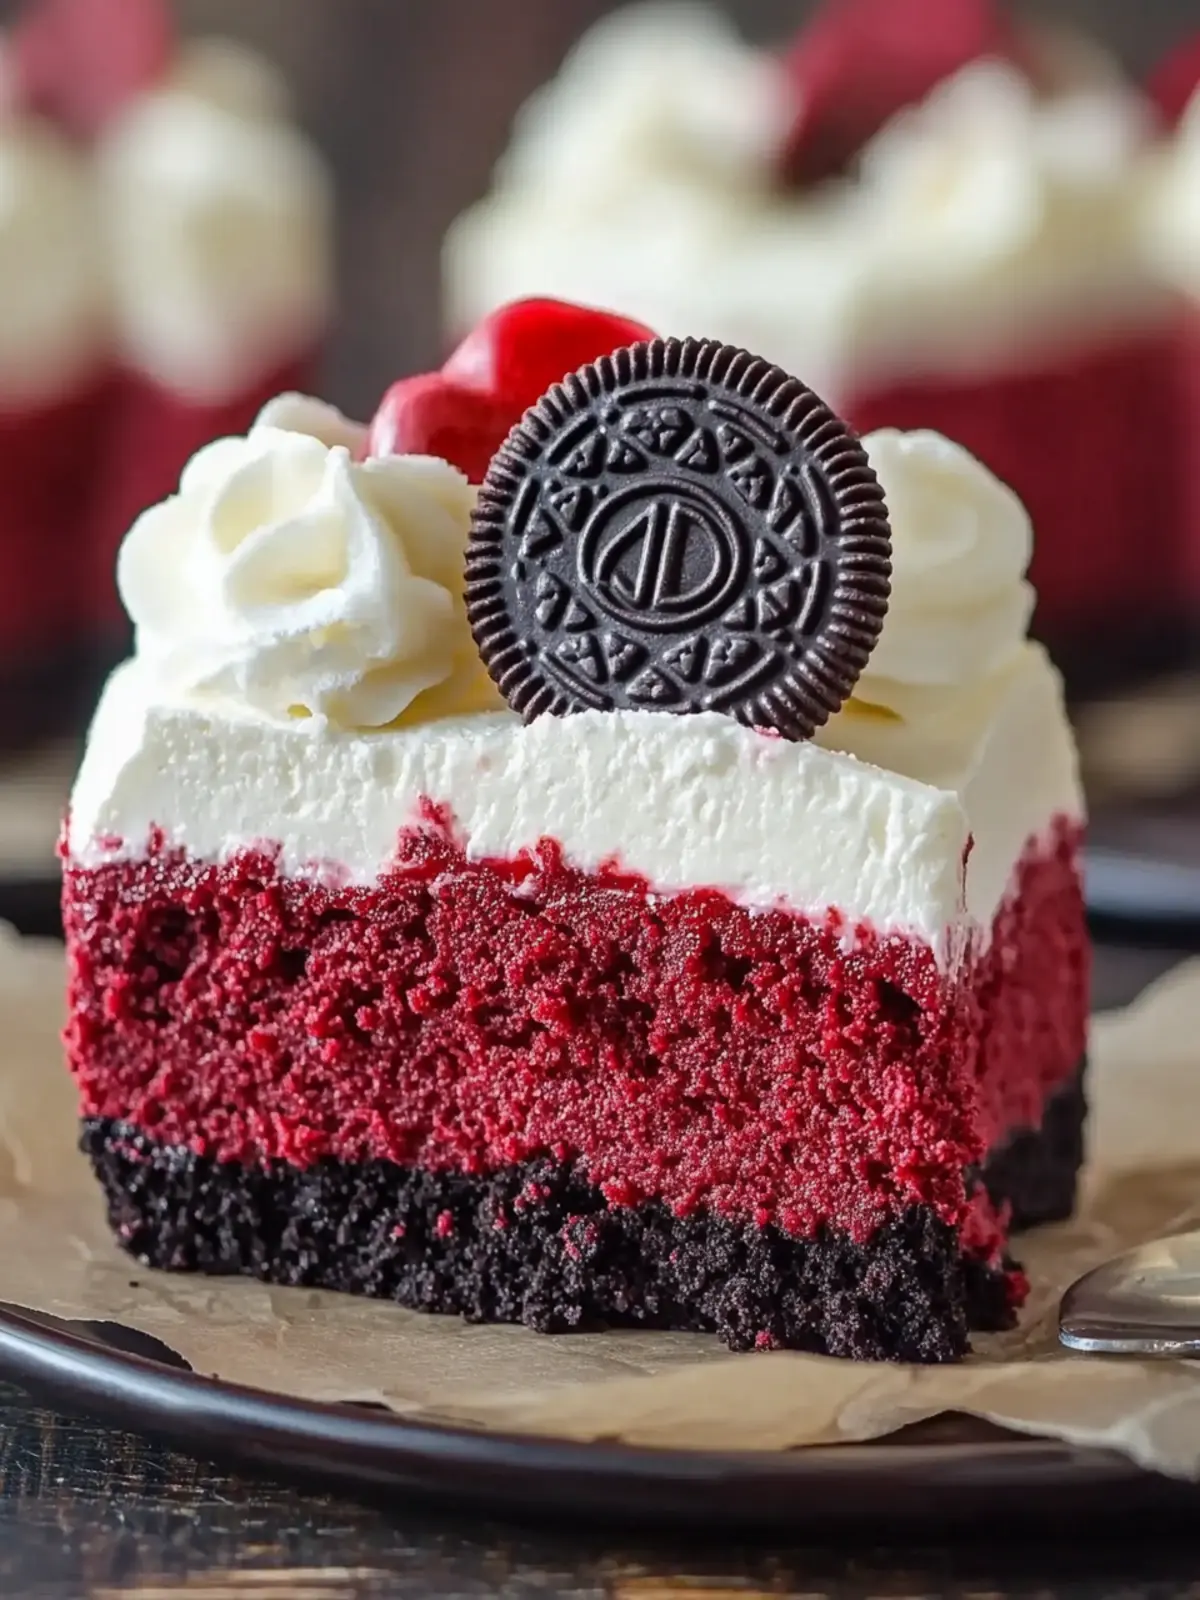
Why is this Oreo Red Velvet Cheesecake Recipe special?
Irresistible Flavor: The mix of Oreo cookies and rich cream cheese delivers a decadent dessert experience.
Effortless Preparation: With straightforward steps, you’ll have homemade cheesecakes without any stress.
Crowd-Pleaser: Ideal for gatherings, celebrations, or simply when you want to treat yourself, this cheesecake is sure to impress your guests.
Unique Presentation: The vibrant red and creamy white colors create an eye-catching display that enhances any occasion.
Time-Saving Delight: Minimal bake time means you can whip these up quickly and chill them in no time.
So, get excited about making this delightful treat. You’ll find it hard to resist going back for seconds—or thirds! For more delightful creations, check out my easy dessert ideas.
Oreo Red Velvet Cheesecake Ingredients
Get ready to indulge in a delicious treat!
For the Crust
- Oreos cookies – the foundation for that rich, chocolatey crust that pairs perfectly with the cheesecake filling.
- Butter – adds richness and helps bind the Oreo crumbs for a sturdy crust.
For the Filling
- Reduced-fat cream cheese – brings creaminess without being too heavy, making this cheesecake lighter.
- Sugar – sweetens the filling, balancing the tartness of the cream cheese.
- Sour cream – contributes tanginess and keeps the filling smooth.
- Cocoa powder – enriches the flavor with a hint of chocolate.
- Egg – helps bind the filling and adds structure once baked.
- Vanilla extract – infuses a warm, inviting aroma and taste throughout the cheesecake.
- Red food coloring – enhances the visual appeal, giving that classic vibrant hue of red velvet!
For the Whipped Topping
- Whipping cream – creates a fluffy, cloud-like topping that adds lightness to the dessert.
- Powdered sugar – sweetens the whipped cream without adding graininess.
- Vanilla extract – a touch of extra flavor in the whipped cream that complements the cheesecake beautifully.
- Heart-shaped sprinkles (optional) – for a fun, festive touch that makes this dessert even more delightful!
Dive into this Oreo Red Velvet Cheesecake Recipe and create a dessert that’s as memorable as it is delicious!
How to Make Oreo Red Velvet Cheesecake
-
Preheat your oven to 350°F. This ensures that it’s perfectly hot, ready to transform your ingredients into a heavenly dessert.
-
Combine the Oreo crumbs and melted butter in a large bowl. Mix until the crumbs are well-coated; this will help create a flavorful, sturdy crust.
-
Scoop a heaping tablespoon of the Oreo mixture into the bottom of a mini-cheesecake pan. Each scoop will become the base for your cheesecake!
-
Press down with your fingers to pack the mixture tightly. This helps the crust hold its shape during baking and adds a delightful crunch.
-
Bake for 5 minutes, then remove the crusts and let them cool slightly. This short bake time sets the crust perfectly for topping.
-
Reduce the oven temperature to 325°F. This lower heat helps your cheesecakes bake evenly without cracking.
-
Mix the cream cheese and sugar in an electric mixer on medium speed until smooth and creamy. This is where your filling begins to transform into something luscious!
-
Add sour cream, cocoa powder, egg, and vanilla. Mix until all ingredients are well combined and the mixture is fluffy.
-
Carefully pour in the red food coloring. Mix just until the color is evenly distributed, creating that signature red velvet hue.
-
Pour the cheesecake batter onto the cooled Oreo crust, filling each mini cheesecake about 2/3 of the way full. This allows room for expansion as they bake.
-
Bake for 15 minutes. The cheesecakes should be relatively firm yet slightly jiggly in the center.
-
Refrigerate in baking cups for at least 1 hour. Chilling allows the flavors to meld and the texture to become perfectly creamy.
-
Lift the cheesecakes from the tray once they are cooled. They should come out smoothly without any damage, leaving you with pristine mini treats.
-
Beat the whipping cream on medium speed for 30 seconds until stiff peaks form. This fluffy topping will elevate your cheesecake to new heights.
-
Add powdered sugar and vanilla to the whipped cream. Beat just until well combined, resulting in a sweet, creamy cloud.
-
Top each chilled cheesecake with a generous dollop of whipped cream and sprinkle with heart-shaped sprinkles for that finishing touch. Serve chilled and enjoy!
Optional: Drizzle melted chocolate over the top for an extra indulgent twist.
Exact quantities are listed in the recipe card below.
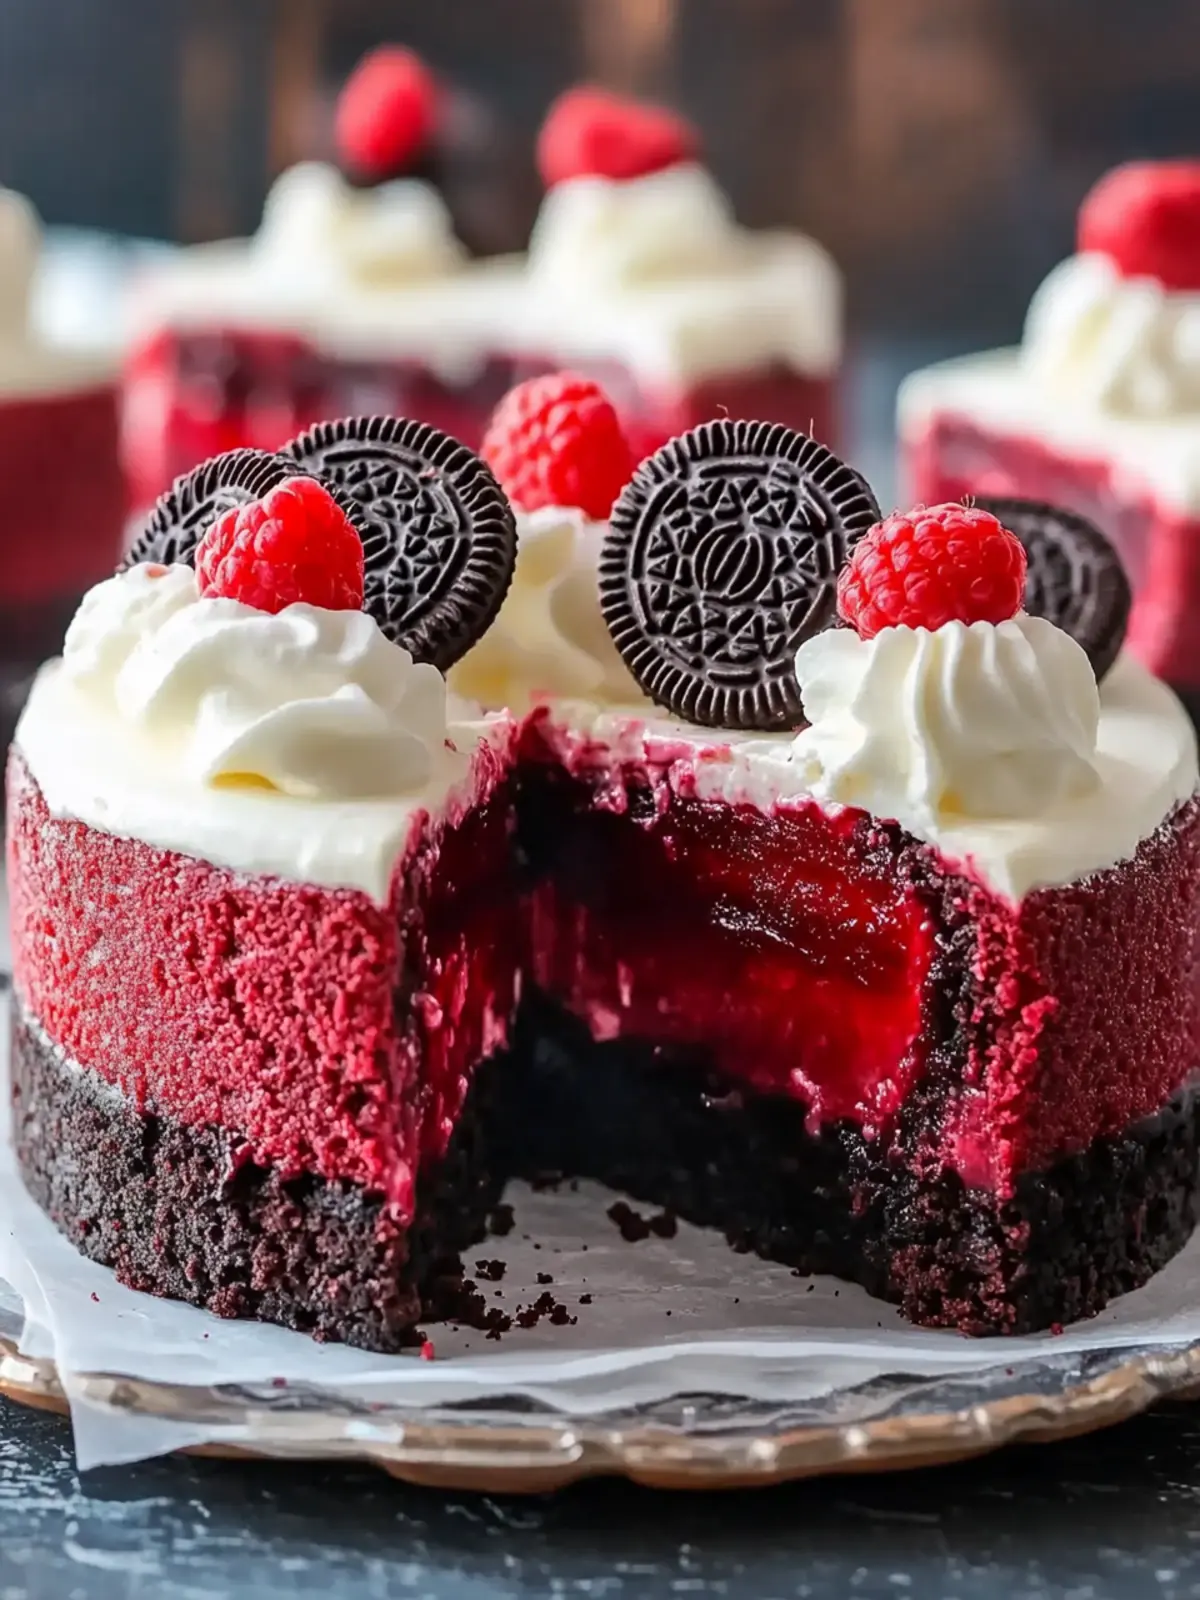
Expert Tips for Oreo Red Velvet Cheesecake
-
Crust Crunchiness: Ensure your Oreo crumbs are finely crushed; this guarantees a sturdy, crunchy base that holds up to the creamy filling in your Oreo Red Velvet Cheesecake Recipe.
-
Mixing Speed: When combining the cream cheese and sugar, mix at medium speed to avoid incorporating too much air, which can cause cracks when baking.
-
Chilling Time: Don’t rush the chilling process! Allow at least one hour in the refrigerator for the cheesecakes to set properly, enhancing their delightful texture.
-
Coloring Care: When adding red food coloring, start with a small amount and gradually increase until you achieve your desired shade—this keeps your batter from becoming too fluid.
-
Whipped Cream Peaks: Beat the whipping cream just until stiff peaks form; over-mixing can create a grainy texture and compromise the lightness of your cheesecake topping.
What to Serve with Oreo Red Velvet Cheesecake?
Indulging in this rich, colorful dessert is only half the joy—finding the perfect accompaniments can elevate your experience to new heights!
-
Fresh Berries: Juicy strawberries or raspberries add a refreshing contrast, balancing the richness of the cheesecake with their vibrant acidity.
-
Decadent Chocolate Sauce: A drizzle of warm chocolate sauce enhances the dessert, deepening its flavors and adding a luscious touch.
-
Creamy Vanilla Ice Cream: The smooth, cold ice cream perfectly complements the warmth of the cheesecake, creating a delightful temperature contrast.
-
Minty Green Tea: A light, herbal tea acts as a palate cleanser, making each bite of cheesecake feel as fresh as the first.
-
Fluffy Meringue Cookies: These airy treats provide a delightful crunch and contrast to the creamy texture of your cheesecake, perfect for textural variety.
-
Sparkling Wine: A glass of bubbly calls for celebration! The effervescence pairs beautifully with the rich cheesecake, making every nibble feel special.
Imagine hosting a small gathering, each bite of the cheesecake accompanied by a fresh berry or a splash of bubbly—a delightful ensemble! These pairings invite creativity and fun into your dessert experience, turning every occasion into a cherished memory.
How to Store and Freeze Oreo Red Velvet Cheesecake
Fridge: Store your Oreo Red Velvet Cheesecake in an airtight container for up to 3 days. This keeps it fresh while maintaining its creamy texture.
Freezer: For extended storage, freeze individual cheesecakes in a freezer-safe container for up to 2 months. Make sure they’re firmly wrapped to prevent freezer burn.
Thawing: To enjoy, simply transfer the cheesecakes from the freezer to the fridge for several hours before serving, allowing them to thaw gently.
Reheating: If you’re considering warming them slightly for a different experience, do so in the microwave for 10-15 seconds, ensuring not to overheat.
Make Ahead Options
These Oreo Red Velvet Cheesecake Recipe mini cheesecakes are a dream for meal prep! You can prepare the crust by combining Oreo crumbs and melted butter up to 3 days in advance, storing it tightly wrapped in the refrigerator. Additionally, you can mix the cheesecake filling (cream cheese, sugar, sour cream, cocoa, egg, vanilla, and red food coloring) up to 24 hours ahead, keeping it covered to maintain its fluffiness. When you’re ready to bake, simply pour the filling over the prepped crust and bake as directed. Chilling time does remain essential; leave them in the fridge for at least 1 hour before serving for the best texture. This way, you’ll save time on busy weeknights and serve a delightful dessert that’s just as delicious!
Oreo Red Velvet Cheesecake Variations
Feel free to transform this recipe into something uniquely yours with these delightful twists!
-
Gluten-Free: Substitute regular Oreos with gluten-free cookie options to keep everyone happy while savoring deliciousness.
-
Cheesecake Swirl: Swirl in some raspberry or strawberry sauce into the batter for a fruity burst of flavor. This adds a fresh, tart contrast that balances the richness perfectly.
-
Mint Infusion: Add a few drops of peppermint extract to the cheesecake mixture. It creates a cool, refreshing minty flavor that’s perfect for special occasions.
-
Chocolate Ganache: Pour a silky chocolate ganache over the chilled cheesecakes to elevate their elegance. The combination of chocolate and red velvet will have everyone swooning!
-
Orange Zest: Incorporate a teaspoon of orange zest into the cheesecake batter for a bright and refreshing citrus note. It adds a new layer of complexity that’s simply delightful.
-
Nutty Crunch: Sprinkle chopped nuts like pecans or walnuts on top of the whipped cream for added texture and a nutty flavor. It creates a satisfying crunch that complements the softness of the cheesecake.
-
Spicy Kick: Add a pinch of cayenne pepper or chili powder to the batter for a surprising heat that contrasts beautifully with the sweetness. This bold twist will certainly spark interest!
-
Miniature Versions: Use a muffin tin for mini cheesecakes instead of a cheesecake pan. These bite-sized versions are perfect for parties and easy to grab and enjoy!
Let your creativity shine with these variations and make this Oreo Red Velvet Cheesecake Recipe a canvas for your baking fantasies!
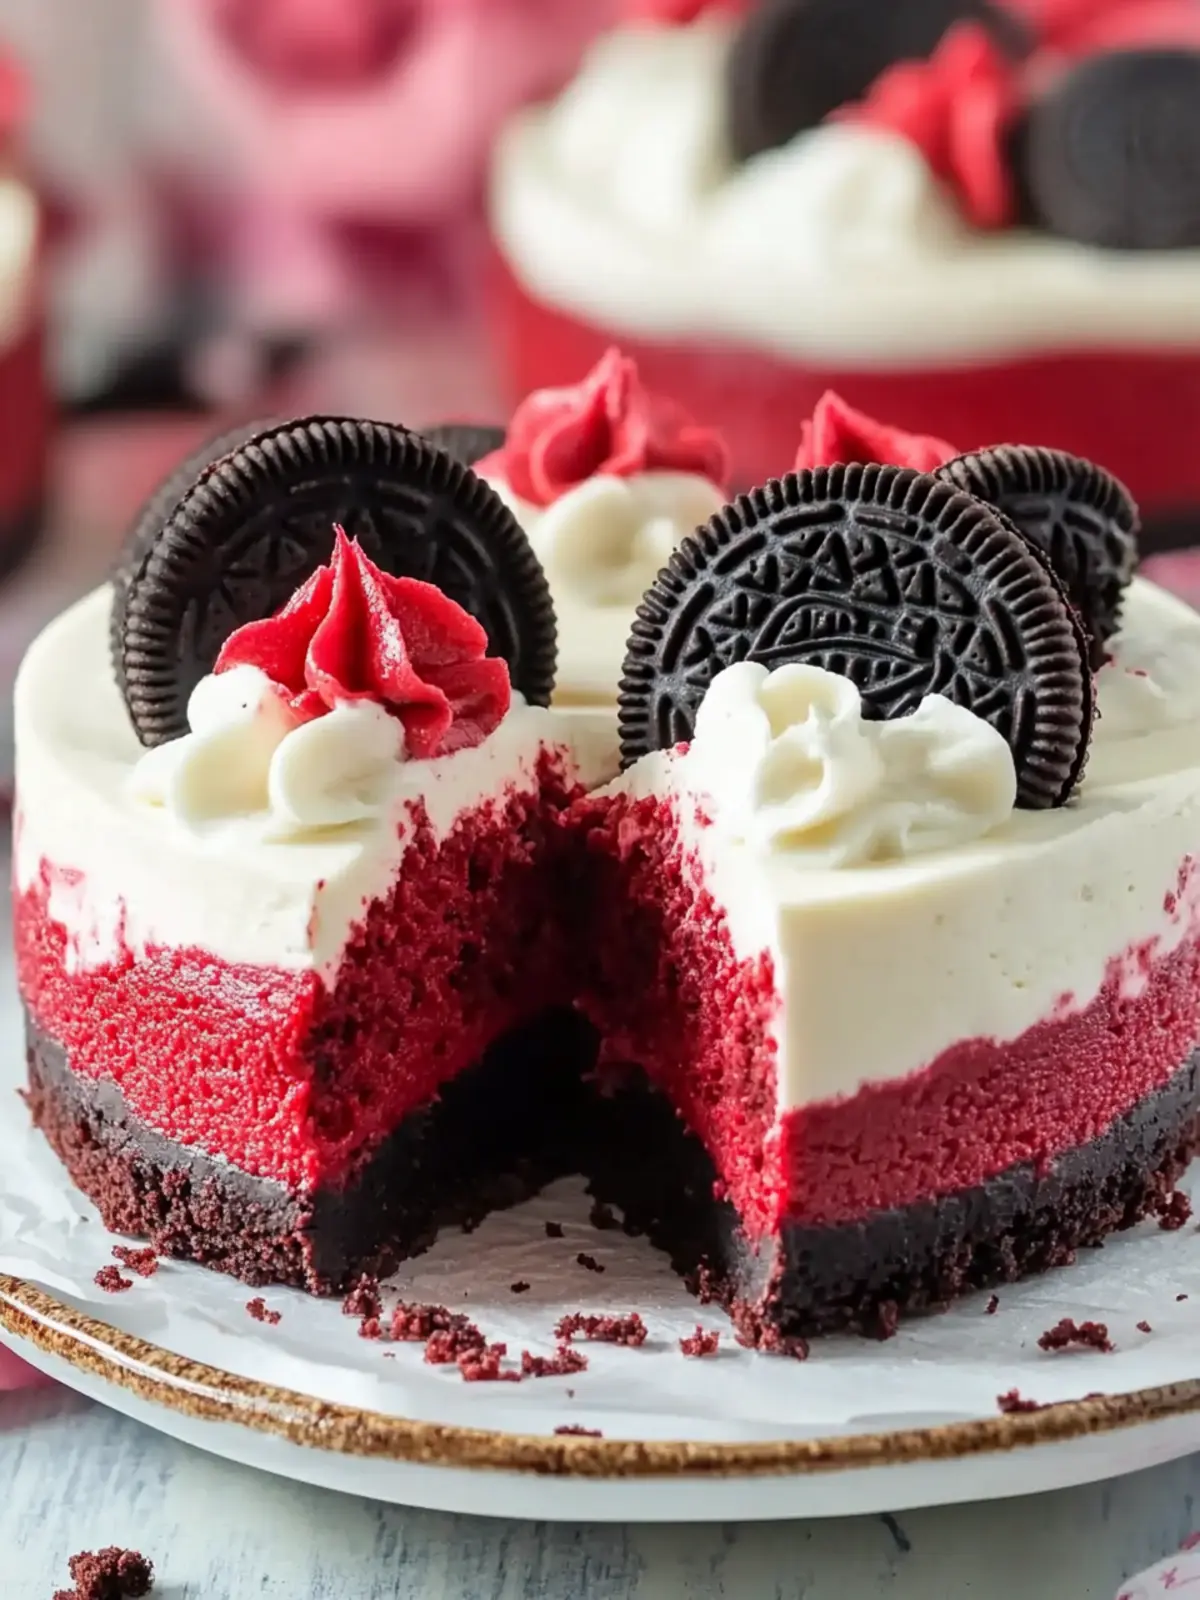
Oreo Red Velvet Cheesecake Recipe FAQs
How do I select the right Oreos for the crust?
Absolutely! Look for Oreos that are intact and fresh without any dark spots or moisture. The classic original flavor is great, but you can experiment with different varieties like double-stuffed for an extra rich base.
How should I store my Oreo Red Velvet Cheesecake?
Your cheesecake can be stored in an airtight container in the refrigerator for up to 3 days. This helps maintain its creamy texture and keeps it fresh. If you want to enjoy it later, freezing is also an option!
Can I freeze Oreo Red Velvet Cheesecake?
Very much! To freeze, wrap each mini cheesecake individually in plastic wrap and then place them in a freezer-safe container. They’ll stay delicious for up to 2 months. Just remember to thaw them in the refrigerator for several hours before serving for the best texture.
What if my cheesecake cracks during baking?
No worries! If your cheesecake develops cracks, it’s usually because of overmixing or baking at too high a temperature. For future attempts, be sure to mix just until ingredients are combined and always reduce the oven temperature to 325°F for a softer texture. A simple way to cover up cracks is to add a thick layer of whipped cream on top!
Are there any dietary considerations for this recipe?
Definitely! If you’re concerned about allergies, this recipe contains dairy and eggs, so it may not be suitable for those with lactose intolerance or egg allergies. You can substitute the cream cheese with a vegan alternative and use a dairy-free whipped cream to make a delicious vegan version of this Oreo Red Velvet Cheesecake. Just be sure to check the labels for any other potential allergens!
How long does it take for the cheesecakes to chill?
I recommend chilling your cheesecakes for at least 1 hour after baking. This is crucial for setting the texture and enhancing the flavors. If you have time, letting them chill overnight will make them even creamier and more delightful!
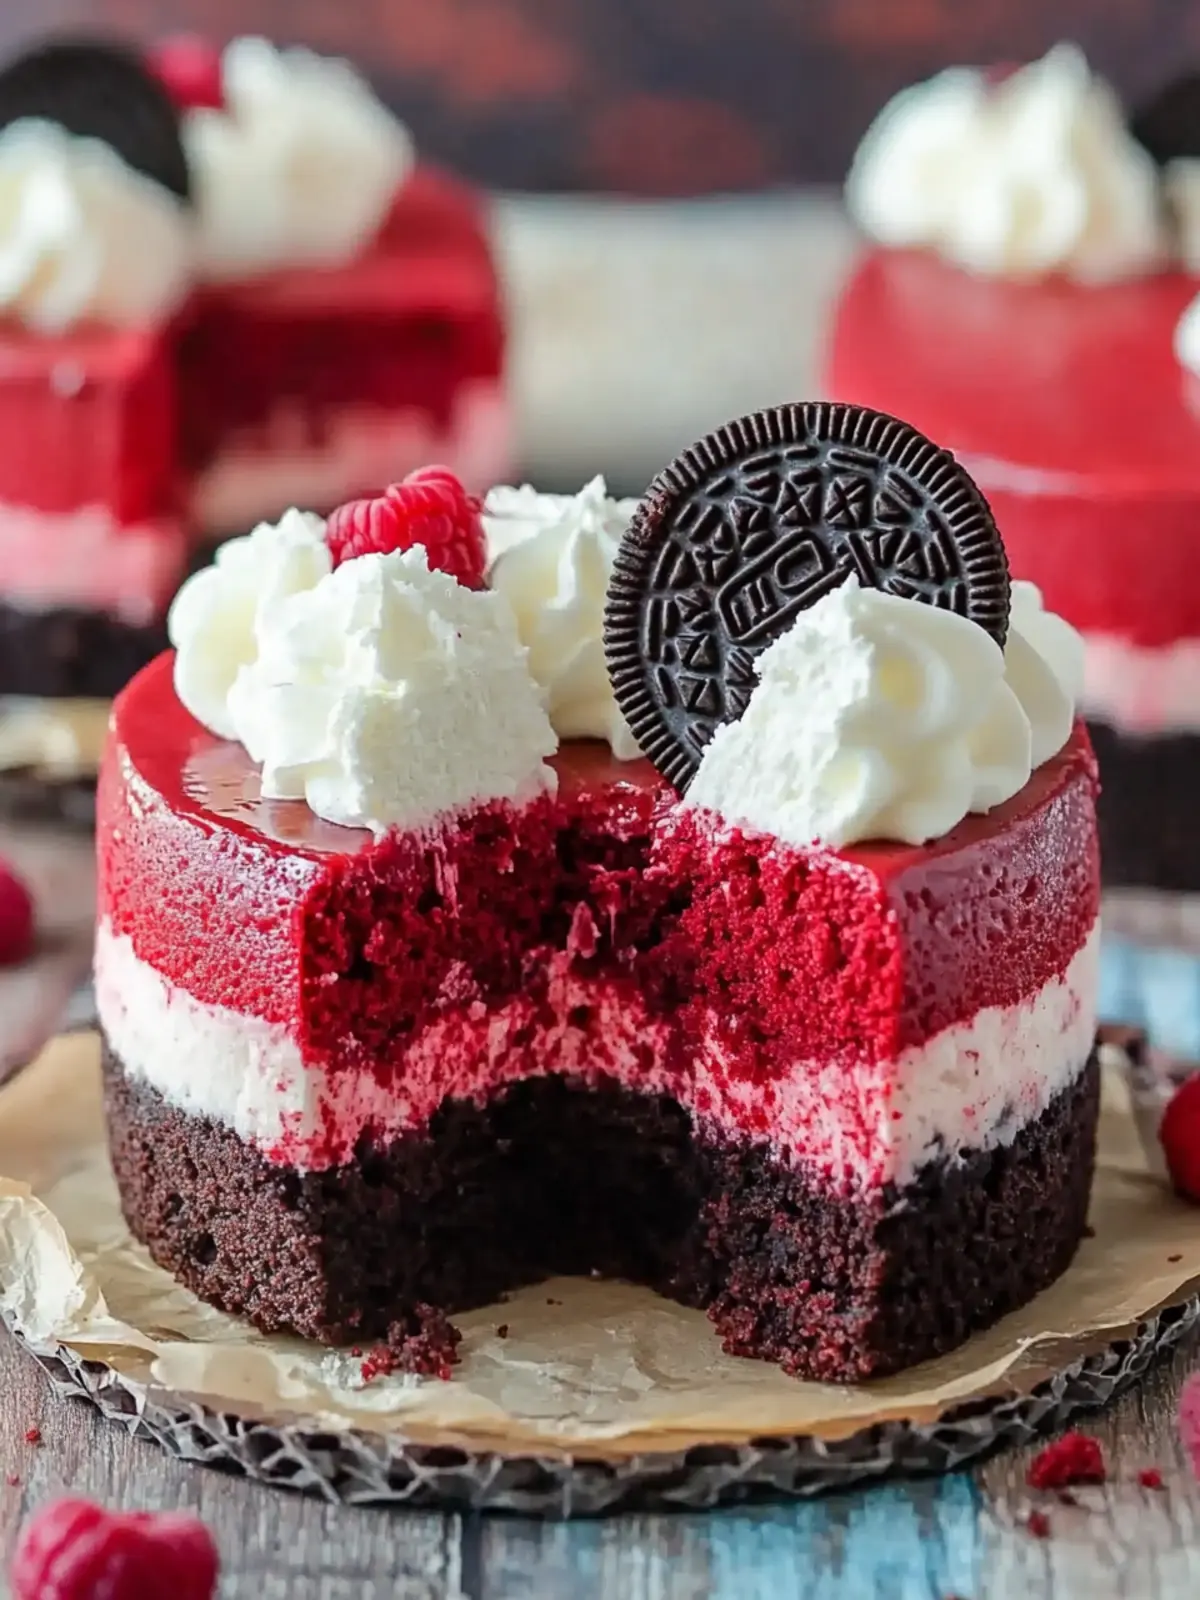
Delicious Oreo Red Velvet Cheesecake Recipe You'll Love
Ingredients
Equipment
Method
- Preheat your oven to 350°F.
- Combine the Oreo crumbs and melted butter in a large bowl.
- Scoop a heaping tablespoon of the Oreo mixture into the bottom of a mini-cheesecake pan.
- Press down with your fingers to pack the mixture tightly.
- Bake for 5 minutes, then remove the crusts and let them cool slightly.
- Reduce the oven temperature to 325°F.
- Mix the cream cheese and sugar in an electric mixer on medium speed until smooth and creamy.
- Add sour cream, cocoa powder, egg, and vanilla. Mix until well combined.
- Carefully pour in the red food coloring and mix just until evenly distributed.
- Pour the cheesecake batter onto the cooled Oreo crust.
- Bake for 15 minutes.
- Refrigerate in baking cups for at least 1 hour.
- Lift the cheesecakes from the tray once they are cooled.
- Beat the whipping cream on medium speed for 30 seconds until stiff peaks form.
- Add powdered sugar and vanilla to the whipped cream and beat until well combined.
- Top each chilled cheesecake with a generous dollop of whipped cream and sprinkle with heart-shaped sprinkles.