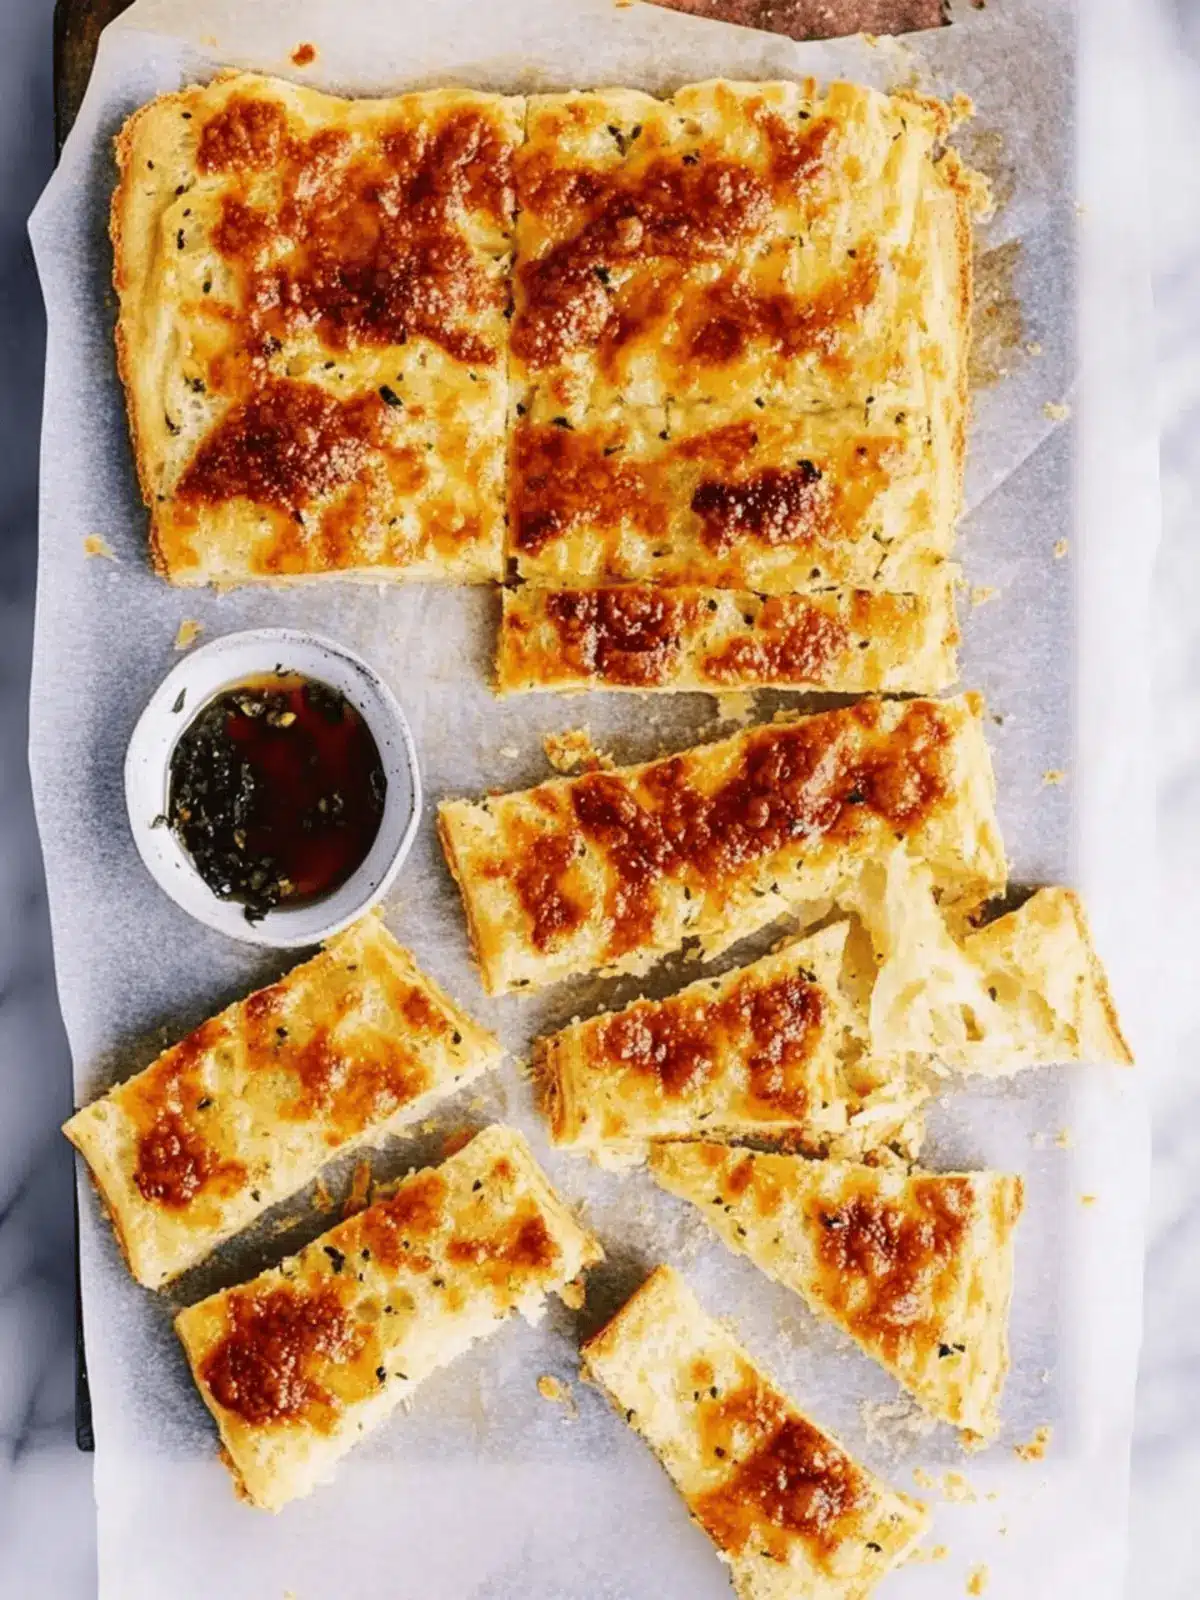
When the evening chill sets in and I crave something comforting, these No-Knead Cheesy Garlic Bread Fingers always come to mind. Imagine the intoxicating aroma of fresh garlic and melted cheese wafting through your kitchen—it’s impossible not to feel cozy and content! This recipe is a lifesaver, transforming pantry staples into a warm, fluffy treat in just about 30 minutes, with no kneading required.
Whether you’re looking to elevate a weeknight dinner or need a crowd-pleasing appetizer for your next gathering, these cheesy garlic fingers fit the bill perfectly. Slathered in garlicky butter and topped with gooey mozzarella, they invite everyone to reach for just one more. Dive into this delightful recipe that promises to impress without the fuss, and watch as it becomes a new favorite in your home!
Why will you love No-Knead Cheesy Garlic Bread Fingers?
Comforting Delight: The irresistible combination of fresh garlic and melted cheese creates a cozy dish that brings people together.
Quick and Easy: With a simple 30-minute rise, this recipe saves you time without sacrificing flavor.
No Kneading Required: Enjoy the fluffy texture without the workout, making it perfect for busy weeknights.
Crowd-Pleasing Appetizer: Ideal for gatherings, these cheesy fingers will have everyone reaching for more!
Endless Variations: Personalize your bread with different cheeses or herbs to suit every palate.
Perfect Pairing: Serve alongside marinara sauce or your favorite pasta for the ultimate comfort meal.
No-Knead Cheesy Garlic Bread Fingers
Ingredients Breakdown for Your Cheesy Delight:
For the Dough
- All-Purpose Flour – This provides the essential structure and texture; for a chewier result, try using bread flour.
- Instant Quick-Rise Yeast – This ensures rapid fermentation, making the dough rise quickly without the need for a lengthy first rise.
- Salt – Essential for enhancing the flavor; don’t skip it for balanced taste.
- Water – Hydrates your dough and helps activate the yeast; make sure it’s warmed between 120° and 130°F for optimum results.
- Granulated Sugar – Aids in yeast activation and adds a hint of sweetness; for a natural twist, consider using honey or agave syrup in smaller amounts.
- Extra Virgin Olive Oil – Adds richness and moisture; can substitute with a neutral oil like canola or vegetable.
For the Topping
- Butter (melted) – Infuses flavor and moisture into your crispy crust; for a dairy-free option, margarine or another alternative works great.
- Garlic (minced) – Brings that strong, aromatic flavor that’s simply heavenly; if you prefer milder, garlic powder is a suitable substitute.
- Grated Mozzarella – Offers that deliciously stretchy, gooey topping; swap it for provolone or dairy-free cheese if desired.
For Serving
- Marinara or Toum Sauce – Perfect for dipping; elevate your experience with homemade variations for added flavor.
Dive right into making these No-Knead Cheesy Garlic Bread Fingers and let the warm, cheesy goodness fill your kitchen—trust me, they’re bound to become a family favorite!
How to Make No-Knead Cheesy Garlic Bread Fingers
-
Combine Dry Ingredients: In a large mixing bowl, whisk together the all-purpose flour, instant quick-rise yeast, and salt until evenly distributed. This step sets a solid foundation for your fluffy bread.
-
Mix Wet Ingredients: In a separate microwave-safe bowl, combine the water, granulated sugar, and olive oil. Microwave until warm (120° to 130°F) to help activate the yeast effectively for a light rise.
-
Combine: Pour the warm wet mixture into the dry ingredients. Stir gently until just combined, ensuring no dry flour remains. This creates the perfect dough consistency without needing to knead.
-
Prepare Dough: Spread the dough evenly into a greased 13 x 9-inch pan. Cover it with a towel and let it rise in a warm place for about 30 minutes, or until doubled in size—a cozy environment leads to a fluffy texture!
-
Preheat Oven: While the dough is rising, preheat your oven to 450°F, placing a baking stone or baking sheet inside. This helps achieve a crispy exterior on your bread fingers.
-
Poke and Flavor: Gently poke holes all over the surface of the dough. Drizzle the melted garlic butter generously on top and sprinkle the grated mozzarella cheese evenly, allowing it to melt beautifully during baking.
-
Final Rise & Bake: Let the dough rest for another 15 minutes while the oven preheats. Reduce the temperature to 375°F and bake for about 20 minutes until the cheese is bubbly and the top is golden brown and inviting.
Optional: Serve warm with a side of marinara or creamy Toum sauce for dipping.
Exact quantities are listed in the recipe card below.
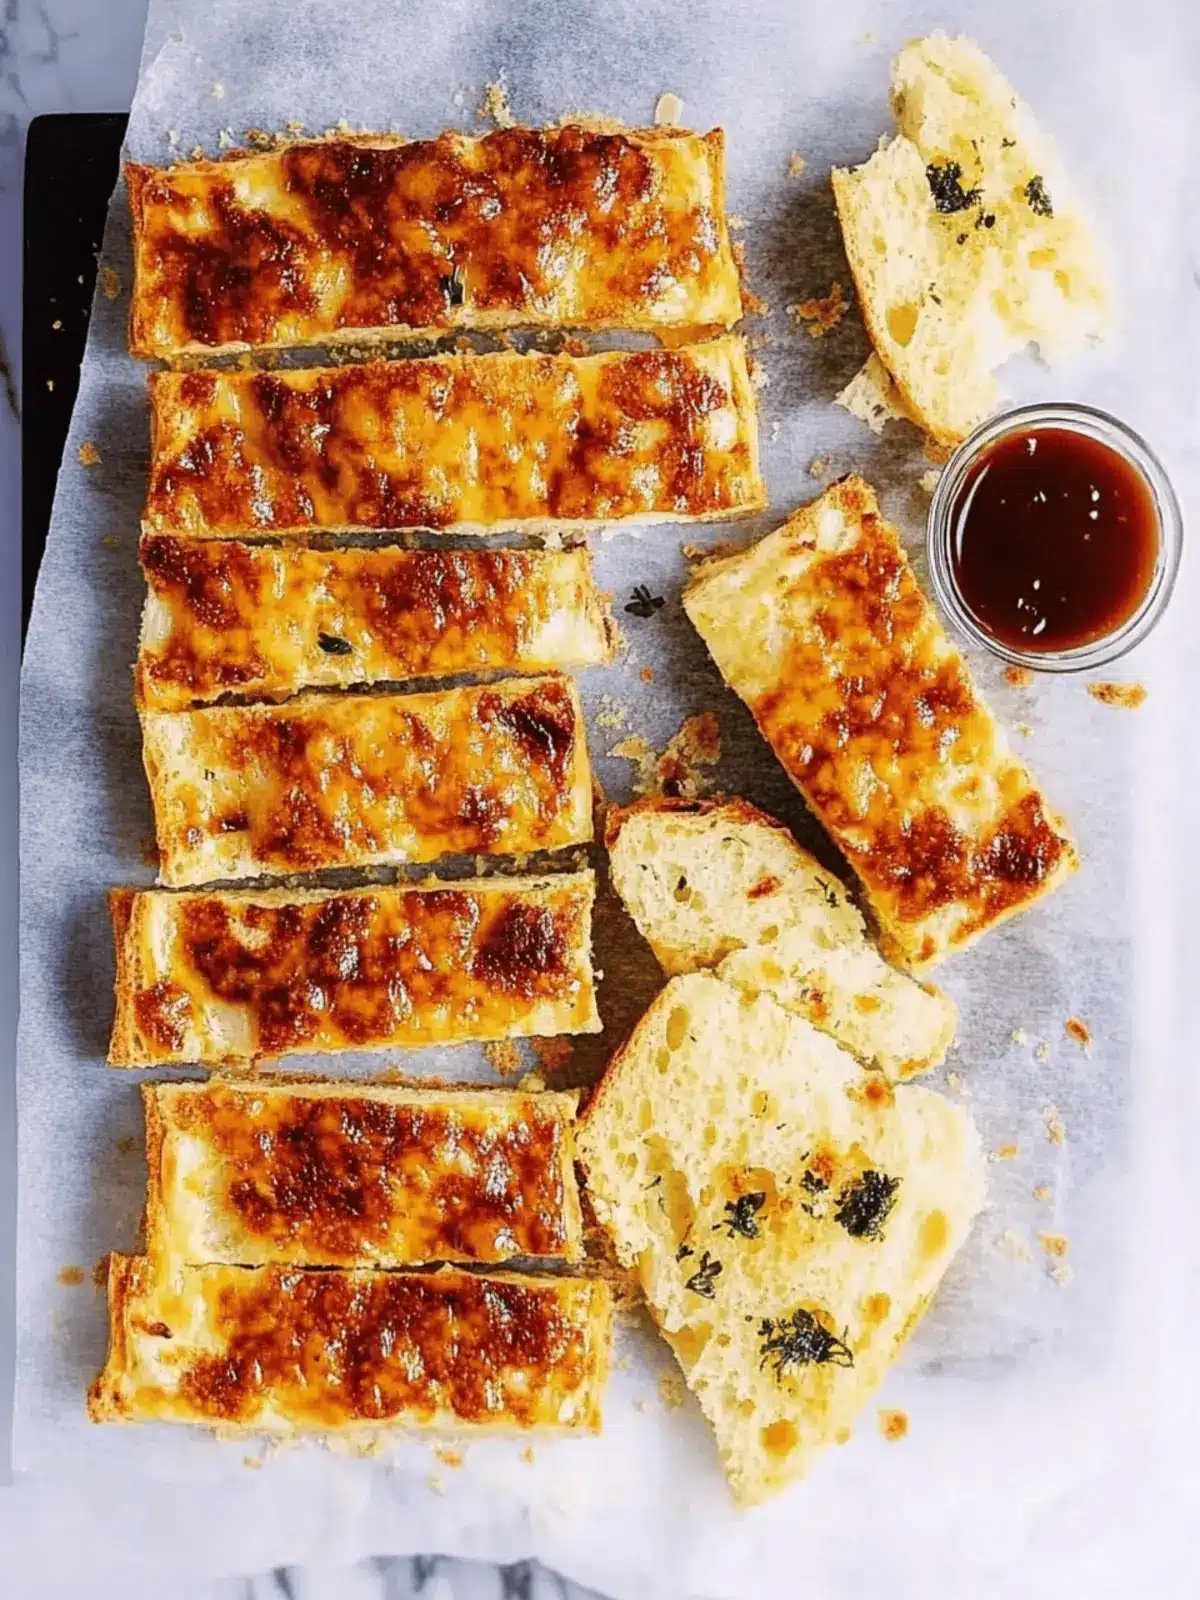
How to Store and Freeze No-Knead Cheesy Garlic Bread Fingers
- Room Temperature: Store leftover bread fingers in an airtight container at room temperature for up to 2 days. This keeps them pleasantly soft and fresh.
- Fridge: For longer storage, refrigerate the bread in an airtight container for up to a week. Be sure to reheat it in the oven to restore its original texture.
- Freezer: If you want to enjoy them later, freeze the cheesy garlic bread fingers wrapped tightly in foil or in a freezer bag for up to 3 months. Thaw in the fridge before reheating.
- Reheating: For the best results, reheat in a preheated oven at 350°F for 10–15 minutes. This revives the crispy exterior while warming the gooey mozzarella inside.
What to Serve with No-Knead Cheesy Garlic Bread Fingers?
Enhance your dining experience with delightful accompaniments that complement the warm, cheesy goodness of this bread.
- Spaghetti and Meat Sauce: This classic pairing elevates your meal, with the rich sauce soaking into the fluffy bread for an irresistible delight.
- Crispy Caesar Salad: The crunch of romaine and savory dressing perfectly contrasts the softness of the bread, creating a satisfying texture balance.
- Homemade Marinara Sauce: Serve it warm for dipping, allowing the garlic bread to soak up the rich, flavorful tomato goodness with every bite.
- Creamy Toum Sauce: This garlic sauce adds a vibrant flavor punch; a delightful alternative that enhances the bread’s garlic notes.
- Roasted Vegetables: A medley of seasonal veggies brings freshness and color to your table, ideal for a wholesome complement.
- Herb-Infused Olive Oil: For a light dipping experience, a drizzle of herb-infused oil makes for a fragrant, flavorful touch.
- Cheesy Garlic Mashed Potatoes: Why not indulge further? These creamy taters echo the flavors of garlic and cheese, making it a cozy feast.
- Sparkling Lemonade: A refreshing drink to cleanse the palate, bursting with zingy flavor that balances the richness of the bread.
- Chocolate Fondue: For a sweet endpoint, dip fruits or marshmallows in melted chocolate for a delightful contrast after your cheesy adventure.
Make Ahead Options
These No-Knead Cheesy Garlic Bread Fingers are perfect for meal prep enthusiasts! You can prepare the dough up to 24 hours in advance by mixing the dry and wet ingredients, combining them, and spreading the mixture in the greased pan. Cover it with plastic wrap and refrigerate until you’re ready to bake. When you’re ready to enjoy, simply let the dough come to room temperature for about 30 minutes, poke holes, drizzle with garlic butter, and sprinkle cheese before baking. This method ensures your bread fingers are just as delicious and fluffy when served fresh, saving you valuable time on busy weeknights!
Variations & Substitutions for No-Knead Cheesy Garlic Bread Fingers
Feel free to let your creativity flourish by customizing this recipe to suit your taste or dietary needs!
- Gluten-Free: Use a gluten-free all-purpose flour blend to create a delightful variation that everyone can enjoy.
- Herbed Delight: Mix in fresh chopped herbs like basil or oregano into the dough for an aromatic touch that elevates the flavor experience.
- Spicy Kick: Add a teaspoon of chili powder or a dash of cayenne pepper to the garlic butter, giving your bread a delightful heat without overpowering the cheese.
- Cheese Swap: Experiment with a blend of cheeses such as cheddar, gouda, or even blue cheese for a unique flavor twist that excites the palate.
- Vegan Version: Substitute dairy ingredients with vegan butter, plant-based cheese, and a flaxseed egg to create a completely dairy-free and egg-free version.
- Extra Crunch: Top the bread with a sprinkle of breadcrumbs mixed with Italian seasoning before baking for added texture and flavor.
- Savory Additions: Consider mixing in finely diced sun-dried tomatoes or olives into the dough for a Mediterranean flair, enhancing both flavor and texture.
- Garlic Lovers: For a garlic explosion, double the amount of minced garlic in the topping or incorporate roasted garlic into the dough for a sweeter, richer taste.
Expert Tips for No-Knead Cheesy Garlic Bread Fingers
- Perfect Temperature: Ensure your water is between 120° and 130°F. Water that’s too hot could kill the yeast, while too cold may not activate it.
- Don’t Overdo It: Avoid slathering too much garlic butter; it can lead to sogginess. A light drizzle is enough to keep the bread tender and flavorful!
- Watch the Bake: Keep an eye on the bread as it bakes. Ovens can vary, so look for a golden brown top and bubbly cheese to know it’s done.
- Cool Time: Let the No-Knead Cheesy Garlic Bread Fingers cool slightly before serving. This helps maintain their shape and makes for easier grabbing!
- Experiment with Toppings: Feel free to incorporate different cheeses or herbs into the topping for an extra layer of flavor that suits your taste!
- Warm It Up: For the best experience, reheat leftovers in the oven rather than the microwave to revive that crispy texture!
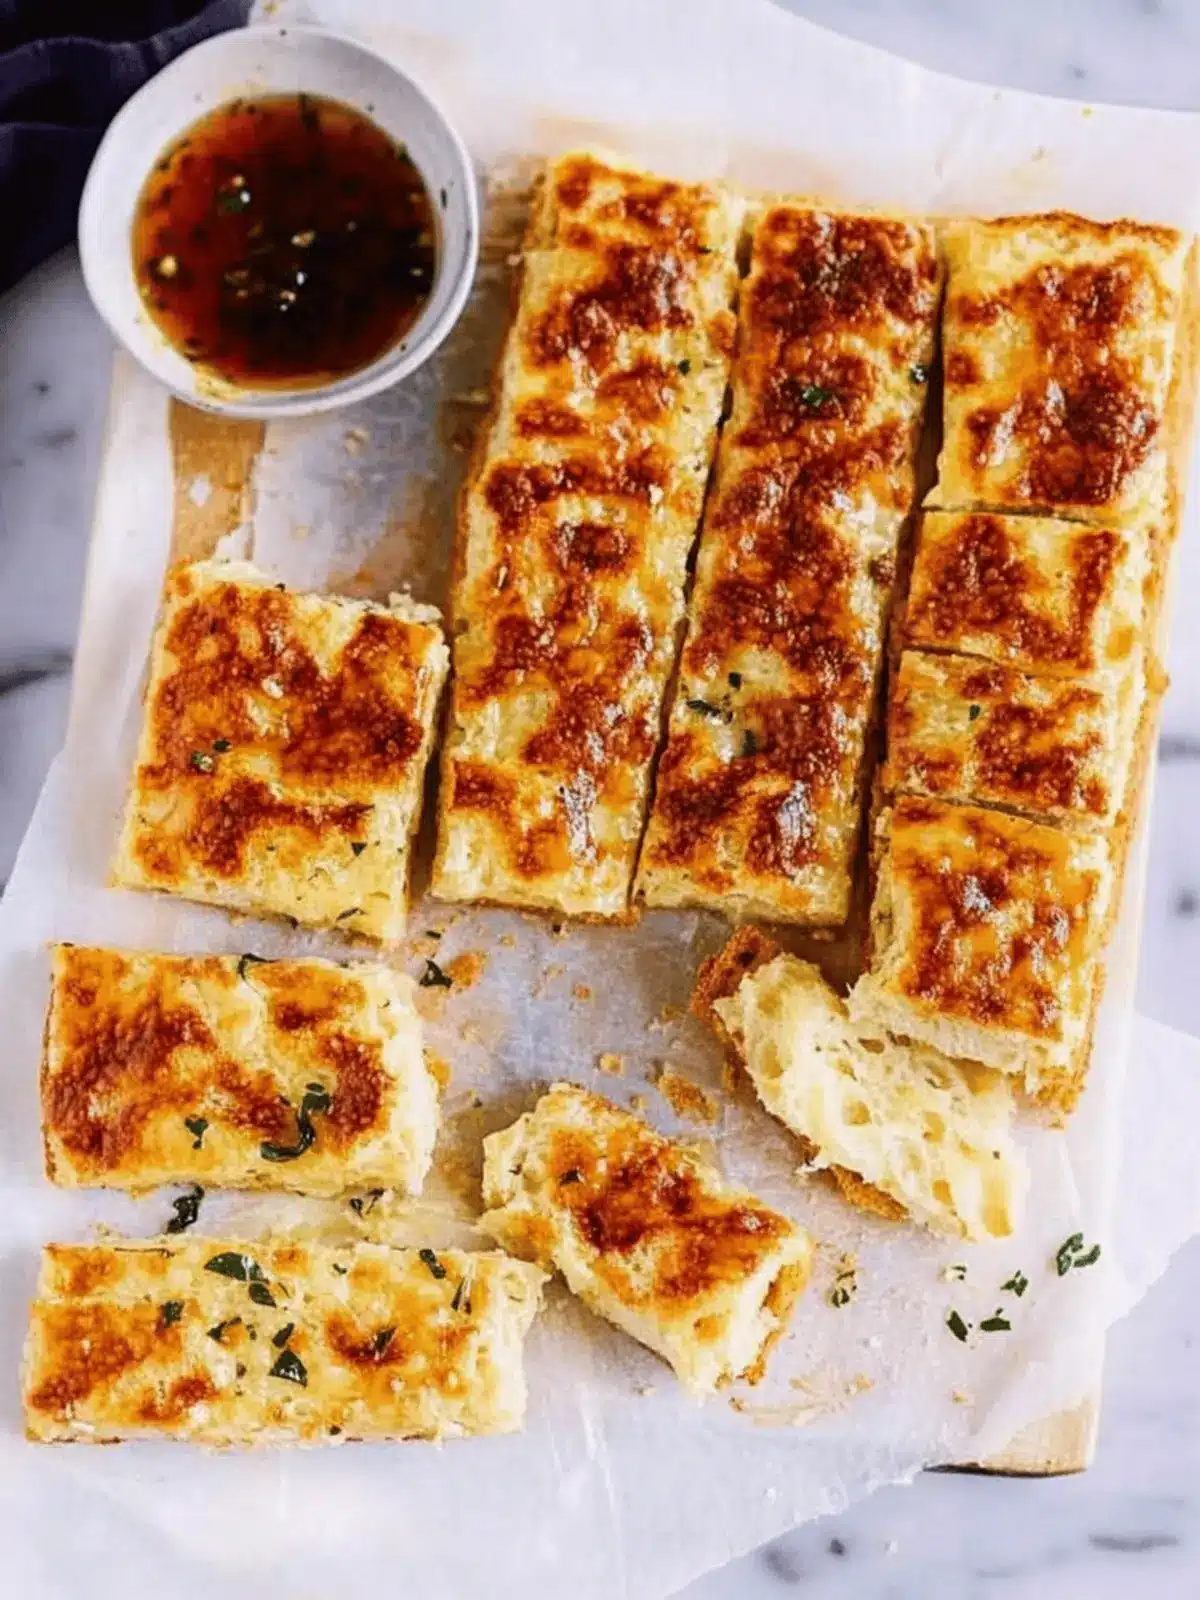
No-Knead Cheesy Garlic Bread Fingers Recipe FAQs
What type of flour should I use for No-Knead Cheesy Garlic Bread Fingers?
I recommend using all-purpose flour for a balanced texture, but if you want a chewier bite, feel free to substitute with bread flour. Both options will yield delicious results!
How should I store leftover No-Knead Cheesy Garlic Bread Fingers?
Store the leftover bread fingers in an airtight container at room temperature for up to 2 days to keep them fresh and soft. If you want them to last longer, refrigerate them for up to a week. Remember to reheat in the oven for the best texture!
Can I freeze No-Knead Cheesy Garlic Bread Fingers?
Absolutely! To freeze, wrap the cooled bread fingers tightly in foil or place them in a freezer-safe bag. They can be frozen for up to 3 months. When you’re ready to enjoy them, simply thaw in the fridge overnight and reheat in the oven at 350°F for about 10-15 minutes.
What should I do if my dough doesn’t rise properly?
If your dough doesn’t rise, it might be due to the yeast not being activated. Ensure that the water is between 120° and 130°F when mixing, as temperatures that are too hot or too cold can kill the yeast. You can also let the dough rise in a warm, draft-free area—you could create a cozy environment by preheating your oven for a minute and then turning it off, allowing the dough to rise inside.
Can dogs eat No-Knead Cheesy Garlic Bread Fingers?
While your furry friend might be tempted by the delicious smell, it’s best to keep cheesy garlic bread away from dogs. The garlic and butter can be harmful to them. However, you can make a version for pets by using plain homemade bread without seasoning and butter!
Are there any common allergens in this recipe?
Yes, this recipe contains gluten (from flour), dairy (from cheese and butter), and may contain eggs or soy depending on the brands you use. For gluten-free options, use a gluten-free flour blend. If you have dairy allergies, consider using dairy-free cheese and a suitable butter substitute. Always check labels and choose products that fit your dietary needs.
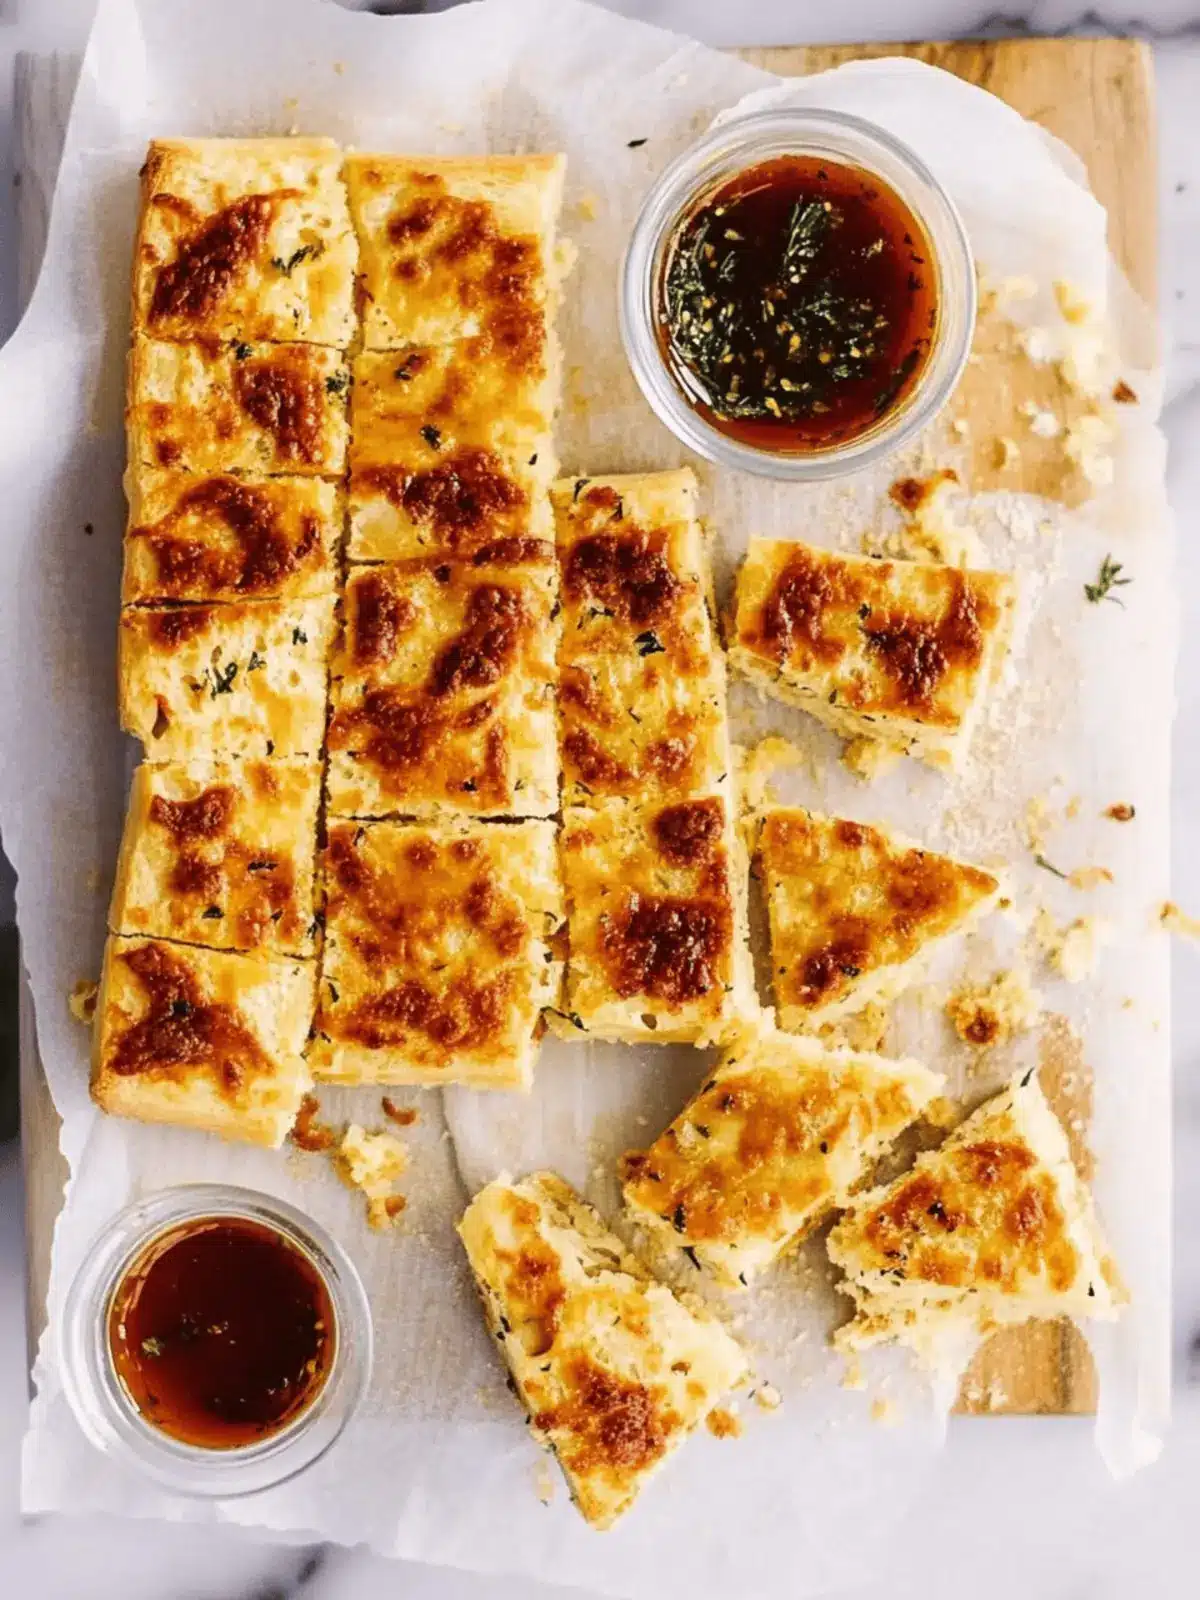
No-Knead Cheesy Garlic Bread Fingers for Effortless Indulgence
Ingredients
Equipment
Method
- In a large mixing bowl, whisk together the all-purpose flour, instant quick-rise yeast, and salt until evenly distributed.
- In a separate microwave-safe bowl, combine the water, granulated sugar, and olive oil. Microwave until warm (120° to 130°F).
- Pour the warm wet mixture into the dry ingredients. Stir gently until just combined, ensuring no dry flour remains.
- Spread the dough evenly into a greased 13 x 9-inch pan. Cover it with a towel and let it rise in a warm place for about 30 minutes.
- Preheat your oven to 450°F, placing a baking stone or baking sheet inside.
- Gently poke holes all over the surface of the dough. Drizzle the melted garlic butter generously on top and sprinkle the grated mozzarella cheese.
- Let the dough rest for another 15 minutes while the oven preheats. Reduce the temperature to 375°F and bake for about 20 minutes.
