
There’s a certain joy that comes with creating a dessert that feels both indulgent and personal, and my Loaded Butterscotch Cheesecake is just that. One day, while rummaging through my pantry, I stumbled upon a treasure trove of butterscotch chips and cream cheese just waiting to be transformed into something spectacular. The thought of a rich, creamy cheesecake loaded with the delightful flavors of butterscotch had me excited, and I couldn’t resist diving in.
This cheesecake, with its velvety texture and decadent sweetness, promises to be the star of any gathering or just an exceptional treat after a long day. Whether you’re impressing guests or simply treating yourself, this recipe balances ease and elegance beautifully. Imagine the satisfaction of slicing into a perfectly chilled cake, revealing layers of creamy goodness and a graham cracker crust that crumbles beautifully with every bite. Ready to elevate your dessert game? Let’s get started on this delightful journey to cheesecake heaven!
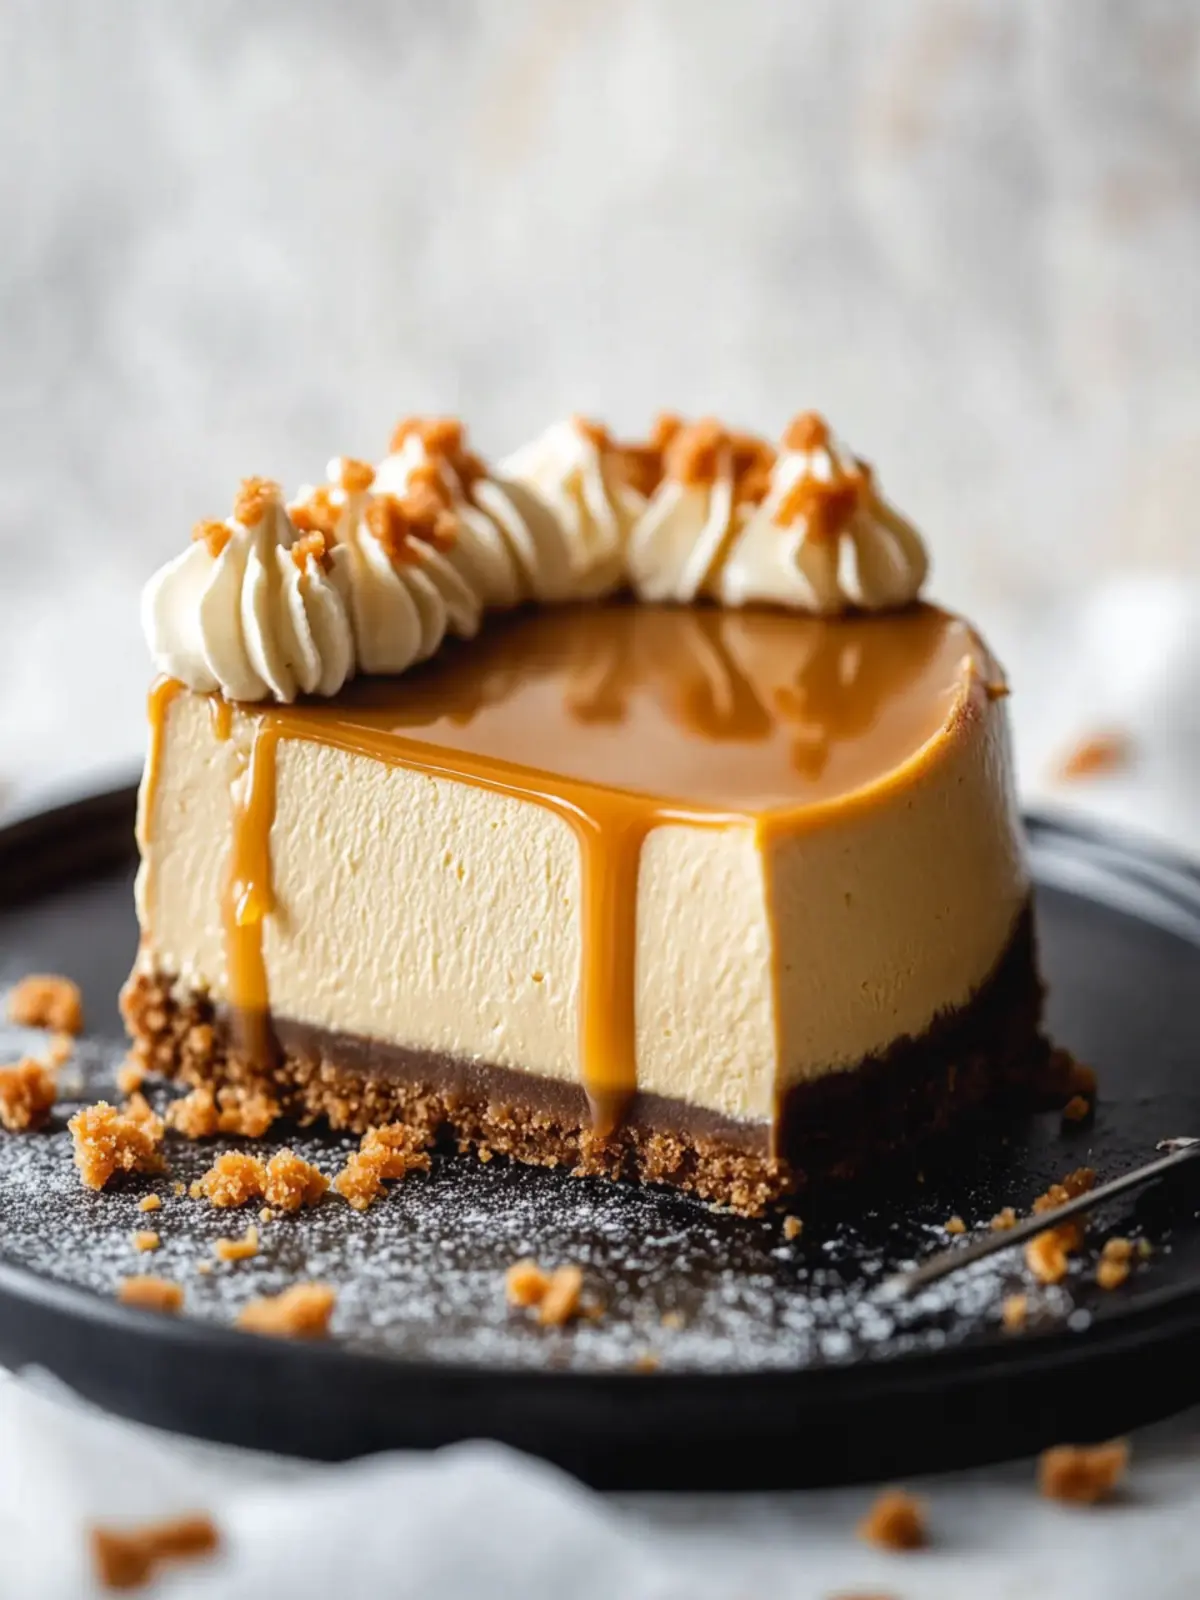
Why is Loaded Butterscotch Cheesecake a Must-Try?
Decadence: This cheesecake is packed with two layers of butterscotch chips, delivering a rich and indulgent flavor that will leave your taste buds dancing.
Easy Preparation: With just a handful of ingredients, making this jaw-dropping dessert is a breeze, perfect for bakers of all skill levels.
Crowd-Pleaser: You’ll be the star of your next event, as this stunning cake will wow guests at parties, potlucks, and family gatherings.
Texture Harmony: The combination of a buttery graham cracker crust and creamy filling creates an irresistible melt-in-your-mouth sensation.
Versatile Treat: Enjoy it as a stand-alone dessert or paired with a dollop of whipped cream for extra flair. Elevate your baking repertoire with a slice of pure joy by trying out this amazing Loaded Butterscotch Cheesecake.
Loaded Butterscotch Cheesecake Ingredients
Craft your very own slice of heaven with these essential components!
For the Crust
• Graham cracker crumbs – the base that adds delightful crunch and sweetness.
• Light brown sugar – enhances the crust’s flavor with a hint of caramel.
• Unsalted butter – holds the crust together and adds richness.
For the Cheesecake Filling
• Cream cheese – the star ingredient that provides a creamy and tangy base.
• Light brown sugar – offers a deep, rich sweetness to balance the flavors.
• All-purpose flour – helps stabilize the filling, ensuring a perfect texture.
• Vanilla extract – adds a warm, aromatic note that enhances the overall flavor.
• Sour cream – contributes to the cheesecake’s creaminess and tang.
• Heavy whipping cream – brings a smooth, luxurious texture to the filling.
• Butterscotch chips – the must-have addition for a loaded butterscotch experience!
• Dry butterscotch pudding mix – thickens the cheesecake while intensifying the butterscotch flavor.
• Large eggs – provide structure and help the filling set perfectly.
For the Drizzle
• Butterscotch chips – for luscious drizzling over top, making it even more decadent.
• Heavy whipping cream – thins the chips for a smooth, drizzleable consistency.
For Decorating
• Additional butterscotch chips – sprinkle on top to elevate the visual appeal and add extra flavor.
Gather these ingredients for your Loaded Butterscotch Cheesecake and prepare for sweet success!
How to Make Loaded Butterscotch Cheesecake
-
Preheat the oven to 325°F (163°C). Line a 9-inch (23cm) springform pan with parchment paper and grease the sides to prevent sticking. This ensures a smooth release after baking.
-
Mix the crust ingredients in a small bowl until well combined. Press firmly into the bottom and slightly up the sides of the springform pan. Aim for an even layer; this provides a sturdy base for the cheesecake.
-
Bake the crust for 8-10 minutes until lightly golden, then remove and let it cool. Cover the outside of the pan with aluminum foil to protect it from water during the steam bath.
-
Lower the oven temperature to 300°F (148°C). This helps create a gentle baking environment for your cheesecake, which is key to achieving that perfect texture.
-
Blend cream cheese, light brown sugar, and flour in a large mixer bowl using an electric mixer. Beat until smooth, scraping down the bowl sides as needed for an even mix. This is the creamy foundation of your cheesecake!
-
Incorporate vanilla extract and sour cream into the mixture. Beat on low speed until well combined, creating a luscious filling that balances sweetness with tanginess.
-
Heat heavy cream in a medium microwave-safe bowl, adding butterscotch chips in 15-30 second increments. Stir until melted and smooth; this creates a rich butterscotch flavor for your cheesecake.
-
Combine the melted butterscotch chip mixture with the cheesecake filling in two parts. Mix well after each addition, ensuring a beautifully blended texture; scrape the bowl sides as needed.
-
Add the dry butterscotch pudding mix, mixing until just combined. This creates a thicker, creamier cheesecake with that delightful butterscotch taste.
-
Beat in the eggs one at a time, mixing until fully combined after each addition. Scraping the bowl regularly helps maintain a consistent texture.
-
Pour the cheesecake filling into the pre-baked crust. Place the springform pan inside a larger pan, then fill the outer pan with warm water halfway up the sides of the springform to create a steamy baking environment.
-
Bake for 1 hour and 30-35 minutes, until the center is set but still jiggly for a perfect creamy finish.
-
Turn off the heat and leave the cheesecake inside the oven with the door closed for 30 minutes. This helps it cool gradually to prevent cracking.
-
Crack the oven door open and let the cheesecake sit for an additional 10 minutes. This gradual cooling process is crucial for achieving that smooth texture.
-
Remove the cheesecake from the oven and let it cool on a rack until it reaches room temperature. Then, chill it in the refrigerator until cold and firm, around 5-6 hours or overnight.
-
Carefully remove the cheesecake from the springform pan. Now it’s time to admire your gorgeous Loaded Butterscotch Cheesecake before slicing into it!
Optional: Drizzle with melted butterscotch sauce for an extra indulgent touch.
Exact quantities are listed in the recipe card below.
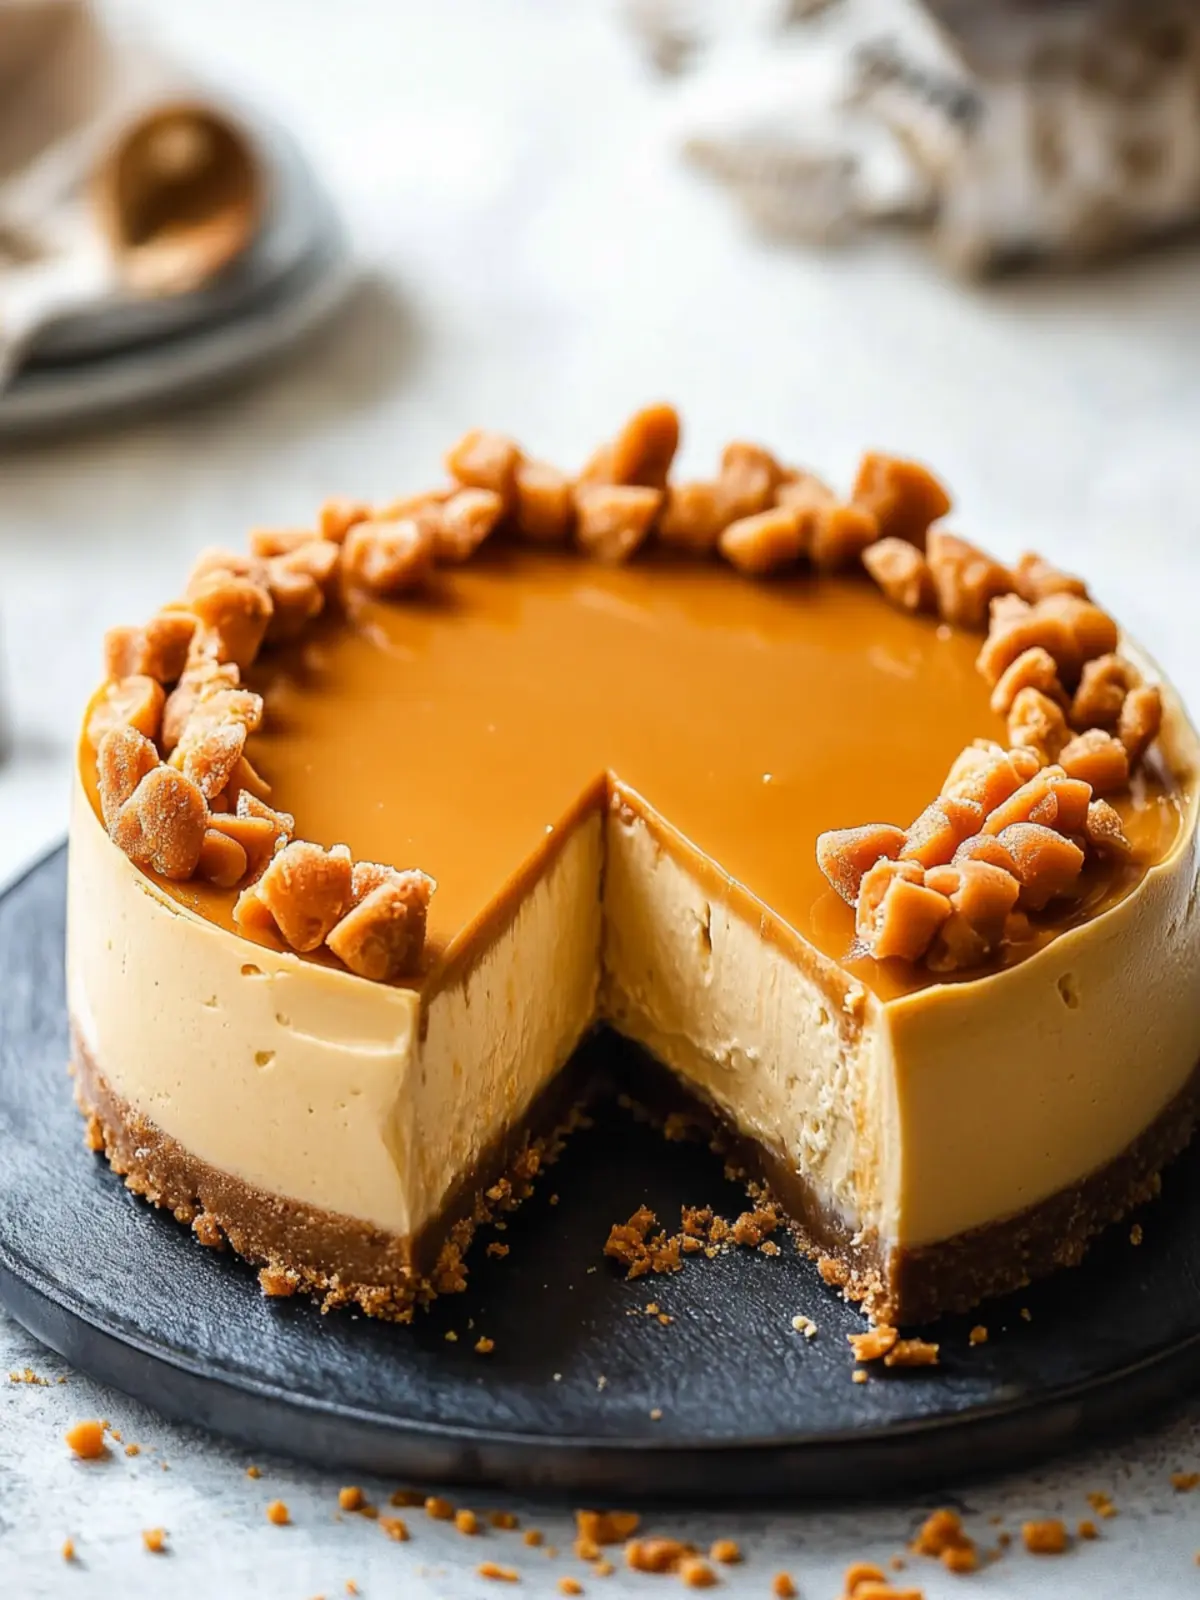
Loaded Butterscotch Cheesecake Variations
Feel free to explore these delightful twists that elevate your cheesecake experience to new heights!
-
Gluten-Free Crust: Swap graham cracker crumbs for gluten-free cookies or almond flour blended with a bit of coconut oil for a nutty taste.
-
Nutty Addition: Add 1 cup of crushed pecans or walnuts to the crust mixture for an extra crunch and depth of flavor. The combination of nuts and butterscotch makes for a luscious treat!
-
Cheesecake Bites: Divide the filling into mini cheesecake cups instead of a full cake. Bake in a mini muffin tin for fun, bite-sized indulgences perfect for parties.
-
Caramel Swirl: Drizzle a generous layer of caramel sauce into the cheesecake filling before baking for an added layer of sweetness. The combination of butterscotch and caramel is pure bliss!
-
Chocolate Twist: Incorporate 1/2 cup of cocoa powder into the cream cheese mixture for a rich chocolate-butterscotch fusion that your taste buds won’t forget.
-
Berry Bliss: Top the cheesecake with a layer of fresh berries after it has chilled for a fruity contrast to the sweet butterscotch. This fruity addition brings freshness and vibrant color to your dessert.
-
Spicy Kick: Stir in a pinch of cayenne pepper or cinnamon to the filling for a surprising hint of warmth that pairs beautifully with butterscotch. This adds an intriguing depth to the sweetness.
-
Vegan Version: Use cashew cream and a plant-based sweetener to create a vegan cheesecake that everyone can enjoy, ensuring a creamy texture that doesn’t compromise on flavor.
Make Ahead Options
These Loaded Butterscotch Cheesecakes are a fantastic option for meal prep, allowing you to save time on busy days! You can prepare the graham cracker crust up to 24 hours in advance; simply press it into the springform pan and refrigerate it to maintain its crispness. Additionally, the cheesecake filling can be made and stored in the refrigerator for up to 3 days before baking. When you’re ready to bake, just pour the filling over the crust and proceed with the instructions as usual. Rest assured, the cheesecake will still emerge just as delicious, offering that same velvety texture and indulgent flavor! This strategic prepping will have you savoring every bite without the last-minute rush.
How to Store and Freeze Loaded Butterscotch Cheesecake
Fridge: Store your cheesecake in an airtight container or cover it tightly with plastic wrap for up to 5 days. This keeps it fresh and moist.
Freezer: For longer storage, wrap the individual slices in plastic wrap and then foil, freezing for up to 3 months. Thaw in the fridge overnight before serving.
Reheating: If you want to enjoy it slightly warm, place the slice in the microwave for about 15-20 seconds. This gives you a lovely, gooey texture without overpowering the flavors.
Sharing: If you’re making this for a gathering, consider cutting it into portions before freezing, so you can easily share your delicious Loaded Butterscotch Cheesecake later on!
What to Serve with Loaded Butterscotch Cheesecake?
Looking to complement your homemade masterpiece? Elevate your dessert experience with delightful pairings that enhance every creamy bite!
-
Fresh Berries: The tartness of strawberries, raspberries, or blueberries contrasts beautifully with the sweetness of the cheesecake, adding a refreshing note to each mouthful.
-
Whipped Cream: A dollop of homemade whipped cream offers a light and airy contrast to the rich butterscotch cheese, bringing balance that makes each slice feel indulgently light.
-
Chocolate Drizzle: A warm drizzle of chocolate sauce adds a touch of decadence, while its bittersweet notes harmonize with the sweet butterscotch flavor, creating a deliciously complex experience.
-
Coffee or Espresso: The deep, bitter notes of coffee provide a delightful counterpoint to the sweetness of the cheesecake, making for a sophisticated pairing that’s perfect for gatherings.
-
Toasted Nuts: Chopped toasted pecans or walnuts sprinkle over the top add a delightful crunch, contrasting the creamy texture of the cheesecake while enhancing its nutty undertones.
-
Caramel Sauce: A drizzle of warm caramel sauce intensifies the butterscotch notes, taking your loaded butterscotch cheesecake indulgence to a whole new level of sweet bliss.
-
Ice Cream: Creamy vanilla or caramel ice cream served alongside creates an enticing temperature contrast and enhances the overall dessert experience with its smooth texture and rich flavor.
-
Mint Leaves: A sprinkle of fresh mint leaves adds a refreshing brightness, cutting through the richness of the dessert and providing a lovely visual pop that invites you to indulge.
These pairings will surely transform your loaded butterscotch cheesecake into a multi-dimensional dessert experience worth savoring!
Expert Tips for Loaded Butterscotch Cheesecake
-
Room Temperature Ingredients: Always use room temperature cream cheese and eggs; this ensures a smooth batter and better texture in your Loaded Butterscotch Cheesecake.
-
Don’t Overmix: Mix ingredients just until combined, especially after adding eggs. Overmixing can lead to a dense cheesecake, which is not the goal!
-
Water Bath Importance: Using a water bath while baking helps prevent cracking and keeps the cheesecake moist. Never skip this step for the best results!
-
Cooling Gradually: Allowing the cheesecake to cool in the oven gradually helps maintain its creamy texture. Be patient for that extra smooth finish!
-
Chill Overnight: For the best flavor and texture, chill your cheesecake overnight. It gives the butterscotch flavors time to fully develop, making every bite divine.
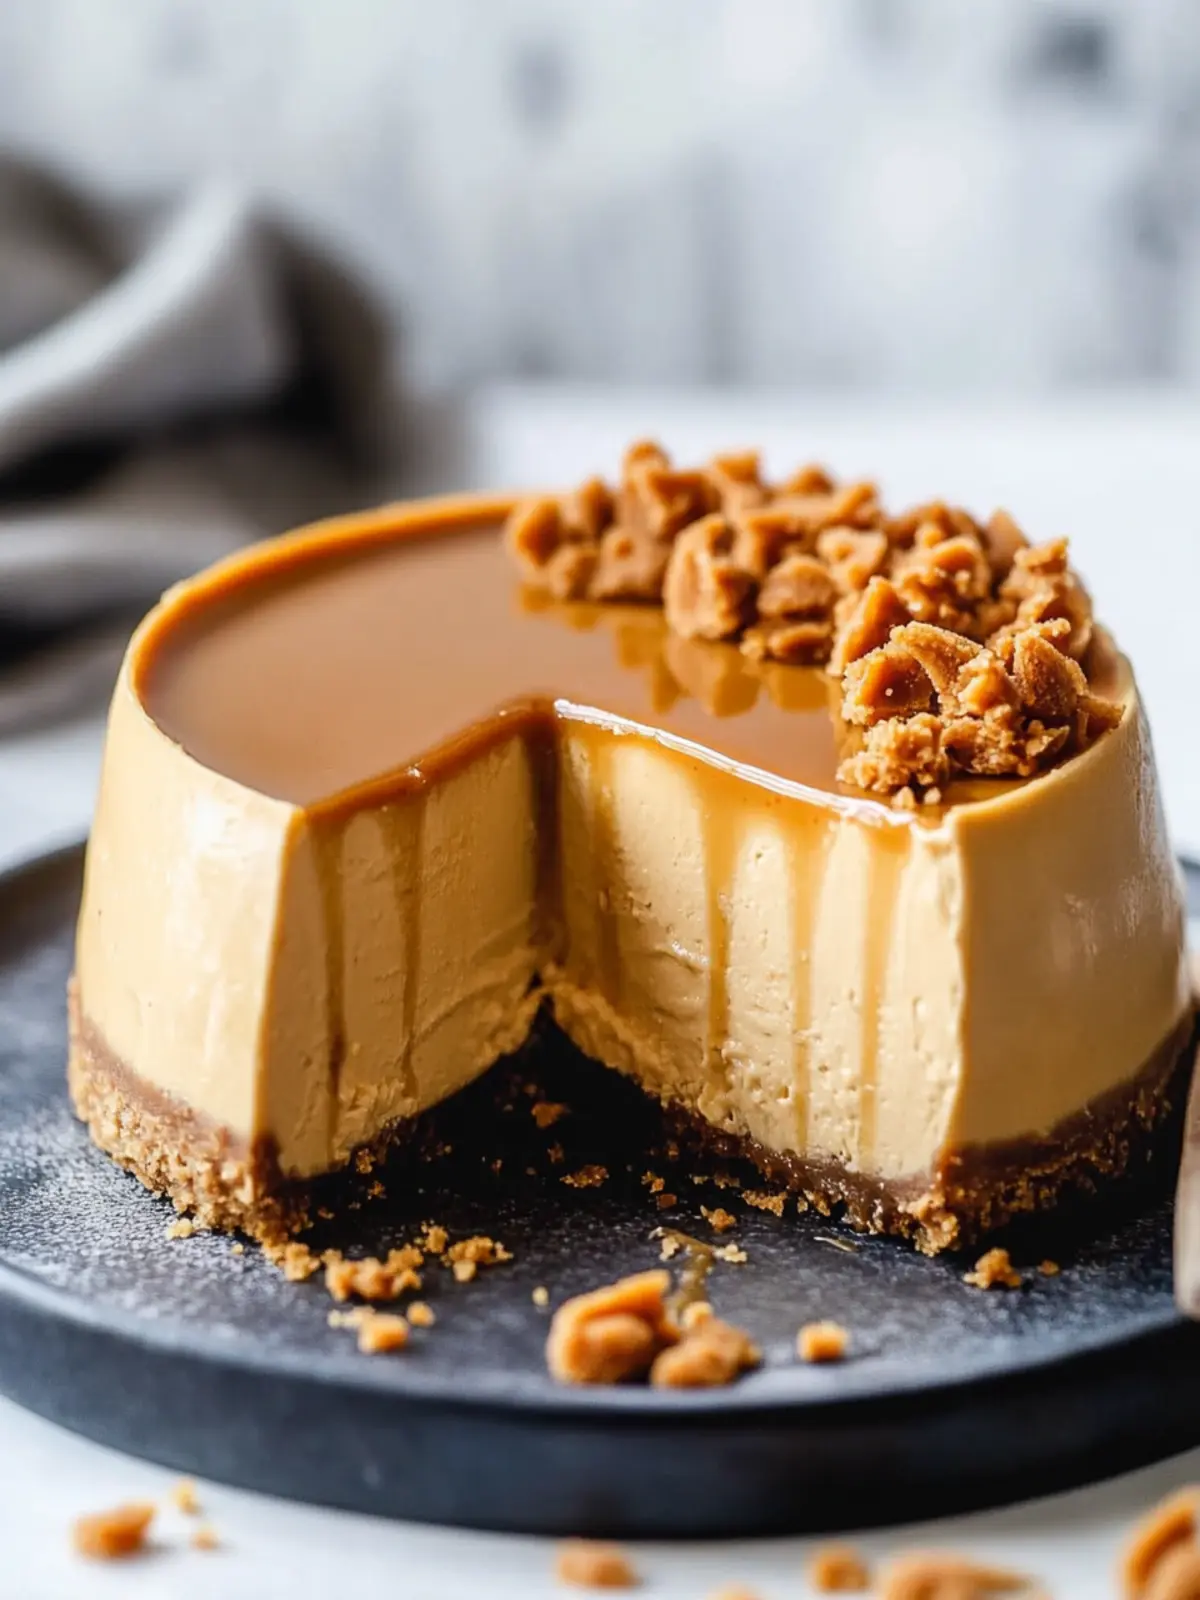
Loaded Butterscotch Cheesecake Recipe FAQs
What is the best way to select ripe butterscotch chips?
Absolutely! When choosing butterscotch chips, look for those that are smooth and shiny, without any signs of oxidation or dullness. It’s best to avoid any bags that have an unusual smell or broken seals, as these can impact flavor. Top brands will often ensure freshness, which is vital for achieving that rich flavor in your Loaded Butterscotch Cheesecake.
How should I store my Loaded Butterscotch Cheesecake?
To keep your cheesecake fresh, place it in an airtight container or wrap it tightly with plastic wrap. You can store it in the fridge for up to 5 days. Ensure it’s cooled completely before covering to prevent condensation. I often find that chilling it overnight allows the flavors to deepen, making it even more delicious the next day!
Can I freeze my Loaded Butterscotch Cheesecake?
Absolutely! To freeze, I recommend slicing the cheesecake into portions, wrapping each piece tightly in plastic wrap followed by foil. This method protects it from freezer burn. It can be frozen for up to 3 months. When you’re ready to enjoy, just thaw a slice in the fridge overnight. You’ll love how delicious it tastes even after freezing!
What can I do if my cheesecake cracks while baking?
It’s very common for cheesecakes to crack, especially if they cool too quickly. To prevent this, make sure to use a water bath while baking; it helps maintain moisture and temperature. If a crack does occur, don’t worry! You can always conceal it with a drizzle of butterscotch sauce or fresh cream for a beautiful presentation.
Are there any dietary considerations for this Loaded Butterscotch Cheesecake?
Yes! If you’re preparing this cheesecake for someone with dietary restrictions, consider using gluten-free graham crackers for the crust. For dairy-free options, there are cream cheese alternatives available made from nuts or soy that can work well. Always double-check the ingredient labels to ensure a safe and delightful experience for everyone!
How do I know when my Loaded Butterscotch Cheesecake is done baking?
The key to perfect cheesecake is to watch for the texture. Your cheesecake should be set around the edges but still slightly jiggly in the center. It should not appear wet or liquid-like. A good rule of thumb is to bake for 1 hour and 30-35 minutes at 300°F (148°C). Remember, it will continue to set as it cools, especially if you allow it to rest in the oven afterward!
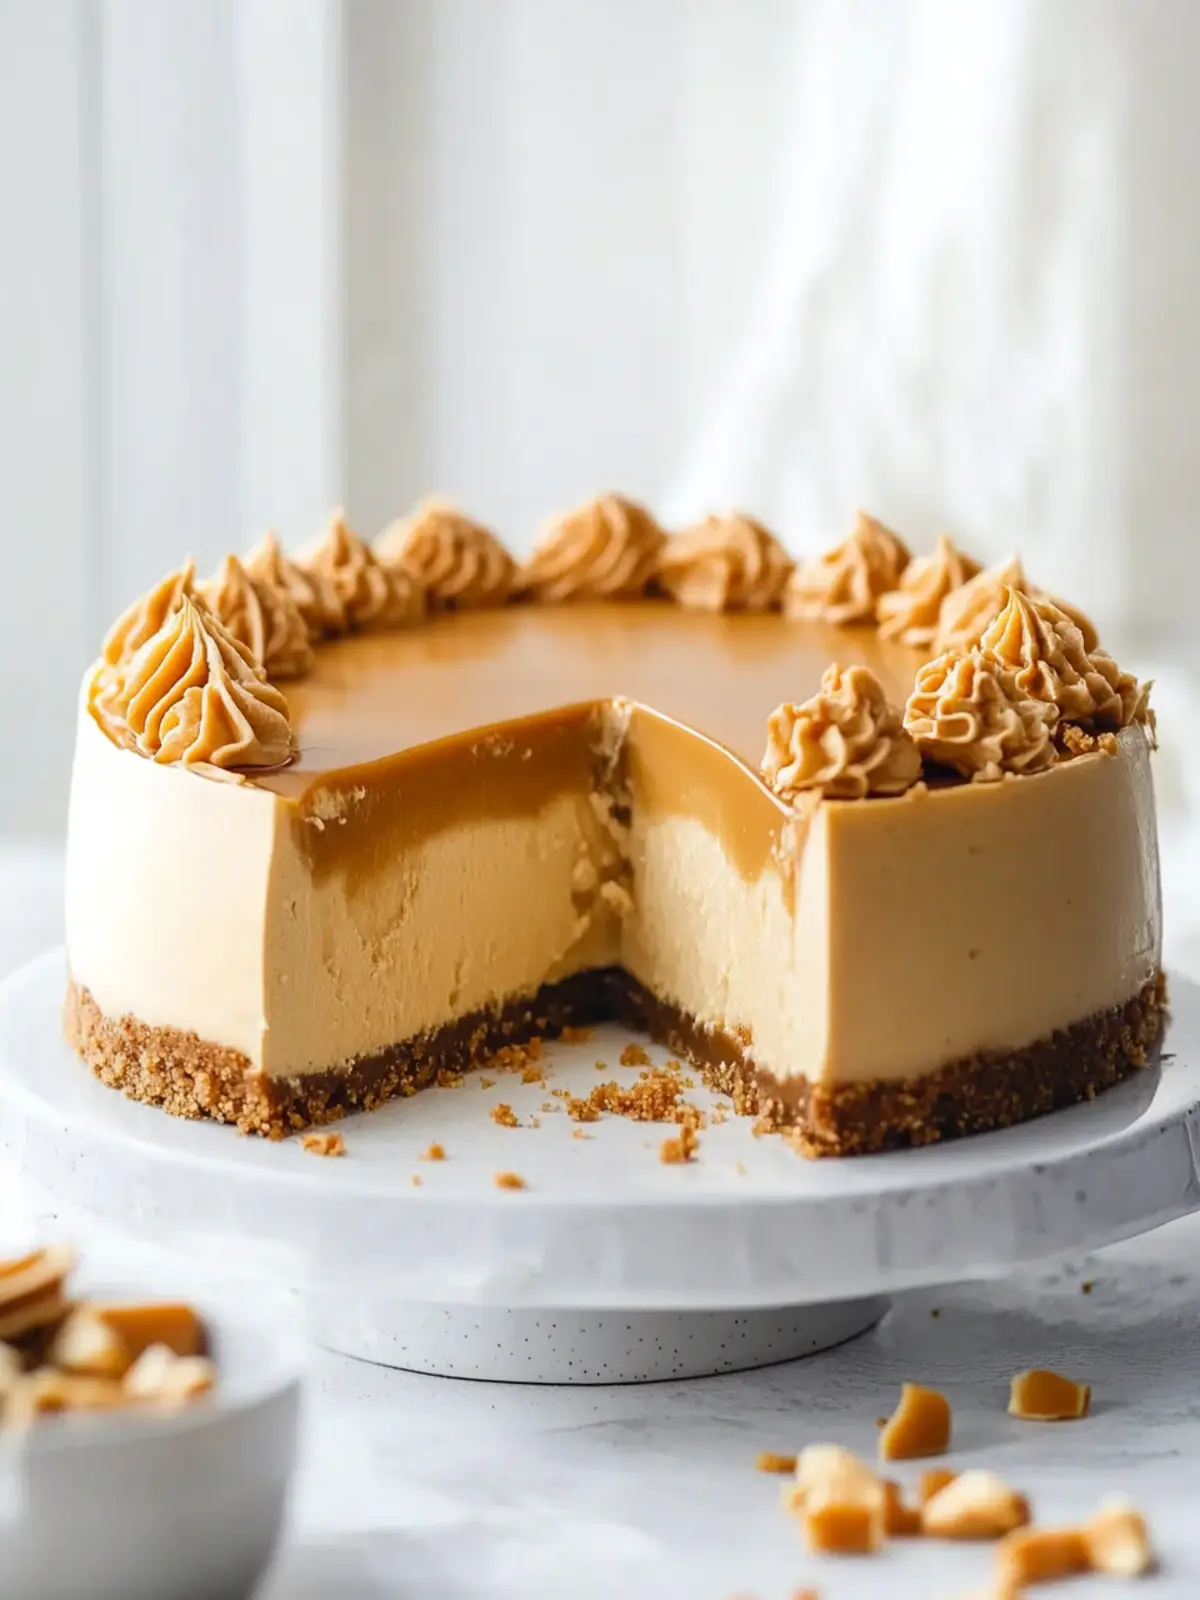
Indulge in Loaded Butterscotch Cheesecake Bliss Today
Ingredients
Equipment
Method
- Preheat the oven to 325°F (163°C). Line a 9-inch (23cm) springform pan with parchment paper and grease the sides.
- Mix the crust ingredients in a small bowl until well combined. Press firmly into the bottom and slightly up the sides of the springform pan.
- Bake the crust for 8-10 minutes until lightly golden, then remove and let it cool.
- Cover the outside of the pan with aluminum foil to protect it from water during the steam bath.
- Lower the oven temperature to 300°F (148°C).
- Blend cream cheese, light brown sugar, and flour in a large mixer bowl until smooth.
- Incorporate vanilla extract and sour cream, beating on low speed until well combined.
- Heat heavy cream in a medium bowl, adding butterscotch chips in increments until melted and smooth.
- Combine melted butterscotch with cheesecake filling in two parts, mixing well after each addition.
- Add dry butterscotch pudding mix and mix until just combined.
- Beat in eggs one at a time, mixing until fully combined.
- Pour cheesecake filling into the pre-baked crust. Place inside a larger pan and fill with warm water.
- Bake for 1 hour and 30-35 minutes, until the center is set but still jiggly.
- Turn off the heat and leave the cheesecake inside the oven with the door closed for 30 minutes.
- Crack the oven door open and let it sit for an additional 10 minutes.
- Remove from oven and let it cool on a rack to room temperature, then chill in the refrigerator for 5-6 hours or overnight.
- Carefully remove from the springform pan and admire your cheesecake before slicing.
- Optional: Drizzle with melted butterscotch sauce before serving.