
The sweet scent of caramel mingling with the tartness of Granny Smith apples is a nostalgic reminder of autumn fairs and family gatherings. I’ll never forget the joy of biting into a caramel-covered treat, but let’s be honest: the sticky mess can be a real hassle. That’s why I created these Mini Caramel Apples! They’re not only adorably bite-sized but also incredibly easy to make, perfect for satisfying those cravings without the fuss of traditional caramel apples.
After a hectic week of juggling work and everyday chores, I found my kitchen craving a bit of fun. These delightful morsels emerged from my quest to bring a little festive spirit back into the routine, and trust me, they do just that! With just a handful of ingredients and simple steps, you’ll be sharing these crowd-pleasers with family and friends in no time. So, let’s dive into how to make mini caramel apples that will have you—and everyone around you—smiling with every bite!

How to Make Mini Caramel Apples?
Sweet nostalgia: The flavors of caramel and Granny Smith apples evoke cherished autumn memories.
Easy preparation: With just 9 minutes of prep, these treats are a quick delight.
Crowd favorite: Perfect for parties, they’ll impress friends and family alike.
Customization galore: Choose your toppings like sprinkles or chopped peanuts to make them uniquely yours.
No sticky mess: Enjoy the joy of caramel apples without the fuss of the traditional version! For more apple-inspired ideas, check out my delicious Apple Cinnamon Muffins.
How to Make Mini Caramel Apples Ingredients
For the Apples
• Granny Smith apples – their tartness is the perfect contrast to sweet caramel, making these mini treats irresistible!
For the Caramel
• Caramel bits or melts – easy to melt and ideal for coating your apple balls without the mess of traditional caramel.
• Water – helps achieve a smooth caramel consistency for easy dipping.
Optional Toppings
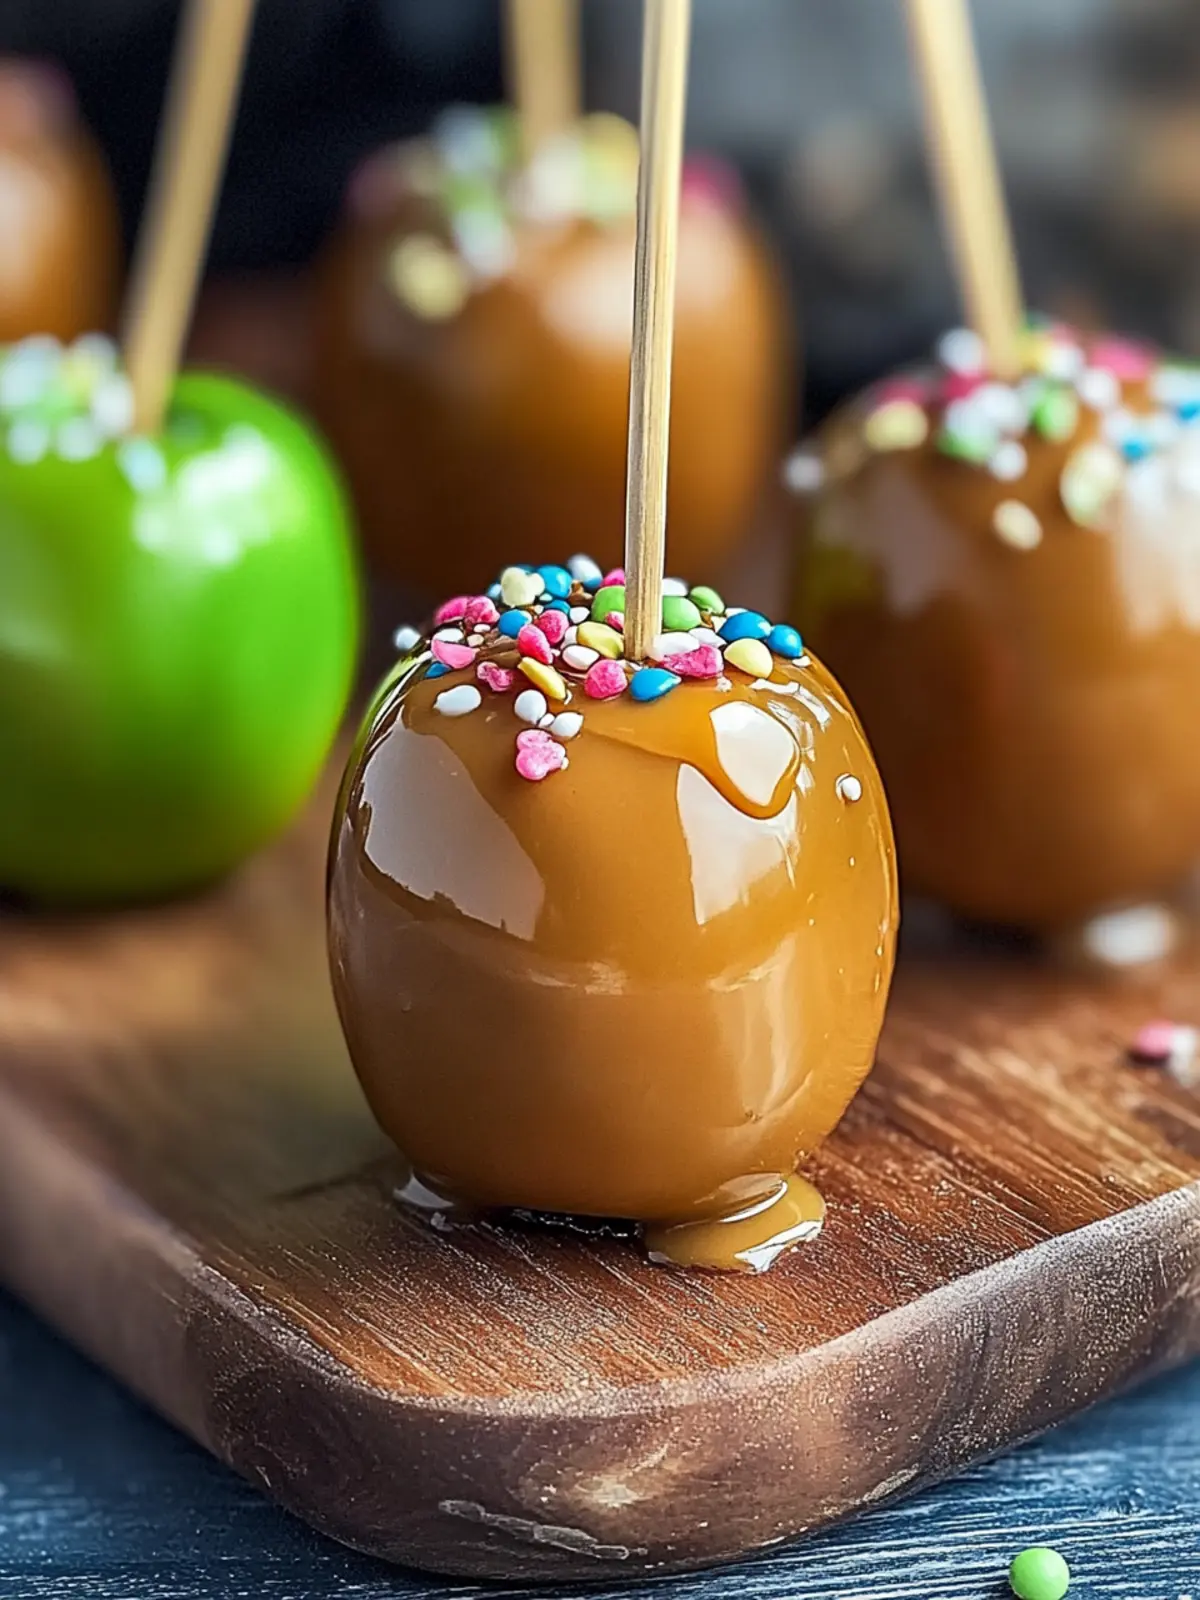
• Sprinkles – add a fun, colorful touch for festive occasions!
• Chopped peanuts – provides a delicious crunch and a nutty flavor that pairs beautifully with caramel.
These delightful Mini Caramel Apples are just one way to bring joy into your kitchen. Enjoy the process and the smiles they bring!
How to Make Mini Caramel Apples
-
Prepare your surface: Line a plate with wax paper, creating a non-stick area to set your mini caramel apples on once they’re ready.
-
Scoop the apples: Using a melon baller, scoop out delightful little balls from the Granny Smith apples. This step not only creates bite-sized pieces but also makes them super fun to eat!
-
Insert candy sticks: Gently push a candy stick into each apple ball. This will be your handle, making it easy to dip and enjoy these gooey goodies.
-
Melt the caramel: In a saucepan over low heat, melt the caramel bits with 2 tablespoons of water, stirring until the mixture is smooth and glossy. Keep an eye on it to prevent burning!
-
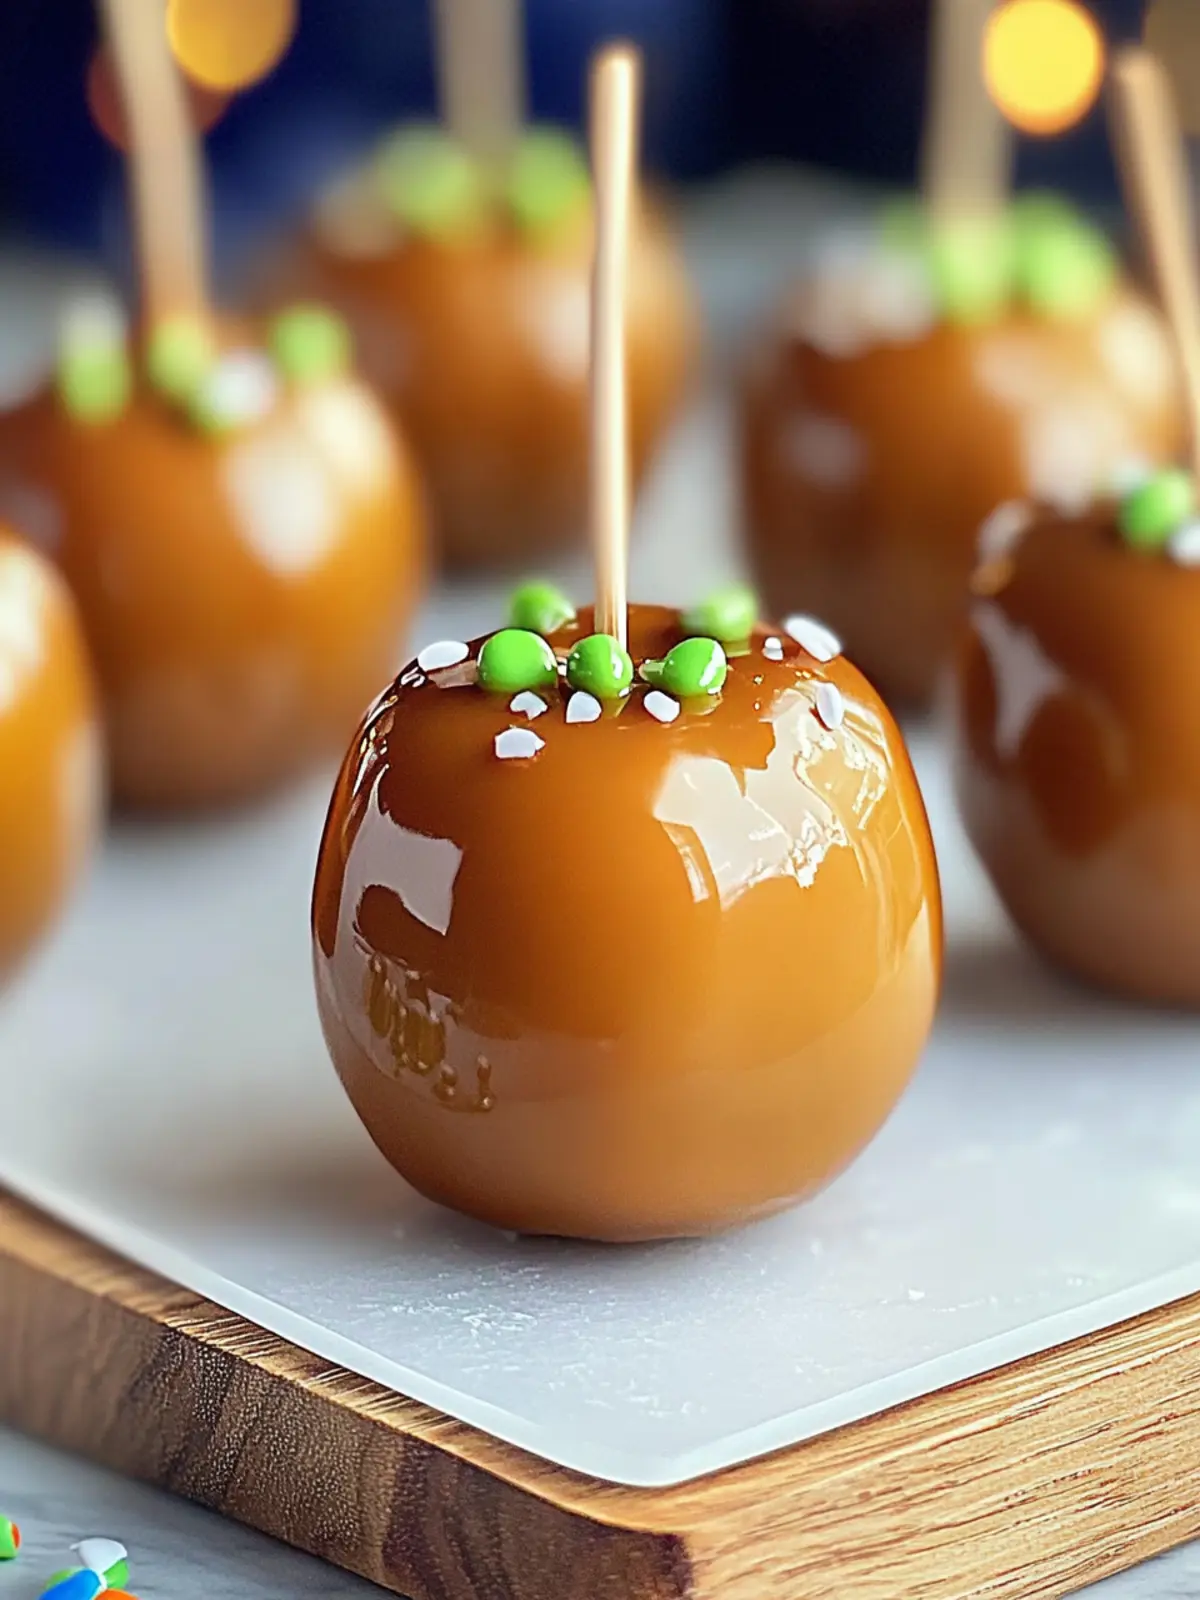
Dip the apple balls: Carefully dip each apple ball into the melted caramel, allowing the excess caramel to drip off. Ensure each ball is well-coated for that perfect caramel layer.
-
Roll in toppings: If desired, roll your caramel-coated apple balls in sprinkles or chopped peanuts for an added crunch and festive look before placing them on the prepared plate.
-
Set the caramel: Refrigerate the mini caramel apples for about 30 minutes, or until the caramel is firm and set. This step is crucial for that satisfying bite!
Optional: Drizzle some melted chocolate over the top for an extra layer of deliciousness.
Exact quantities are listed in the recipe card below.
What to Serve with Mini Caramel Apples?
These bite-sized delights aren’t just for snacking; they can be the star of a memorable gathering or family night.
-
Warm Apple Cider: The cozy flavors contrast beautifully with the sweetness of caramel, creating a comforting drink to enjoy alongside.
-
Vanilla Ice Cream: A scoop of creamy vanilla ice cream provides a rich, cool balance to the warm, gooey caramel.
-
Cheese Platter: Include some sharp cheddar or creamy brie. The savory notes enhance the sweetness of the apples, creating a balanced taste sensation.
-
Chocolate Dipped Pretzels: The crunchy saltiness pairs perfectly with the sweet caramel flavors, providing a delightful textural contrast.
-
Spiced Nuts: Roasted spiced nuts add an additional crunchy element with a hint of warmth, echoing the flavors of fall and harvest.
Don’t forget, this can be a festive treat at parties or gatherings! Pair with some warm, spiced drinks, and you’ve got a cozy evening ahead.
-
Pumpkin Smash Cocktail: This seasonal drink is a festive and sumptuous addition, enhancing the autumn theme while perfectly complementing the caramel sweetness.
-
Dessert Charcuterie Board: Include your mini caramel apples with fruits, chocolates, and more to create a stunning centerpiece for any gathering.
With these pairings, you’re set for a delightful experience that turns a simple treat into a feast full of flavor and joy!
Expert Tips for Mini Caramel Apples
-
Choose the Right Apples: Granny Smith apples are ideal for their tartness, which balances the sweetness of caramel beautifully. Avoid overly ripe apples that might fall apart.
-
Keep It Low and Slow: When melting caramel bits, stick to low heat. High temperatures can cause the caramel to burn, ruining the smooth texture needed for dipping.
-
Perfect Coating: Allow excess caramel to drip off after dipping to avoid a gooey mess. This helps in creating a beautifully coated apple ball with just the right amount of sweetness.
-
Add Toppings Wisely: If rolling in toppings, do this while the caramel is still warm to ensure everything sticks. Experiment with different toppings to find your favorite combination!
-
Refrigeration Matters: Don’t skip the chilling step! Refrigerating for 30 minutes helps the caramel set perfectly, making the treats easier to eat and enjoy.
These tips will help you master how to make mini caramel apples and avoid common pitfalls along the way!
Mini Caramel Apples Variations
Feel free to get creative with your mini caramel apples by trying out these delicious twists!
-
Nut-Free: Use dairy-free caramel or melted chocolate to cater to nut allergies while keeping the sweetness intact.
-
Flavor Infused: Add a splash of vanilla or almond extract to the caramel for an unexpected depth of flavor that will surprise your taste buds.
-
Heavenly Spice: Dust with cinnamon or pumpkin spice before serving to add a cozy, seasonal touch that enhances the natural flavors of the apples.
-
Chocolate Drizzle: For a decadent upgrade, drizzle melted chocolate over the caramel-coated apples after they set. It’s the perfect way to double up on indulgence!
-
Fruit Medley: Swap out some of the apples for bite-sized pieces of other fruits, like pears or strawberries, for an exciting fruit combo that everyone will love.
-
Syrup Soak: Soak the apple balls in maple syrup before dipping them in caramel for a delightful twist that brings a taste of fall.
-
Heated Kick: Mix in a sprinkle of cayenne pepper to your melted caramel for a surprising heat that pairs well with the sweetness!
-
Coconut Crunch: Roll the caramel apples in shredded coconut instead of nuts for a tropical twist that’s equally satisfying but different in texture.
These variations can turn a fun snack into a personalized experience, making your mini caramel apples even more memorable!
Make Ahead Options
These Mini Caramel Apples are a fantastic option for meal prep enthusiasts looking to save time! You can scoop out the apple balls and insert the candy sticks up to 24 hours in advance, allowing for easy assembly later. Simply refrigerate the prepared apple balls in an airtight container to maintain their crispness. When you’re ready to enjoy them, melt the caramel bits with water, dip the apple balls, and roll them in your favorite toppings before placing them on wax paper. After refrigerating for about 30 minutes, they will be just as delicious as if made fresh, letting you enjoy a delightful treat without the last-minute fuss.
How to Store and Freeze Mini Caramel Apples
Room Temperature: Keep mini caramel apples at room temperature for up to 1 day, but consume them quickly for the best texture and flavor.
Fridge: Store in an airtight container in the fridge for up to 3 days. This helps retain their freshness and prevents the caramel from becoming overly sticky.
Freezer: You can freeze mini caramel apples for up to 1 month. Wrap them individually in plastic wrap and place in a freezer-safe bag to maintain flavor.
Reheating: If desired, let frozen caramel apples thaw overnight in the fridge before enjoying. Reheat very briefly in the microwave if you prefer a softer caramel.
Mini Caramel Apples Recipe FAQs
What kind of apples should I use for mini caramel apples?
Absolutely! I recommend using Granny Smith apples because their tartness perfectly balances the sweetness of the caramel. Look for apples that are firm and bright green; avoid any that have soft spots or dark blemishes. Fresh, crispy apples will hold their shape and offer a delightful crunch!
How should I store mini caramel apples?
To keep your mini caramel apples fresh, store them in an airtight container in the fridge for up to 3 days. This prevents the caramel from getting too sticky and keeps the apples crisp. If you’d like to enjoy them longer, you can also leave them at room temperature for about 1 day, but be sure to consume them quickly for the best taste.
Can I freeze mini caramel apples?
Very! You can freeze mini caramel apples for up to 1 month. Simply wrap each apple ball individually in plastic wrap and place them in a freezer-safe bag. When you’re ready to enjoy, allow them to thaw overnight in the fridge. If you’d like a warmer candy shell, briefly microwave them for just a few seconds—be careful not to overdo it!
What if the caramel isn’t melting smoothly?
Don’t worry! If your caramel bits aren’t melting as smoothly as you’d like, try adding an extra splash of water—just a tablespoon or two—while stirring over low heat. Be patient and continue mixing until you reach a creamy, glossy consistency. If you notice the caramel starting to harden, remove it from the heat immediately!
Can these mini caramel apples be made gluten-free?
Indeed! The ingredients in this recipe are naturally gluten-free. However, it’s always best to check the labels of your caramel bits, as some brands may contain gluten or be processed in a facility that handles gluten. Additionally, be sure to use gluten-free toppings if you choose to add any!
Are mini caramel apples safe for pets?
Please be careful! While Granny Smith apples are generally safe for dogs, caramel is high in sugar and can be harmful to pets if consumed in large amounts. It’s best to keep these delicious treats for your human friends and family, keeping your furry pals away from sweets that may upset their tummies.

How to Make Mini Caramel Apples for Fun Fall Treats
Ingredients
Equipment
Method
- Line a plate with wax paper for setting the mini caramel apples.
- Using a melon baller, scoop balls from the Granny Smith apples.
- Insert a candy stick into each apple ball.
- Melt caramel bits with 2 tablespoons of water over low heat until smooth.
- Dip each apple ball in melted caramel and let excess drip off.
- Roll in optional toppings while the caramel is still warm.
- Refrigerate for 30 minutes to set the caramel.