
There’s nothing quite like the delightful combination of rich chocolate and refreshing mint to liven up a dessert. Picture this: you bite into a slice of Easy Gluten-Free Chocolate Mint Cake, and an explosion of flavors dances across your taste buds. That velvety texture, coupled with the cool hint of peppermint, makes this cake a showstopper at any gathering.
I first discovered this recipe during a casual evening spent in my kitchen, experimenting with gluten-free options for some friends who were coming over. A scoop of cocoa powder here, a splash of peppermint extract there, and before I knew it, I had created a masterpiece that everyone adored!
What sets this cake apart is not only its scrumptious flavor but also its wonderfully simple steps. Whether you’re a seasoned chef or just starting your baking journey, this recipe calls for basic ingredients and promises impressive results. So, if you’re seeking a dessert that satisfies both your sweet tooth and your desire for homemade goodness, keep reading. Your new favorite cake awaits!
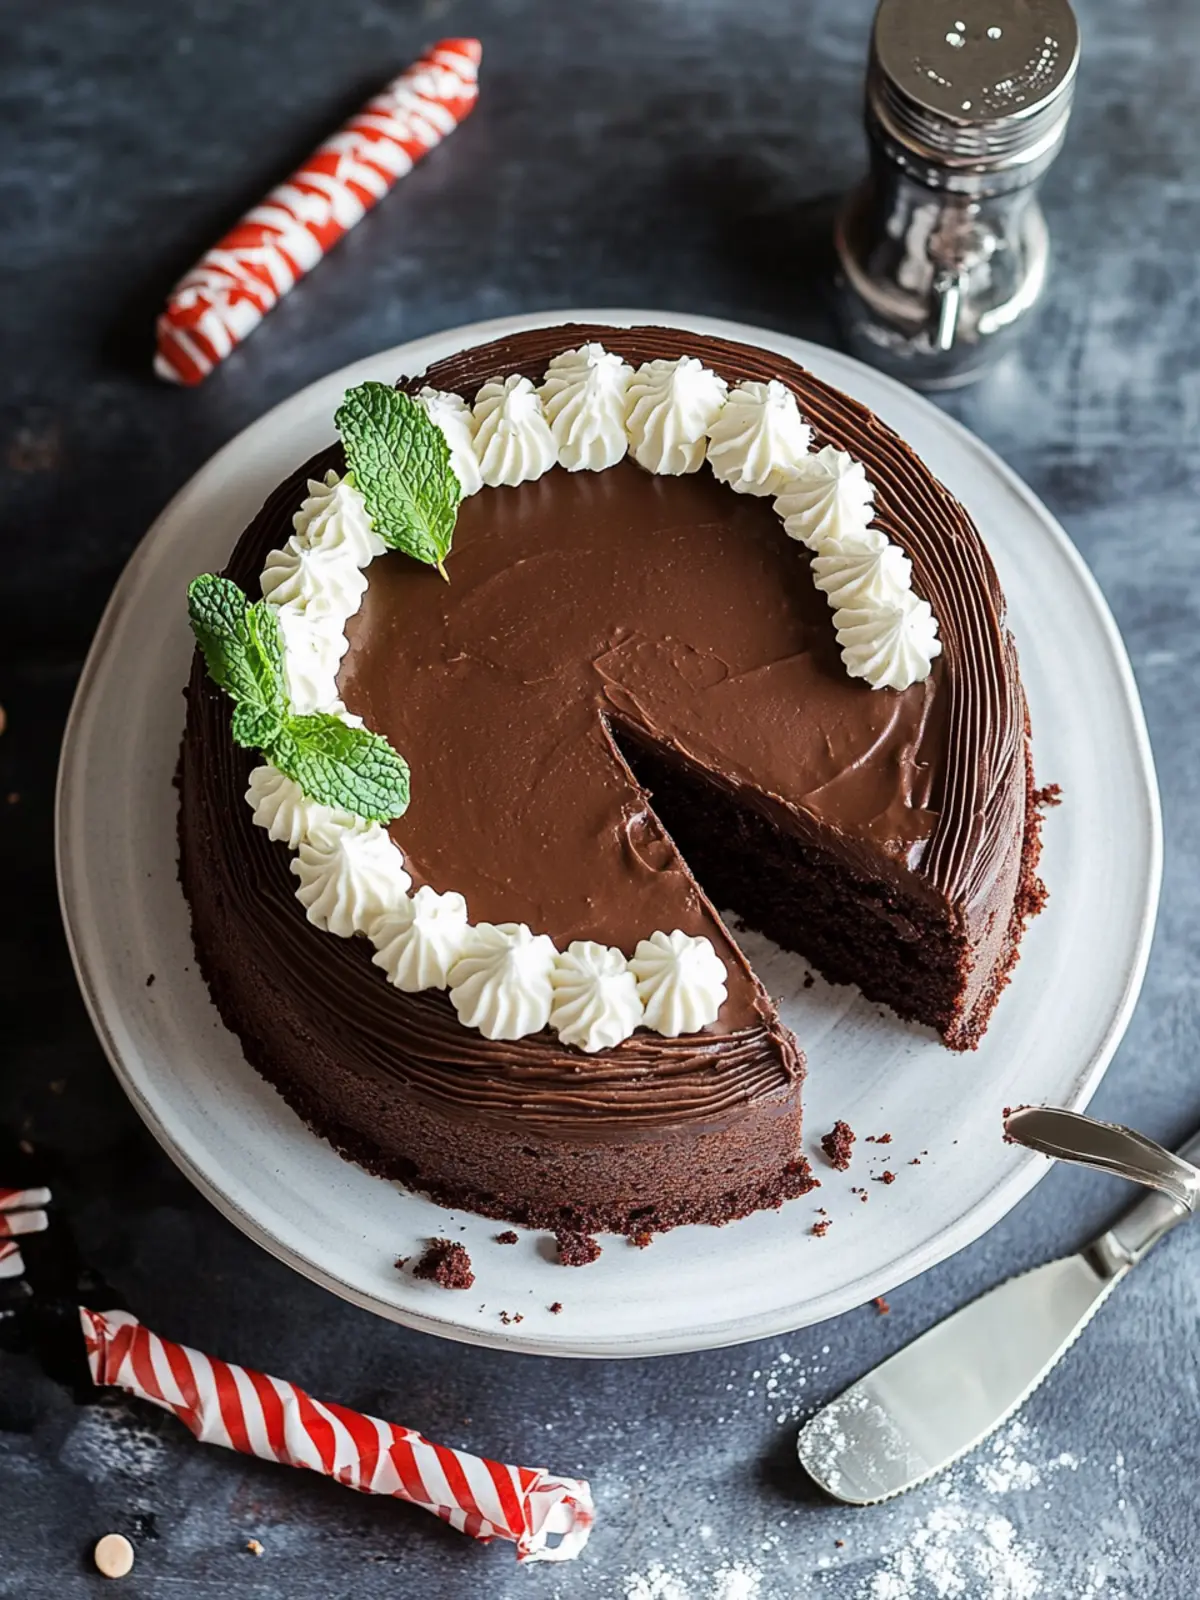
Why is Easy Gluten-Free Chocolate Mint Cake a must-try?
Deliciously Unique: The enchanting blend of chocolate and mint creates a dessert experience that’s both classic and refreshing.
Simplicity at Its Best: This cake requires only a handful of ingredients and minimal effort, making it perfect for bakers of all levels.
Crowd-Pleasing Delight: Perfect for parties or family gatherings, this cake is sure to impress everyone with its stunning appearance and flavor.
Versatile Treat: Enjoy it as a delightful birthday cake or a festive dessert during the holidays.
Gluten-Free Goodness: No need to miss out on indulgence — this cake is entirely gluten-free without sacrificing taste!
Time-Saving Recipe: With a total prep and bake time of just over an hour, you’ll have this delectable cake ready to serve in no time, making it a great option for last-minute gatherings.
Easy Gluten-Free Chocolate Mint Cake Ingredients
• Dive into the delightful components that make up this cake!
For the Cake
- Gluten free flour blend – Provides the perfect base for our cake without any gluten.
- Cane sugar – Sweetens the cake beautifully, balancing the richness of chocolate.
- Cocoa powder – Adds that deep, chocolatey flavor essential for this Easy Gluten-Free Chocolate Mint Cake.
- Salt – Enhances all the flavors and balances the sweetness.
- Baking soda – Helps the cake rise to perfection, resulting in a light texture.
- Unsalted butter – Gives the cake a rich, moist crumb; feel free to substitute with dairy-free butter if desired.
- Milk – Contributes to the overall moisture; almond or oat milk can be used for a non-dairy option.
- Large eggs – Acts as a binder and adds richness; for a vegan alternative, consider using flax eggs.
- Pure vanilla extract – Adds a lovely depth of flavor and warmth.
- Peppermint extract – Infuses the cake with refreshing minty notes that brighten every slice.
For the Frosting
- Unsalted butter – Forms the creamy foundation for a luscious frosting; substitute with vegan butter if preferred.
- Powdered sugar – Sweetens the frosting for that classic dessert topping; be sure to sift for a smoother consistency.
- Cocoa powder – Adds that wonderful chocolatey goodness to the frosting.
- Water – Adjusts the frosting consistency; add gradually until you reach your desired thickness.
Now that you’ve gathered these ingredients, you’re just a few simple steps away from creating a show-stopping dessert that will leave everyone asking for seconds!
How to Make Easy Gluten-Free Chocolate Mint Cake
-
Preheat the oven to 350°F. This is an essential step to ensure your cake bakes evenly and rises perfectly.
-
Combine the dry ingredients in a large mixing bowl: gluten free flour blend, cane sugar, cocoa powder, salt, and baking soda. Whisk thoroughly until well blended.
-
Mix the wet ingredients in a smaller bowl: melted unsalted butter, milk, eggs, vanilla extract, and peppermint extract. Whisk until smooth and creamy, letting those flavors meld beautifully.
-
Pour the wet mixture into the dry ingredients, mixing gently with a large spoon until just combined. Be careful not to overmix; you want a tender crumb!
-
Divide the batter evenly between two greased 8-inch round cake pans. Smooth the tops with a spatula for an even bake.
-
Bake for 40 minutes or until a toothpick inserted into the centers comes out clean. Your kitchen will smell heavenly!
-
Cool the cakes on a wire rack for about 10-15 minutes, allowing them to firm up before removal from the pans.
-
Prepare the frosting while the cakes cool: In a standing mixer, combine unsalted butter, powdered sugar, and 3-4 tablespoons of water, mixing until smooth—skip the cocoa powder for now.
-
Reserve ¼ of the frosting in another bowl for decorating later. It’s your star frosting, so keep it aside!
-
Add cocoa powder to the remaining frosting and mix on low speed until fully combined and fluffy. This chocolatey goodness will top off your cake perfectly.
-
Frost the first cake layer generously, top it with the second layer, and coat the top and sides with the chocolate frosting, creating a beautiful cake.
-
Decorate with festive marshmallows and a sprinkle of candy cane pieces for a delightful finish that adds both flavor and holiday cheer.
Optional: Drizzle with extra melted chocolate for a decadent touch!
Exact quantities are listed in the recipe card below.
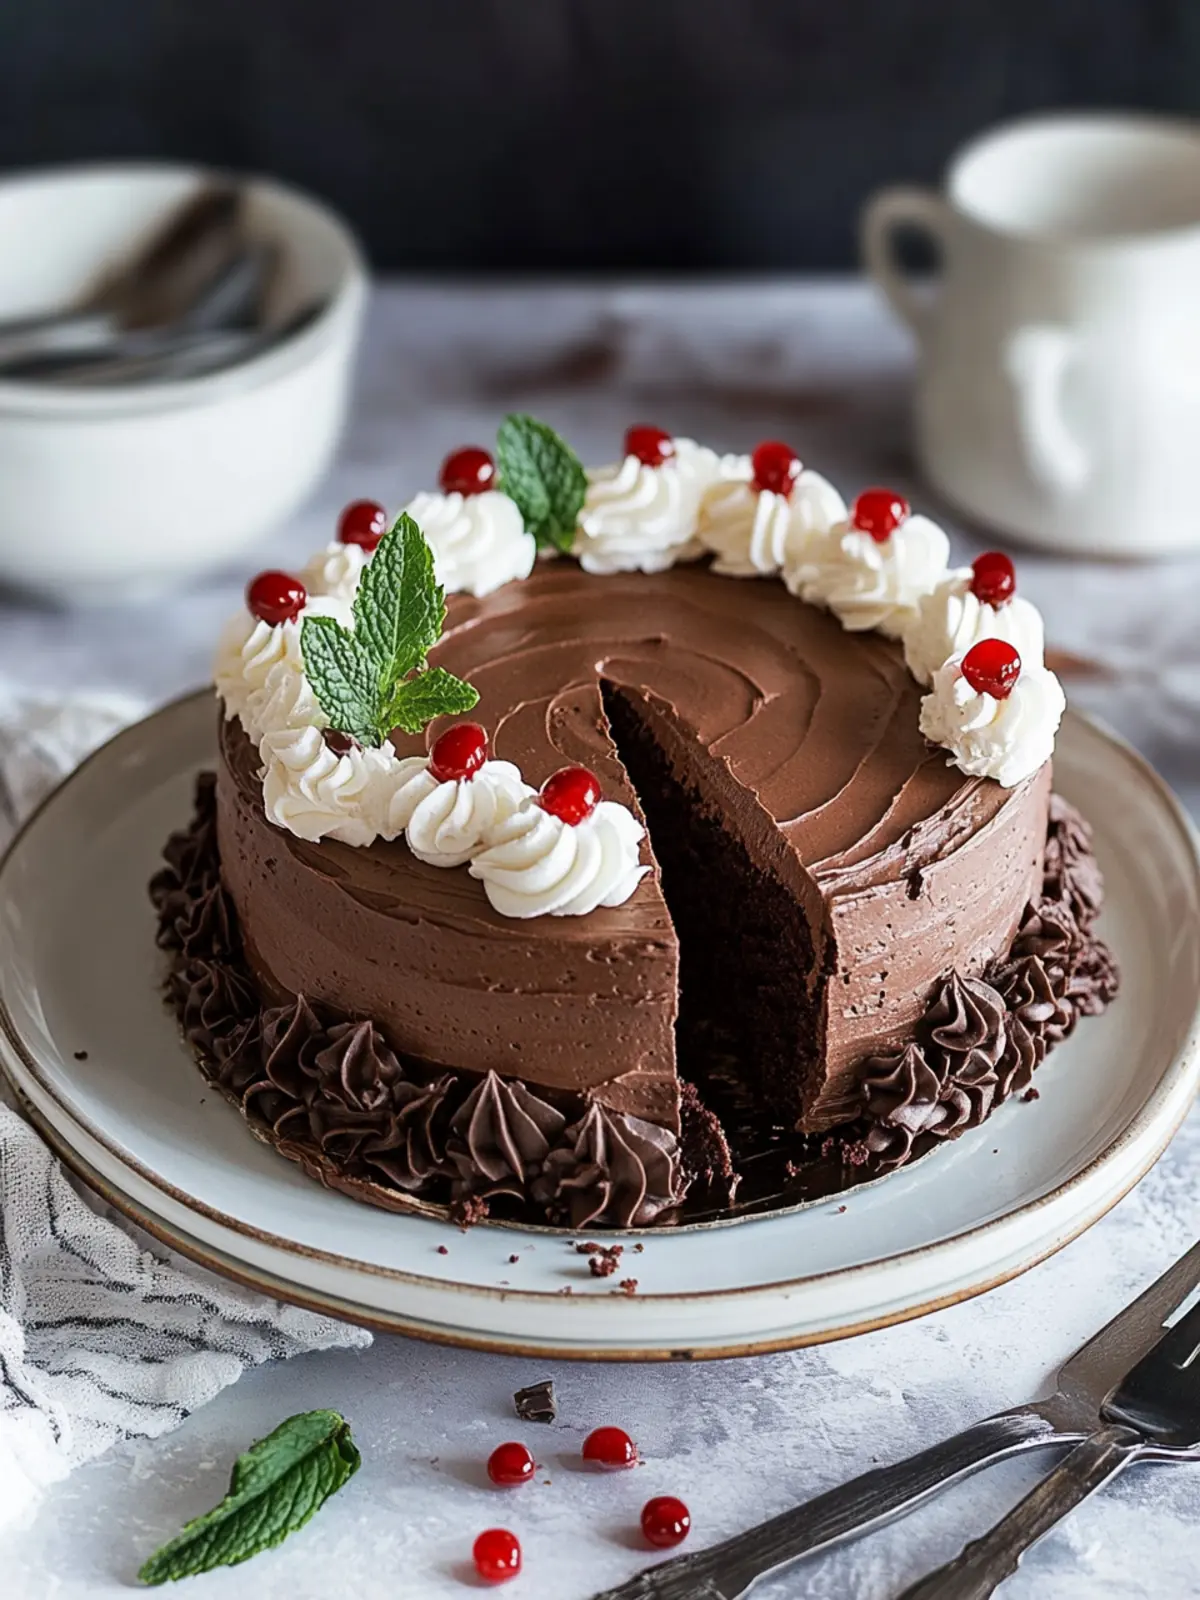
What to Serve with Easy Gluten-Free Chocolate Mint Cake?
Creating a delightful meal to complement your cake makes every gathering extra special. Imagine a spread that enhances the cake’s rich chocolate flavor and refreshing mint notes.
-
Fresh Berries: Brighten your plate with strawberries or raspberries, adding a burst of tangy sweetness that balances the cake’s richness.
-
Mint Tea: Offered warm, this soothing beverage enhances the minty essence of the cake, creating a delightful harmony of flavors.
-
Vanilla Ice Cream: A scoop of creamy vanilla ice cream melts beautifully atop each slice, bringing a cool contrast that elevates your dessert experience.
-
Chocolate Drizzle: A simple drizzle of melted chocolate over the cake adds a luxurious touch, intensifying the chocolate flavors while creating an irresistibly beautiful presentation.
-
Chocolate-Covered Strawberries: These elegant treats echo the cake’s flavors while adding an extra layer of decadence and elegance to the dessert table.
-
Whipped Cream: Light and airy, whipped cream adds a luscious texture and a sweet note that perfectly complements the cake’s depth.
-
Nutty Cookies: Serve a side of gluten-free nut cookies for a crunchy, satisfying contrast against the cake’s soft texture.
-
Coffee or Espresso: A warm cup of coffee or a shot of espresso pairs beautifully, enhancing the chocolate notes while providing a cozy, comforting beverage option.
-
Chocolate Mousse: Finish your meal with a light and airy chocolate mousse, showcasing another layer of chocolate delight to complete your decadent dessert experience.
Expert Tips for Easy Gluten-Free Chocolate Mint Cake
-
Quality Flour Matters: Choose a good gluten-free flour blend to ensure the right texture; not all blends are created equal, affecting the cake’s outcome.
-
Avoid Overmixing: Gently combine wet and dry ingredients — overmixing can lead to a dense cake instead of the light and fluffy texture you desire.
-
Room Temperature Ingredients: Make sure your eggs and butter are at room temperature for better incorporation, which aids in achieving the ideal moistness in your Easy Gluten-Free Chocolate Mint Cake.
-
Check Baking Time: Ovens can vary; start checking for doneness at 35 minutes. A toothpick inserted into the center should come out clean — don’t wait too long!
-
Cool Properly: Allow cakes to cool completely on a wire rack before frosting. This prevents the frosting from melting and helps maintain beautiful layers.
-
Creative Decorations: Feel free to get inventive with toppings! Consider crushed gluten-free cookies or festive sprinkles to enhance your cake’s visual appeal.
Storage Tips for Easy Gluten-Free Chocolate Mint Cake
Room Temperature: Store the cake at room temperature for up to 3 days. Cover it with plastic wrap or a cake dome to keep it fresh.
Fridge: If you want to extend freshness, place the cake in the fridge for up to a week. Ensure it’s wrapped well to prevent it from drying out.
Freezer: For longer storage, freeze slices of the Easy Gluten-Free Chocolate Mint Cake in airtight containers or freezer bags for up to 3 months.
Reheating: To enjoy a slice straight from the freezer, let it thaw in the fridge overnight, then gently warm it in the microwave for a few seconds to enhance its flavor!
Easy Gluten-Free Chocolate Mint Cake Variations
Get ready to personalize your cake experience! The delightful flavors of chocolate and mint can be adapted to suit your taste buds.
- Mint Chocolate Chip: Stir in a handful of gluten-free chocolate chips for an extra burst of decadence in every bite.
- Nutty Twist: Add ½ cup of finely chopped walnuts or pecans to the batter for a delightful crunch and extra flavor. They’ll toast beautifully as they bake!
- Dairy-Free Delight: Swap unsalted butter and milk for your favorite dairy-free alternatives, like coconut oil and almond milk – delicious without the dairy!
- Peppermint Party: Boost the minty flavor by adding an extra teaspoon of peppermint extract for those who can’t get enough.! It creates an unforgettable fresh finish.
- Fudge Layer: Incorporate a layer of gluten-free brownie batter in between the layers for a rich, fudgy surprise that’ll make your cake even more indulgent.
- Fruit Infusion: Add in a cup of fresh raspberries or chopped strawberries to the batter for a fruity twist that pairs perfectly with chocolate. The bright flavors will thrill your palate!
- Spicy Chocolate: For those who like a kick, stir in a pinch of cayenne pepper or chili powder for a subtle heat that nicely complements the sweetness.
- Vegan Version: Use flax eggs and coconut oil as substitutes to create a vegan-friendly Easy Gluten-Free Chocolate Mint Cake that everyone can enjoy! It’s perfect for group gatherings.
Make Ahead Options
These make-ahead tips for your Easy Gluten-Free Chocolate Mint Cake will save you valuable time in the kitchen! You can prepare the cake layers up to 3 days in advance. Simply bake the cakes, allow them to cool completely, then wrap them tightly in plastic wrap and refrigerate to maintain freshness. The frosting can be made up to 24 hours ahead as well; store it in an airtight container in the refrigerator. When you’re ready to serve, let the cake sit at room temperature for about 30 minutes before frosting. Then, layer the cakes and add your frosting along with decorations for a delightful, fresh dessert without the last-minute rush!
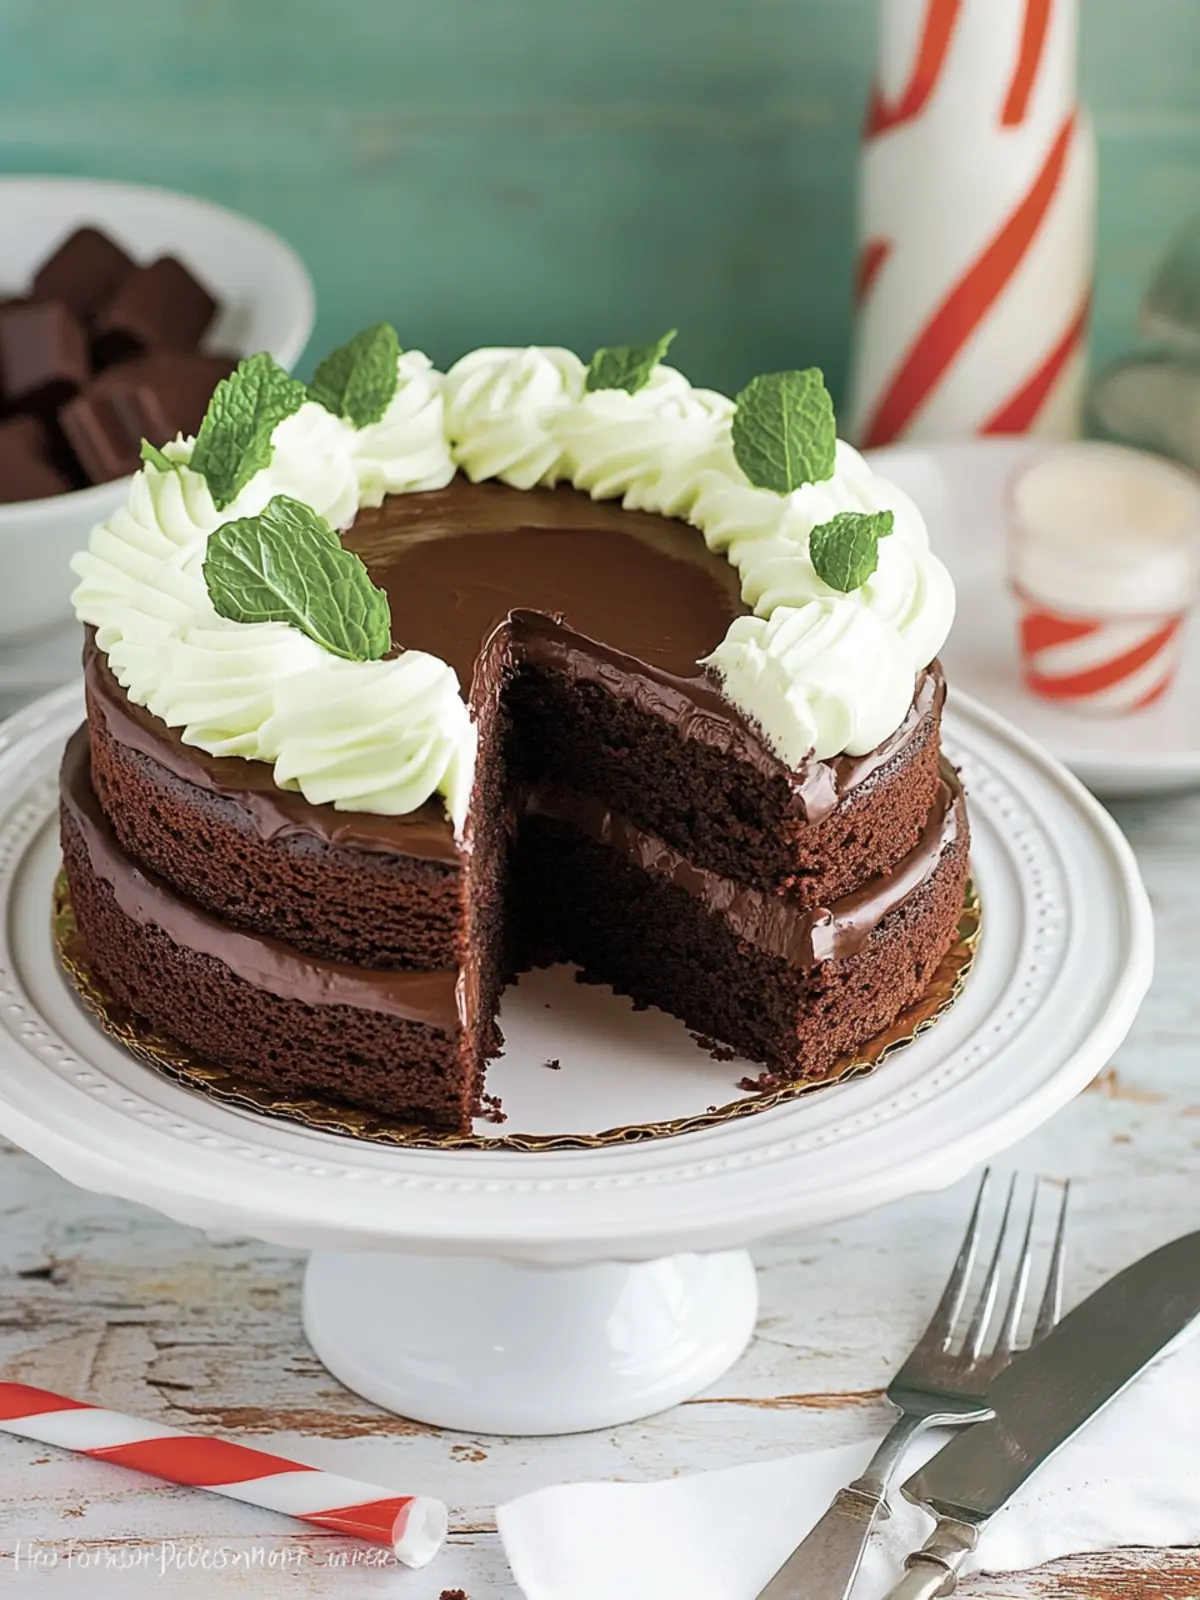
Easy Gluten-Free Chocolate Mint Cake Recipe FAQs
What is the best way to select ripe ingredients for this cake?
Absolutely! For the best results, use fresh ingredients. Ensure your eggs are within their expiration date and your milk hasn’t soured. When it comes to butter, it should be smooth and creamy, not overly hard or soft. I also recommend checking the gluten-free flour blend for freshness—look for a consistent texture without clumps!
How should I store my Easy Gluten-Free Chocolate Mint Cake?
To keep your cake at its best, store it at room temperature for up to 3 days in an airtight container. If you want it to last longer, wrap it tightly in plastic wrap and place it in the refrigerator where it can stay fresh for up to a week. Remember to take it out of the fridge about 30 minutes before serving for maximum flavor!
Can I freeze this Easy Gluten-Free Chocolate Mint Cake?
Very! To freeze your cake, slice it into individual portions for easier access. Wrap each slice tightly in plastic wrap, then place them in an airtight container or freezer bag. It can be frozen for up to 3 months. When you’re ready to enjoy it, simply thaw in the fridge overnight, and if you like, warm it slightly in the microwave!
What should I do if my cake is too dense or crumbly?
If your cake turns out dense, it may be due to overmixing the batter. Remember, gentle mixing is key! If it’s crumbly, you might have used too much flour. Next time, spoon the flour into the measuring cup instead of scooping directly from the bag. This helps prevent using extra flour. Adding an extra egg can also add moisture to the batter.
Are there any dietary considerations I should keep in mind?
Yes! This Easy Gluten-Free Chocolate Mint Cake is great for individuals with gluten sensitivities. If you want to make it dairy-free, be sure to use dairy-free butter and a plant-based milk alternative. Additionally, keep an eye on the peppermint extract you choose; if allergies are a concern, check labels for any potential cross-contamination with allergens.
How long can I keep the frosting, and can I make it in advance?
You can make the frosting in advance and store it in an airtight container in the fridge for up to a week. Before using, give it a good mix to return it to a smooth consistency. If you want, you can also freeze it! Just put the frosting in an airtight container, and It will keep for up to 3 months in the freezer. When ready to use, thaw it in the fridge overnight and rewhip slightly for the perfect spreadable texture!
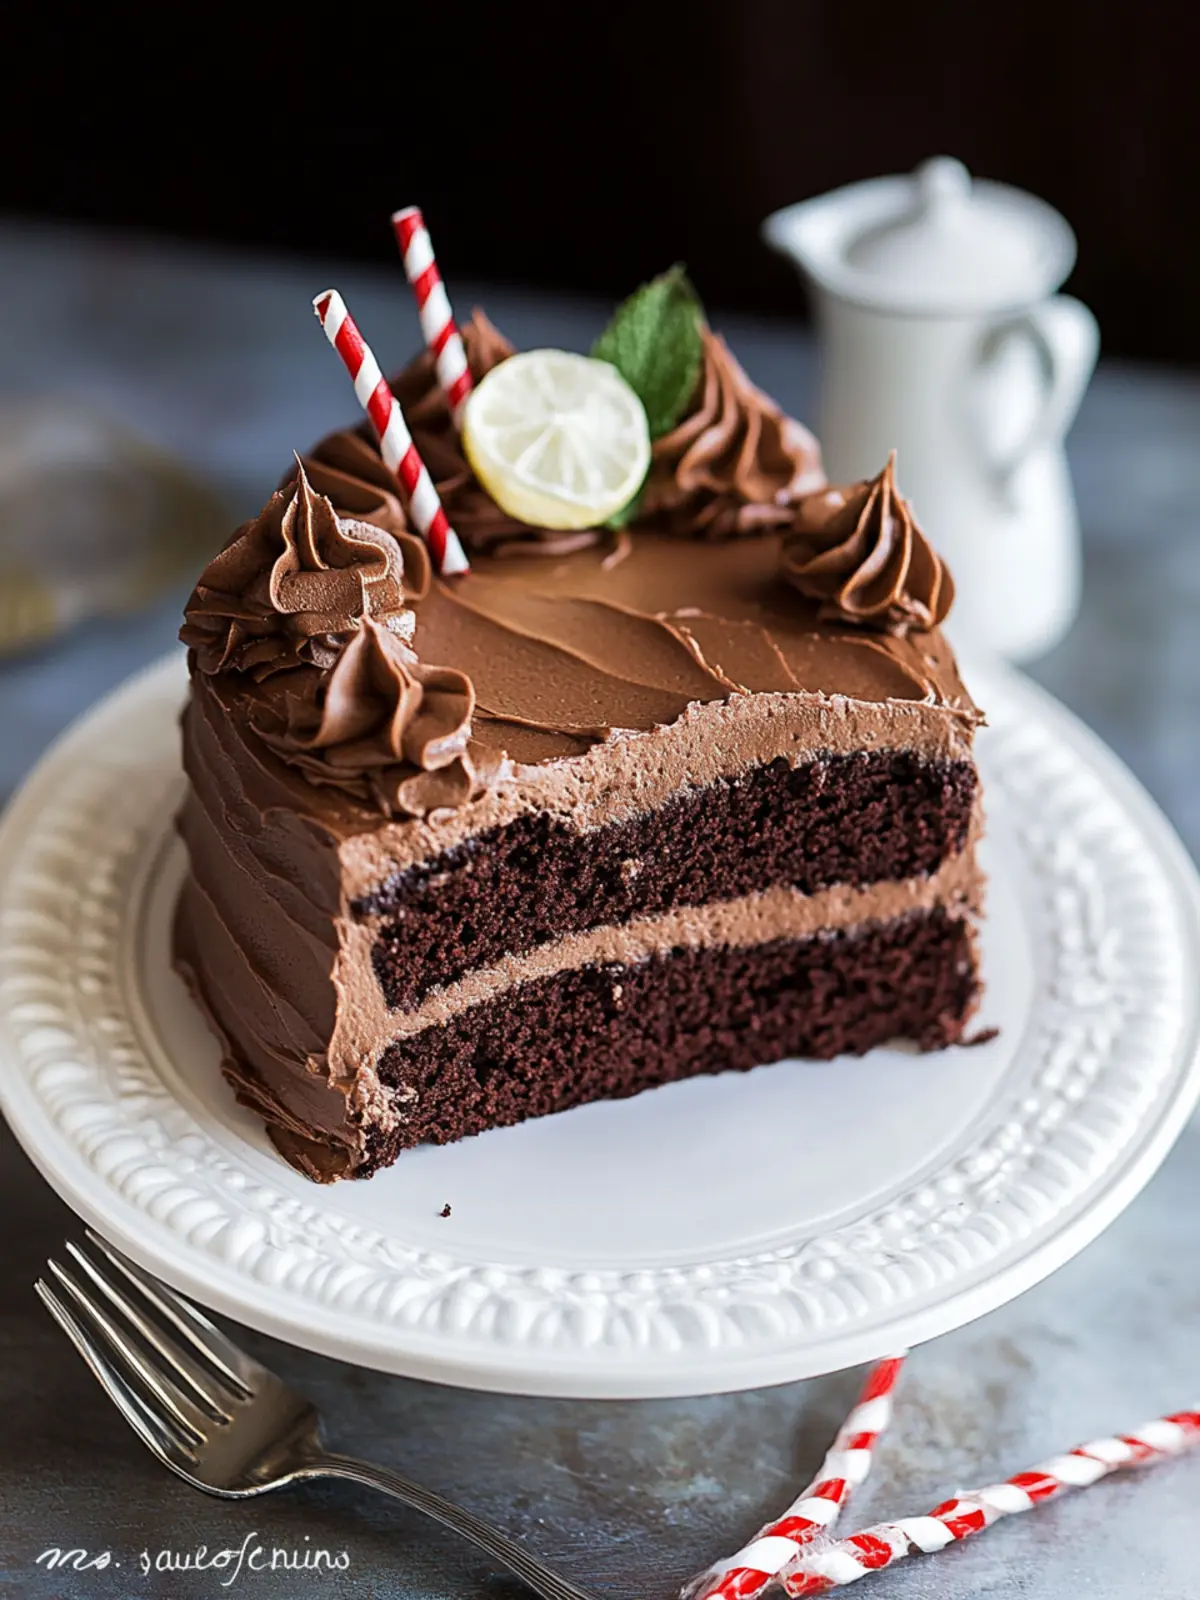
Decadent Easy Gluten-Free Chocolate Mint Cake Everyone Loves
Ingredients
Equipment
Method
- Preheat the oven to 350°F.
- Combine the dry ingredients in a large mixing bowl: gluten free flour blend, cane sugar, cocoa powder, salt, and baking soda.
- Mix the wet ingredients in a smaller bowl: melted unsalted butter, milk, eggs, vanilla extract, and peppermint extract.
- Pour the wet mixture into the dry ingredients, mixing gently until just combined.
- Divide the batter evenly between two greased 8-inch round cake pans.
- Bake for 40 minutes or until a toothpick inserted into the centers comes out clean.
- Cool the cakes on a wire rack for 10-15 minutes before removal from pans.
- Prepare the frosting: In a standing mixer, combine unsalted butter, powdered sugar, and water.
- Reserve ¼ of the frosting in another bowl for decorating.
- Add cocoa powder to the remaining frosting and mix until fluffy.
- Frost the first cake layer generously and top it with the second layer, coating with the chocolate frosting.
- Decorate with festive marshmallows and candy cane pieces.