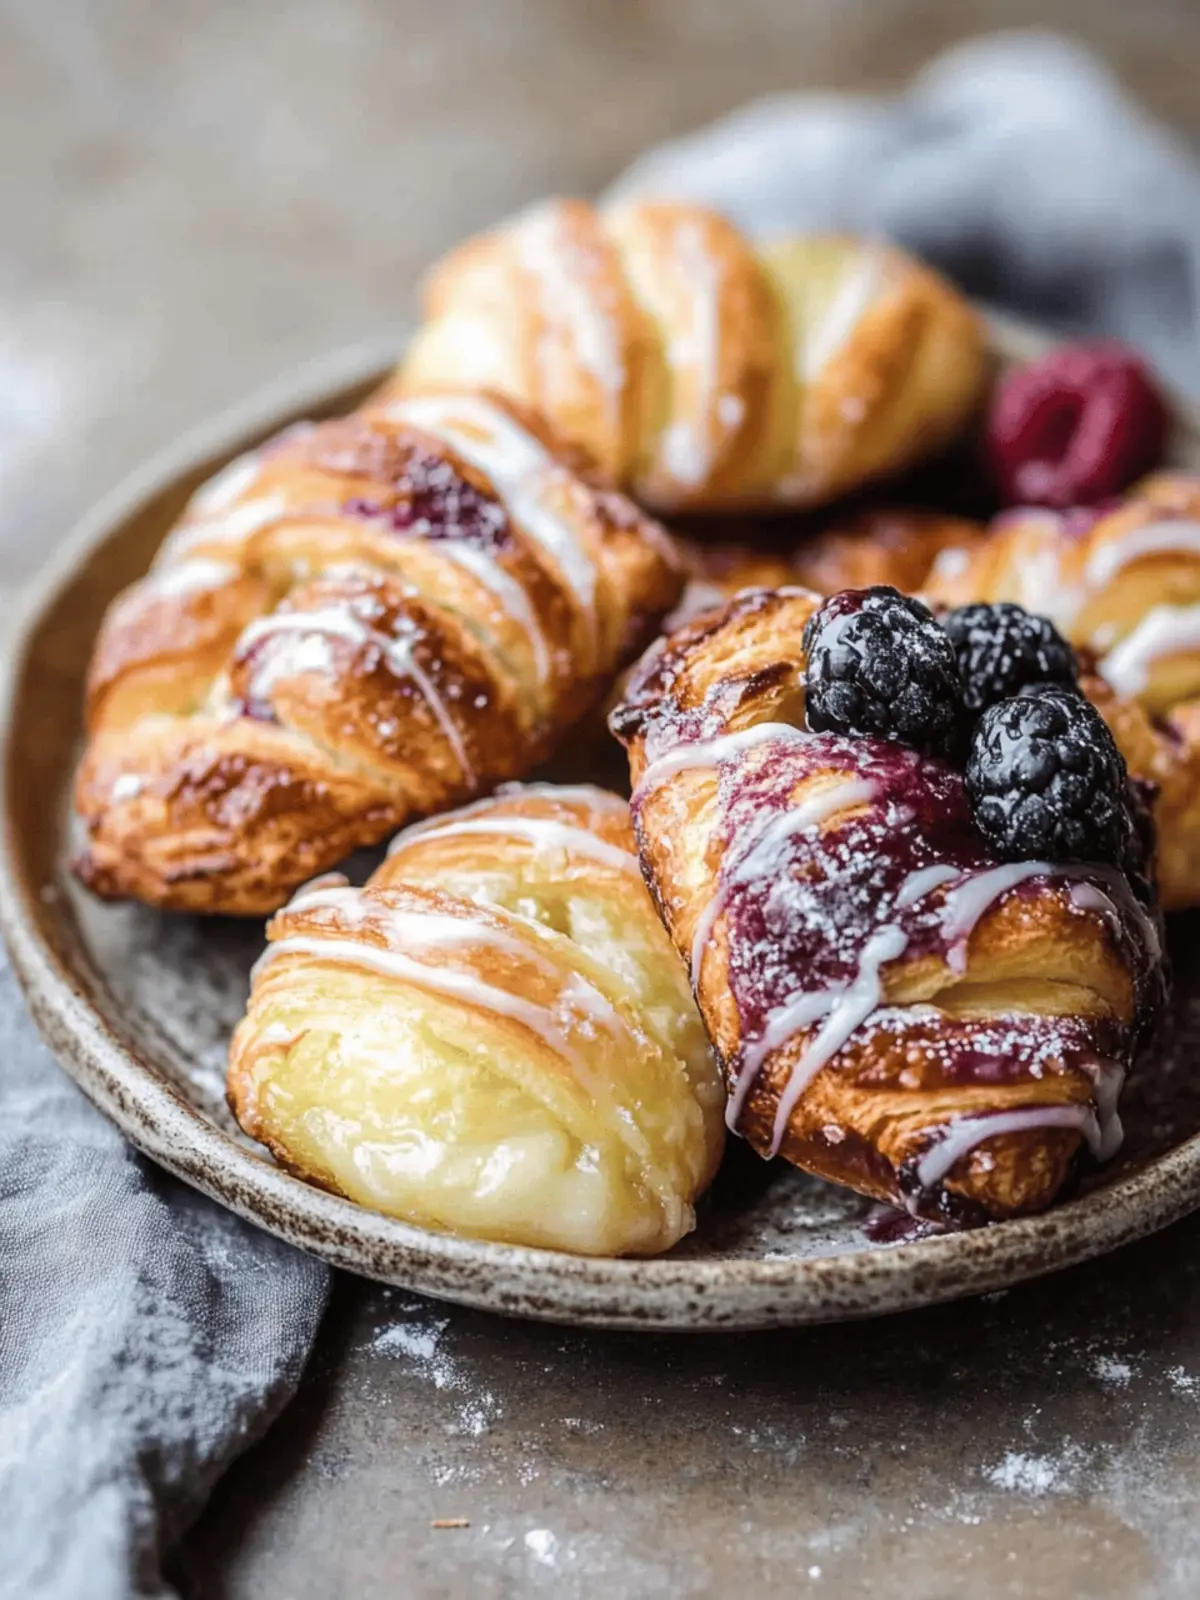
There’s a certain charm that emerges from the soft buttery layers of a freshly baked Danish pastry. The moment I opened my oven to reveal these golden delights, the sweet aroma of cinnamon and marzipan wafted through my kitchen, drawing everyone in for a taste. These traditional pastries, known as “morgenbrød” in Denmark, aren’t just desserts; they encapsulate warm mornings and cozy gatherings.
While tackling the slightly intricate process may seem daunting, the joy of pulling a tray of flaky Kanelsnegle, sweet Spandauer, and irresistible Tebirkes out of the oven makes every minute worthwhile. Whether you’re indulging in a perfect weekend brunch or impressing guests at a gathering, these pastries offer a delightful escape from ordinary fast food.
Join me as I guide you through creating these exquisite treats that promise to make your taste buds dance and your kitchen the heart of your home. You might just find that baking Danish pastries is the perfect way to break free from the monotony and bring a touch of tradition to your table.
Why are Danish Pastries irresistible?
Irresistible flavor: The blend of cinnamon, butter, and marzipan results in a heavenly taste that’s simply addictive.
Homemade goodness: Experience the satisfaction of crafting these flaky delights from scratch, bringing warmth to your kitchen.
Unique textures: Every bite unveils a combination of flaky layers and rich fillings that create a wonderful mouthfeel.
Versatile recipes: With variations like Kanelsnegle, Spandauer, and Tebirkes, you can cater to different cravings and preferences.
Perfect for sharing: Whether at brunch or a cozy gathering, these pastries are sure to impress family and friends alike!
Danish Pastries Ingredients
For the Dough
- Yeasted Dough – Provides structure and flakiness; you can use a pre-made puff pastry for an easier option.
- Butter – Adds richness and creates those flaky layers; opt for high-quality unsalted butter for best results.
- Eggs – Acts as a binding agent and gives a golden color; ensure they are at room temperature for optimal mixing.
For the Filling
- Cinnamon – Adds warming sweetness to Kanelsnegle; feel free to adjust the quantity to suit your taste.
- Sugar – Sweetens the pastries; both granulated and brown sugar work well, depending on the type of pastry.
- Marzipan – A sweet almond paste filling for Spandauer; almond paste is a good alternative if needed.
- Pastry Cream (Kagecreme) – Gives richness to Spandauer; in a pinch, you can substitute it with thick vanilla pudding.
For Glaze (optional)
- Powdered Sugar – Creates a sweet glaze; combine with a touch of milk or water for the right consistency.
- Vanilla Extract – Adds flavor to the glaze; a drop or two elevates the sweetness perfectly.
Each ingredient is a stepping stone towards creating those delicious Danish pastries that your friends and family will adore!
How to Make Danish Pastries
-
Prepare the Dough: In a large mixing bowl, activate your yeast in warm milk, adding a pinch of sugar. Combine with flour, butter, and eggs, then knead until smooth. Let the dough rise in a warm place until doubled in size, roughly 1 to 2 hours.
-
Laminate the Dough: Roll the risen dough out on a lightly floured surface. Layer softened butter over the surface, then fold the dough into thirds. Roll out again and repeat two to three times; this builds those flaky layers.
-
Make the Fillings: For Kanelsnegle, mix cinnamon and sugar, spread it over the rolled-out dough, then roll and slice into pieces. For Spandauer, incorporate marzipan and pastry cream, spreading evenly over the dough before rolling.
-
Shape the Pastries: Form your pastries into decorative shapes—snails for Kanelsnegle and tarts for Spandauer. Allow them to rise again for about 30 minutes until puffy.
-
Bake to Perfection: Preheat your oven to 375°F (190°C). Bake the pastries for about 20-25 minutes, or until they are golden brown and flaky on top.
-
Cool and Glaze: Let the pastries cool on a wire rack for about 10 minutes. Drizzle with a simple glaze made of powdered sugar and milk for added sweetness, if desired.
Optional: For an extra touch, sprinkle with sliced almonds before baking for a delightful crunch.
Exact quantities are listed in the recipe card below.
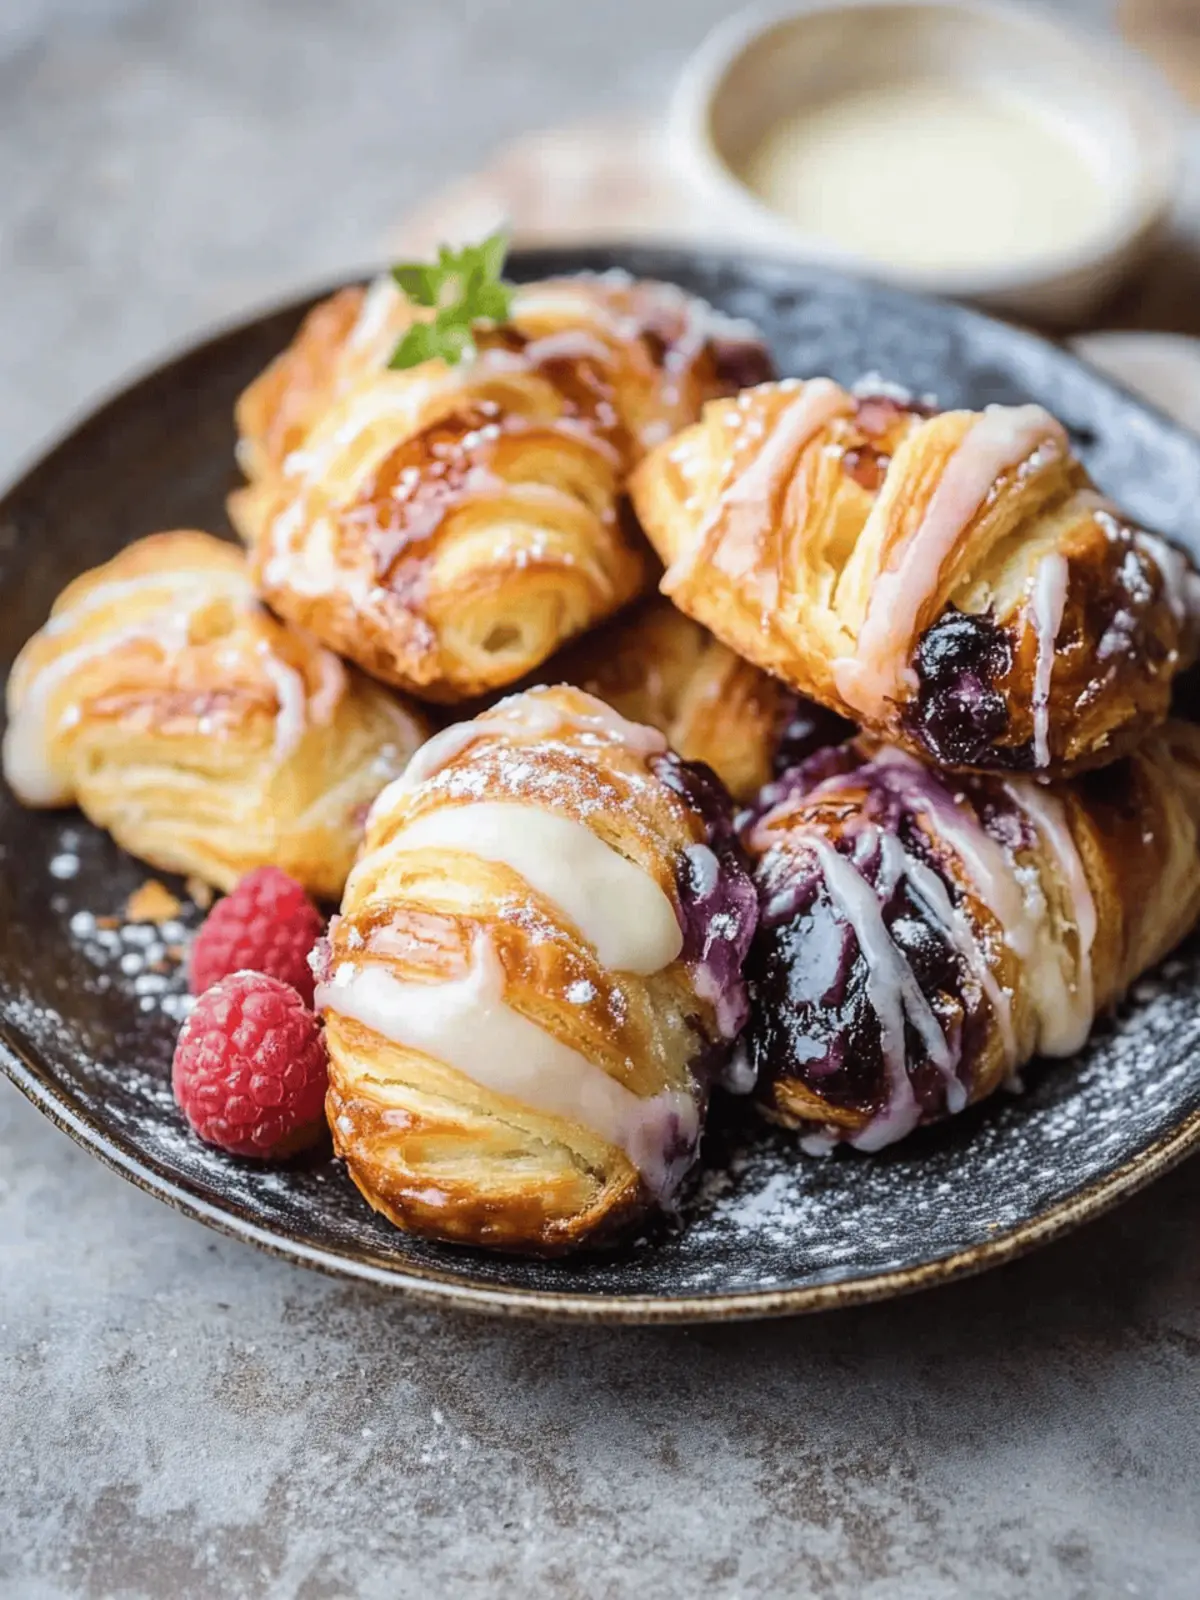
Danish Pastries Variations & Substitutions
Feel free to explore thrilling twists and adaptations that suit your taste and needs perfectly!
-
Fruit Fillings: Swap traditional fillings with fresh fruits or fruit preserves for a refreshing burst of flavor. Think apricot jam or raspberry compote—a fruity delight.
-
Chocolate Lovers: Add chocolate chips or spread Nutella in place of marzipan for a rich, indulgent treat. The gooey chocolate will melt beautifully into those flaky layers.
-
Savory Option: Make a savory pastry by incorporating cheeses or herbs like feta or fresh chives into the dough. This adds an extraordinary depth and flavor to the pastries.
-
Gluten-Free: Use a gluten-free flour blend to replace all-purpose flour. This keeps the essence alive while catering to those with dietary restrictions.
-
Cinnamon Twist: For Kanelsnegle, experiment by adding cardamom or nutmeg along with cinnamon for a warm, spiced flavor profile. It’s a delightful twist that beckons to your sense of adventure.
-
Vegan Delight: Replace butter with coconut oil and use a flaxseed mixture instead of eggs for a vegan version. Your kitchen will still fill with that heavenly pastry aroma!
-
Icing Variations: For the glaze, mix in some almond extract or orange zest to create an exciting, fragrant twist to your sweet toppings. The bursts of flavor will leave everyone craving more.
-
Nutty Crunch: Sprinkle sliced almonds or chopped hazelnuts before baking to elevate the texture and add a delightful crunch to your pastries. Enjoy the contrast between the soft inside and the crispy topping.
Embrace the art of customizing these Danish pastries and redefine the joy of baking!
How to Store and Freeze Danish Pastries
Room Temperature: Store Danish pastries in an airtight container at room temperature for up to 2 days to maintain their flaky texture and prevent drying out.
Fridge: If you need to keep them longer, refrigerate for up to 5 days, but be aware this may affect the flakiness; allow them to come to room temperature before enjoying.
Freezer: For longer storage, freeze Danish pastries in a single layer first, then wrap in plastic wrap and place in a freezer-safe bag for up to 3 months. Thaw overnight in the fridge before reheating.
Reheating: To enjoy those warm, flaky layers again, reheat pastries in a preheated oven at 350°F (175°C) for about 5-10 minutes until warmed through.
Expert Tips for Perfect Danish Pastries
-
Flour Type Matters: Use all-purpose flour for the best balance of protein without being too heavy, ensuring a tender, flaky pastry.
-
Temperature Control: Make sure your ingredients, especially butter and eggs, are at room temperature. This helps in achieving that optimal texture in your Danish pastries.
-
Don’t Rush Lamination: The folding and rolling process is key to flakiness. Take your time with each fold to properly incorporate the butter for layers.
-
Watch Baking Time: Keep an eye on your pastries during baking. If they start to brown too quickly, cover with foil to prevent burning while the inside finishes cooking.
-
Experiment with Fillings: Feel free to get creative with your fillings! From fresh fruit to chocolate chips, Danish pastries can be customized to your taste—a perfect way to experiment!
These tips will elevate your experience and help you create the most irresistible Danish pastries that everyone will love.
What to Serve with Danish Pastries?
Enhance your homemade Danish pastries with delightful accompaniments that elevate your breakfast or brunch experience.
-
Fresh Fruit Salad: Bright, juicy fruits add a refreshing contrast to the rich pastries, enhancing each bite.
-
Coffee: A warm cup of coffee complements the sweet and buttery flavors, creating a comforting breakfast ritual.
-
Herbal Tea: The lightness of herbal tea balances the richness of the pastries, making for a soothing pairing.
-
Whipped Cream: A dollop of whipped cream adds a luxurious, creamy touch that beautifully complements the flaky textures.
-
Cinnamon Sugar Sprinkles: A simple sprinkle of cinnamon sugar on top provides an extra burst of flavor alignment with the Kanelsnegle.
-
Cheese Platter: Mild cheeses like cream cheese or brie offer a savory contrast that rounds out the meal splendidly.
Serving Danish pastries with these delightful options will transport you to a cozy café in the heart of Denmark!
Make Ahead Options
These Danish pastries are perfect for meal prep enthusiasts! You can prepare the yeasted dough up to 24 hours in advance, refrigerating it after the initial rise to slow the fermentation process without compromising flavor. The filling for Kanelsnegle can also be mixed ahead of time and stored in an airtight container in the fridge for up to 3 days, ensuring it stays fresh and flavorful. When you’re ready to bake, simply shape the pastries and allow them to rise for about 30 minutes before baking them in the oven. This way, you’ll enjoy the delightful, flaky texture of your Danish pastries with minimal effort on busy mornings—all the deliciousness without the rush!
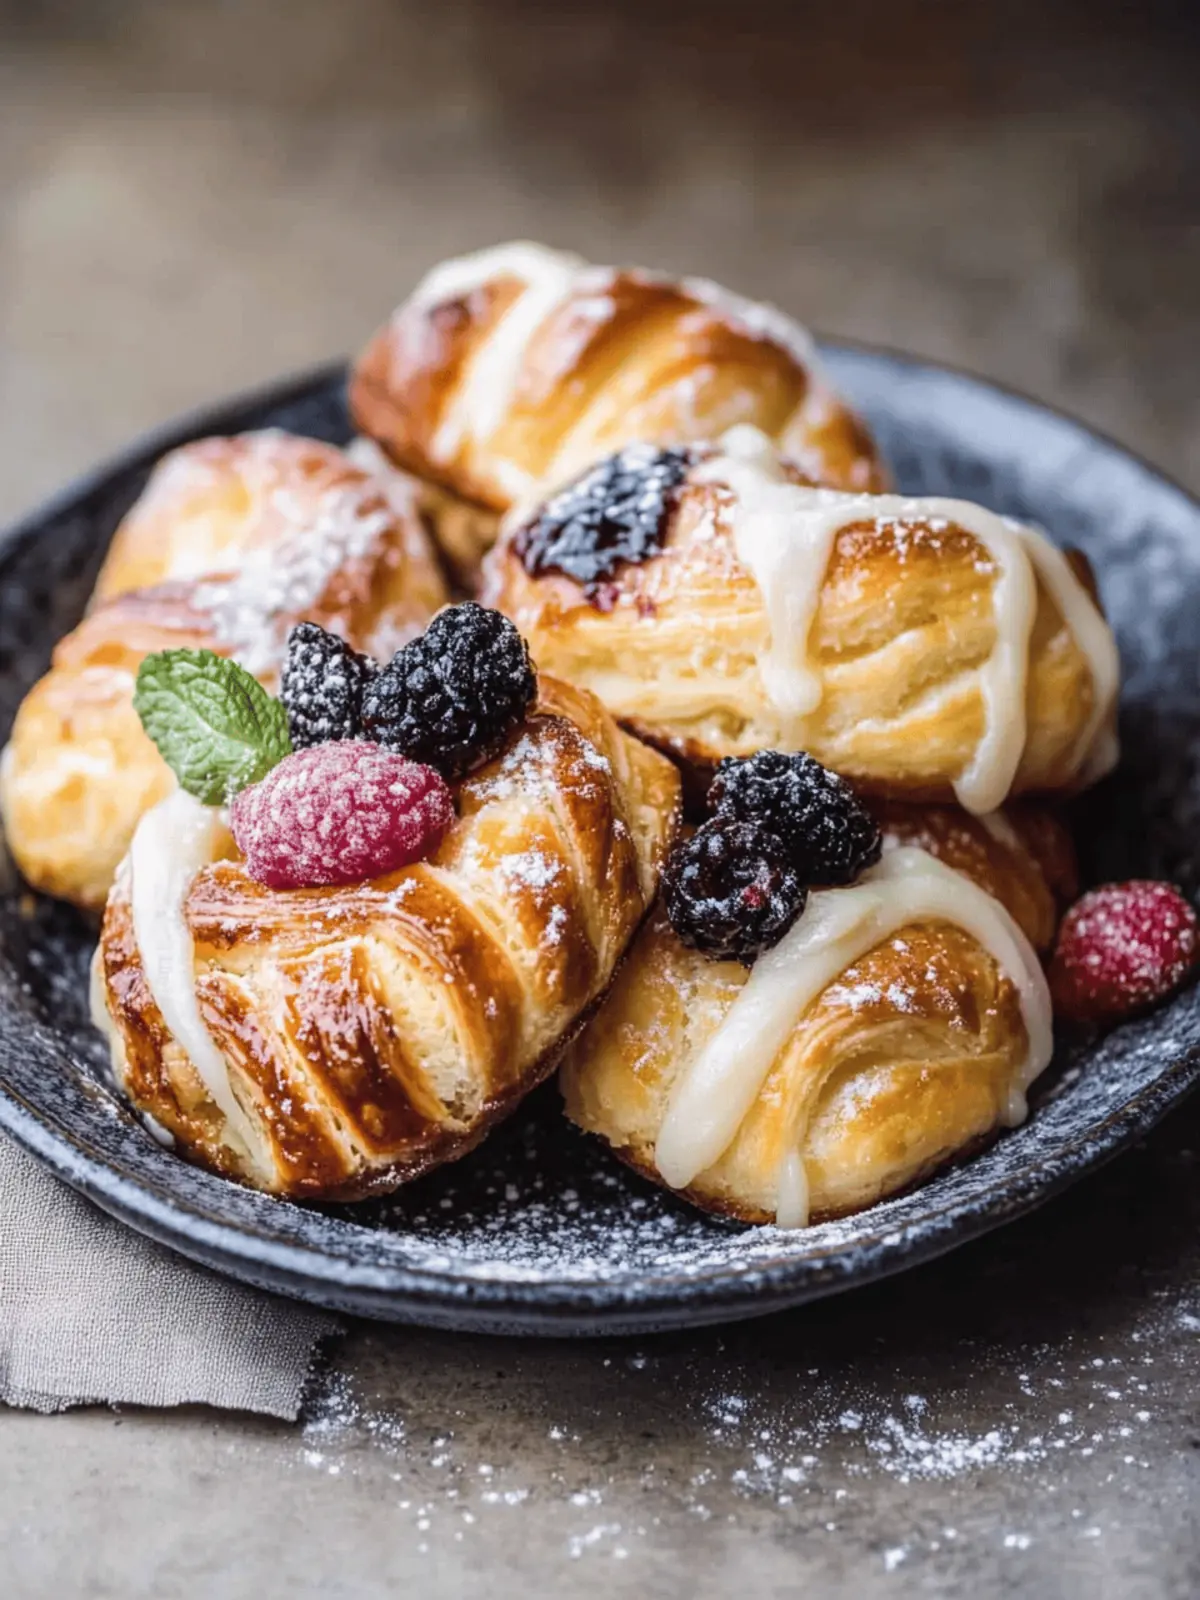
Danish Pastries Recipe FAQs
What type of butter is best for Danish pastries?
Using high-quality unsalted butter is essential for making Danish pastries. It not only enhances the rich flavor but also contributes to creating those flaky layers that we all love. I often recommend sticking with a reputable brand, as the butter’s fat content can significantly affect the final texture of your pastries.
What’s the best way to know if my pastries have risen enough?
Your pastries should nearly double in size before baking. A good visual cue is to gently poke the dough; if it springs back slowly, it’s ready to go. If it doesn’t, give it a little more time. I find that a warm, draft-free environment helps to speed up the rising process wonderfully.
Can I freeze Danish pastries after baking?
Absolutely! To freeze your Danish pastries, first let them cool completely. Then, place them in a single layer on a baking sheet and freeze until solid. After that, wrap each pastry in plastic wrap and store them in a freezer-safe bag. They can be kept for up to 3 months. Thaw overnight in the fridge before reheating at 350°F (175°C) for about 5-10 minutes to enjoy them warm again!
How do I know if my Danish pastries are done baking?
To check for doneness, look for a golden-brown color on the tops and a crispy texture. You can also tap the bottom lightly; if it sounds hollow, your pastries are perfectly baked. Using a kitchen thermometer is also a fantastic method—aim for an internal temperature of around 190°F (88°C) for optimal results.
What if I have leftover ingredients like marzipan?
Don’t worry! Leftover marzipan can be stored in the refrigerator for about a week or frozen for up to 3 months. Just wrap it tightly to prevent it from drying out. You can use it later in a variety of treats, like cookies or tarts—they’re great for adding a touch of sweetness to your baking!
Can I make Danish pastries healthier?
Yes! If you’re looking for a lighter alternative, consider substituting some butter with Greek yogurt or using less sugar. You can also incorporate whole wheat flour into the dough for added fiber. While the texture might be slightly different, you’ll be left with a delightful treat that still captures the essence of the traditional Danish pastries.
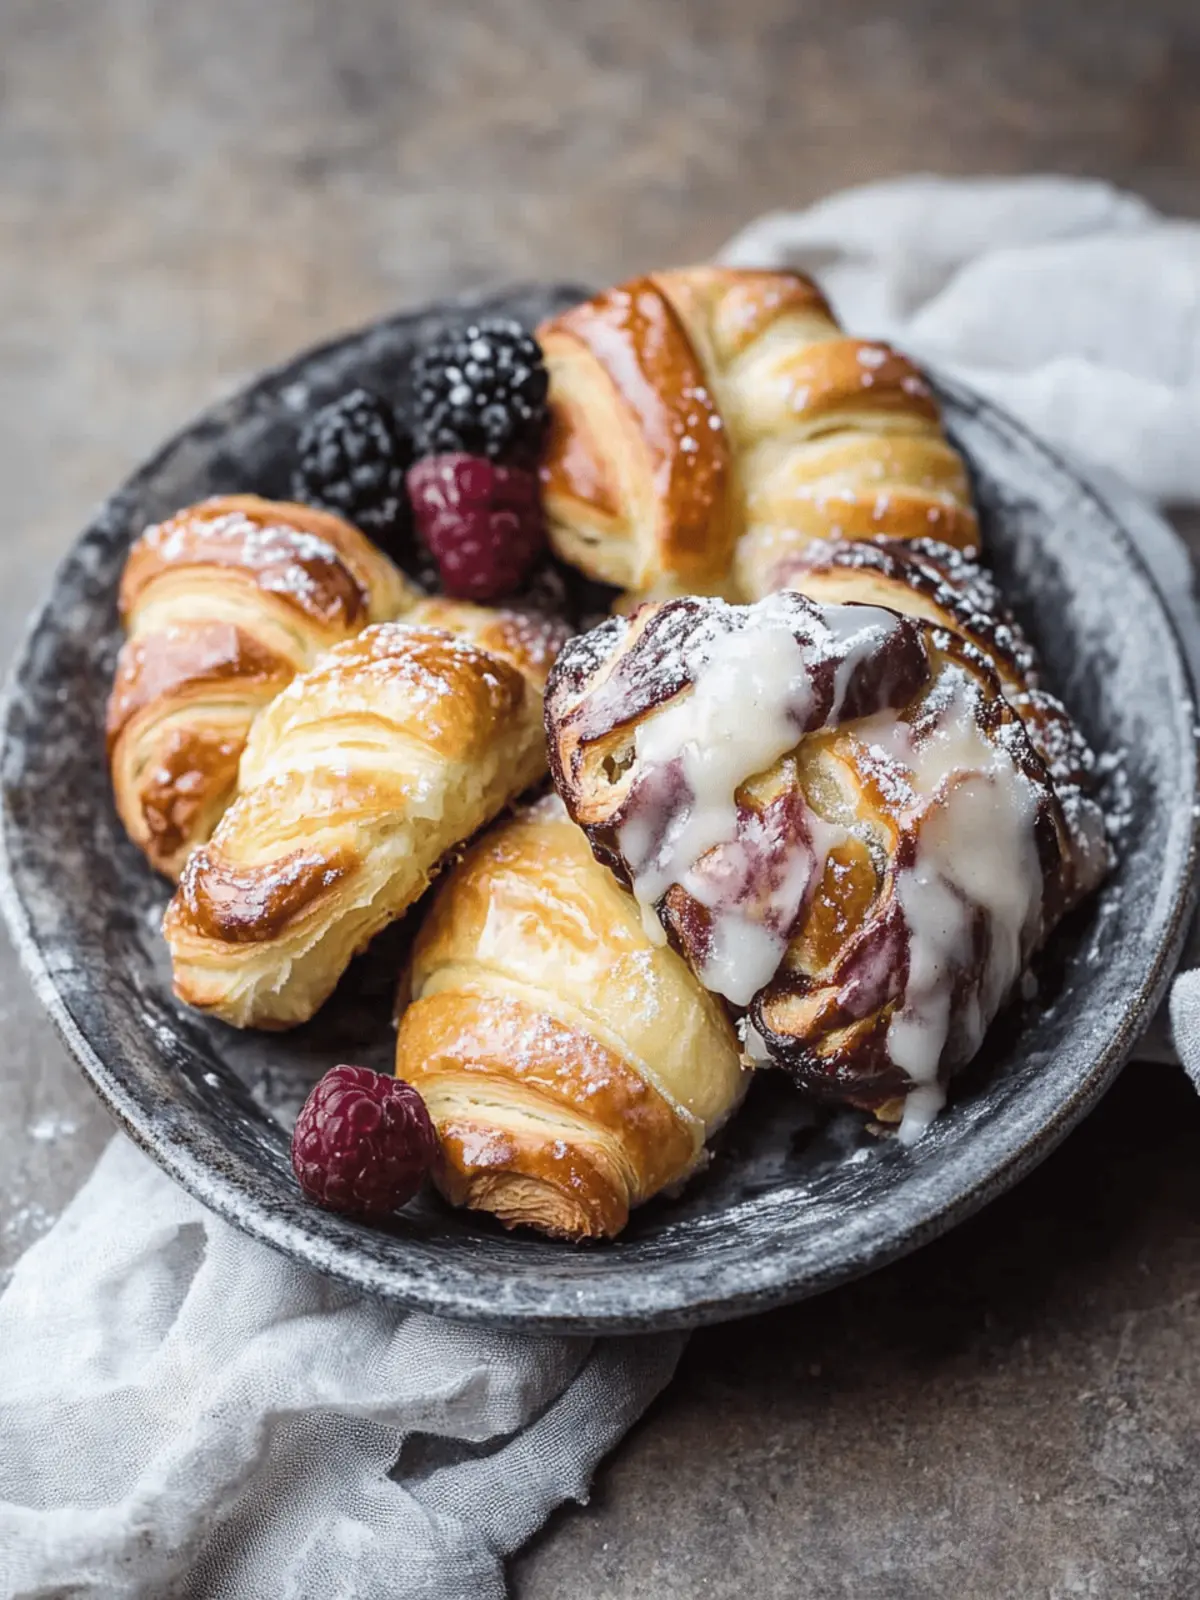
Mouthwatering Danish Pastries: Master Flaky Treats at Home
Ingredients
Equipment
Method
- Prepare the Dough: Activate yeast in warm milk with a pinch of sugar. Combine with flour, butter, and eggs, knead until smooth. Let rise until doubled, about 1-2 hours.
- Laminate the Dough: Roll out dough, layer with softened butter, fold into thirds, roll out, and repeat 2-3 times to build flaky layers.
- Make the Fillings: Mix cinnamon and sugar for Kanelsnegle; spread on rolled-out dough, roll and slice. For Spandauer, spread marzipan and pastry cream evenly before rolling.
- Shape the Pastries: Form into decorative shapes—snails for Kanelsnegle and tarts for Spandauer. Let rise for 30 minutes until puffy.
- Bake to Perfection: Preheat oven to 375°F (190°C). Bake pastries for 20-25 minutes until golden brown and flaky.
- Cool and Glaze: Cool on a wire rack for 10 minutes. Drizzle with a glaze of powdered sugar and milk, if desired.

