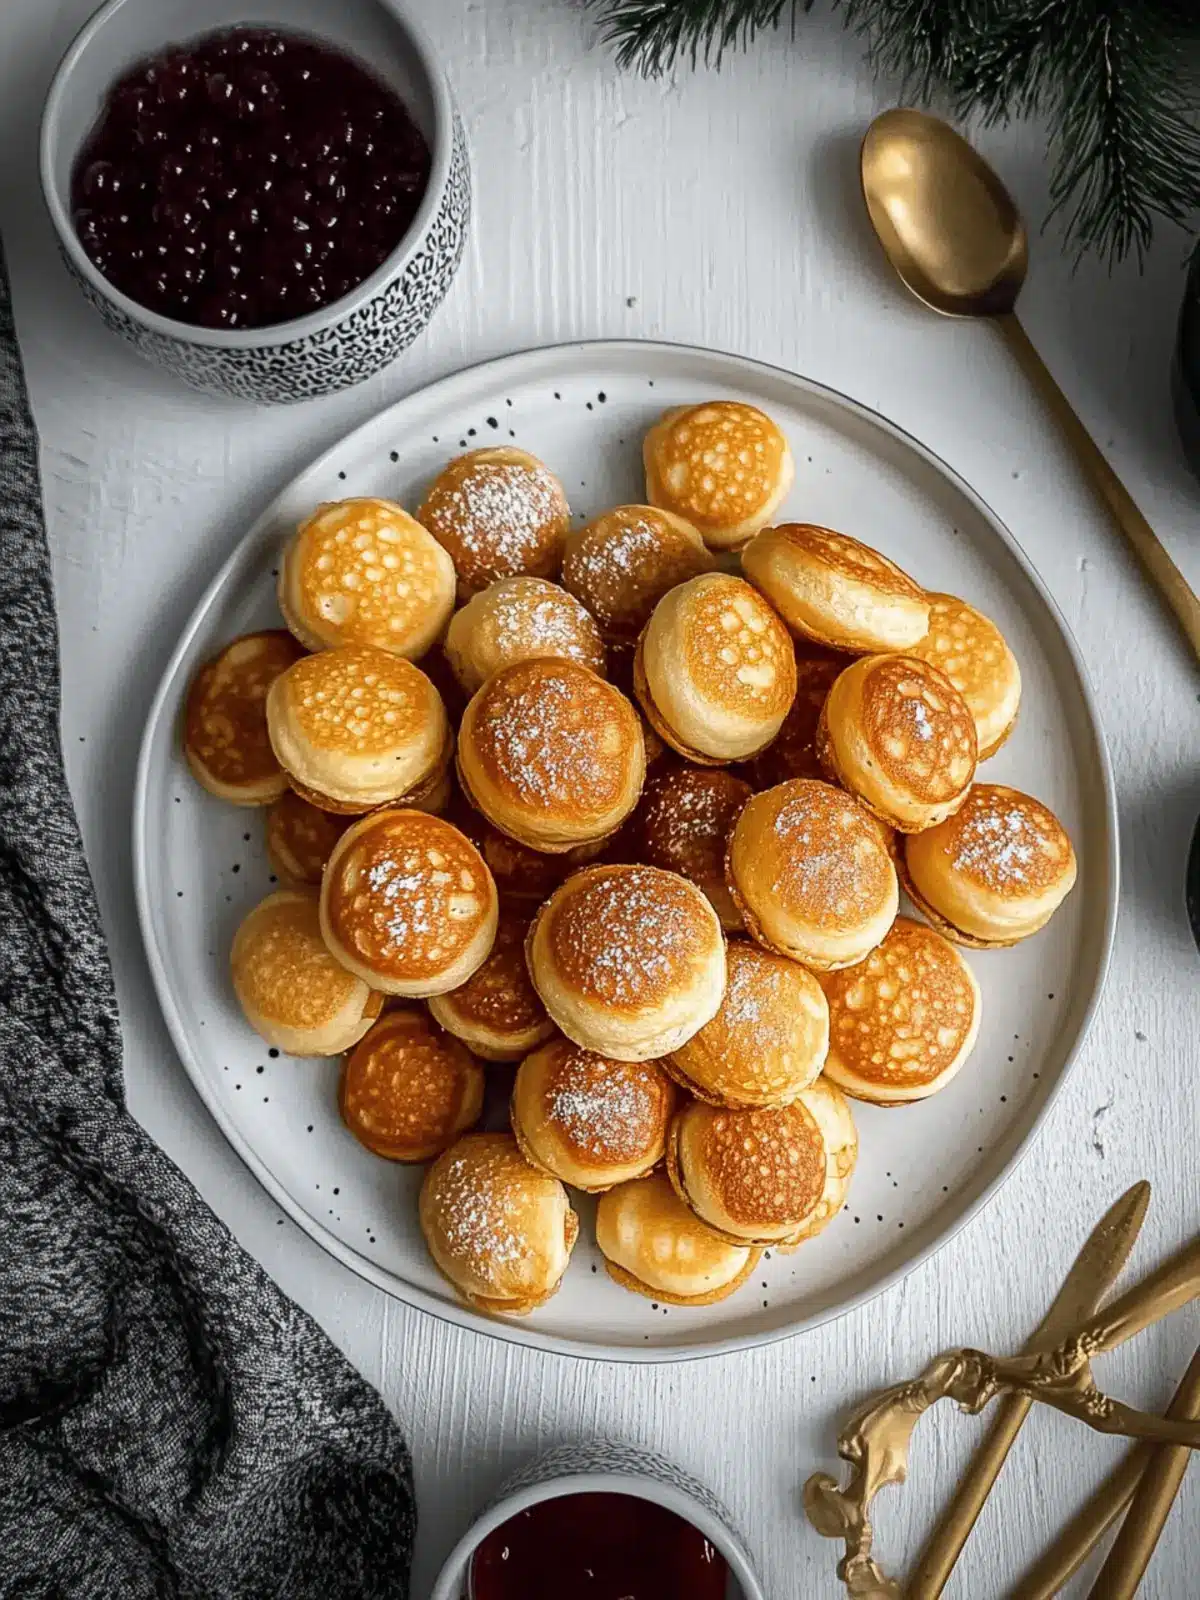
As the sun peeks through my kitchen window on a lazy Sunday morning, I find myself yearning for a sweet indulgence that feels both comforting and a bit exotic. Enter Danish pancake balls, known as æbleskiver, that dance into my thoughts like a delightful memory from a Scandinavian café. Their warm, fluffy interiors and slightly crisp exteriors, coated in powdered sugar and served with jam, create a charming experience that’s perfect for both special occasions and slow weekends at home.
I often reminisce about the moments spent at breakfast tables filled with laughter and connection, each bite of these delightful treats adding to the joy. With just a few simple ingredients, and a pan that might look unusual at first glance, you can whip up these delightful balls of goodness in no time. They turn an ordinary breakfast into a feast, leaving you and your loved ones not just satisfied, but eagerly anticipating your next pancake ball adventure. Let’s dive into the comforting world of æbleskiver, where tradition meets creativity and every bite brings a smile!
Why are Danish Pancake Balls so special?
Delightfully unique: These fluffy treats are a fun twist on traditional pancakes, bringing a touch of Scandinavian charm to your breakfast table.
Comforting texture: Each Danish pancake ball boasts a crisp exterior and a warm, soft center that melts in your mouth.
Effortless prep: With just a few simple ingredients, you’ll have a delicious and impressive dish ready for family or friends. Try serving them with different toppings like fresh fruit, syrup, or flavored jams to switch things up!
Crowd-pleasing appeal: Guaranteed to turn any dull breakfast into a delightful celebration, they’ll become a family favorite you can’t resist!
Danish Pancake Balls Ingredients
Get ready to create delicious Danish pancake balls!
For the Batter
- All-purpose flour – 300 grams of this versatile flour will lend a lovely fluffiness to your pancake balls.
- Baking powder – 2.5 tsp helps them rise to perfection, creating that signature airy texture.
- Salt – 1/4 tsp enhances the flavors beautifully, balancing the sweetness of the batter.
- Buttermilk – 500 ml adds moisture and a subtle tang, perfect for a rich taste.
- Sugar – 2 tbsp sweetens your batter just right, ensuring a delightful treat.
- Vegetable oil – 80 ml keeps the pancake balls tender and moist without altering their flavor.
- Large eggs – 2 help bind everything together, offering structure and a rich mouthfeel.
- Vanilla extract – 1/2 tsp infuses a lovely warmth and aroma into your batter.
For Cooking
- Unsalted butter – A generous serving for greasing the pan ensures that every pancake ball comes out golden and non-stick.
For Serving
- Jam – Your choice of any kind will elevate these Danish pancake balls into a delightful dessert or breakfast experience!
- Powdered sugar – A sprinkle on top adds a sweet, festive touch that’s simply irresistible.
How to Make Danish Pancake Balls
-
Mix dry ingredients: In a small bowl, whisk together the all-purpose flour, baking powder, and salt until well combined. This step ensures an even rise in your pancake balls, so take your time!
-
Combine wet ingredients: In a medium mixing bowl, blend the eggs, buttermilk, sugar, vegetable oil, and vanilla extract together until smooth. This creates a luscious mixture full of flavor.
-
Combine mixtures: Gradually add your dry ingredients to the wet mixture. Gently whisk until just blended, being careful not to over-mix; a few lumps are perfectly fine!
-
Adjust batter consistency: If your batter is on the thicker side, feel free to add more buttermilk a tablespoon at a time until it reaches a pourable consistency.
-
Preheat the pan: Place your æbleskive pan on the stove over medium/low heat. Allow it to warm up gradually so your pancake balls cook evenly.
-
Add butter: Once heated, add a tiny dab of unsalted butter to each cavity of the pan. This will help create that beautifully golden crust we love!
-
Fill the pan: Carefully pour the batter into each hole, filling them just below the top to allow for rising. The sizzle will tell you it’s the right temperature!
-
Cook and flip: After 1-2 minutes, once you see small bubbles forming, use a skewer or fork to flip each pancake ball. They should be golden brown all around as you turn them.
-
Check for doneness: Ensure the æbleskiver are dark golden brown on the outside and cooked through in the center. They should feel light and fluffy.
-
Repeat: Continue this process of adding butter and batter until all of your batter has been used. Each batch brings its own little joy!
-
Serve warm: Enjoy your Danish pancake balls immediately, dusted with powdered sugar and served with your favorite jam or toppings for a delightful finish.
Optional: Try serving with whipped cream for an even more decadent treat!
Exact quantities are listed in the recipe card below.
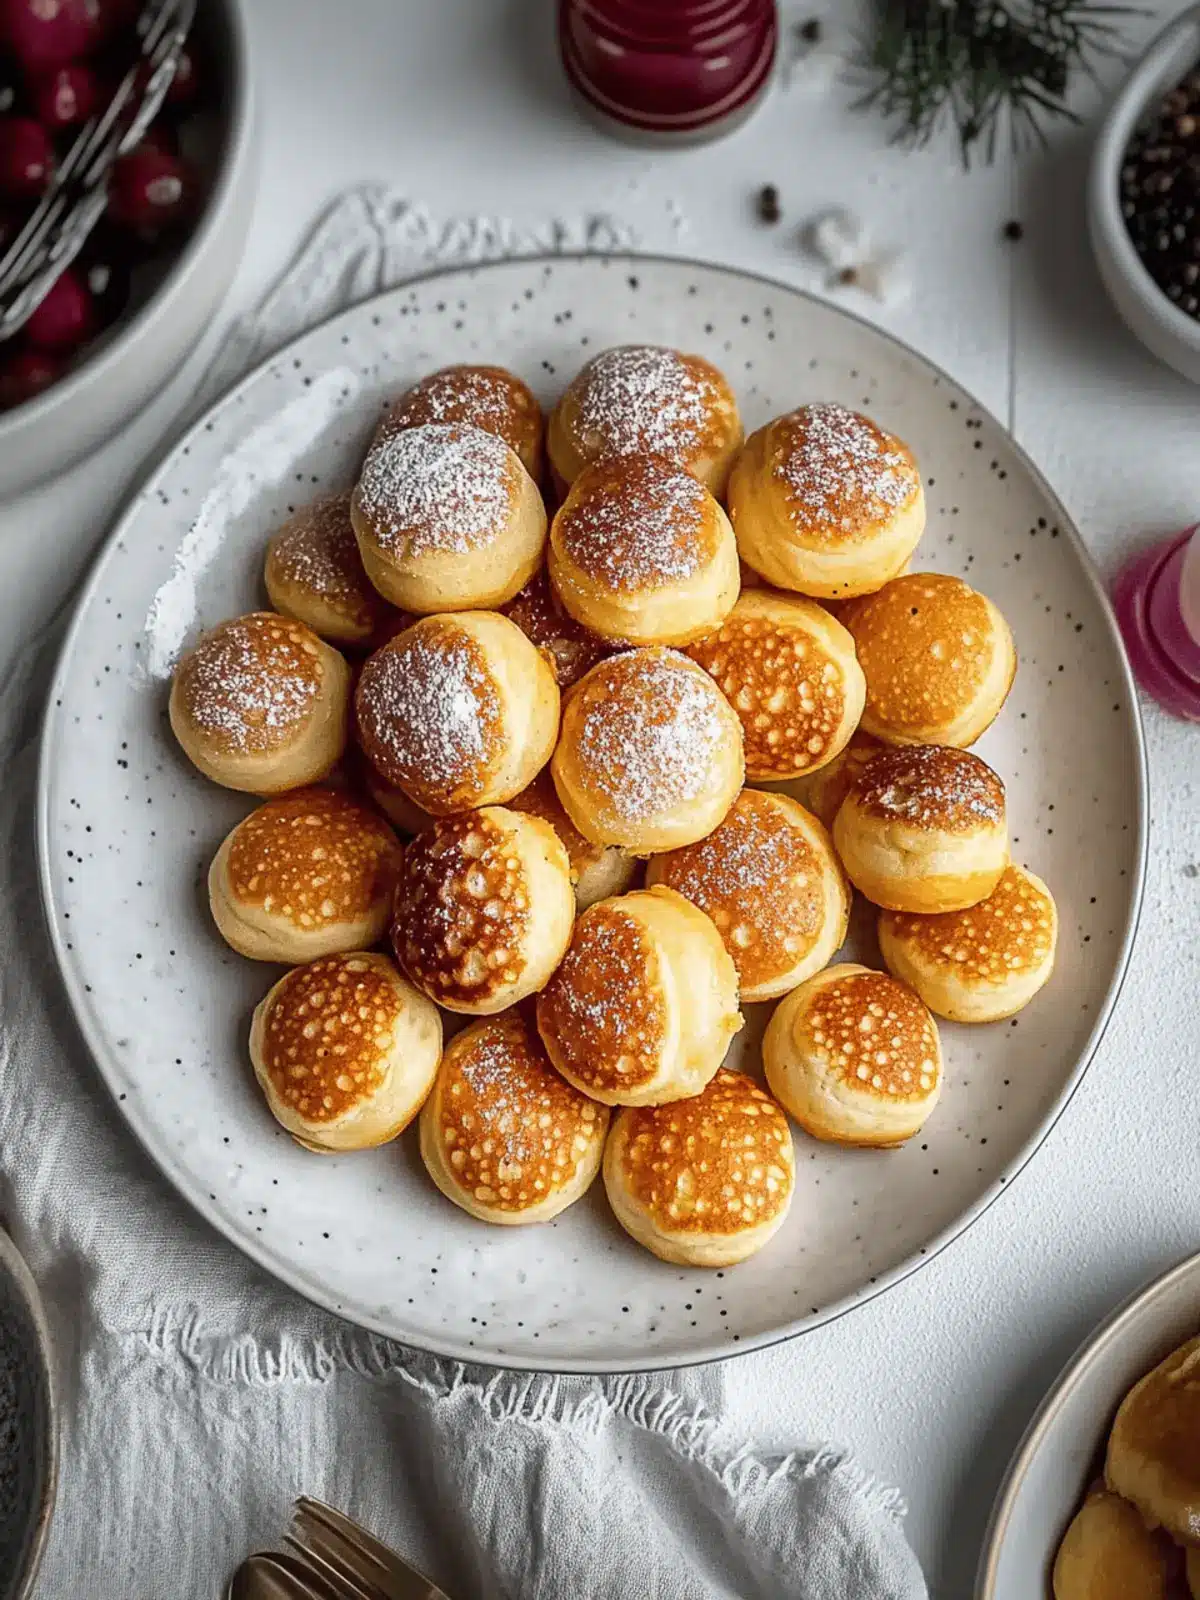
What to Serve with Danish Pancake Balls?
Transform your breakfast table into a delightful feast with these charming treats that are perfect for sharing.
- Fresh Berries: Bright and juicy, berries add a tart contrast to the sweet pancake balls, enhancing their flavor beautifully.
- Whipped Cream: Light and airy, whipped cream is the ultimate companion, making each bite feel extravagant and luxurious.
- Savory Bacon: The salty crunch of crispy bacon balances the sweetness, providing a satisfying contrast that everyone will love.
- Maple Syrup: Drizzling warm maple syrup over these balls introduces a rich sweetness that feels like a cozy hug in dessert form.
- Cinnamon Sugar: Rolling them in cinnamon sugar adds a warm, spicy twist—perfect for those who crave a bit of extra warmth and flavor.
- Hot Chocolate: Pair these delightful pancakes with a mug of rich hot chocolate, turning breakfast into a cozy café experience.
- Coffee or Tea: The bold flavors of coffee or delicate tea serve to enhance the experience, creating a perfect sip between bites.
- Ice Cream: A scoop of vanilla ice cream on the side brings a delightful chill, making every bite of pancake balls feel even more indulgent.
Expert Tips for Danish Pancake Balls
• Perfect Consistency: Ensure your batter is pourable by adjusting with buttermilk if too thick. This helps achieve light, fluffy Danish pancake balls.
• Preheat the Pan: Gradually heat your æbleskive pan to medium/low. A well-heated pan ensures even cooking and that delightful golden crust on each ball.
• Avoid Overmixing: Gently combine wet and dry ingredients until just blended. Overmixing can result in dense pancake balls, losing that airy texture we crave.
• Flipping Technique: Use a skewer or fork to flip your pancake balls once bubbles form on the surface. This ensures they are cooked through and perfectly golden.
• Perfectly Browned: Cook until dark golden brown and fluffy in the center. Trust your senses; the delightful aroma is a good indicator they’re nearly ready!
Make Ahead Options
These delicious Danish pancake balls are perfect for meal prep, allowing you to enjoy this treat any day of the week! You can prepare the batter up to 24 hours in advance, simply whisk all your ingredients together and store it in the refrigerator. This not only saves time but also enhances the flavors as they meld overnight. When you’re ready to cook, just give the batter a gentle stir and proceed with heating your æbleskive pan, adding butter before pouring batter into each cavity. This will yield light and fluffy pancake balls that are just as delightful as freshly made ones, bringing warmth and joy to your busy mornings!
How to Store and Freeze Danish Pancake Balls
Room Temperature: Enjoy your Danish pancake balls fresh out of the pan for the best taste. If you have leftovers, store them at room temperature for up to 2 hours.
Fridge: Keep leftover pancake balls in an airtight container in the fridge for up to 3 days. Reheat in the microwave or on a skillet for a quick treat!
Freezer: For longer storage, freeze the pancake balls in a single layer on a baking sheet before transferring to an airtight container. They can be stored for up to 2 months.
Reheating: To reheat frozen Danish pancake balls, place them in a preheated oven at 350°F (175°C) for about 10-15 minutes until warmed through. Enjoy!
Danish Pancake Balls Variations
Feel free to let your imagination roam and customize your æbleskiver recipe for exciting flavors and dietary preferences!
- Gluten-Free: Substitute all-purpose flour with a gluten-free blend to keep it light and fluffy. This option ensures everyone can enjoy these delightful treats!
- Dairy-Free: Use almond milk or oat milk in place of buttermilk and replace butter with coconut oil. You won’t sacrifice taste, and dairy-sensitive guests will be thrilled!
- Chocolate Chip: Add a handful of chocolate chips into the batter for a sweet surprise in every bite. The melted chocolate creates a delightful, gooey center that’s simply irresistible!
- Fruit-Infused: Toss in some diced apples, pears, or blueberries to add a fresh burst of flavor. Each bite becomes a mini fruit explosion that brightens your palate.
- Cinnamon Spice: Mix in 1 teaspoon of ground cinnamon for a warm, cozy touch. This variation brings the essence of cinnamon rolls to your breakfast table!
- Nutty Crunch: Fold in chopped nuts like walnuts or pecans for added texture and flavor. The nutty crunch contrasts beautifully with the soft pancake balls, creating an unforgettable bite.
- Zesty Citrus: Add the zest of an orange or lemon to your batter for a refreshing twist. This bright flavor will awaken your taste buds and add sunshine to your mornings!
- Savory Twist: Swap sugar for a pinch of salt and fill with cheese or ham for a savory pancake ball treat. These can easily transition from breakfast to dinner!
Explore these variations to create new family favorites and make your Danish pancake balls journey exciting!
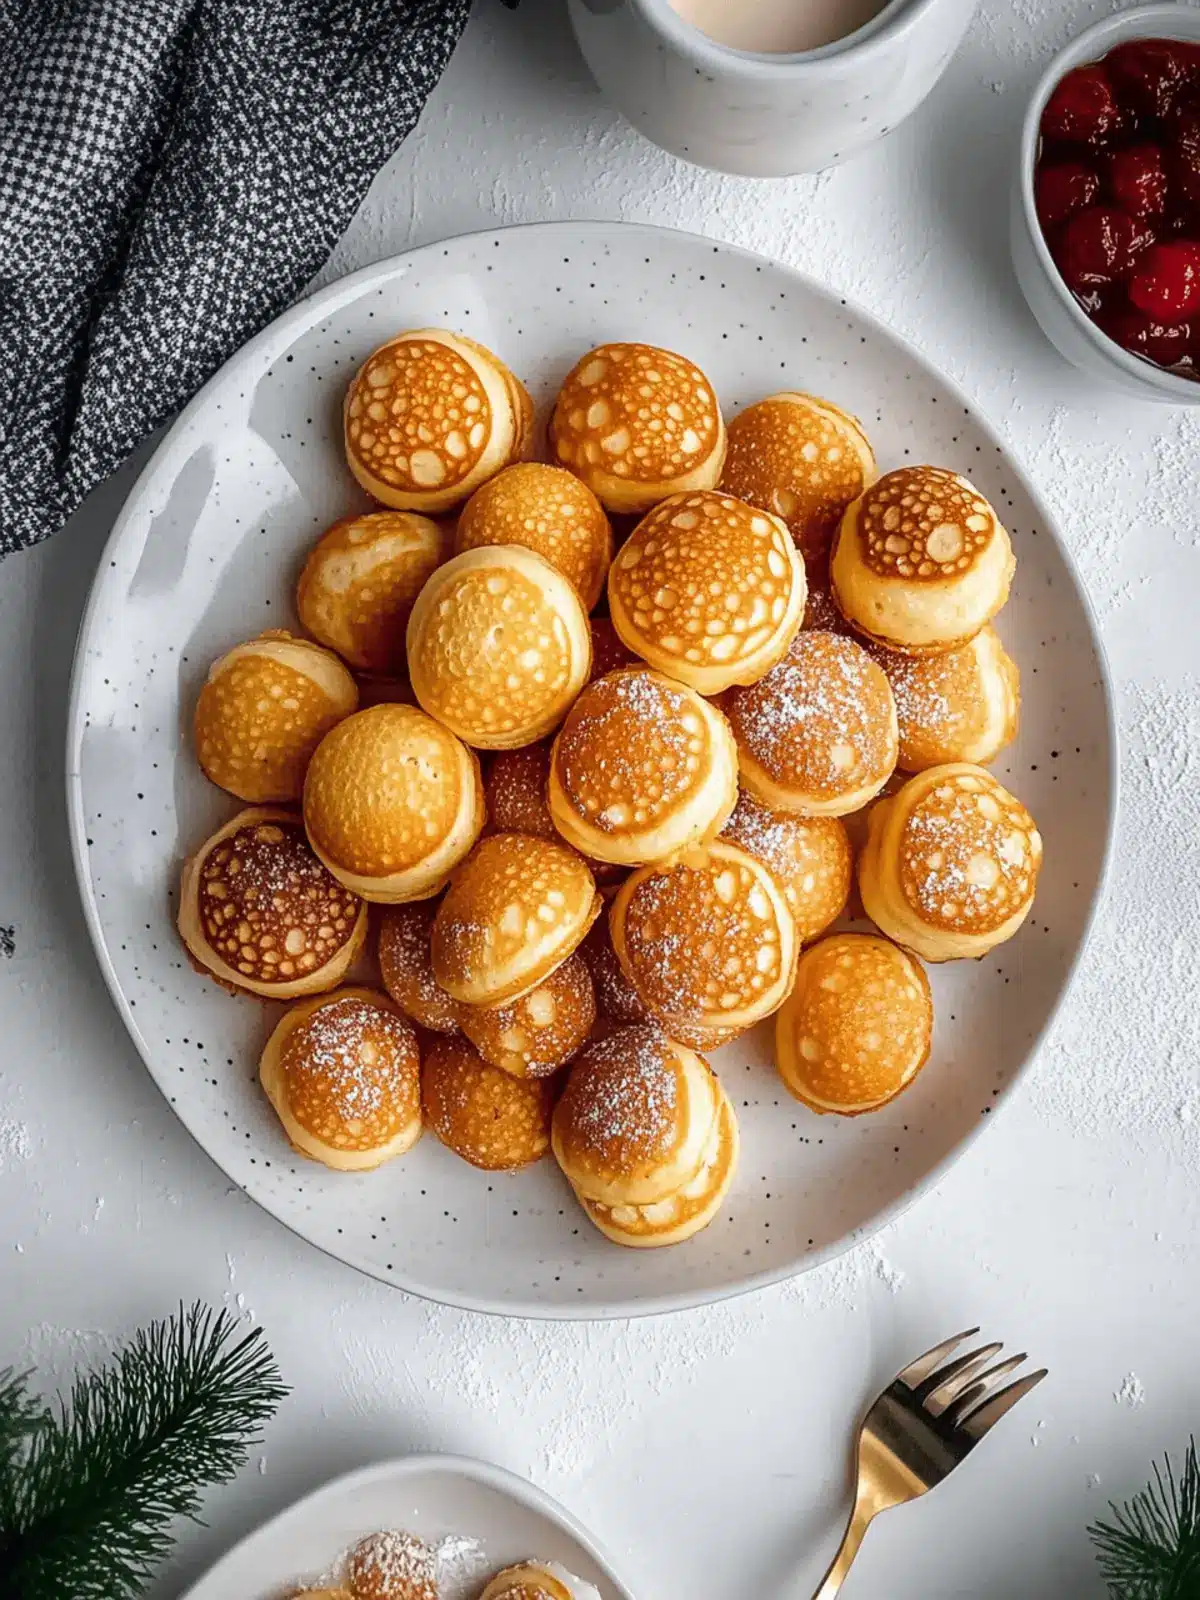
Æbleskiver Recipe FAQs
How do I select ripe ingredients for Danish pancake balls?
Absolutely! For the perfect æbleskiver, ensure your buttermilk is fresh—look for a creamy appearance without any lumps. Use eggs that are still on or just past their sell-by date for maximum freshness, as old eggs can lead to dense batter.
What’s the best way to store leftover pancake balls?
Very good question! Store your leftover Danish pancake balls in an airtight container in the fridge for up to 3 days. When you’re ready to indulge again, simply microwave them for about 20-30 seconds or warm them on a skillet for that fresh-out-of-the-pan taste.
Can I freeze my æbleskiver?
Definitely! To freeze your pancake balls, first place them in a single layer on a baking sheet to freeze individually for about 1 hour. Then, transfer them to an airtight container or freezer bag, where they can be kept for up to 2 months. When you’re ready to enjoy, just reheat them in a preheated oven at 350°F (175°C) for about 10-15 minutes.
What if my batter is too thick?
If your batter seems too thick, don’t worry! This can happen, especially if your flour is measuring differently. Just add more buttermilk, one tablespoon at a time, until you reach a pourable consistency that’s easy to fill in the pan, usually perfect for æbleskiver!
Are there any dietary considerations I should keep in mind?
Absolutely! If you’re serving these to guests or family members with allergies, be sure to check that everyone can enjoy the ingredients used. For a dairy-free option, you can substitute the buttermilk with almond or oat milk combined with a squeeze of lemon to replicate the tangy flavor. Also, consider providing fruit preserves that are allergy-friendly for the toppings!
How can I ensure my æbleskiver cook evenly?
To achieve perfectly cooked Danish pancake balls, make sure your æbleskive pan is preheated over medium/low heat. This gradual heating prevents burning and ensures an even golden brown exterior. Watch closely for bubbles on the surface before flipping; this will help guarantee that they are light and fluffy inside!
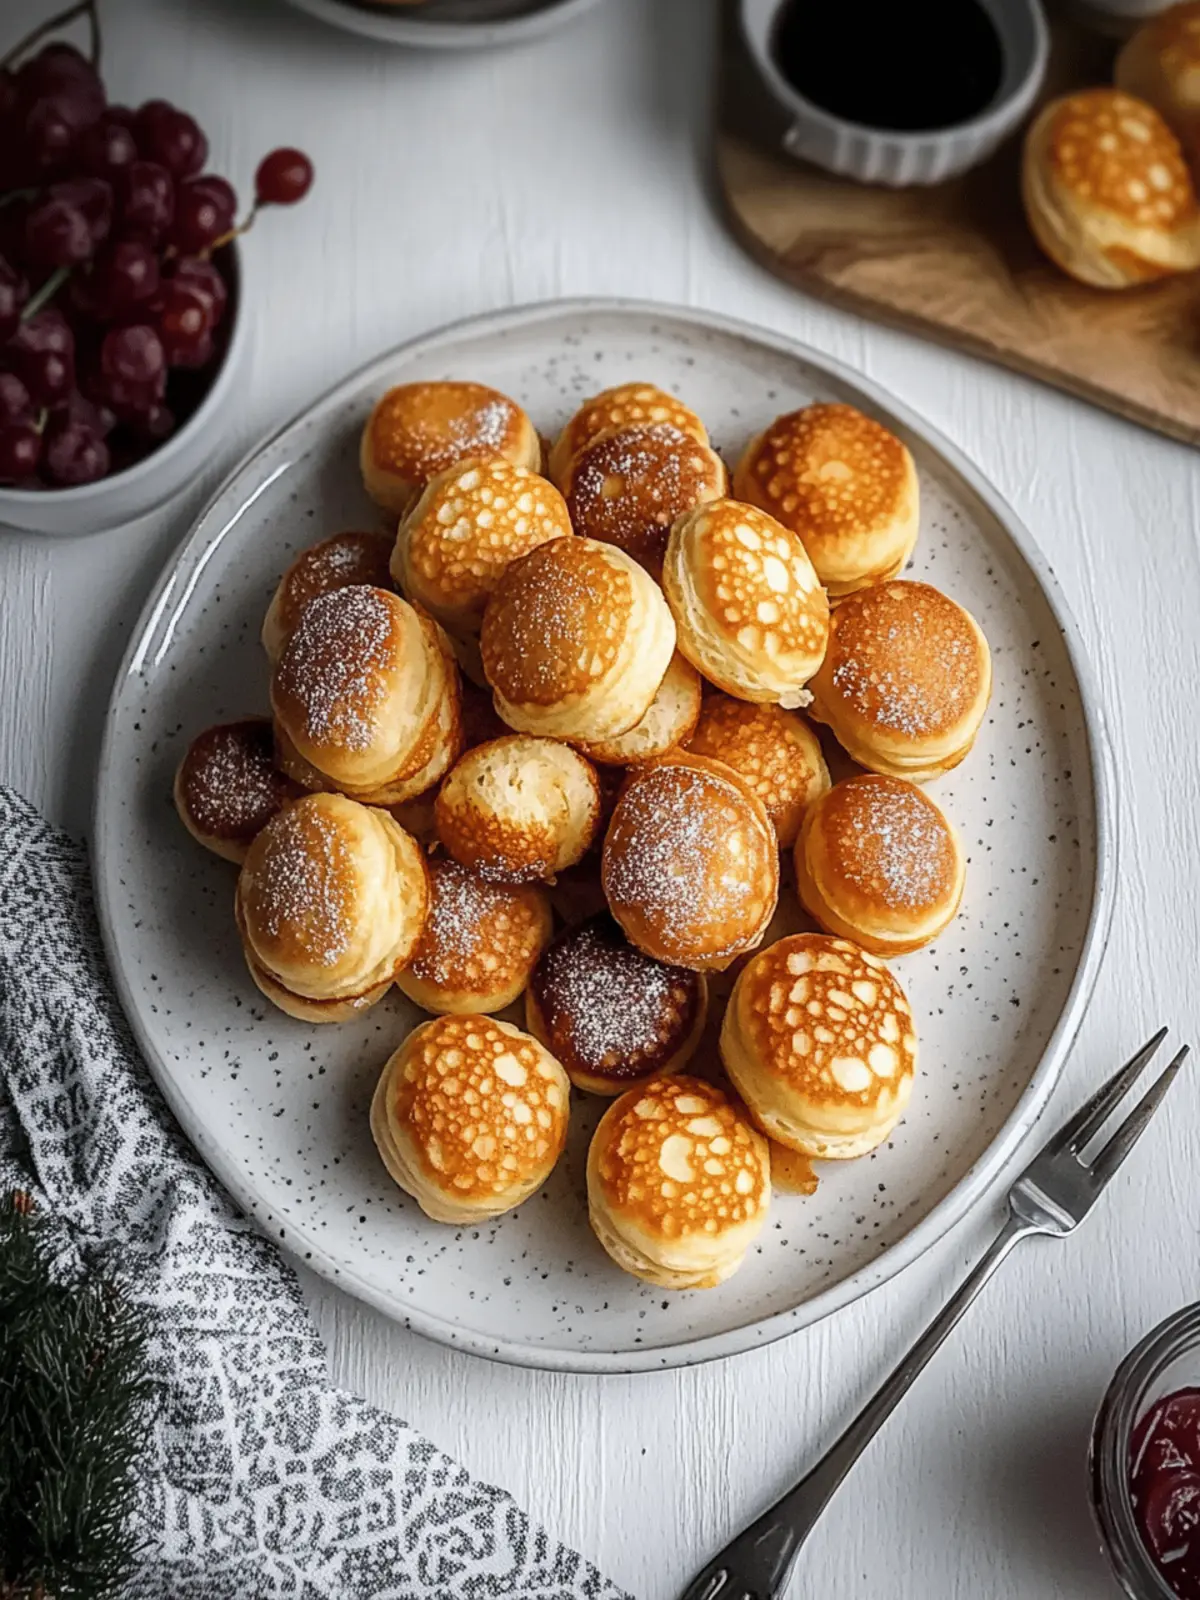
Irresistible Danish Pancake Balls You’ll Want Every Weekend
Ingredients
Equipment
Method
- In a small bowl, whisk together the all-purpose flour, baking powder, and salt until well combined.
- In a medium bowl, blend the eggs, buttermilk, sugar, vegetable oil, and vanilla extract together until smooth.
- Gradually add the dry ingredients to the wet mixture. Gently whisk until just blended.
- Adjust the batter by adding more buttermilk if it's too thick.
- Preheat your æbleskive pan over medium/low heat.
- Add a dab of unsalted butter to each cavity when the pan is heated.
- Pour the batter into each hole, filling them just below the top.
- Cook for 1-2 minutes, then flip each pancake ball with a skewer or fork.
- Ensure they are dark golden brown outside and cooked through inside.
- Repeat until all batter is used.
- Serve warm, dusted with powdered sugar and your choice of jam.

