
After a long week filled with mundane meals and quick takeout, I found myself craving something indulgent yet comforting. That’s when I decided to channel my inner baker and whip up a dessert that would combine two of my all-time favorites: banana pudding and cheesecake. The result? A luscious Banana Pudding Cheesecake that brings joy to every bite!
This recipe doesn’t just sit pretty in a cake pan—it captivates with layers of creamy, banana-infused goodness, all on a buttery Nilla wafer crust that literally crumbles with delight. Picture this: the first scoop revealing an inviting swirl of whipped cream on top, perfectly complemented by fresh banana slices and those nostalgic cookie crunches. What I adore most is how effortlessly it comes together; you won’t need to be a pro in the kitchen to make this stunning dessert shine at your next gathering.
Whether you’re preparing for a potluck or simply wishing to bring a touch of sweetness to your day, this Banana Pudding Cheesecake is your go-to for a guaranteed crowd-pleaser. Let’s dive in and create a dessert that’s destined to be the highlight of any occasion!
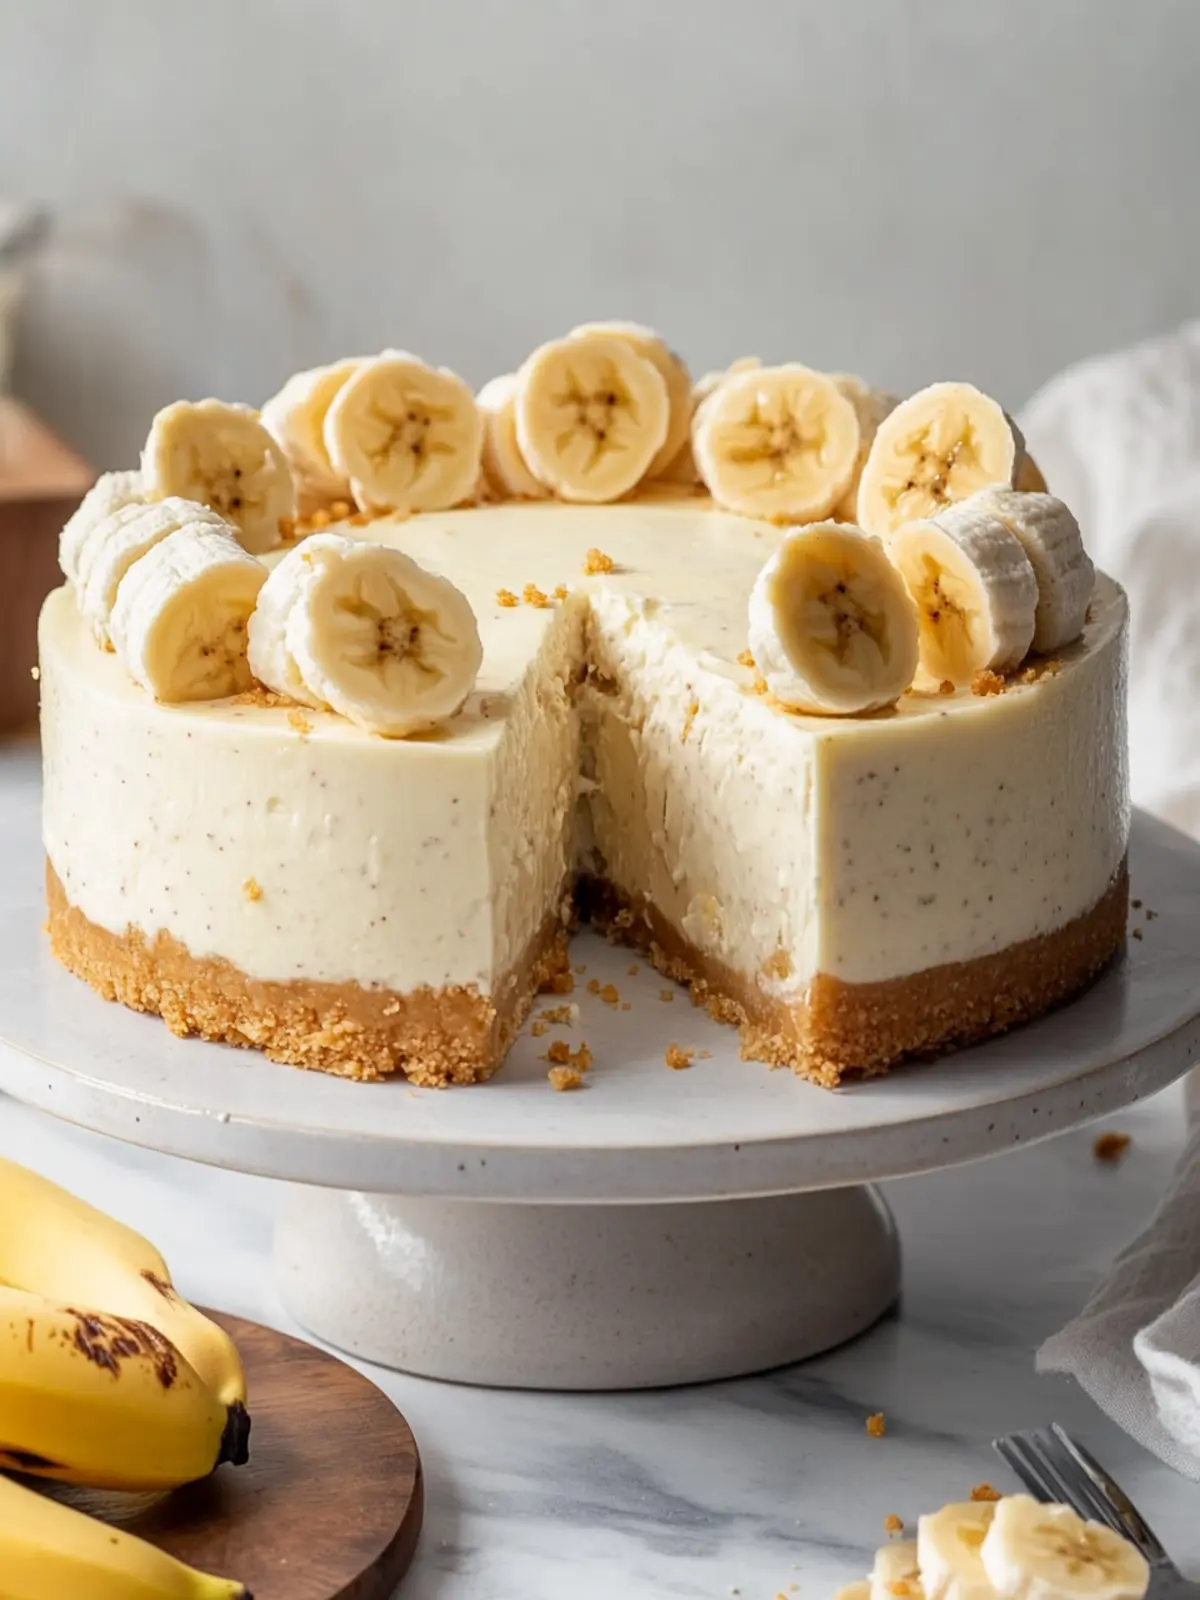
Why is Banana Pudding Cheesecake a Must-Try?
Indulgent Layers: This remarkable dessert beautifully combines creamy cheesecake and nostalgic banana pudding flavors for a taste sensation that’s hard to resist.
Easy Preparation: Even novice bakers can master this recipe, effortlessly impressing family and friends.
Perfect for Gatherings: With its stunning presentation, it’s the ideal dessert for potlucks and celebrations.
Versatile Treat: Serve it chilled or at room temperature, making it perfect for any occasion.
Crowd Favorite: Every bite encourages smiles and happy sighs, making it a hit for kids and adults alike!
Don’t miss out on some other delicious desserts; check out our amazing cheesecake recipes for more inspiration!
Banana Pudding Cheesecake Ingredients
Get ready to bake a delightful treat!
For the Crust
- Nilla wafers – These are the secret to a buttery crust that forms the perfect base for your cheesecake.
- Granulated sugar – Helps to sweeten and flavor the crust nicely.
- Unsalted butter – Provides richness and moisture to bind the crust together.
For the Cheesecake Filling
- Cream cheese – Softened to room temperature for a smooth, creamy texture in your Banana Pudding Cheesecake.
- Mashed ripe banana – Infuses that delicious banana flavor throughout the cheesecake.
- Full-fat sour cream – Adds tanginess and creaminess that elevates the filling.
- Granulated sugar – Sweetens your cheesecake while balancing the tang of the cream cheese.
- Dry instant banana cream pudding mix – Enhances the banana flavor and gives the cheesecake an amazing texture.
- Pure vanilla extract – A splash of vanilla rounds out the flavors beautifully.
- Large eggs – Essential for achieving that rich, dense cheesecake consistency.
For the Topping
- Whipped cream or whipped topping – Optional, but highly recommended to add a light, airy finish to your cheesecake.
- Bananas – Sliced fresh for garnish, they add a pop of color and extra banana flavor.
- Nilla wafers – Use additional wafers as a decorative element that ties your cheesecake back to its crust.
Enjoy the sweet and creamy magic of this Banana Pudding Cheesecake—your friends and family are in for a treat!
How to Make Banana Pudding Cheesecake
-
Preheat the oven to 325°F (163°C). Line the bottom of a 9-inch springform pan with parchment paper to ensure easy removal later on. Set it aside; we’re starting our delightful journey!
-
Crush the Nilla wafers using a food processor or blender until fine crumbs form. If you’re feeling adventurous, place them in a sealed ziplock bag and crush with a rolling pin for some stress relief!
-
Mix the crushed Nilla wafer crumbs with granulated sugar in a medium-sized mixing bowl. Pour in the melted butter and combine until the crumbs are moistened and ready to become your crust.
-
Press the crumb mixture into the prepared springform pan, ensuring an even layer. A firm press will create a solid base for your creamy filling that everyone will love!
-
Bake the crust for 10 minutes. Remove it from the oven and let it cool while keeping the temperature at 325°F (163°C)—it’s a busy kitchen moment!
-
Boil a large pot of water for the water bath; this helps the cheesecake bake evenly. Meanwhile, we’re gearing up to make the luscious filling!
-
Beat the softened cream cheese in a stand mixer or large mixing bowl on low-medium speed for about 1 to 2 minutes until it’s super smooth and creamy.
-
Add mashed banana and sour cream, mixing until fully integrated. Then incorporate the granulated sugar, banana cream pudding mix, and vanilla extract, stirring well for another 30 to 60 seconds until everybody’s mingled nicely.
-
Beat the eggs in a separate small bowl until lightly combined. Gently fold the beaten eggs into the cheesecake filling on low speed to maintain that smooth consistency.
-
Wrap the bottom of the springform pan with 2 to 3 layers of aluminum foil to keep water from sneaking in. Place the wrapped pan inside an oven bag and roll the sides down for secure sealing.
-
Pour the beautiful cheesecake filling into the springform pan, smoothing it out into an even layer. It’s looking good already!
-
Fill a large roasting pan with boiling water, about 1-inch deep. Carefully set the wrapped springform pan into the roasting pan; this is vital for that rich, creamy texture!
-
Bake the cheesecake by transferring the roasting pan to the oven. Let it bake for 70 to 80 minutes—watch for the edges to set while the center remains slightly jiggly for a perfect finish!
-
Cool down by turning off the oven, cracking the door slightly. Leave the cheesecake in the warm oven for 1 hour for gentle cooling.
-
Transfer the cheesecake to a wire rack and let it cool completely. Once it has reached room temperature, cover it tightly and refrigerate for 5 to 6 hours or overnight—good things take time!
-
Loosen the cheesecake from the springform pan by running a thin knife around the edge. Carefully release the pan, revealing your masterpiece!
-
Decorate the cheesecake with a fluffy layer of whipped cream, fresh banana slices, and Nilla wafers for that stunning finish. Your Banana Pudding Cheesecake is now ready to be devoured!
Optional: Garnish with extra Nilla wafers for added crunch!
Exact quantities are listed in the recipe card below.
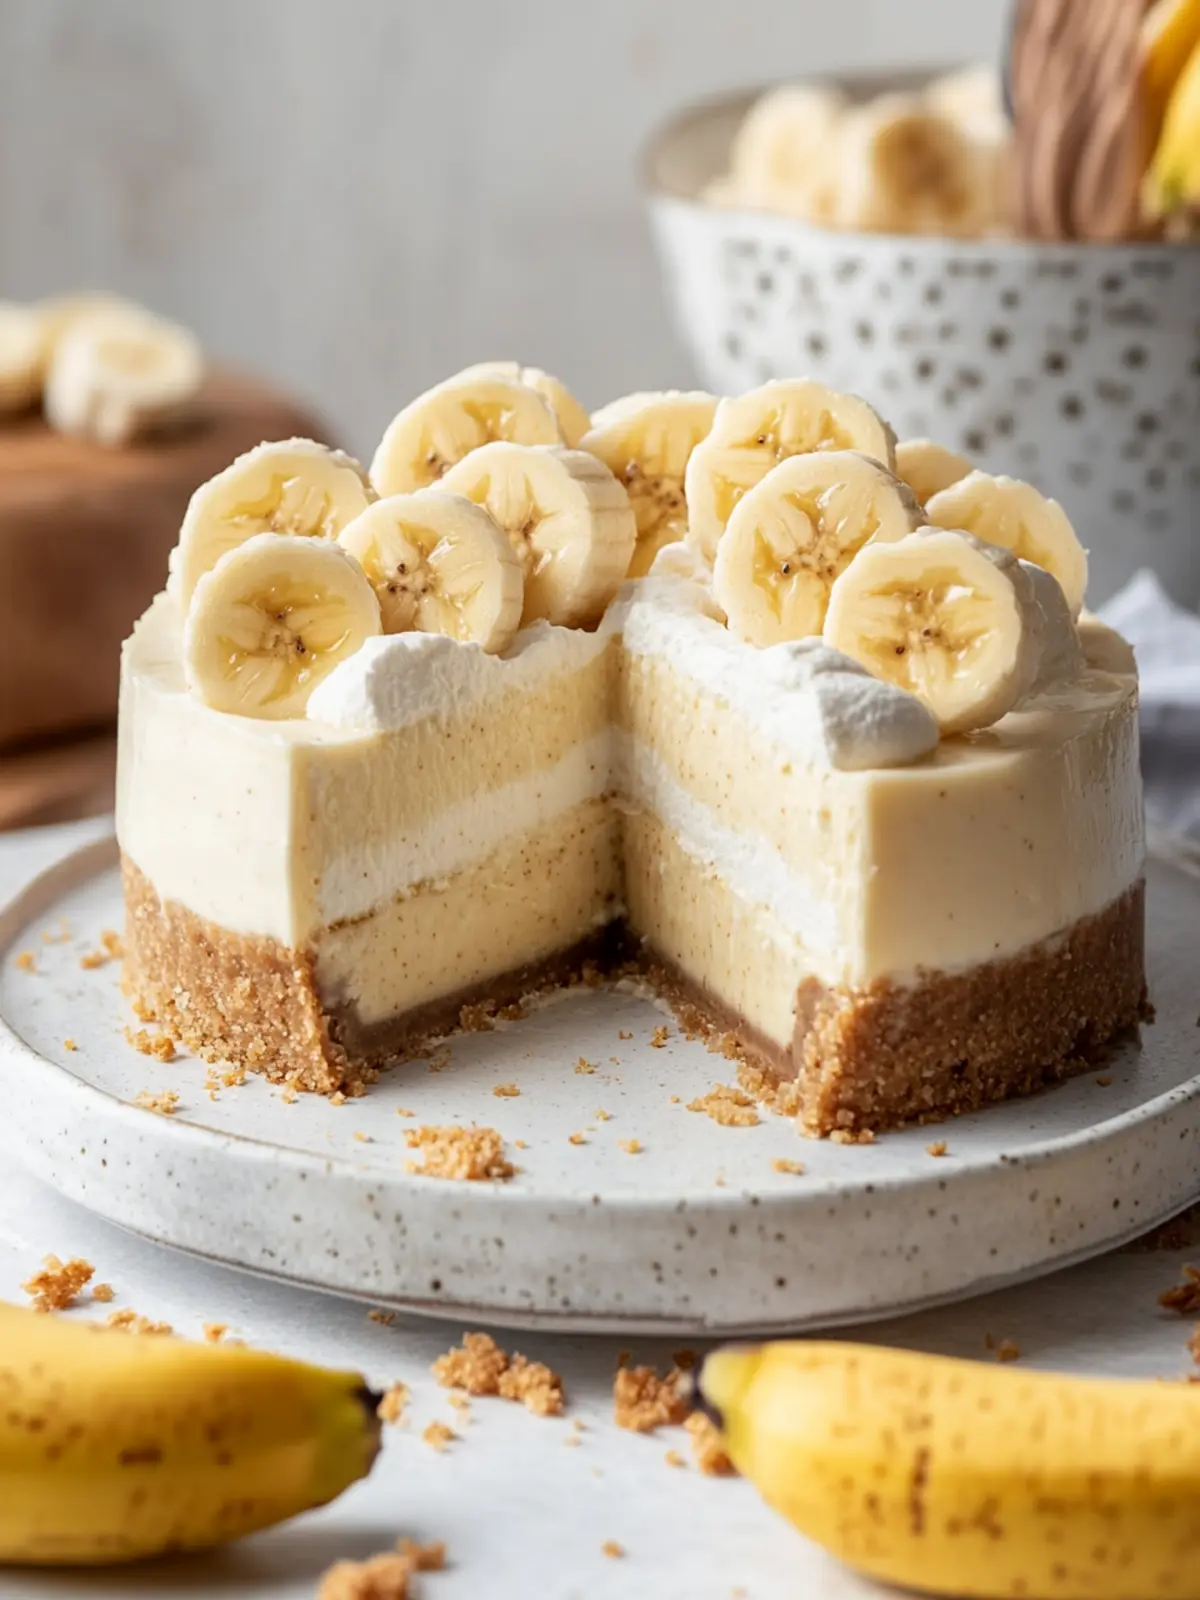
Make Ahead Options
The Banana Pudding Cheesecake is perfect for meal prep, allowing you to enjoy this delightful dessert without the last-minute rush. You can prepare the Nilla wafer crust and creamy filling up to 24 hours in advance—simply store the crust and filling separately in airtight containers in the refrigerator. This keeps the crust crisp and the filling fresh! On the day of serving, just bake the cheesecake as directed, cool it, and chill for 5 to 6 hours (or even overnight) to enhance the flavors. Remember to decorate with whipped cream, fresh bananas, and Nilla wafers right before serving to keep everything looking fresh and vibrant. Enjoy a homemade dessert ready to impress with minimal effort!
What to Serve with Banana Pudding Cheesecake?
To create an unforgettable meal experience, pair your Banana Pudding Cheesecake with complementary flavors and delightful textures.
-
Fresh Berries: Bright, juicy strawberries or blueberries provide a refreshing contrast to the creamy cheesecake, enhancing the overall flavor profile.
-
Caramel Sauce: Drizzling warm caramel adds a luscious richness that beautifully complements the banana notes in your cheesecake.
-
Chocolate Ice Cream: Serve alongside a scoop of creamy chocolate ice cream for a delightful mix of flavors and contrasting temperatures.
-
Whipped Cream: A dollop of fresh whipped cream boosts the lightness of the dessert, inviting you to enjoy each luscious bite.
-
Coffee: Brewed coffee or espresso pairs perfectly, offering a warm, robust element that balances the sweetness of the cheesecake.
-
Banana Smoothie: For a fun, fruity drink, blend ripe bananas with yogurt and a splash of milk, echoing the cheesecake flavors while keeping things refreshing.
Imagine guests gathering around the table, laughter filling the air as they dive into each sweet bite, tasting the love and joy baked into every layer.
Expert Tips for Banana Pudding Cheesecake
Use Room Temperature Ingredients: Ensure your cream cheese, eggs, and sour cream are at room temperature for a smoother filling and even baking.
Don’t Skip the Water Bath: Baking your cheesecake in a water bath prevents cracks and keeps it creamy. It’s essential for that dreamy texture!
Cool Gradually: Allow the cheesecake to cool in the oven after baking. Cracking the oven door helps it transition to room temperature, avoiding sudden changes.
Plan Ahead: Make this Banana Pudding Cheesecake a day in advance! Chilling overnight allows the flavors to develop and set beautifully.
Be Gentle with Mixing: Overmixing can incorporate too much air, leading to unwanted cracks. Mix just until ingredients are combined for the best results.
Feel free to experiment with these tips to create your perfect Banana Pudding Cheesecake masterpiece!
Storage Tips for Banana Pudding Cheesecake
- Fridge: Store leftover Banana Pudding Cheesecake in an airtight container or cover it tightly with plastic wrap for up to 5 days. This keeps it fresh and delicious!
- Freezer: If you want to enjoy your cheesecake later, wrap it well in plastic wrap and aluminum foil, then freeze for up to 2 months. Thaw overnight in the fridge before serving.
- Reheating: This cheesecake is best enjoyed chilled, but if you prefer it slightly warm, heat individual slices in the microwave for about 15-20 seconds.
- Garnishes: If you’ve topped the cheesecake with whipped cream or fresh bananas, add those just before serving to maintain their freshness and avoid sogginess.
Banana Pudding Cheesecake Variations
Feel free to let your creativity shine and customize this dessert for any palate or dietary preference!
- Gluten-Free: Substitute Nilla wafers with gluten-free cookie crumbs for a delightful crust that everyone can enjoy.
- Choco-Banana: Fold in mini chocolate chips into the cheesecake filling to add a rich, chocolatey twist that beautifully complements the bananas.
- Creamy Coconut: Replace sour cream with creamy coconut yogurt for a tropical flair that adds layers of delicious sweetness.
- Nutty Crunch: Incorporate crushed nuts, such as pecans or walnuts, into the crust or sprinkle on top for added texture and flavor. The crunch will wonderfully contrast the silky cheesecake.
- No-Bake Option: For a creamy delight without the oven, set the cheesecake in a pie dish using only whipped cream and banana pudding mix—quick, easy, and refreshing!
- Caramel Drizzle: Elevate the decadent experience with a drizzle of caramel sauce over the top before serving, making every bite feel indulgent and special.
- Fruity Fusion: Mix in a variety of mashed fruits like mango or berries with the bananas for an exciting, multi-fruit cheesecake that dances with flavors.
- Dairy-Free Delight: Swap cream cheese for a dairy-free alternative, like cashew or almond cream cheese, and use coconut whipped cream for the topping.
These variations will inspire you to create your perfect Banana Pudding Cheesecake tailored to your taste! Enjoy the journey of culinary exploration!
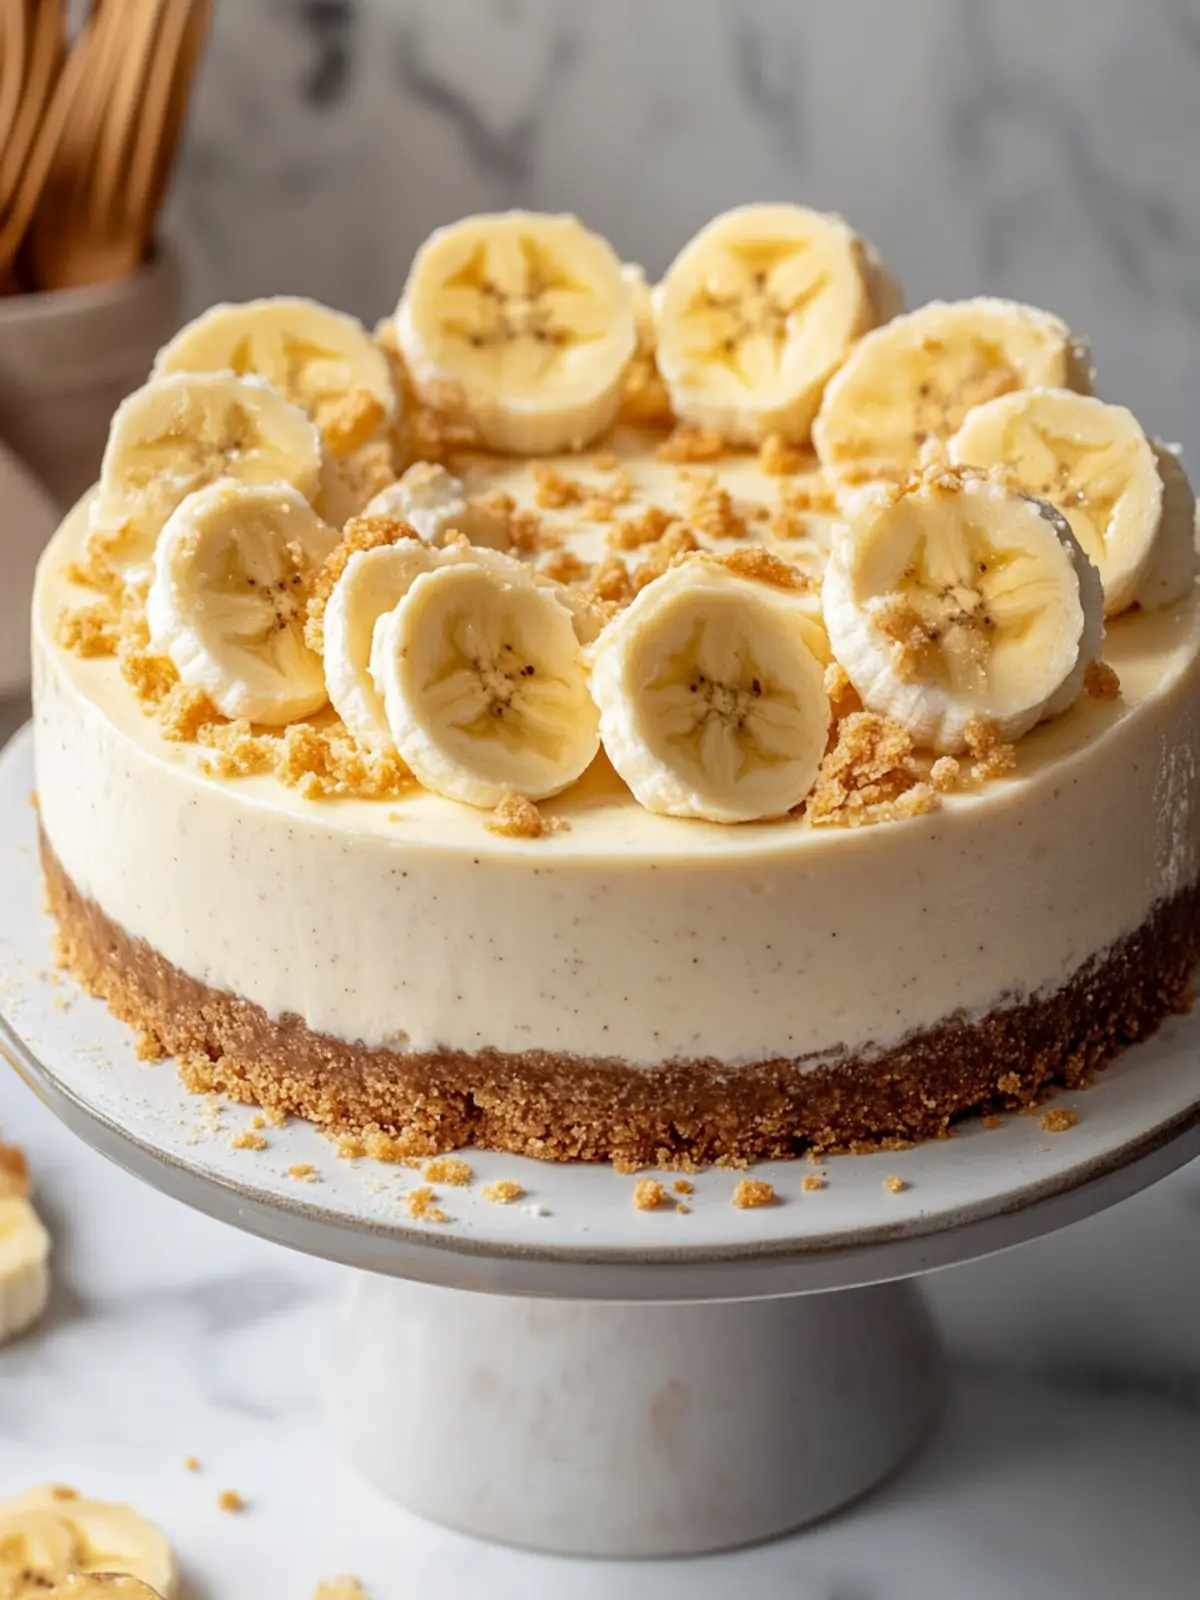
Banana Pudding Cheesecake Recipe FAQs
What type of bananas should I use for this recipe?
Absolutely! You should use ripe bananas for the best flavor and sweetness. Look for bananas with some brown spots on their skin, as they are sweeter and will mash more easily. Avoid using overly mushy bananas or those with dark spots all over, as they may affect the texture of your cheesecake.
How long can I store leftover Banana Pudding Cheesecake?
Very! You can store any leftover Banana Pudding Cheesecake in an airtight container in the refrigerator for up to 5 days. Just make sure to cover it tightly to keep it fresh and delicious. If left exposed, it can dry out and lose its delightful flavor!
Can I freeze Banana Pudding Cheesecake, and if so, how?
Yes, you can freeze your cheesecake! First, let it cool completely, then wrap it well in plastic wrap followed by aluminum foil. This double protection will prevent freezer burn. You can freeze it for up to 2 months. When you’re ready to enjoy it, simply thaw it in the fridge overnight before serving.
Why did my cheesecake crack during baking?
Common troubleshooting! Cracks can happen if the batter is overmixed or if it cools too quickly. To avoid this, mix just until combined, and use a water bath during baking—it helps regulate the temperature. After baking, turning off the oven and leaving the door slightly ajar for an hour allows the cheesecake to cool gradually.
Can I make this recipe gluten-free or accommodate dairy allergies?
Absolutely! If you need a gluten-free option, swap the Nilla wafers for gluten-free cookies or a gluten-free graham cracker crust. For a dairy-free version, look for dairy-free cream cheese and sour cream alternatives. Just ensure all substitutions are suitable for your dietary needs.
How do I enhance the flavor of my Banana Pudding Cheesecake?
One of my favorite ways to boost flavor is to add a pinch of cinnamon or nutmeg to the filling. You can also consider incorporating crushed walnuts or pecans into the crust for added texture and nuttiness! Getting creative with your ingredients can make this Banana Pudding Cheesecake even more delightful.
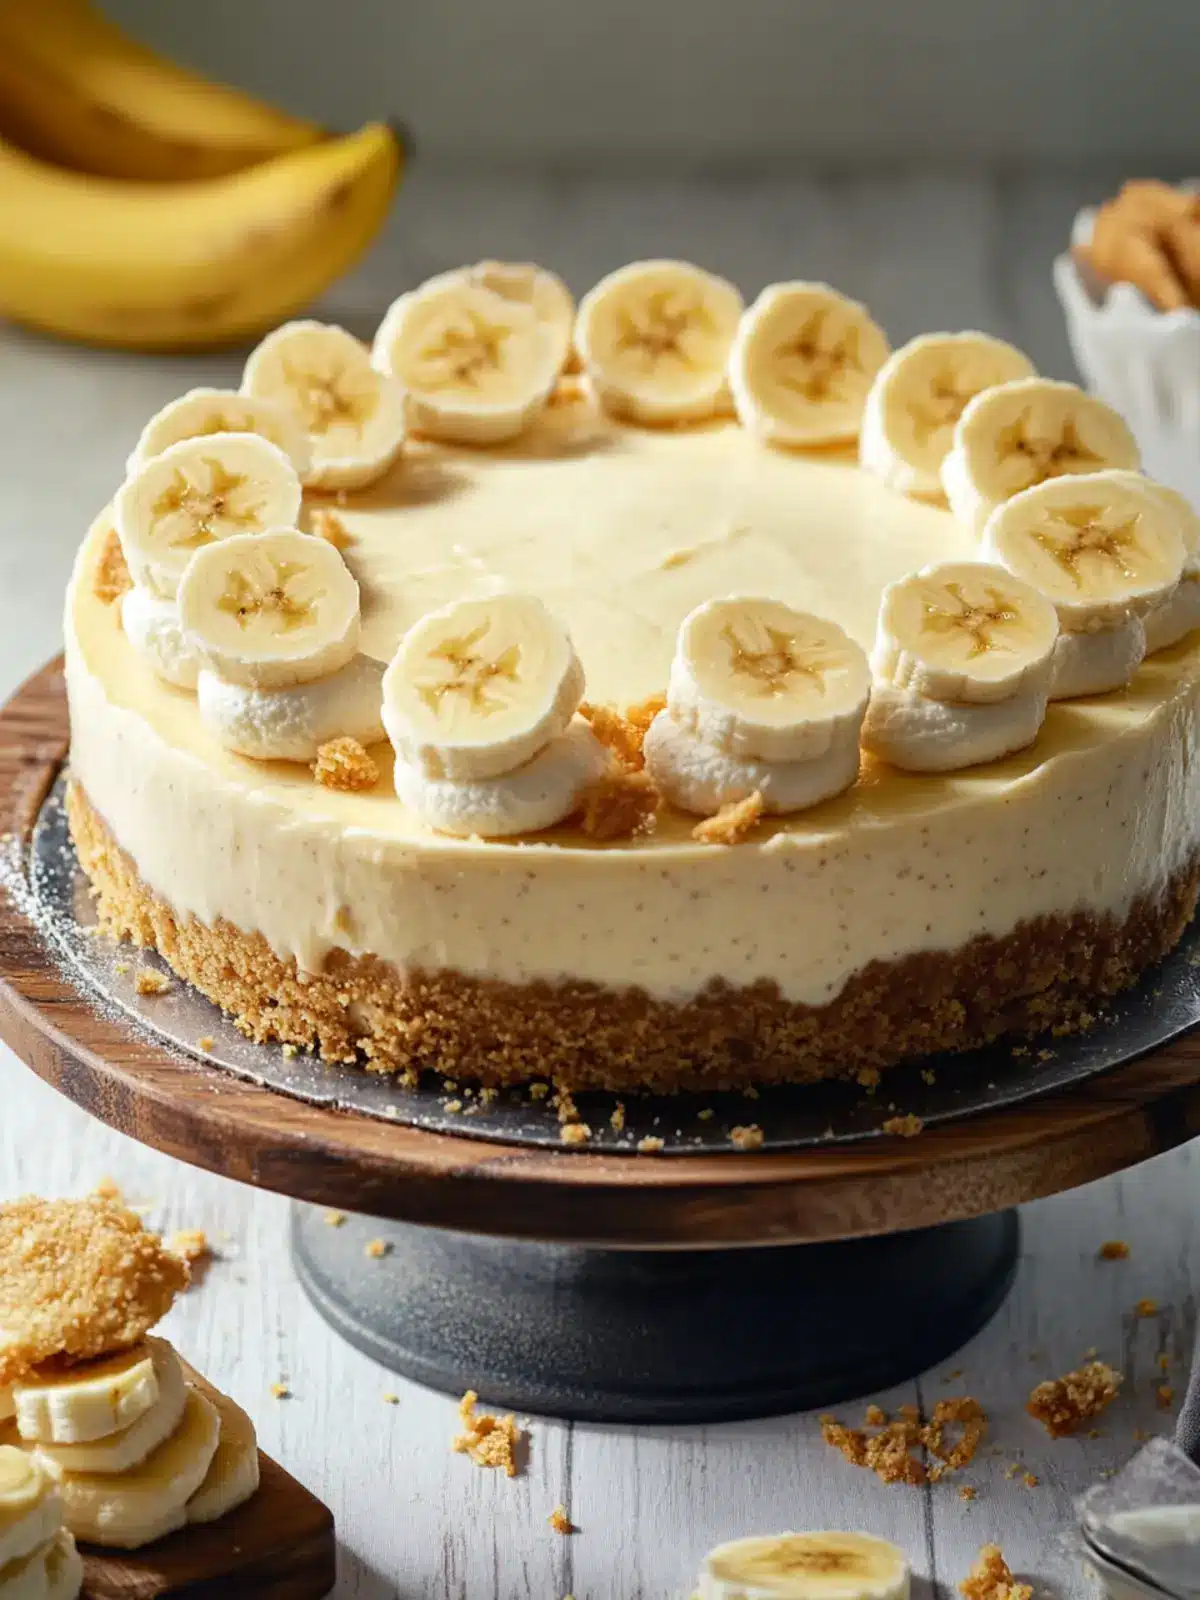
Indulge in a Creamy Banana Pudding Cheesecake Delight
Ingredients
Equipment
Method
- Preheat the oven to 325°F (163°C). Line the bottom of a 9-inch springform pan with parchment paper.
- Crush the Nilla wafers using a food processor or blender until fine crumbs form.
- Mix the crushed Nilla wafer crumbs with granulated sugar in a mixing bowl. Pour in the melted butter and combine.
- Press the crumb mixture into the prepared springform pan, ensuring an even layer.
- Bake the crust for 10 minutes. Remove and let it cool.
- Boil a large pot of water for the water bath.
- Beat the cream cheese in a stand mixer until super smooth and creamy.
- Add mashed banana and sour cream, mixing until fully integrated.
- Incorporate granulated sugar, banana cream pudding mix, and vanilla extract, stirring well.
- Beat the eggs in a separate bowl until lightly combined, then fold into the cheesecake filling.
- Wrap the bottom of the springform pan with aluminum foil to prevent water from entering.
- Pour the cheesecake filling into the springform pan and smooth it out.
- Fill a large roasting pan with boiling water and place the springform pan inside.
- Bake the cheesecake for 70 to 80 minutes, watching for the edges to set.
- Turn off the oven, crack the door slightly, and let the cheesecake cool for an hour.
- Transfer the cheesecake to a wire rack and let it cool completely before refrigerating for 5 to 6 hours or overnight.
- Loosen the cheesecake from the springform pan and release it.
- Decorate with whipped cream, fresh banana slices, and Nilla wafers before serving.