
Is there anything better than the perfect blend of buttery vanilla wafers, rich banana pudding, and creamy white chocolate? I don’t think so! That’s exactly what these Banana Pudding Bars bring to the table, and they couldn’t be easier to whip up. It all started during a cozy afternoon, with overripe bananas languishing on my counter, begging to be transformed into something delicious. This recipe has since become my go-to for gatherings, effortlessly impressing friends and family alike.
The best part? You won’t need any fancy culinary skills to pull this off. Each bite is a delightful explosion of flavors and textures that captures the essence of homemade comfort food, making it a win-win for anyone tired of bland, fast food choices. Imagine popping these golden bars out of the oven and letting the warm aroma fill your home—it’s an experience that’s sure to bring everyone to the kitchen!
Let’s dive into the recipe so you can bring this delightful treat into your home. Trust me; you’ll want to keep this one handy!
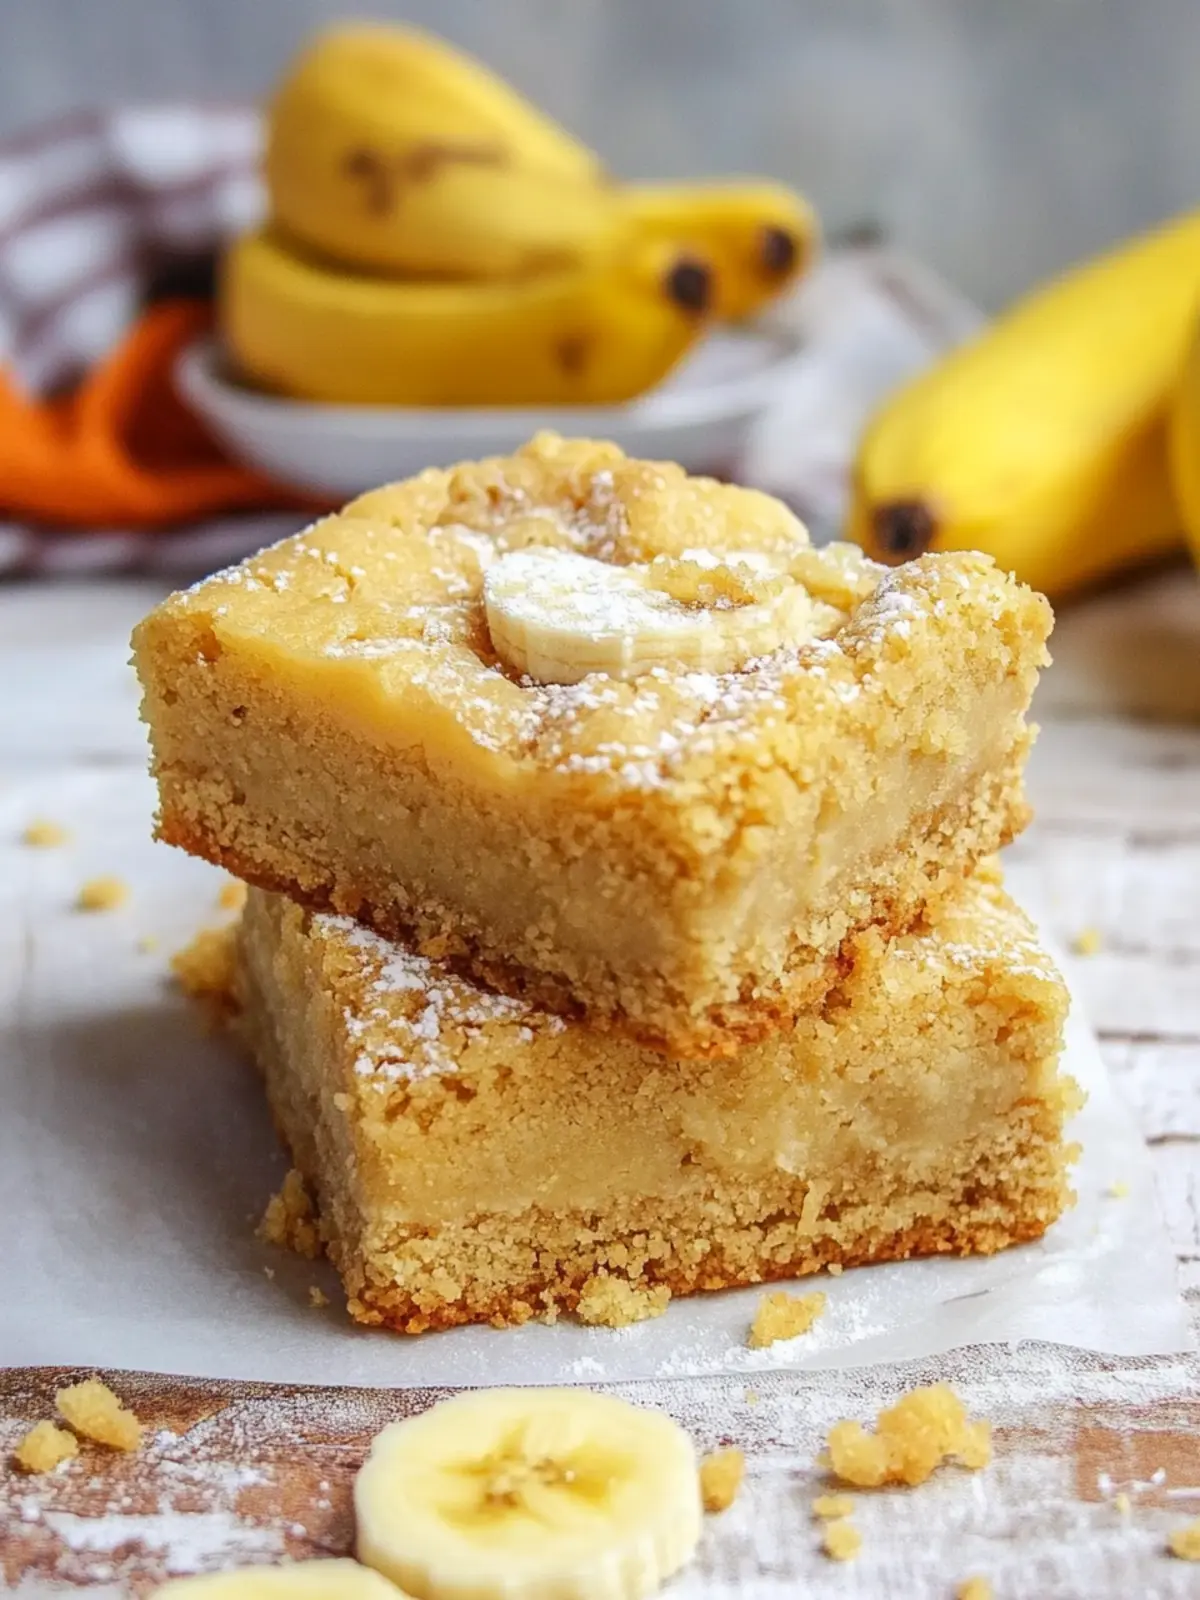
Why are Banana Blondies a must-try?
Indulgent, creamy layers: These Banana Pudding Bars combine the crunch of vanilla wafers with smooth, rich banana pudding.
Easy to make: Perfect for home cooks of any skill level, which means you can impress effortlessly!
Crowd-pleaser: Friends and family will rave about the delightful blend of flavors, making them perfect for gatherings or bake sales.
Versatile: Whether served warm or chilled, these bars can fit any occasion, from casual snacks to lavish dessert tables.
Time-saving: With a total bake time of only 20-25 minutes, these treats are ideal for satisfying those sweet cravings in no time.
Once you try them, you’ll find yourself coming back for more—check out this easy banana pudding recipe for even more delicious ideas!
Banana Pudding Bars Ingredients
For the Crust
• Vanilla Wafers – 16 ounces, these create the delightful base that holds everything together.
• Butter – ¾ cup melted, adds that rich, buttery flavor and helps bind the crust.
For the Filling
• Flour – 3 cups, the backbone of the bars that provides structure.
• Baking Soda – 1 ½ teaspoons, helps the bars rise for a perfect texture.
• Salt – 1 teaspoon, enhances the sweetness of the bars.
• White Sugar – 1 ¼ cups, sweetens the mixture for a delectable treat.
• Banana Pudding – 2 boxes (3.4 ounces each), brings that creamy banana flavor that’s irresistible.
• Eggs – 3 large, act as a binding agent to hold everything together.
• Vanilla – 2 teaspoons, adds a lovely depth of flavor.
• White Chocolate Chips – 2 cups, for extra sweetness and creamy texture.
For the Topping
• Crushed Vanilla Wafers – 1 cup reserved from the crust, to sprinkle on top for added crunch and flavor.
These Banana Pudding Bars are not just easy to make; they’re heavenly! Dive in and savor each sweet, creamy bite.
How to Make Banana Pudding Bars
-
Preheat your oven to 400°F. Start by spraying a 9×13 pan with cooking spray, ensuring that the bars won’t stick when it’s time to serve.
-
Crush the vanilla wafers by placing them in a large plastic baggie. Once you’ve crushed them into fine pieces, set aside one cup for later use.
-
Combine the remaining crushed wafers with ¾ cup of melted butter in a large bowl. Mix until the texture resembles wet sand, which will serve as your crust.
-
Press this mixture into the bottom of the prepared pan, creating an even layer. Bake in the preheated oven for 5 minutes, allowing it to set slightly.
-
Whisk together flour, baking soda, salt, granulated sugar, and the dry banana pudding mix in a large bowl. This mixture will create the filling base for your bars.
-
Stir in the eggs, vanilla, and remaining melted butter. Mix until everything is well combined and you have a lovely batter that’s ready to be transformed!
-
Fold in the white chocolate chips and the reserved crushed vanilla wafers. This adds delightful pockets of sweetness and crunch to every bite!
-
Spread the batter over the prepared crust, smoothing it out evenly. Bake in the oven for 15-20 minutes or until golden brown and set—your home will smell incredible!
Optional: Enjoy with a dollop of whipped cream on top for an extra treat!
Exact quantities are listed in the recipe card below.
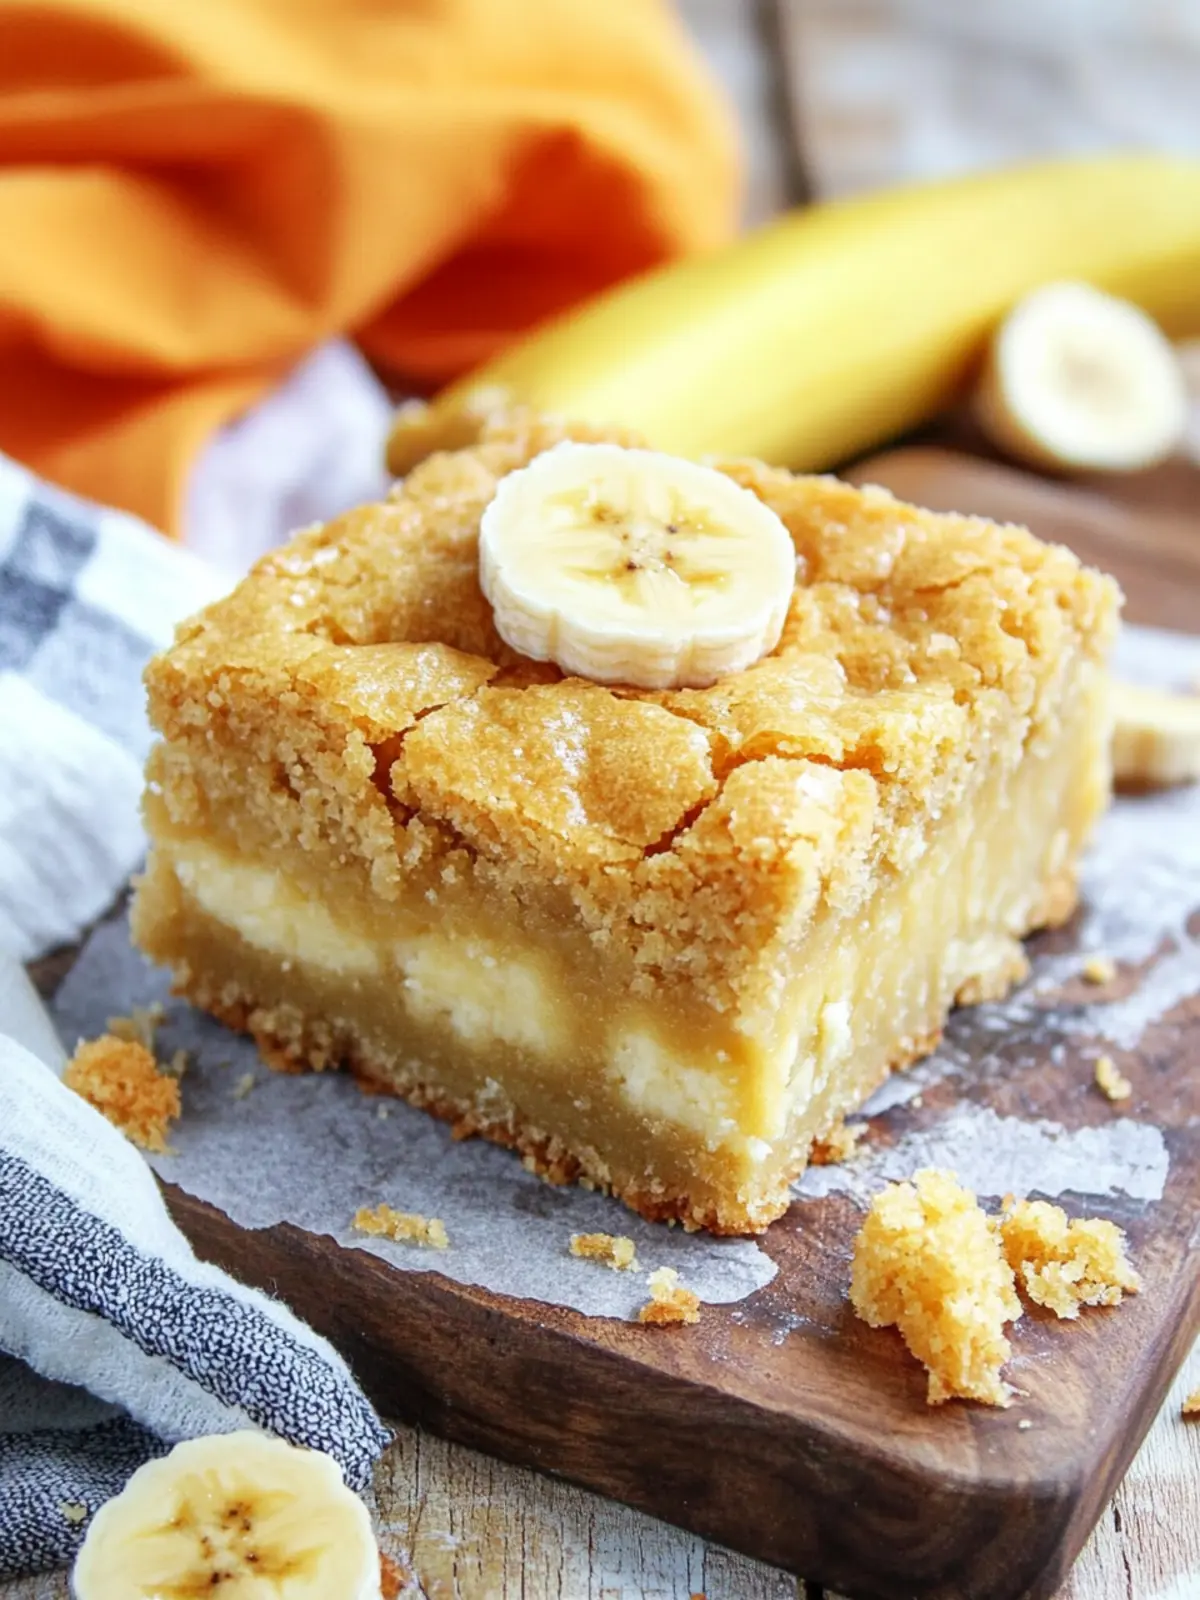
Expert Tips for Banana Pudding Bars
• Use Ripe Bananas: Ensure your bananas are perfectly ripe; they bring out the sweet banana flavor in your pudding bars beautifully.
• Don’t Overmix: When combining wet and dry ingredients, mix just until combined. Overmixing can lead to dense bars instead of light, fluffy ones.
• Watch Your Bake Time: Ovens vary, so check your bars a few minutes early. They should be golden brown around the edges and set in the center.
• Cooling Time: Allow the bars to cool completely before slicing. This helps them hold their shape and prevents excess crumbling.
• Storage Tips: Keep any leftovers in an airtight container in the fridge; they’ll stay fresh for several days—but they rarely stick around that long!
These tips will help you create the best Banana Blondies possible!
Make Ahead Options
These Banana Pudding Bars are perfect for meal prep enthusiasts! You can prepare the crust by mixing the crushed vanilla wafers and melted butter up to 24 hours in advance; just press it into the pan and refrigerate. The filling can also be whisked together before baking and stored in the fridge for up to 3 days—this keeps the ingredients fresh and flavorful. When you’re ready to bake, simply pour the filling over the prepared crust and bake as directed. To maintain quality, ensure the bars are covered tightly to prevent drying out. Trust me, these bars will be just as delicious, and you’ll have a delightful treat ready for busy weeknights!
Banana Blondies Variations
Feel free to make this recipe your own with these exciting twists and substitutions!
- Gluten-Free: Substitute all-purpose flour with a gluten-free flour blend to enjoy these bars without the gluten. They’ll still be just as delightful!
- Dairy-Free: Swap regular butter for coconut oil or dairy-free butter to keep these bars dairy-free, while adding a subtle tropical flavor.
- Nutty Crunch: Add 1 cup of chopped walnuts or pecans for a satisfying crunch that pairs beautifully with the creamy filling.
- Banana Boost: Increase the banana flavor by mashing 1-2 ripe bananas and mixing them into the batter for richer banana goodness.
- Spiced Up: Add a teaspoon of cinnamon or nutmeg to the dry ingredients for a warm, comforting spice that dances on your palate.
- Chocolate Lovers: Swap white chocolate chips for dark chocolate or milk chocolate chips, turning these treats into a chocolate lover’s dream.
- Coconut Flake: Fold in 1 cup of sweetened shredded coconut for a tropical twist that complements the banana flavor perfectly.
- Extra Creamy: Top with a layer of cream cheese frosting after baking for a luscious finish that takes these bars to the next level.
No matter the variation, you’ll still savor the delightful combination of flavors that makes these Banana Blondies so irresistible!
How to Store and Freeze Banana Pudding Bars
Room Temperature: Keep these bars in a cool place for up to 2 hours if serving at a gathering, but ideally store them in the fridge.
Fridge: Store leftovers in an airtight container in the fridge for up to 5 days. They get even better as they chill, enhancing the creamy flavors.
Freezer: To freeze, wrap individual bars in plastic wrap and place them in a freezer-safe bag. They can last for up to 3 months, ensuring you have a sweet treat ready anytime!
Reheating: When ready to enjoy, thaw in the fridge overnight and warm them slightly in the microwave for 10-15 seconds. Enjoy your delicious Banana Blondies!
What to Serve with Banana Pudding Bars?
Elevate your dessert experience with these tasty pairings that will complement the richness of your Banana Pudding Bars.
- Whipped Cream: This fluffy topping accentuates the creamy layers and adds a light finish to each delightful bite.
- Fresh Banana Slices: These provide a fresh and fruity contrast, enhancing the overall banana essence of the bars.
- Chocolate Sauce: Drizzling a bit of warm chocolate sauce adds an indulgent touch, amplifying the richness of the white chocolate chips.
- Caramel Drizzle: A sweet caramel drizzle over the bars creates a harmonious blend of flavors, making them even more irresistible.
- Ice Cream: Vanilla or banana-flavored ice cream creates a delightful contrast between warm bars and cold creaminess.
- Coffee: A warm cup of coffee or a latte pairs beautifully, balancing the sweetness with its rich, robust flavors.
- Fruit Salad: A light fruit salad with berries and citrus makes for a refreshing side that brightens the entire dessert experience.
- Milk: A classic cold glass of milk is a timeless companion, refreshing the palate after each sweet bite.
- Pecan Topping: Chopped pecans sprinkled on top add an appealing crunch and nutty flavor that enhances the buttery base.
- Chai Tea: The warm spices in chai tea can beautifully contrast the sweetness of the bars, offering a cozy drink option for dessert.
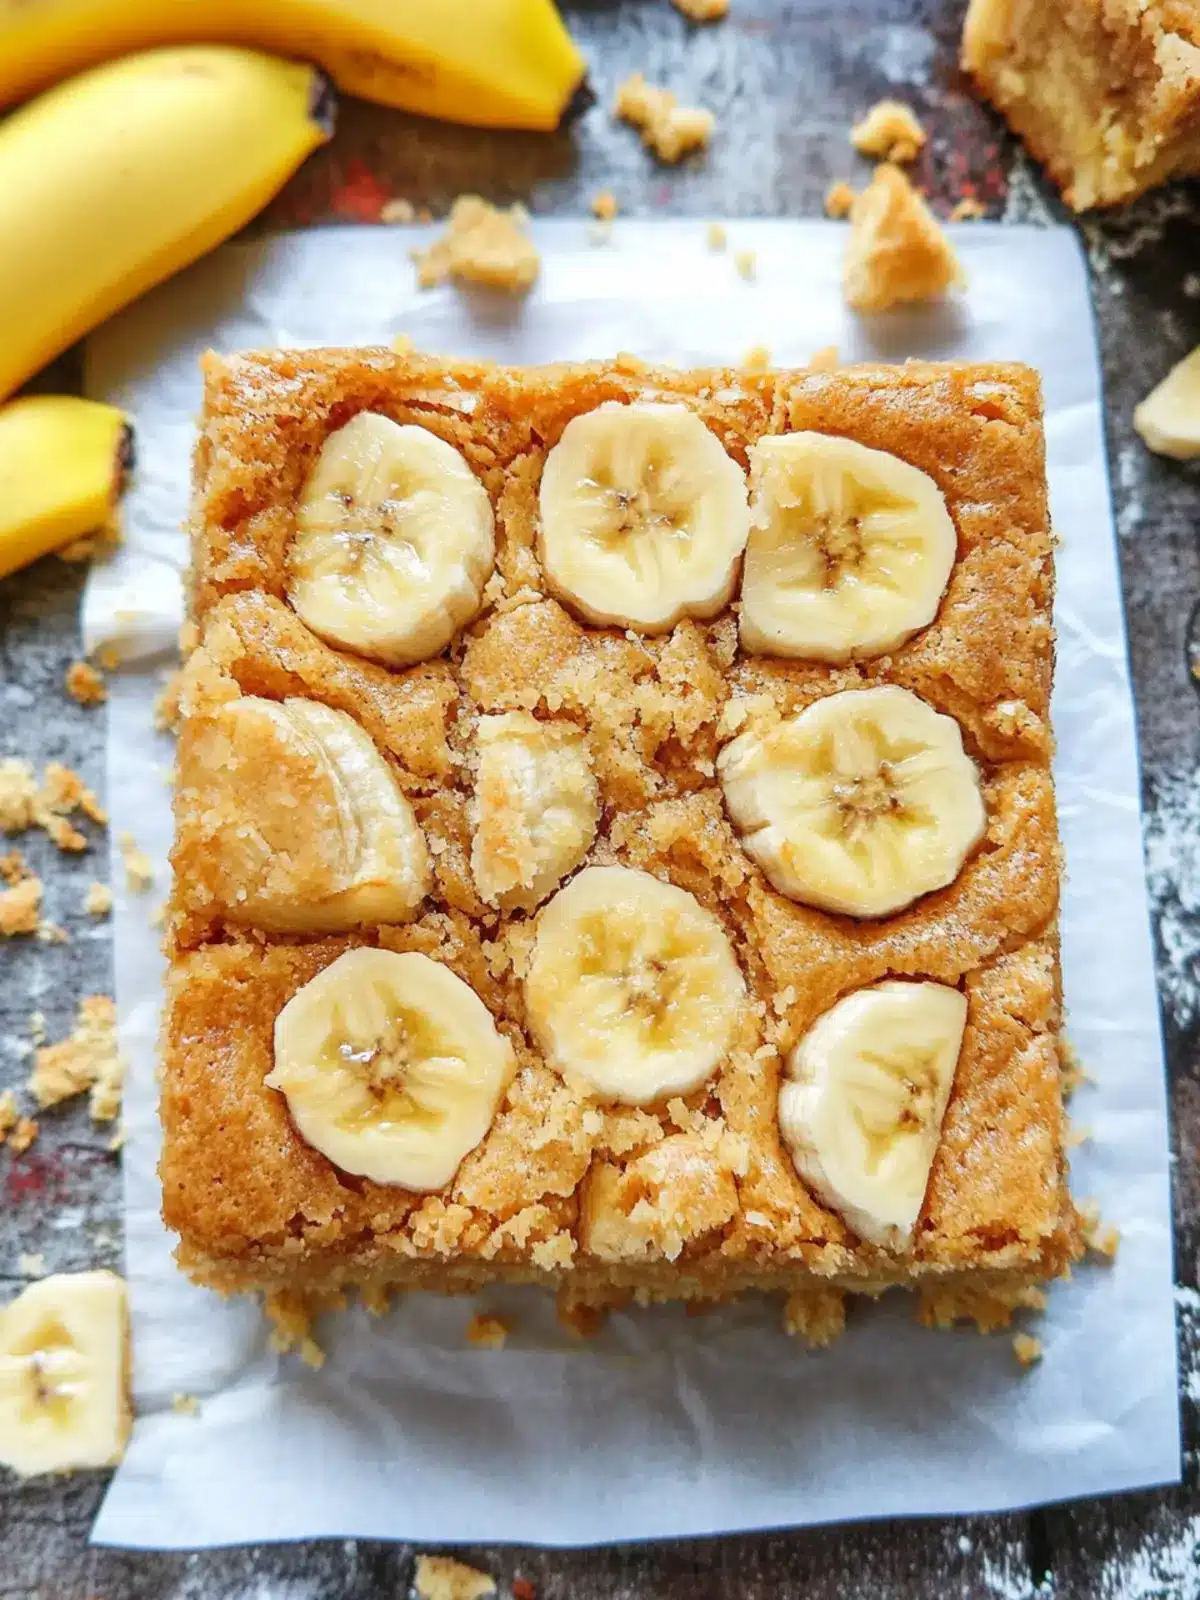
Banana Pudding Bars Recipe FAQs
How do I choose the right bananas for banana pudding?
Absolutely! Look for bananas that are perfectly ripe—think bright yellow with a few brown spots. These bananas will offer the sweetest flavor and creaminess that really enhances your pudding bars. Avoid bananas that are too green or overly brown, as they can alter the taste and texture of your bars.
What’s the best way to store Banana Pudding Bars?
Very! To keep your Banana Pudding Bars fresh, store them in an airtight container in the fridge for up to 5 days. This will not only maintain their texture but allow the flavors to meld beautifully. If you plan to serve them later, placing a piece of parchment paper between layers can help prevent sticking!
Can I freeze Banana Pudding Bars, and how do I do it?
Absolutely! To freeze, first let the bars cool completely. Then, wrap each bar tightly in plastic wrap. Place them in a freezer-safe bag or an airtight container, ensuring to label and date them. They’ll hold up to 3 months! When you’re ready to indulge, simply thaw them in the fridge overnight and enjoy a quick warm-up in the microwave for about 10-15 seconds.
What if my Banana Pudding Bars turn out too dense?
Very good question! If your bars are too dense, it could be due to overmixing the batter. When combining your wet and dry ingredients, mix until just combined—this keeps them light and fluffy. Also, make sure to measure your flour accurately; using too much can lead to a heavier texture.
Are there any dietary considerations with Banana Pudding Bars?
Definitely! If you have dietary restrictions, consider substituting regular butter with vegan butter for a dairy-free option. You can also use gluten-free flour to make this a gluten-friendly dessert. For allergies, always check the ingredients in your pudding mix and white chocolate chips to ensure they meet your needs.
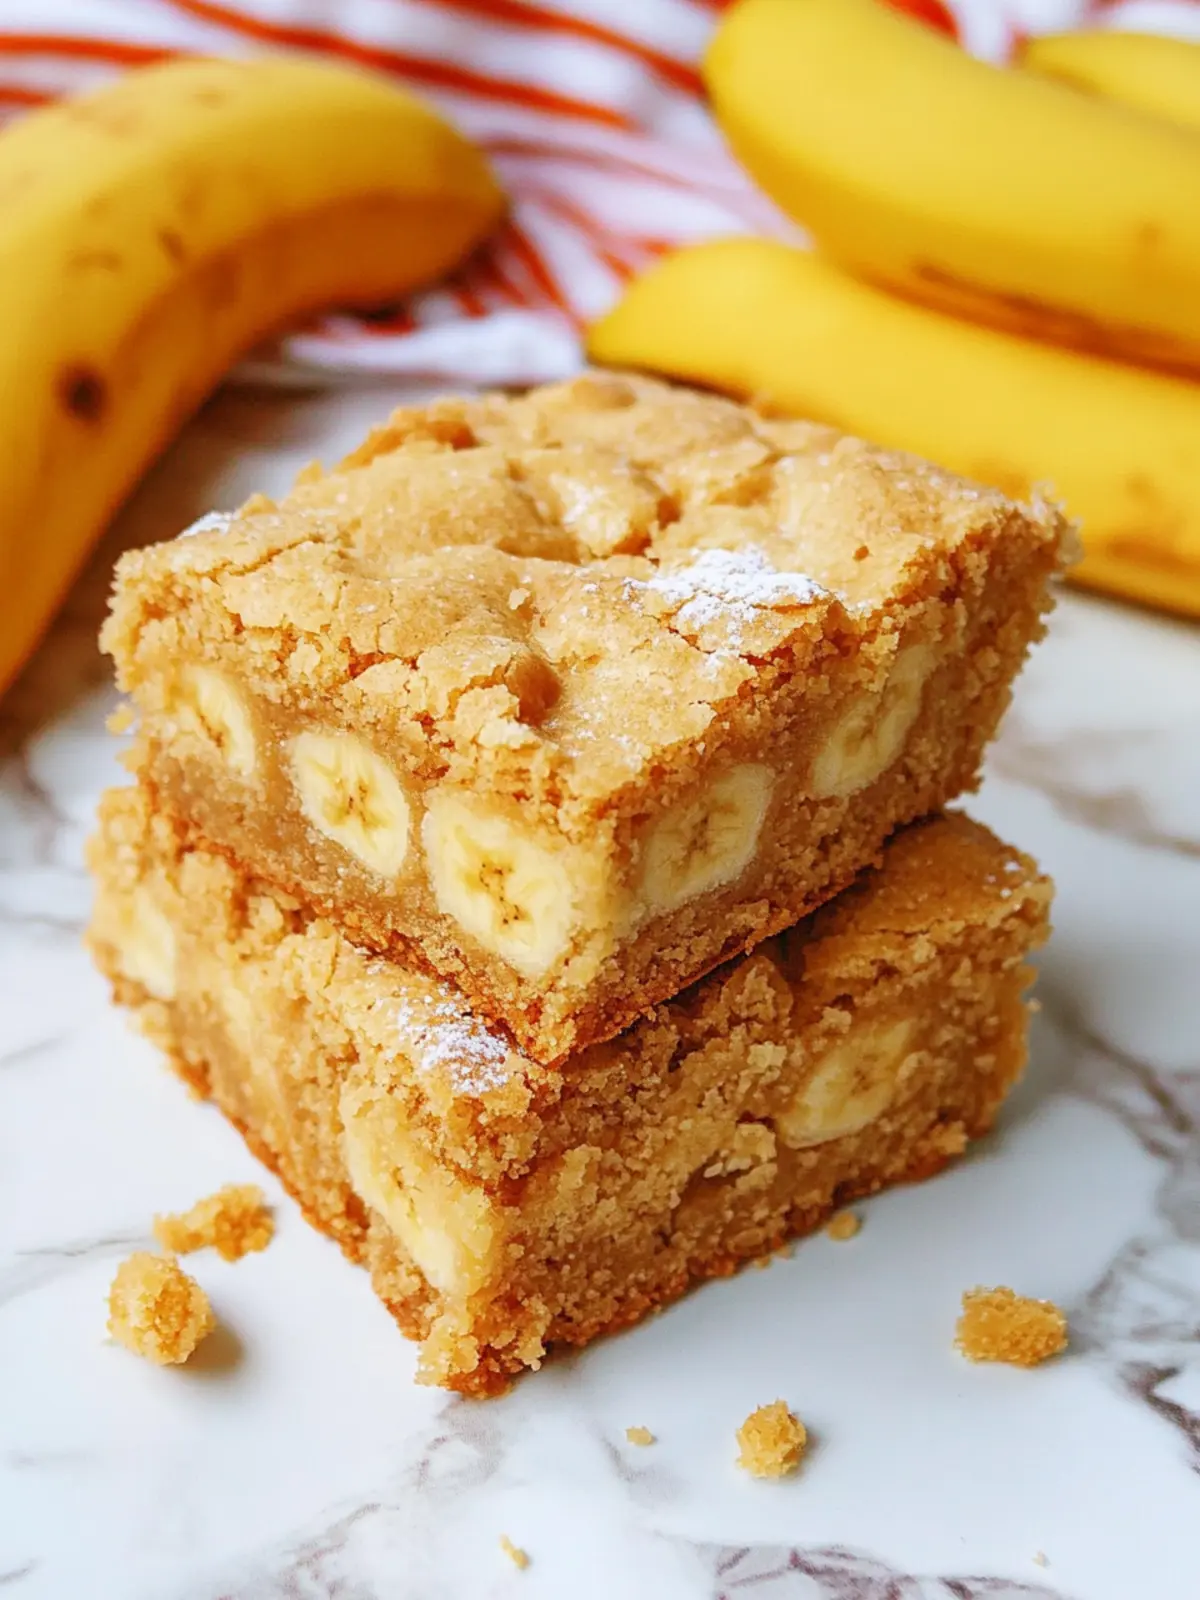
Decadent Banana Blondies Loaded with Sweet Chocolate Bliss
Ingredients
Equipment
Method
- Preheat your oven to 400°F. Start by spraying a 9x13 pan with cooking spray, ensuring that the bars won’t stick when it’s time to serve.
- Crush the vanilla wafers by placing them in a large plastic baggie. Once you’ve crushed them into fine pieces, set aside one cup for later use.
- Combine the remaining crushed wafers with ¾ cup of melted butter in a large bowl. Mix until the texture resembles wet sand, which will serve as your crust.
- Press this mixture into the bottom of the prepared pan, creating an even layer. Bake in the preheated oven for 5 minutes, allowing it to set slightly.
- Whisk together flour, baking soda, salt, granulated sugar, and the dry banana pudding mix in a large bowl.
- Stir in the eggs, vanilla, and remaining melted butter. Mix until everything is well combined.
- Fold in the white chocolate chips and the reserved crushed vanilla wafers.
- Spread the batter over the prepared crust, smoothing it out evenly. Bake in the oven for 15-20 minutes or until golden brown and set.