
After a long, hectic day, there’s nothing quite like the warm embrace of a homemade dessert to lift my spirits. That’s how I stumbled upon this delightfully simple 3 Step Oreo Cookie Dump Cobbler—a recipe that combines the magic of cookies with the comforting embrace of a cobbler. The first time I whipped this up, the sweet scent of melting butter and crushed Oreos filled my kitchen, instantly transporting me back to carefree childhood days.
What I love most about this dessert is its effortless charm; you can impress guests without spending hours in the kitchen. With just a few ingredients, you create a decadent treat that’s both creamy and crunchy—a true crowd-pleaser at potlucks and family gatherings. Picture this: a luscious layer of melted Oreos, topped with a buttery batter, and finished with the sweetness of brown sugar.
So, let’s dive into this delicious recipe that revolutionizes the way we enjoy Oreos—trust me, your taste buds will thank you!
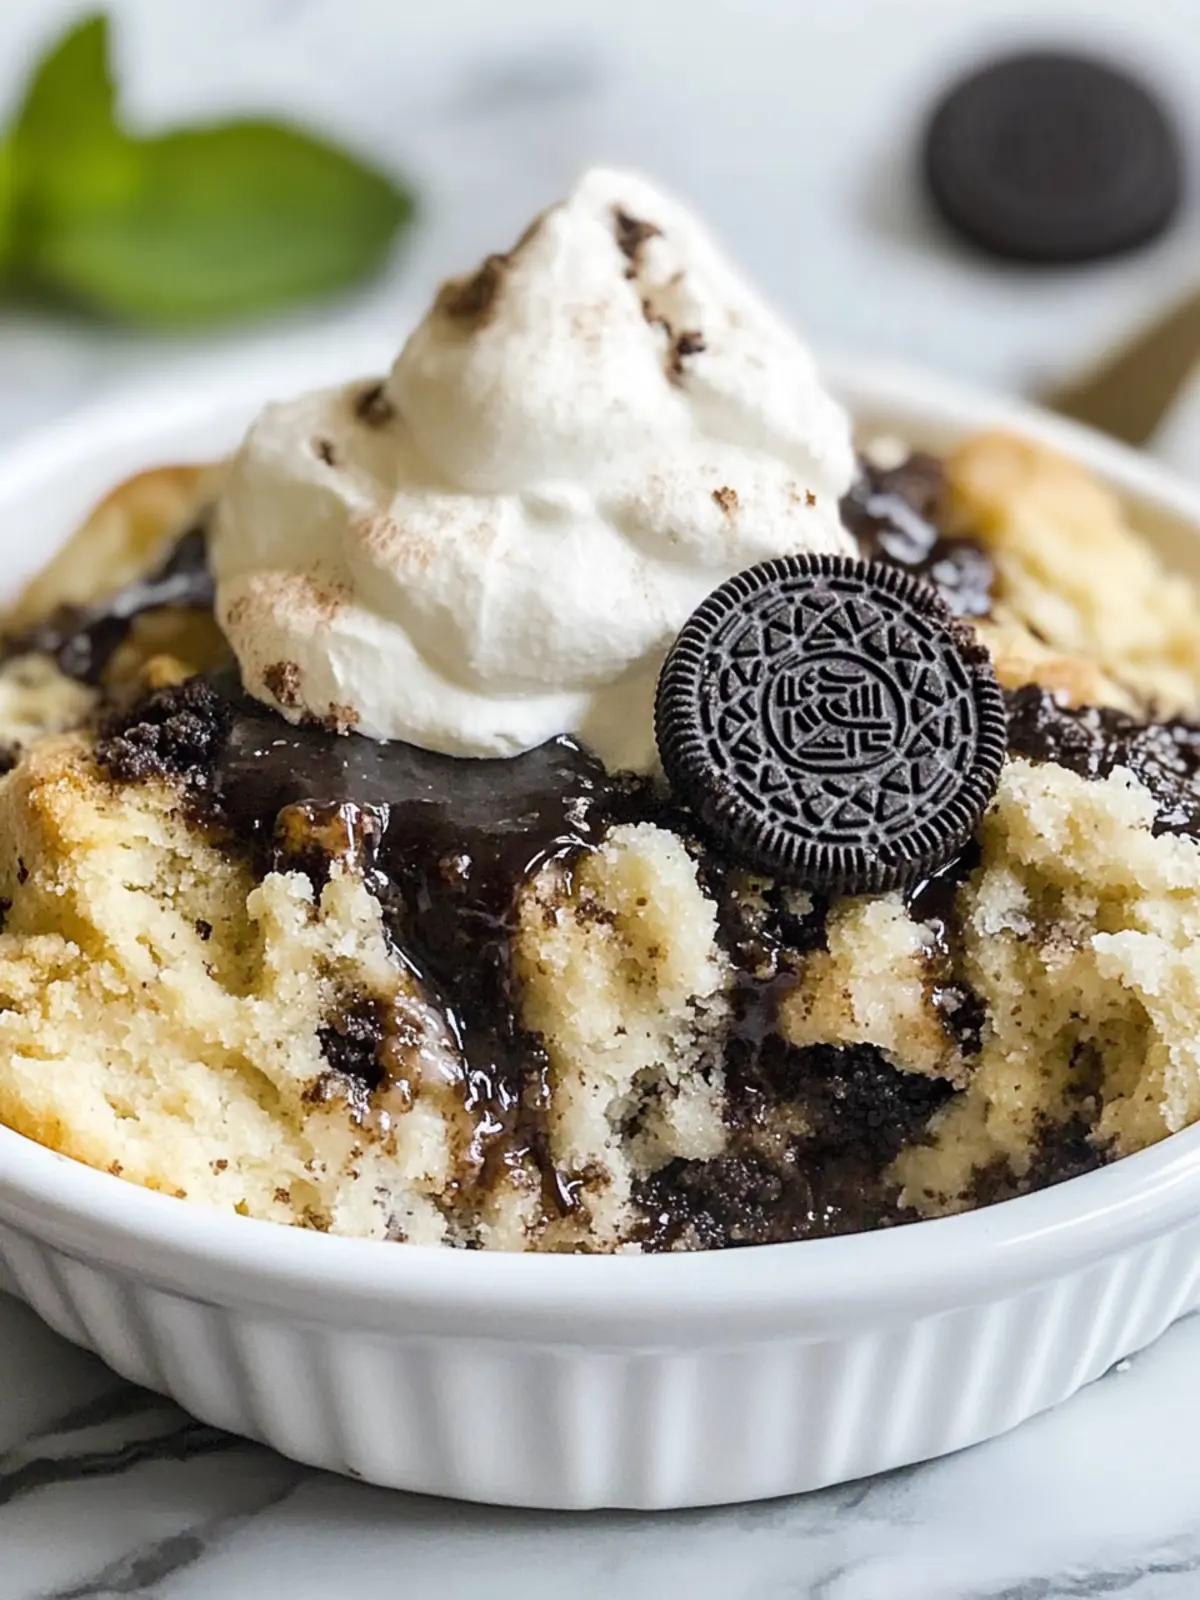
Why is 3 Step Oreo Cookie Dump Cobbler so delightful?
Simplicity at its Finest: With just three easy steps, you can whip up this indulgent dessert in no time.
Decadent Flavor: The blend of buttery Oreos and rich brown sugar creates a taste that’s simply heavenly.
Versatile Treat: Perfect for summer barbecues, cozy family dinners, or as a comforting late-night snack!
Crowd-Pleasing: Whether for kids or adults, this cobbler is guaranteed to impress and satisfy everyone’s sweet tooth.
Minimal Cleanup: One pan is all you need, making it an ideal choice for busy cooks.
Elevate your dessert game with this delightful recipe; it’s delicious served warm, especially alongside a scoop of ice cream!
3 Step Oreo Cookie Dump Cobbler Ingredients
For the Base
- 5 tablespoons butter – Melted butter creates a rich foundation for your cobbler.
- 12 to 15 Oreos – Crumbled Oreos add a delightful crunch and sweetness that is irresistible.
For the Batter
- 1 and ½ cups self-rising flour – This flour helps the cobbler rise, giving it a fluffy texture.
- 3/4 cup whole milk – Whole milk keeps the batter creamy and moist, enhancing the overall flavor.
- 1 cup granulated sugar – Sweetens the batter perfectly, balancing the flavors of the Oreos.
- 1 teaspoon pure vanilla extract – Adds a warm aroma that elevates the dessert experience.
For the Topping
- 1 and ½ cups brown sugar – Drizzled on top, it caramelizes beautifully as it bakes.
- 1 and ½ cups hot water – Pouring hot water creates a luscious topping that melds everything together, so don’t skip this step!
Your journey into this 3 Step Oreo Cookie Dump Cobbler heaven starts with these simple yet delightful ingredients!
How to Make 3 Step Oreo Cookie Dump Cobbler
-
Preheat oven: Set your oven to 350°F to create the perfect baking environment for your cobbler. Melting butter and delicious crumbled Oreos will soon fill your kitchen with irresistible aromas!
-
Layer Oreos: Pour the melted butter into a 9×13-inch baking pan, then scatter the crumbled Oreos evenly across the bottom. This will form a rich, flavorful base for your dessert.
-
Mix batter: In a large bowl, whisk together self-rising flour, vanilla, milk, and granulated sugar until just combined. Pour this creamy batter over the Oreo layer without stirring, then sprinkle brown sugar on top.
-
Add hot water: Gently pour the hot water over everything in the dish—it’s crucial for achieving that gooey topping! Don’t mix; trust the process as it bakes.
-
Bake: Place your cobbler in the preheated oven and bake for 35 minutes, until bubbly and golden. Allow it to cool for 5 minutes before serving—trust me, any waiting will be worth it!
-
Serve: For an extra special touch, serve each scoop with whipped cream or a generous scoop of ice cream.
Optional: Dust with cocoa powder for an added touch of flavor.
Exact quantities are listed in the recipe card below.
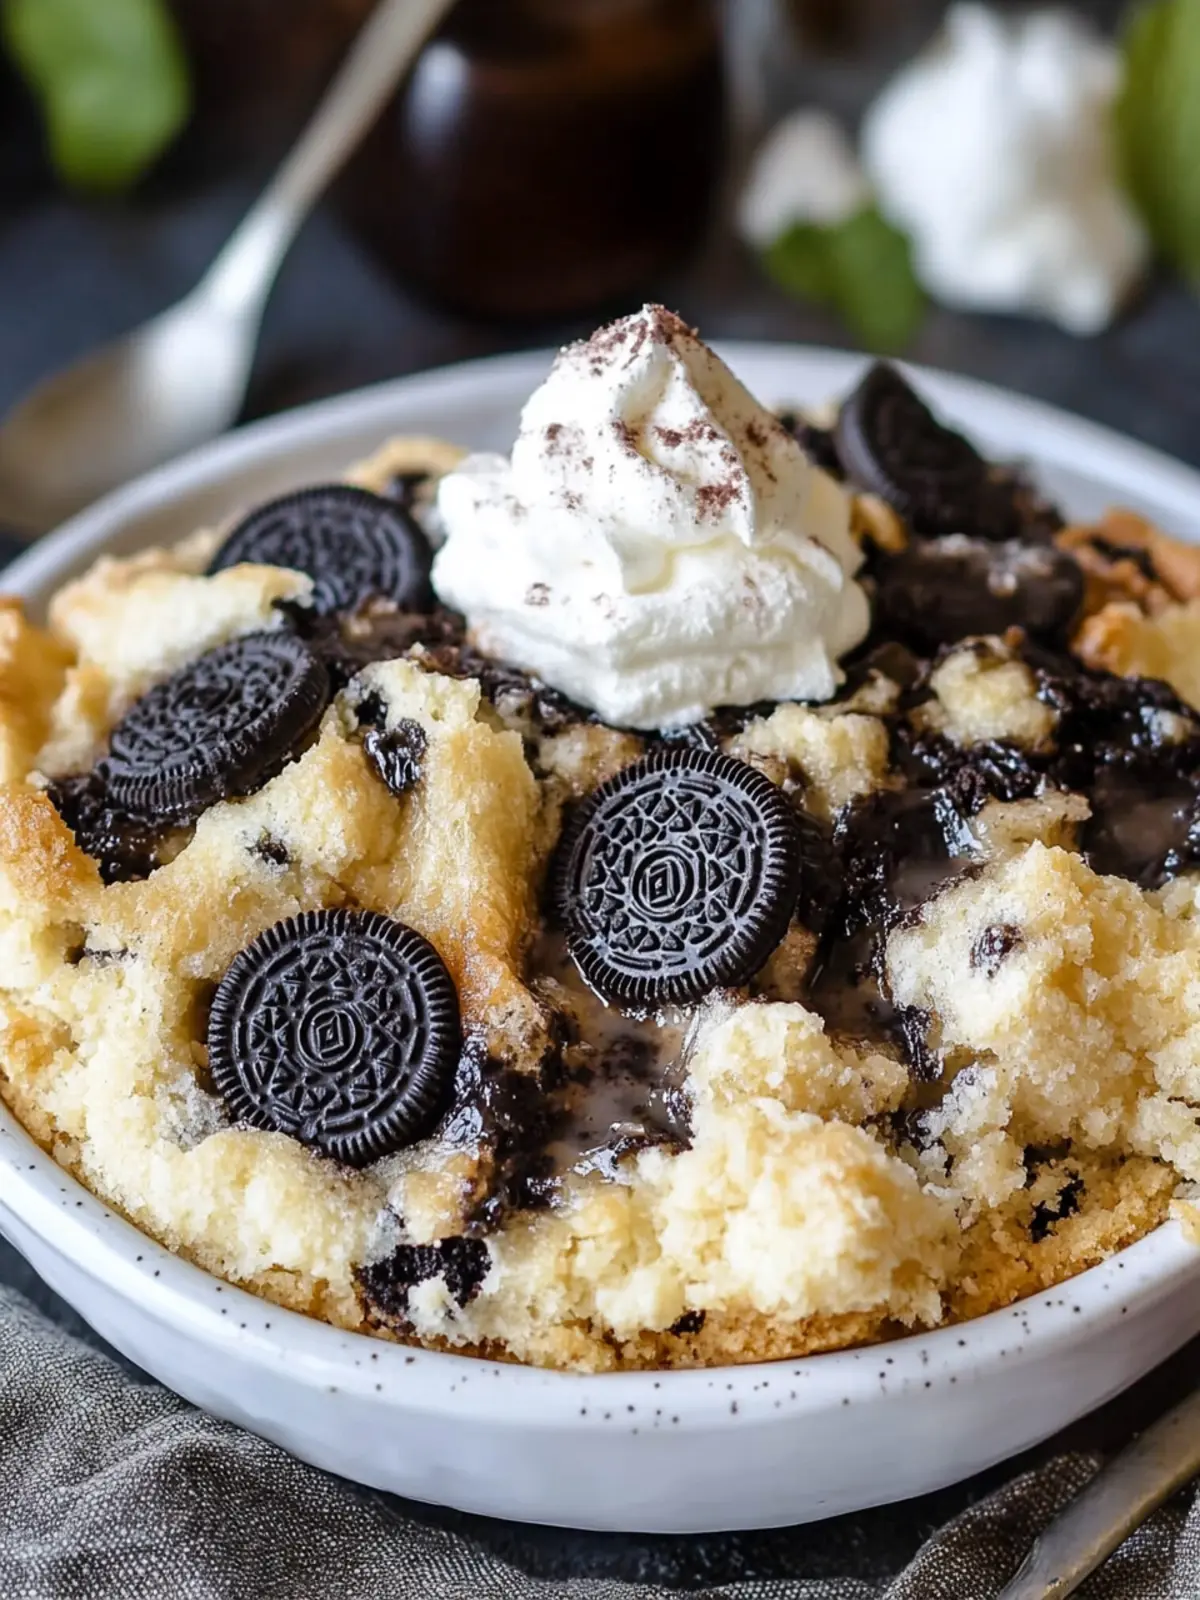
Expert Tips for 3 Step Oreo Cookie Dump Cobbler
-
Proper Layering: Ensure you evenly distribute the crumbled Oreos in the melted butter. This prevents sogginess and maximizes flavor.
-
Mix Carefully: When combining your batter ingredients, mix just until combined. Overmixing can lead to a tough texture in the cobbler.
-
Mind the Water: Pour the hot water gently and do not stir after adding. This step is crucial for achieving that gooey layer that makes the 3 Step Oreo Cookie Dump Cobbler so delightful!
-
Cooling Time: Allow the cobbler to cool for a full five minutes before serving. This helps it set and makes for easier scooping.
-
Serving Suggestions: Pair it with vanilla ice cream or whipped cream to elevate the flavors even more and create a comforting dessert experience.
What to Serve with 3 Step Oreo Cookie Dump Cobbler?
After indulging in this rich dessert, you might be wondering what perfect pairings can enhance your experience even more.
- Whipped Cream: A dollop of airy whipped cream adds a light, creamy contrast to the rich textures of the cobbler.
- Vanilla Ice Cream: This classic pairing not only cools down the dessert but also complements the warm chocolatey flavors perfectly.
- Fresh Berries: Strawberries or raspberries provide a burst of tartness that cuts through the sweetness, adding a fresh element.
- Chocolate Sauce: For the chocolate lover in you, a drizzle of warm chocolate sauce adds an extra layer of indulgence.
- Coffee or Espresso: The rich and bold flavor of coffee brings out the chocolate notes, making for a perfect after-dinner combination.
- Mint Leaves: Fresh mint sprigs make for a stunning garnish, offering a refreshing note alongside the indulgent dessert.
Whether you’re setting a family-style dessert table or enjoying a quiet evening treat, these pairings will elevate your 3 Step Oreo Cookie Dump Cobbler experience.
Make Ahead Options
These 3 Step Oreo Cookie Dump Cobbler preparations are perfect for busy weeknights when you need a quick dessert ready to go! You can crumble the Oreos and melt the butter up to 24 hours in advance, storing them separately in airtight containers. If you want to prep even more, mix the batter (without the hot water) and refrigerate it for up to 3 days; just be sure to give it a good stir before using. To reassemble, simply layer the crumbled cookies and butter in your baking pan, pour the batter over, sprinkle the brown sugar, and top with hot water right before baking. With these make-ahead tips, you’ll achieve delicious results with minimal effort—perfect for impressing family and friends!
How to Store and Freeze 3 Step Oreo Cookie Dump Cobbler
Fridge: Store leftovers in an airtight container in the fridge for up to 3 days. This keeps the cobbler moist and ready for a quick sweet fix!
Freezer: For longer storage, freeze individual portions wrapped tightly in plastic wrap and then in foil for up to 2 months. Thaw in the fridge before enjoying again.
Reheating: When you’re ready to indulge, reheat in the microwave for about 20-30 seconds or warm it in a 350°F oven for about 10 minutes until heated through.
Serving Suggestion: Reheat and top with fresh whipped cream or ice cream for an irresistible treat!
3 Step Oreo Cookie Dump Cobbler Variations
Feel free to unleash your creativity and make this dessert truly yours with these delicious twists and swaps.
- Gluten-Free: Substitute self-rising flour with a 1:1 gluten-free blend, ensuring everyone can enjoy this treat.
- Vegan: Use dairy-free butter, almond milk, and a flax egg as a substitute for a compassionate twist. The flavors remain delightful, making it perfect for plant-based eaters.
- Mint Chocolate: Add crushed mint Oreos instead of regular ones for a refreshing and minty flavor. It’s like a summer breeze in a dessert!
- Nutty Crunch: Fold in 1 cup of chopped nuts, like walnuts or pecans, into the batter for added texture and richness. This little twist introduces a delightful crunch in every bite.
- Add Spice: Sprinkle in 1 teaspoon of cinnamon or nutmeg to the batter for a warm, comforting note that pairs beautifully with chocolate.
- Berry Boost: Top the crust with fresh berries before pouring the batter for a fruity and vibrant finish. Strawberries or raspberries make for a delightful contrast with the chocolate!
- Caramel Drizzle: Drizzle warm caramel sauce on top after baking for an extra layer of sweetness and decadence. This little indulgence transforms your cobbler into a restaurant-quality dessert!
- Double Chocolate: Use chocolate Oreos and add a tablespoon of cocoa powder to the batter for a deep and rich chocolate experience. Perfect for all chocoholics!
Explore these variations and make this 3 Step Oreo Cookie Dump Cobbler your own!

3 Step Oreo Cookie Dump Cobbler Recipe FAQs
What kind of Oreos should I use for this recipe?
Absolutely! You can use regular Oreos for a classic taste, but feel free to experiment with flavored Oreos like Mint or Peanut Butter to add a fun twist to your cobbler!
How should I store leftovers of my Oreo Cookie Dump Cobbler?
To keep your cobbler fresh, store leftovers in an airtight container in the fridge for up to 3 days. Ensure it’s well-sealed, so it stays moist and delicious rather than drying out.
Can I freeze the 3 Step Oreo Cookie Dump Cobbler?
Yes, you can! To freeze, wrap individual portions tightly in plastic wrap, then in aluminum foil, and store them in the freezer for up to 2 months. When you’re ready to enjoy, simply thaw in the fridge overnight!
What if my batter is lumpy?
Very! It’s quite normal for your batter to have a few lumps—just make sure not to overmix it. A few lumps are okay and will bake out, ensuring your cobbler remains light and fluffy!
Can I make this recipe gluten-free?
Certainly! Substitute the self-rising flour with a gluten-free blend that can provide the same fluffy texture. I often recommend starting with a 1:1 gluten-free flour mix for the best results.
Is this dessert pet-friendly?
No, it’s best to keep this delicious oreo cobbler away from pets, especially dogs, as Oreos contain chocolate, which is toxic to them. Always share your sweet treats with furry friends in a safe way!
3 Step Oreo Cookie Dump Cobbler Recipe FAQs
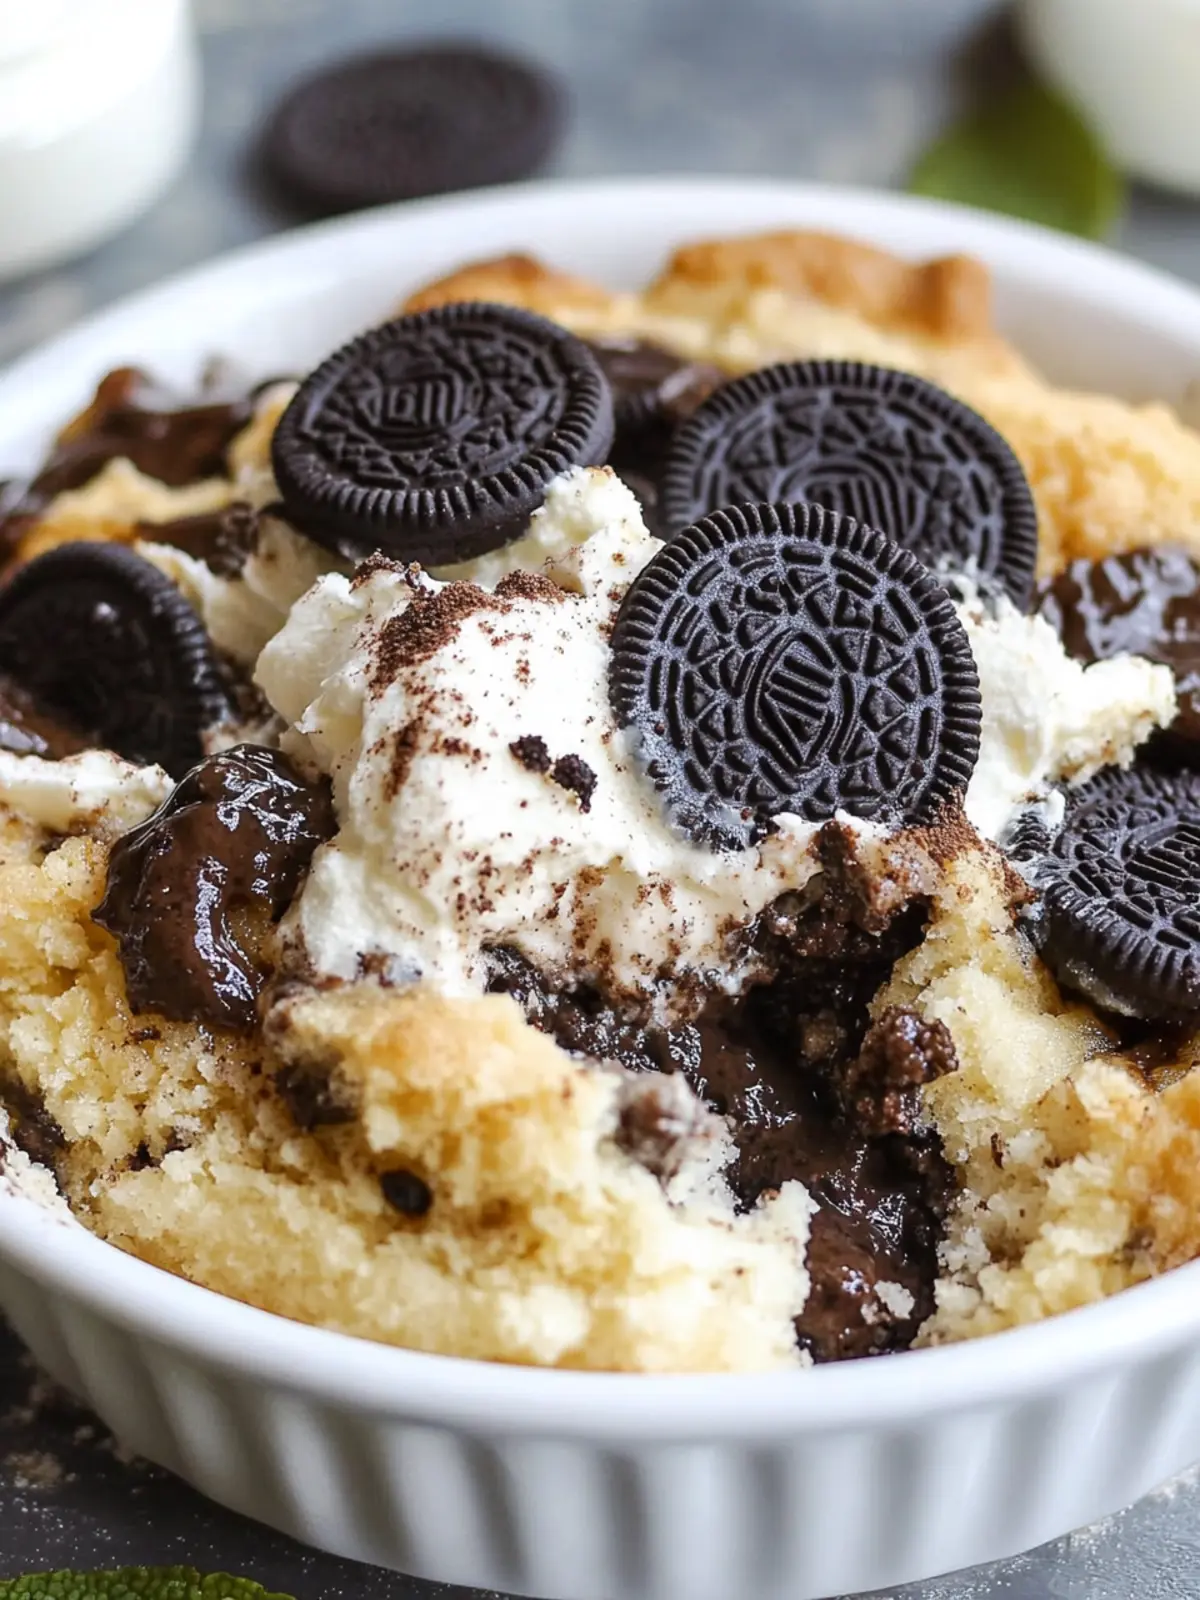
Delicious 3 Step Oreo Cookie Dump Cobbler You Can’t Resist
Ingredients
Equipment
Method
- Preheat oven to 350°F.
- Pour melted butter into a 9x13-inch baking pan, then scatter crumbled Oreos evenly across the bottom.
- In a large bowl, whisk together self-rising flour, vanilla, milk, and granulated sugar until just combined. Pour this batter over the Oreo layer without stirring, then sprinkle brown sugar on top.
- Gently pour hot water over everything in the dish without mixing.
- Bake for 35 minutes until bubbly and golden. Allow to cool for 5 minutes before serving.
- Serve with whipped cream or a scoop of ice cream.