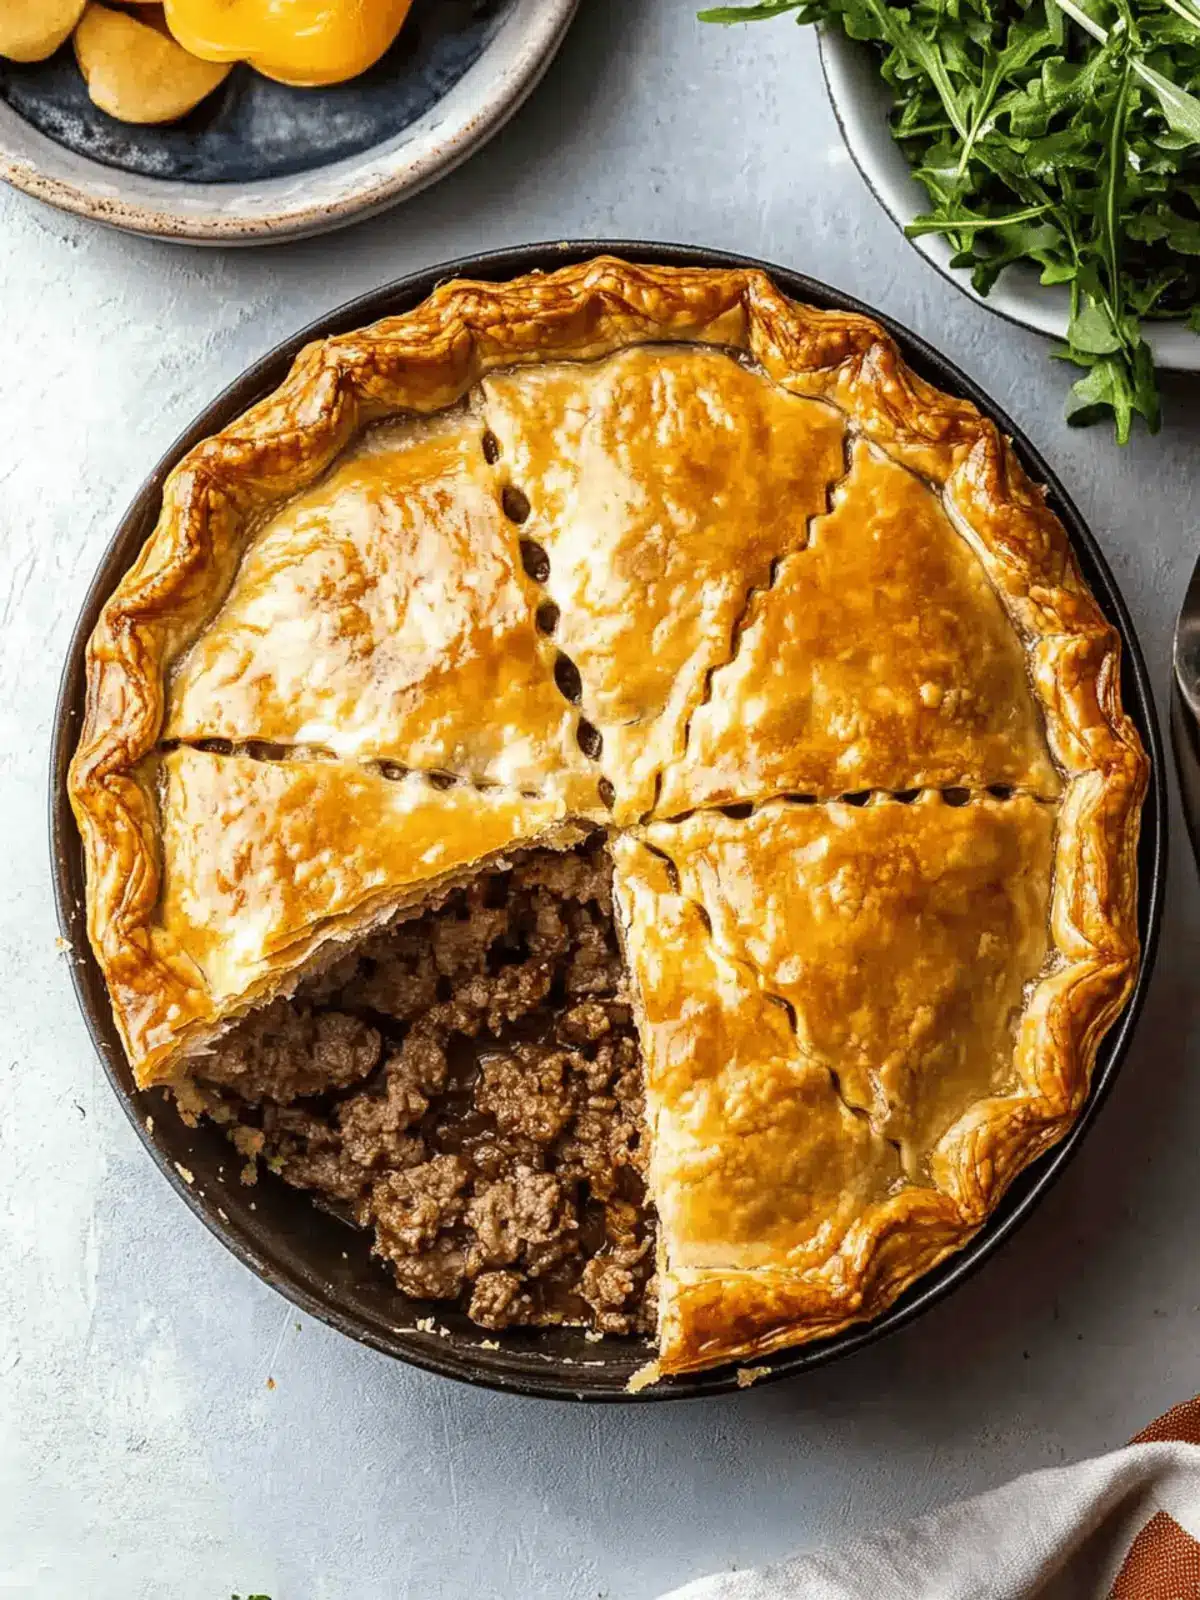
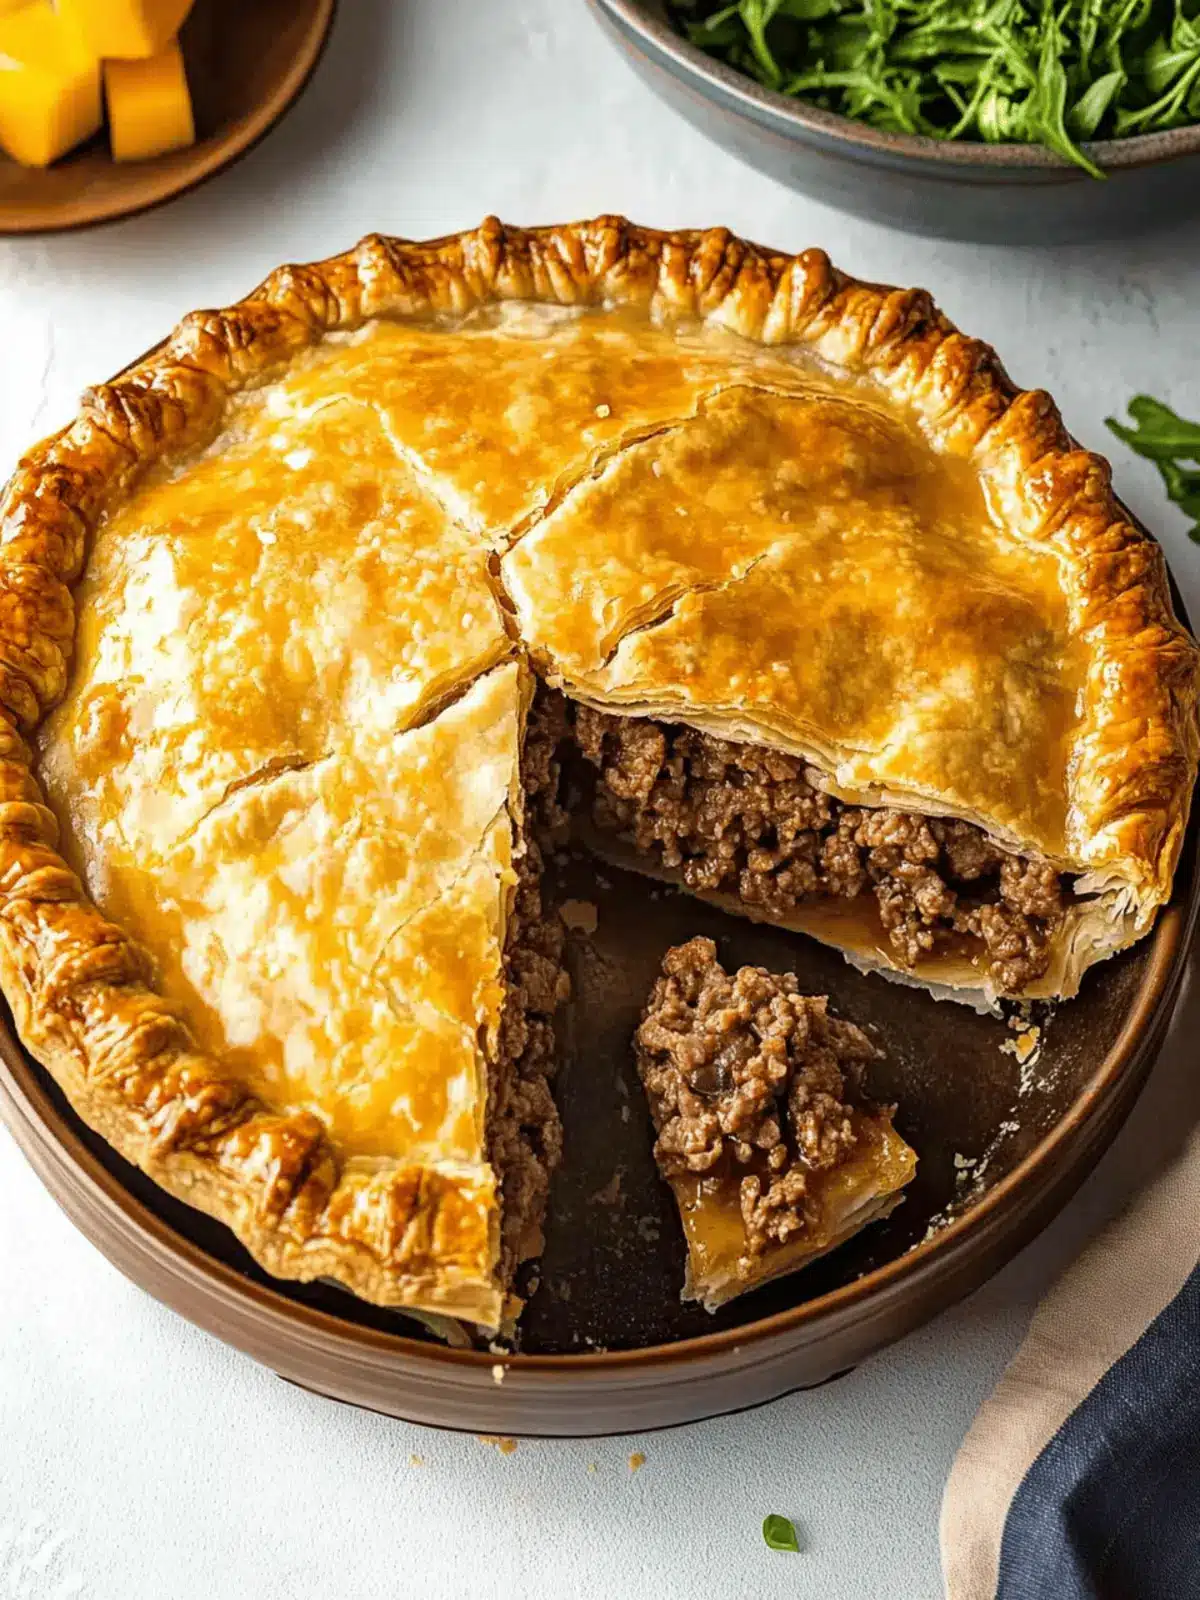
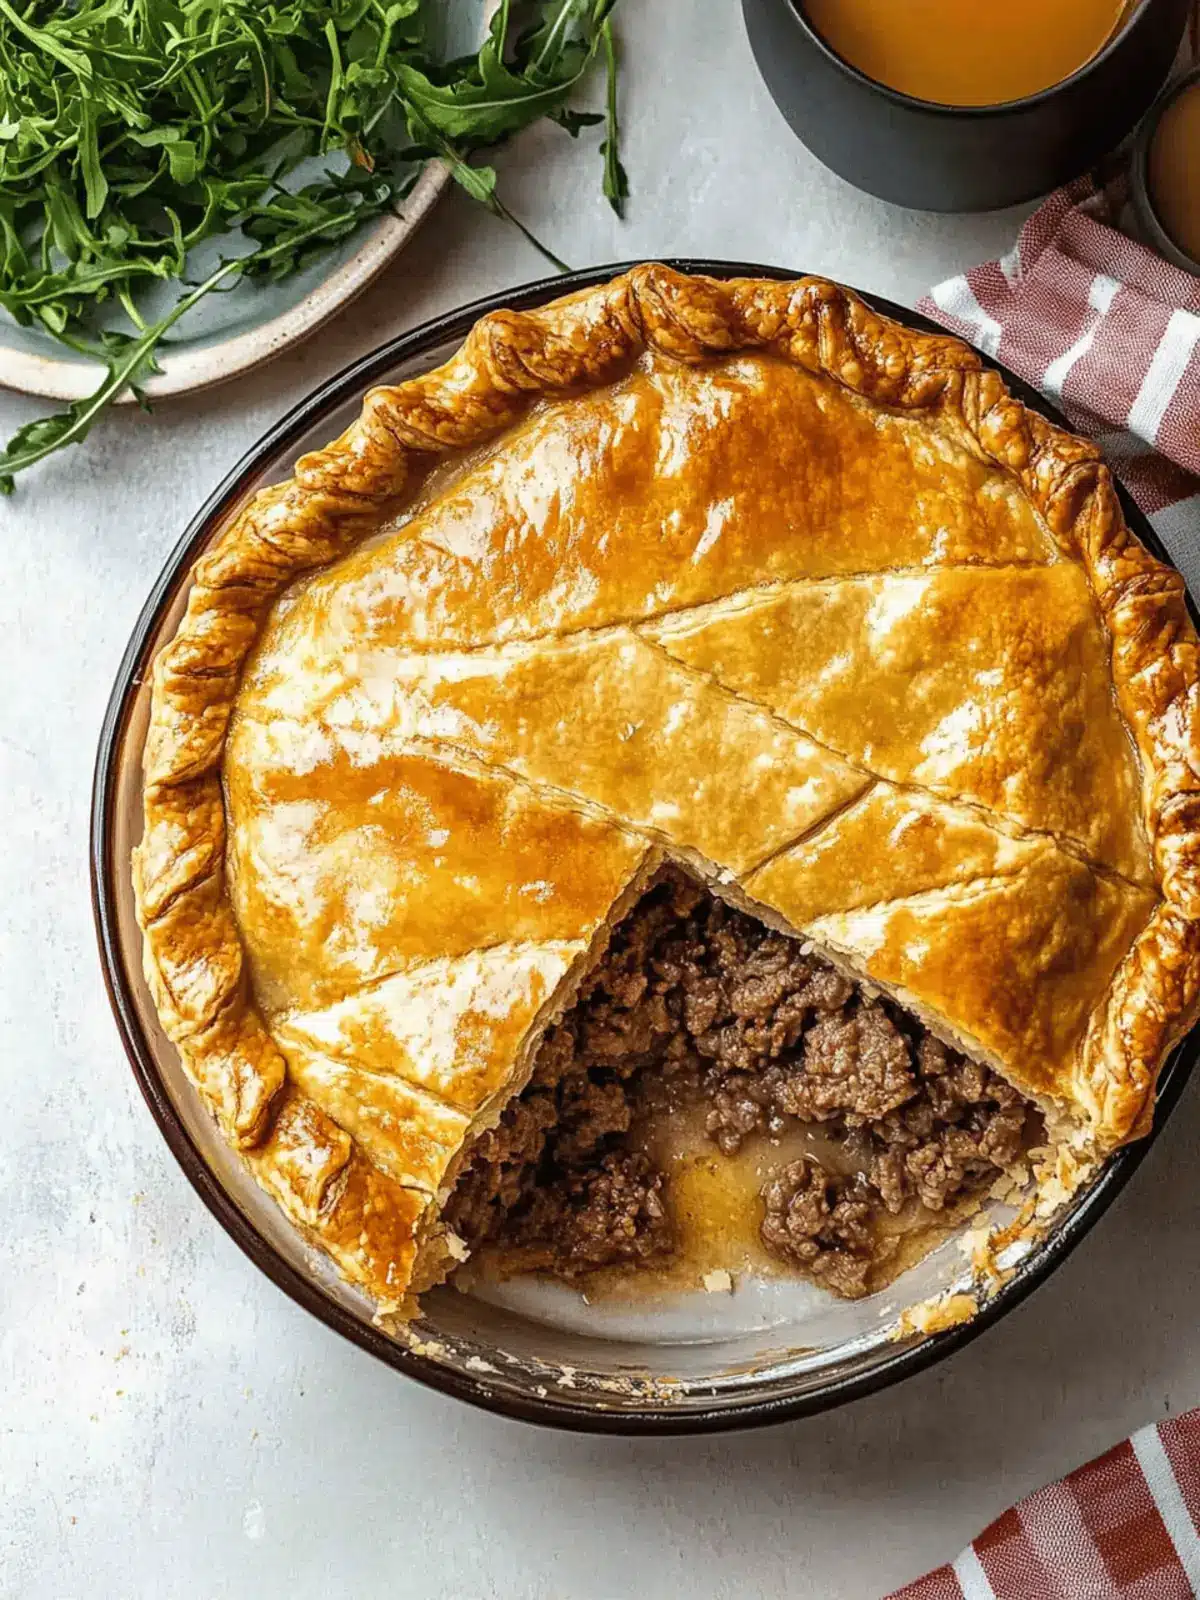
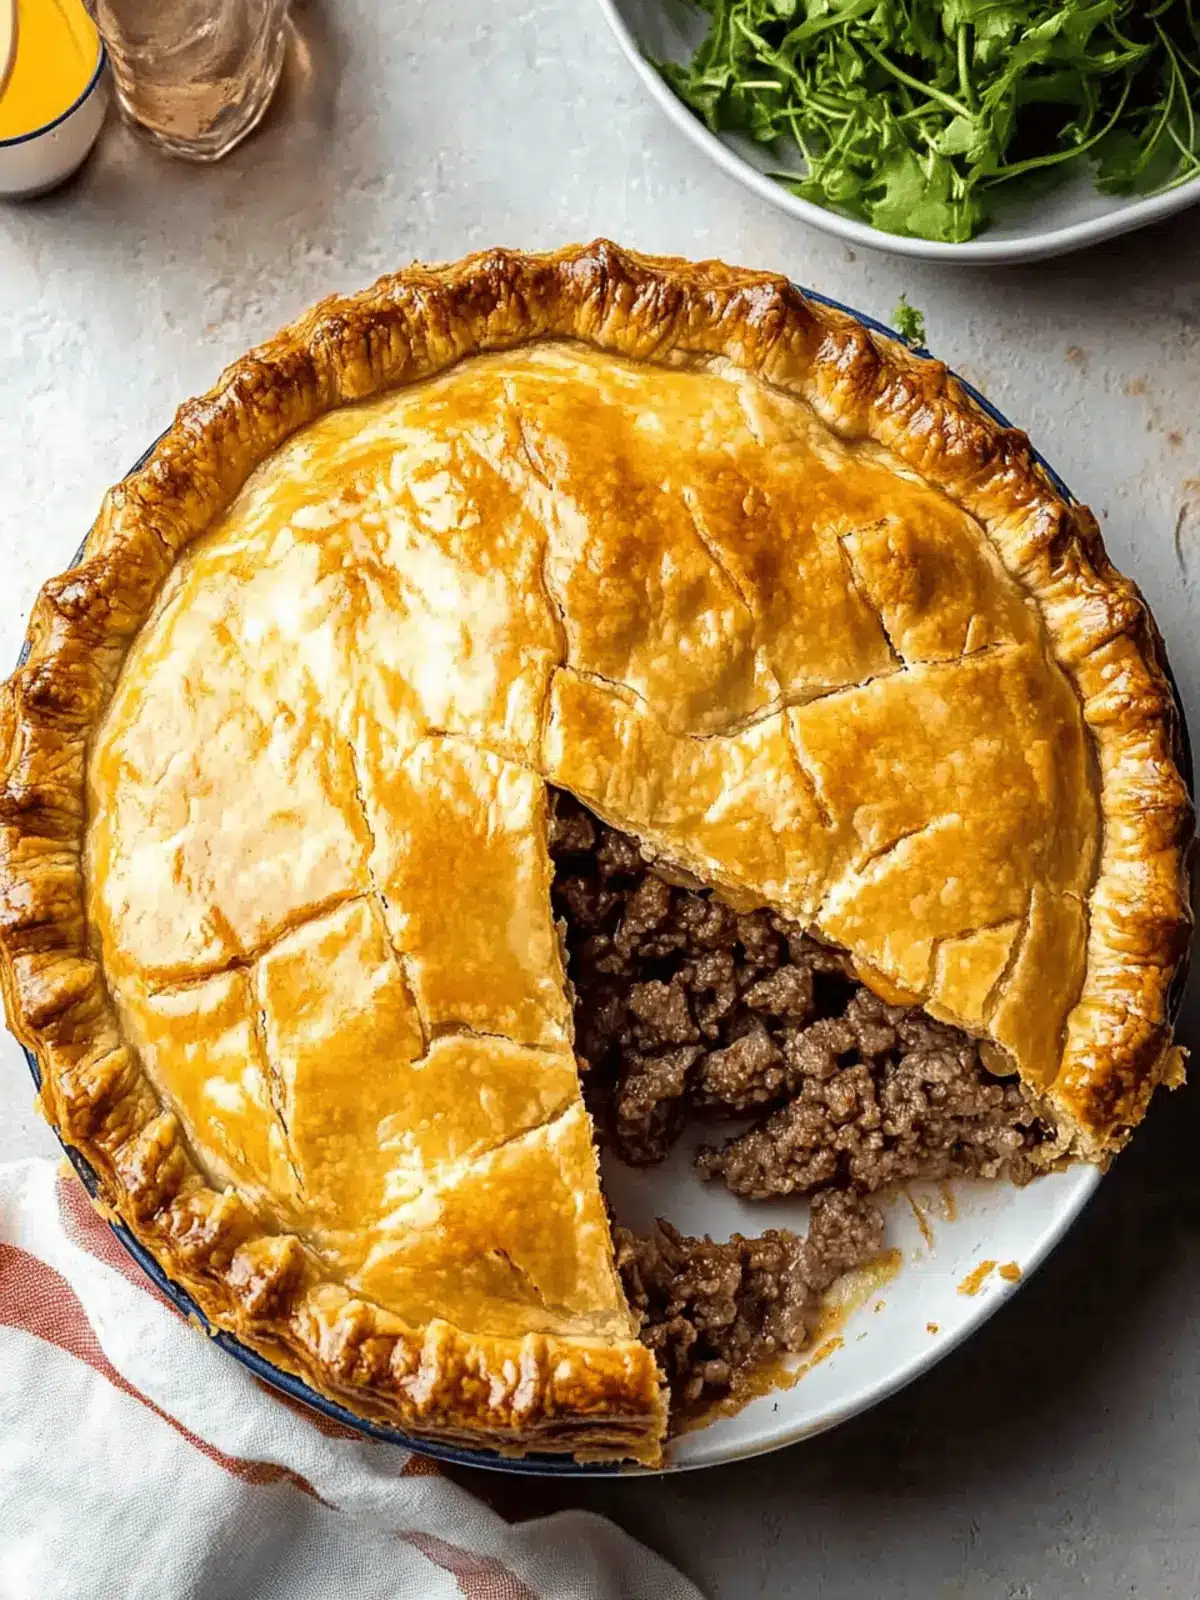
The first time I encountered Tourtiere, a Canadian meat pie, I was instantly captivated by its warm, savory aroma filling the kitchen. As I dug in, each bite whispered stories of family gatherings and holiday feasts. This dish, rich in tradition, combines tender beef and pork with a delightful blend of spices that tantalizes the taste buds. Whether you’re seeking a comforting meal on a chilly evening or looking to impress guests at your next potluck, this Tourtiere recipe is both simple and incredibly rewarding. With just a handful of ingredients and a little love, you’ll create a dish that not only satisfies hunger but also sparks joy and nostalgia. Grab your apron and let’s dive into the world of homemade goodness!
Why is Tourtiere: Canadian Meat Pie a Must-Try?
Satisfying Flavor: This Tourtiere melds beef and pork with warm spices, creating a savory experience that’s truly unforgettable.
Homemade Comfort: There’s something special about a dish that fills your home with inviting aromas—perfect for cozy nights or family gatherings!
Traditional Roots: Rooted in Canadian culture, this meat pie brings a unique twist to your dinner table that’s sure to impress.
Easy Assembly: With simple steps and common ingredients, crafting this pie is a breeze, even for novice cooks.
Crowd-Pleaser: Whether it’s a holiday feast or a casual get-together, this hearty pie is destined to delight everyone!
Versatile Serving Options: Pair it with a crisp salad or a warm side, and you’ve got a complete meal that’s both satisfying and unforgettable.
Tourtiere: Canadian Meat Pie Ingredients
• Get ready to create a delicious Tourtiere with these essential ingredients!
For the Filling
- Olive oil – A splash helps sauté the onions to golden perfection.
- Small onion (diced) – Adds a sweet base flavor to the savory filling.
- Garlic cloves (minced) – Infuses your pie with aromatic goodness.
- Ground beef – Provides a robust flavor and texture for the filling.
- Ground pork – Adds richness and moisture to balance the beef.
- Mashed potatoes – Acts as a binder, giving the filling a hearty consistency.
- Cinnamon – A pinch to elevate the warmth of the spices.
- Dried oregano – Brings a herbal brightness that’s essential in this dish.
- Ground mustard – Adds a subtle tang to enhance your meat pie.
- Ground allspice – Creates a unique blend of warm flavors that complement the meat.
- Ground cloves – Introduces a touch of sweetness and warmth.
- Coarse salt – Essential for enhancing all the flavors in the filling.
- Beef broth – Keeps the mixture moist and flavorful while baking.
- Flour – A little helps thicken the broth for a perfect consistency.
For the Pie Crust
- Egg (for egg wash) – A golden brush of egg enhances the crust’s color and shine.
- Pie crusts (store-bought or homemade) – Acts as the beloved shell holding in all those delicious flavors.
With these ingredients, your Tourtiere will not only taste amazing, but it’ll also be an experience to remember!
How to Make Tourtiere
-
Preheat your oven to 375˚F. This temperature is perfect for achieving a beautifully golden crust that’s flaky and delicious.
-
Sauté the onion in oil over medium-high heat until translucent. This usually takes around 5 minutes, filling your kitchen with a sweet aroma.
-
Add the minced garlic and continue to cook for about 1 minute. You’ll know it’s ready when you can smell the fragrant garlic wafting through the air.
-
Incorporate the ground beef and pork, cooking until the meat is no longer pink. Break it apart into small pieces, ensuring everything is evenly browned and hearty.
-
Mix in the mashed potatoes and spices, combining them well. This step adds depth and warmth to your savory filling, making it truly special.
-
Shake together the beef broth and flour until smooth in a small jar. Pour this mixture into the skillet and stir it in to thicken the filling as it cooks for about 3-5 minutes.
-
Prepare your 9-inch pie plate by placing the bottom crust in. Fill it generously with your meat filling, packing it in for a hearty bite, then top with the second crust.
-
Seal the crusts together by rolling one over the other and pressing gently with a fork or your fingers. This ensures no delicious filling escapes! Finish by brushing the top with egg wash for a beautiful finish.
-
Bake for 45 – 50 minutes, or until the top crust is golden brown and perfectly crispy. Your kitchen will smell amazing during this time!
Optional: Serve with a side of tangy cranberry sauce for a delightful contrast!
Exact quantities are listed in the recipe card below.
Tips for the Best Tourtiere
-
Ingredient Quality: Use fresh, high-quality ingredients for the best flavor. Avoid pre-packaged meats that may contain preservatives that affect taste.
-
Perfect Crust: Ensure your pie crust is chilled before using it. This helps achieve that lovely flaky texture we all crave!
-
Seasoning Balance: Don’t skimp on spices! The unique blend in your Tourtiere plays a crucial role in enhancing the flavor profile.
-
Avoiding Soggy Bottoms: To prevent a soggy crust, consider pre-baking the bottom pie crust for about 10 minutes before adding your filling.
-
Resting Time: Allow the pie to sit for about 10-15 minutes after baking before slicing. This helps the filling set and makes serving easier!
-
Creative Sides: Pair your Tourtiere with a fresh salad or tangy cranberry sauce to balance the richness of the pie.
Make Ahead Options
These Tourtiere: Canadian Meat Pie are perfect for busy home cooks looking to save time during the week! You can prepare the meat filling up to 3 days in advance. Simply cook the filling according to the recipe, let it cool completely, and store it in an airtight container in the refrigerator. Additionally, you can also assemble the entire pie, refrigerate it (covered) for up to 24 hours, and bake it just before serving. Just remember to brush the crust with the egg wash right before baking to achieve that golden, flaky texture. With these make-ahead options, you’ll have a delicious meal ready with minimal effort!
How to Store and Freeze Tourtiere
Fridge: Store leftovers in an airtight container for up to 3 days. This allows the flavors to meld even further, making each bite as delightful as the first.
Freezer: Wrap the cooled Tourtiere tightly in plastic wrap and then in aluminum foil, or use a freezer-safe container. It can be frozen for up to 3 months, ensuring a home-cooked meal is always ready when needed.
Reheating: To enjoy your frozen Tourtiere, thaw it in the fridge overnight, then reheat in a preheated oven at 375˚F for about 25-30 minutes until heated through. The crust will regain its delightful crispiness!
What to Serve with Tourtiere: Canadian Meat Pie?
Elevate your dining experience with delightful sides that complement the savory richness of Tourtiere.
- Crispy Salad: A fresh salad with mixed greens and a tangy vinaigrette adds a light crunch to balance the pie’s hearty flavors.
- Garlic Mashed Potatoes: For those who crave comfort, the creamy, buttery goodness creates a cozy pairing that embraces the warmth of Tourtiere.
- Steamed Green Beans: Lightly cooked with a touch of lemon, these add a vibrant freshness and a pop of color to your plate.
- Roasted Root Vegetables: The natural sweetness of roasted carrots and parsnips enhances the spices in the filling for a deliciously earthy combination.
- Cranberry Sauce: A spoonful of this tangy delight cuts through the richness, offering a refreshing contrast that brightens each bite.
- Traditional Pickles: Sour and crunchy, pickles provide a delightful textural contrast while cutting through the savory meatiness of the pie.
- Red Wine: A glass of bold red wine enhances the meal’s richness and depth, creating a lovely, intimate dining atmosphere.
- Apple Crisp: For dessert, serve this warm delight topped with vanilla ice cream, providing a sweet ending that resonates with fall flavors.
- Homemade Bread: Freshly baked bread on the side serves as a comforting companion, perfect for soaking up every last drop of flavor.
Tourtiere: Canadian Meat Pie Variations
Explore the delightful possibilities for customizing your Tourtiere, making it even more special for your taste buds and dietary needs!
- Vegetarian: Substitute ground meat with 3 cups of finely chopped mushrooms and lentils for a hearty, meat-free filling.
- Spicy Kick: Add 1 teaspoon of cayenne pepper or diced jalapeños to the meat mixture for a delightful heat that warms the soul.
- Dairy-Free: Replace the mashed potatoes with sweet potatoes and use a non-dairy pie crust to accommodate dairy-free diets while keeping it delicious.
- Herb Infusion: Incorporate fresh herbs like thyme or parsley for a vibrant twist that elevates the flavor profile and freshness of each bite.
- Smoky Flavor: Include 1 cup of smoked sausage in place of ground pork for a rich, smoky flavor that contrasts beautifully with the spices.
- Cheesy Delight: Mix in 1 cup of shredded cheddar cheese into the meat filling for a creamy, rich texture that adds a unique twist to the traditional recipe.
- Minced Vegetable Medley: Add finely diced carrots and celery to the filling for added vegetables that boost nutrition and provide natural sweetness.
- Cranberry Glaze: Brush the top crust with cranberry sauce before baking for a sweet and tangy topping that pairs wonderfully with the savory flavors.
Tourtiere: Canadian Meat Pie Recipe FAQs
What type of potatoes should I use for the filling?
Absolutely! I recommend using starchy potatoes like Russets or Yukon Golds for your Tourtiere. They mash beautifully and blend well with the meat. Just make sure they’re cooked until completely tender before mashing for the best texture.
How do I store leftover Tourtiere?
After you’ve enjoyed your Tourtiere, store any leftovers in an airtight container in the fridge for up to 3 days. This will keep it fresh and allow those delicious flavors to meld even more! Just remember to let it cool completely before sealing it up.
Can I freeze Tourtiere, and how do I do it?
Yes, you can definitely freeze your Tourtiere! First, let it cool completely after baking. Then, wrap it tightly in plastic wrap, followed by a layer of aluminum foil, or you can use a freezer-safe container. It will last in the freezer for up to 3 months. When you’re ready to enjoy it, thaw in the fridge overnight and reheat it in a preheated oven at 375˚F for about 25-30 minutes for that perfect crust!
What if my filling seems too dry when I mix it?
If your filling feels dry, don’t worry! You can stir in a little extra beef broth to moisten it up. Start with a tablespoon or so, mix it in well, and then continue to add a splash more if needed. The goal is a nice, moist filling that’s still hearty, so it can all come together beautifully in the pie.
Are there any dietary considerations I should be aware of?
Absolutely! If you’re serving this Tourtiere to guests, you might want to check for common allergies. The recipe contains gluten (in the pie crust) and dairy (in the egg wash). If you need a gluten-free option, consider using a gluten-free pie crust. For a dairy-free version, you can skip the egg wash; the crust will still turn out lovely, though you might miss that shiny finish.
How do I know when my Tourtiere is fully baked?
You’ll know your Tourtiere is ready when the crust is golden brown and the filling is bubbling slightly at the edges. It typically takes about 45-50 minutes at 375˚F. For the best crust, keep an eye on it during the last 10 minutes of baking, and if it’s browning too quickly, you can cover it loosely with aluminum foil. Enjoy!

Delicious Tourtiere Canadian Meat Pie to Impress Your Guests
Ingredients
Equipment
Method
- Preheat your oven to 375˚F.
- Sauté the onion in oil over medium-high heat until translucent, about 5 minutes.
- Add the minced garlic and cook for 1 minute until fragrant.
- Incorporate the ground beef and pork, cooking until no longer pink.
- Mix in mashed potatoes and spices until well combined.
- Shake together beef broth and flour until smooth, then pour into the skillet to thicken for 3-5 minutes.
- Prepare the pie plate with the bottom crust, fill with meat mixture, and cover with the second crust.
- Seal the crusts and brush the top with egg wash.
- Bake for 45-50 minutes until golden brown.
- Allow to rest for 10-15 minutes before slicing.


