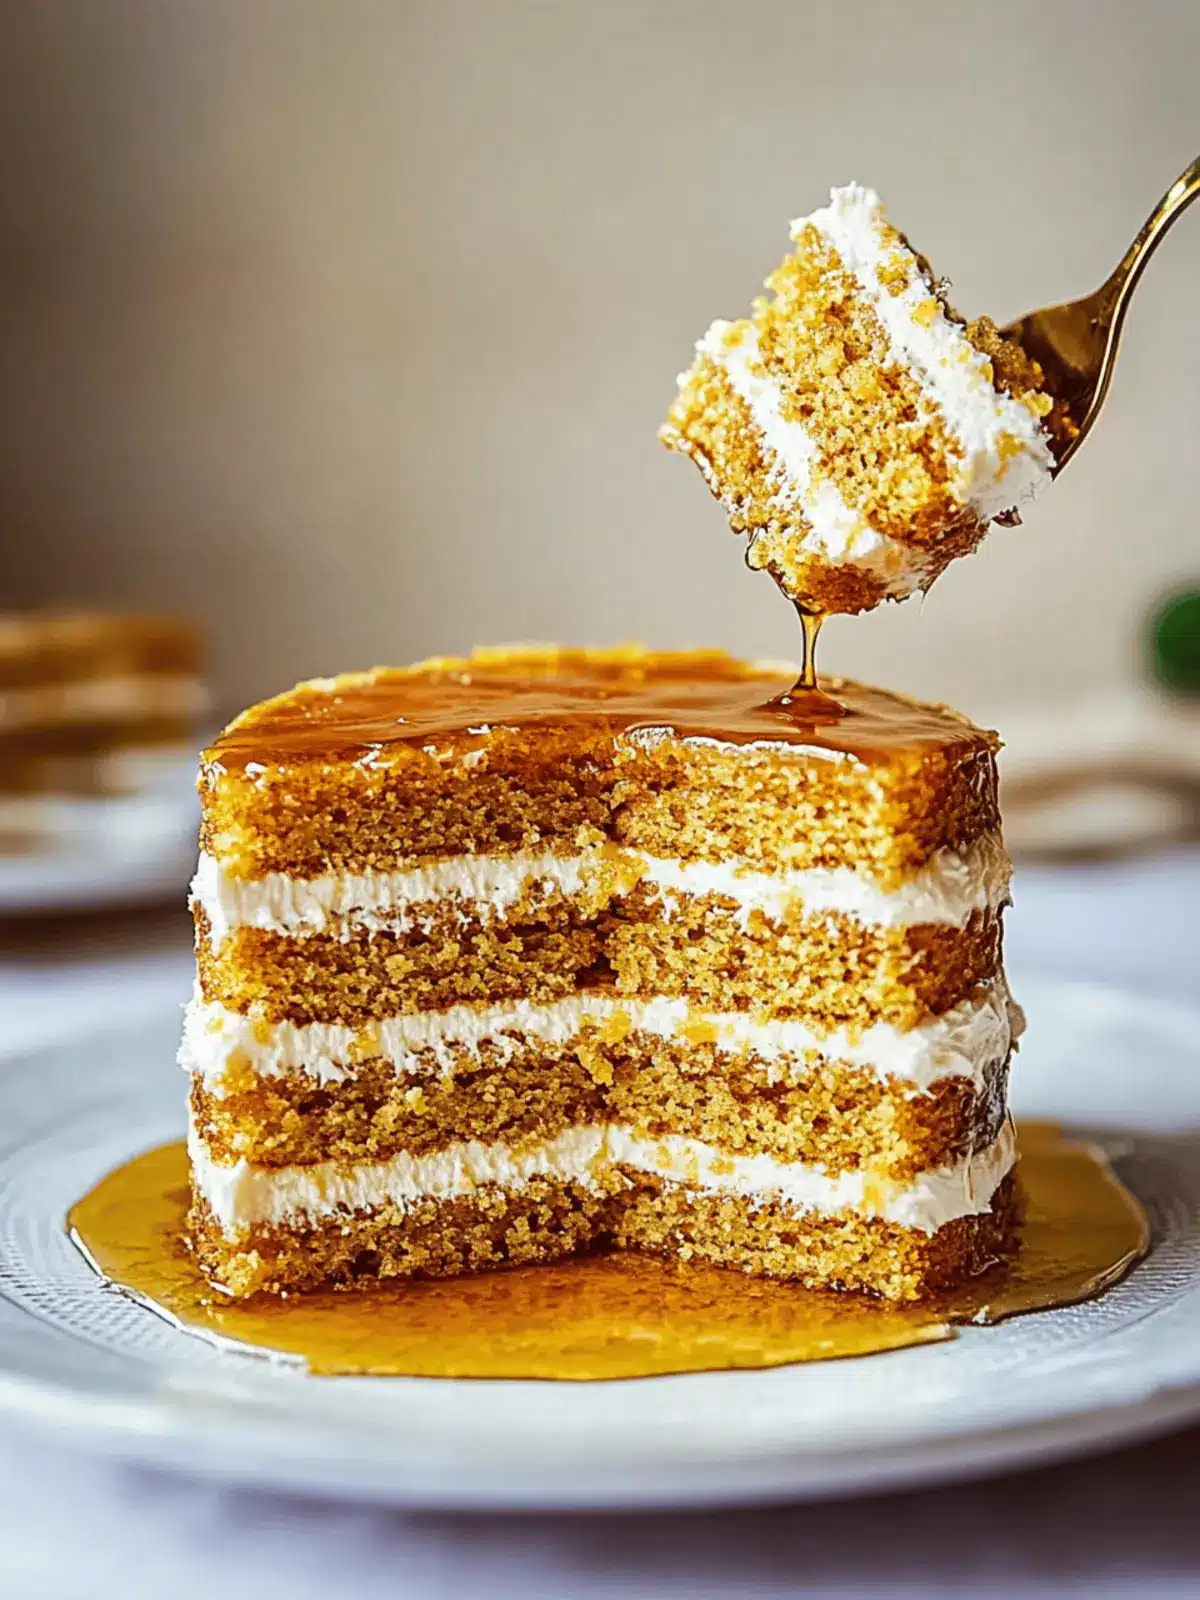
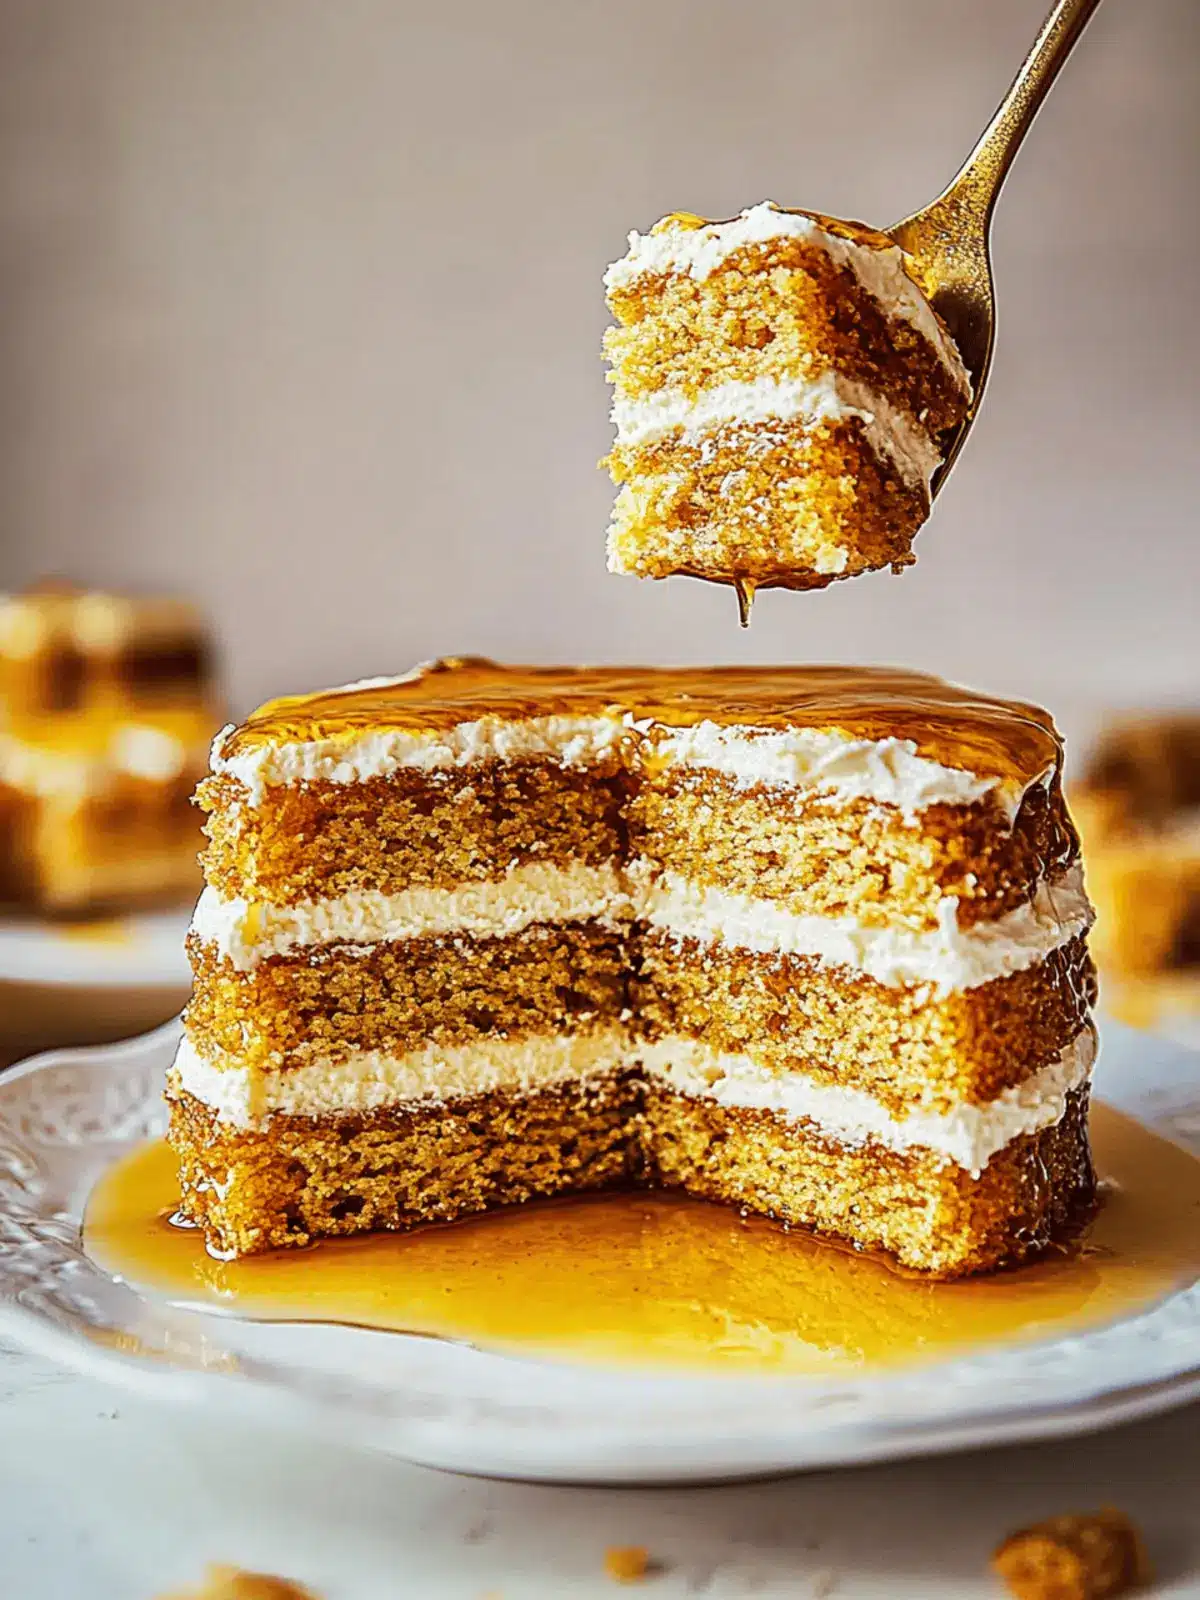
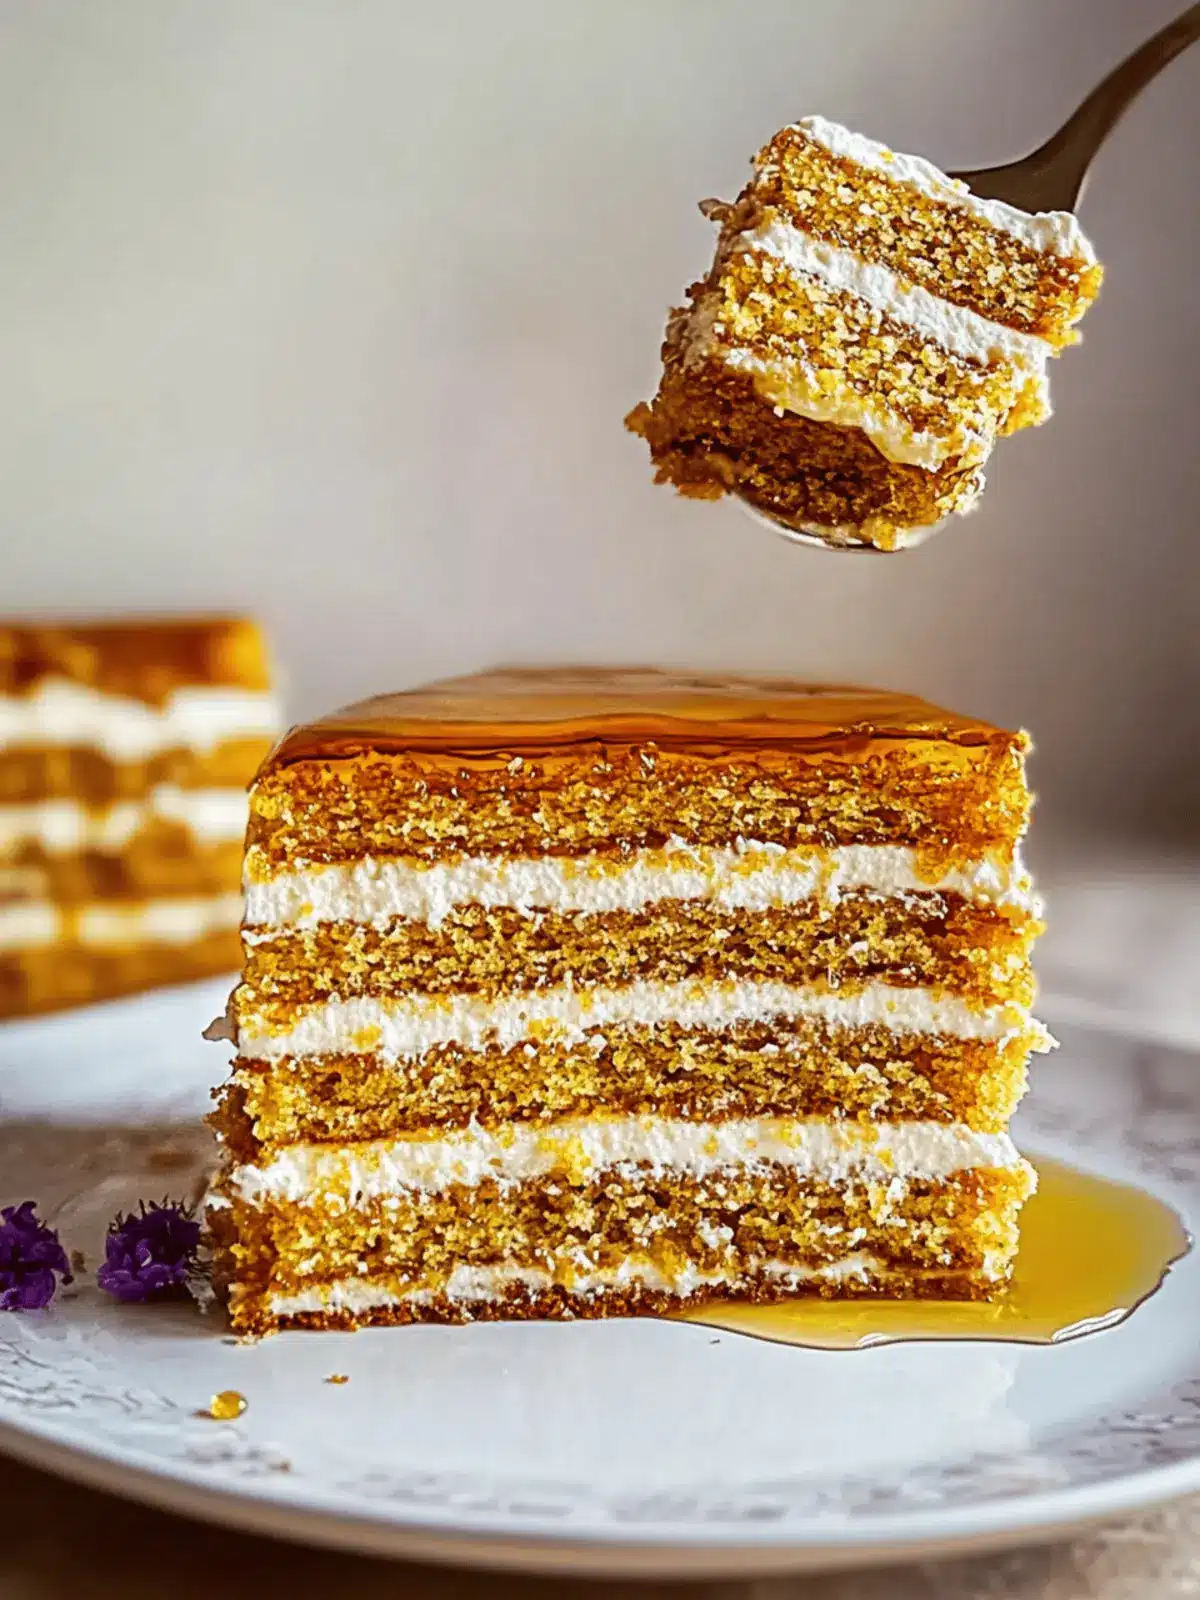
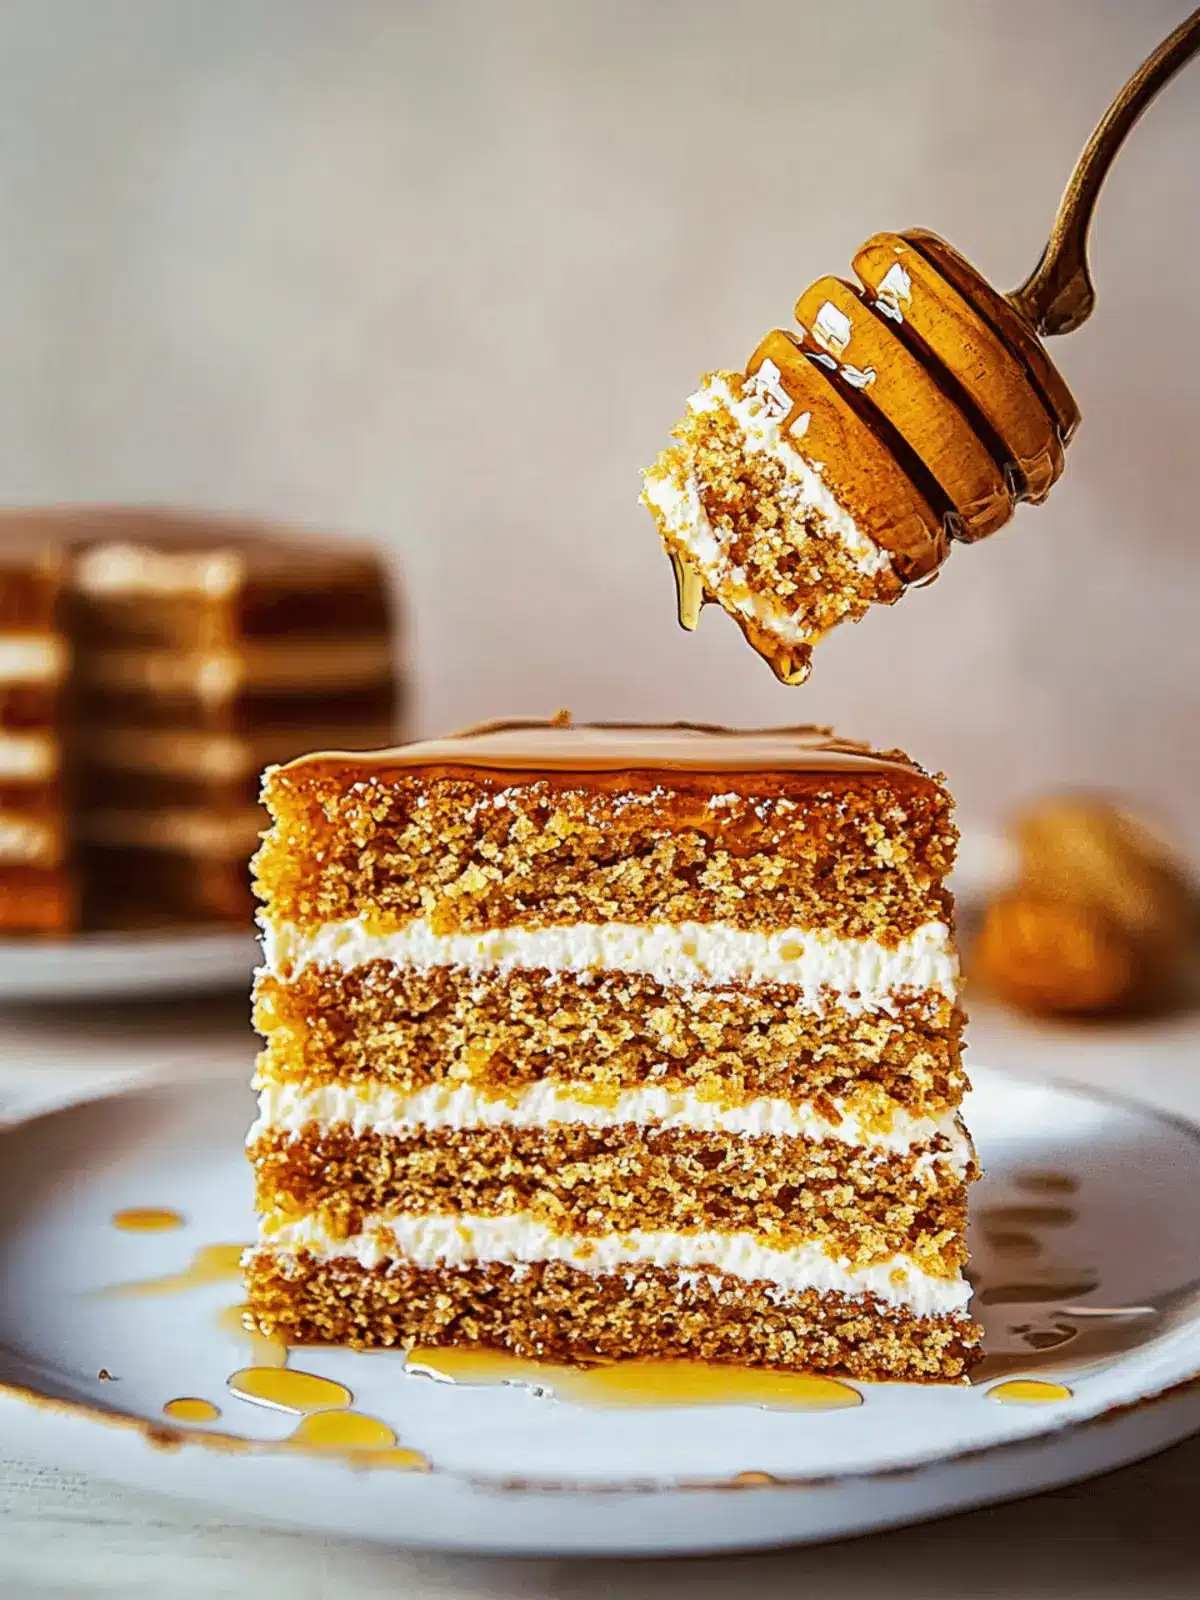
Is there anything more comforting than the rich, sweet layers of a homemade Medovik? The blissfully buttery aroma of honey wafting through my kitchen transports me to a cozy café in the heart of Russia, where I first tasted this delightful dessert. Created from simple ingredients, this Russian Honey Cake is a crowd-pleaser that boasts layers of soft, honey-infused cookies delicately filled with a luscious cream.
The moment I took my first bite, I knew I had stumbled upon a gem—a dessert that’s both indulgent and surprisingly easy to make. Unlike the usual fast food fare or store-bought sweets, Medovik proves that sometimes simplicity and tradition can create the most exquisite flavors. Perfect for celebrations or a cozy night in, this cake invites you to embrace its warmth while discovering a world of texture and taste with each bite.
So, whether you’re a seasoned chef or someone who simply loves home-cooked food, let’s dive into the magic of making this beloved dessert together!
Why is Russian Honey Cake Medovik so irresistible?
Decadent layers of honey and cream create a rich medley of flavor that will tantalize your taste buds. Nostalgic aroma wafting from the oven transports you to a charming Russian café. Versatile and delightful, it’s suitable for any occasion—celebrations, family gatherings, or even a quiet evening at home. Simple yet elegant, this dessert showcases the art of baking without overwhelming complexity. A crowd favorite, it’s sure to impress both friends and family alike, making every slice a shared moment of joy.
Russian Honey Cake Medovik Ingredients
For the Cake Layers
- Unsalted butter – adds a rich flavor and moistness to the cake.
- Granulated sugar – sweetens the layers and helps create a caramelized crust.
- Honey – infuses the cake with a natural sweetness, enhancing its unique flavor.
- Large eggs – provide structure and richness; they help bind all the ingredients.
- Vanilla – elevates the flavor profile with a warm, aromatic note.
- Baking soda – assists in leavening to create light and airy layers.
- Salt – enhances the sweetness and balances the flavors.
- All-purpose flour – gives structure to the cake; sift to ensure a light texture.
For the Cream Filling
- Creme fraiche or sour cream – adds a tangy creaminess that complements the honey layers.
- Double cream or whipping cream – contributes to a thick, luscious filling.
- Icing sugar or powdered sugar – sweetens the filling without adding graininess.
- Vanilla bean or vanilla extract – imparts a more complex flavor compared to artificial extracts.
For the Frosting
- Mascarpone – provides a rich, creamy base for the frosting, adding a luxurious touch.
- Double cream or whipping cream – helps achieve a sturdy frosting that’s easy to spread.
- Icing sugar – sweetens and stabilizes the frosting, making it silky smooth.
- Vanilla bean or vanilla extract – ties all the flavors together with its delightful aroma.
Each ingredient plays a pivotal role in crafting the delectable layers of this Russian Honey Cake Medovik, ensuring each bite is an exquisite adventure for your taste buds!
How to Make Russian Honey Cake Medovik
-
Preheat your oven to 400°F (200°C) and line two baking trays with parchment paper. This ensures your cake layers bake evenly while preventing sticking.
-
Melt together butter, granulated sugar, and honey in a bowl over a double boiler. Stir gently until everything is combined and smooth, creating a delightful aroma.
-
Beat the eggs and vanilla in a separate bowl. Gradually pour this mixture into the double boiler, stirring continuously to avoid scrambling the eggs. Allow this mixture to warm through.
-
Combine the baking soda, salt, and 2 cups of flour into the warm mixture, mixing for a few minutes until thickened. You’ll notice it becomes a lovely, cohesive dough.
-
Remove from heat and add the last cup of flour; mix until well combined. This step is crucial for achieving the right texture in your cake layers.
-
Cool the dough for a couple of minutes, then knead until it forms a smooth ball. The dough should be soft and pliable, making it easier to roll out.
-
Divide the dough into 8 equal parts and cover them with a kitchen towel to keep them moist while you work on rolling them out.
-
Roll out each part into a thin circle, slightly larger than 7 inches. Transfer the circles to the lined baking trays, ensuring they’re evenly spaced.
-
Bake each layer for 4-5 minutes, keeping a close eye to prevent burning. The edges should turn golden brown, signaling they’re ready to come out.
-
Cut out circles while the layers are still hot. This helps shape the layers neatly, ensuring a beautiful cake structure.
-
Beat together the creme fraiche or sour cream, double cream, icing sugar, and vanilla until doubled in volume. This delicious filling enhances the layers’ flavors—don’t skip this step!
-
Frost the cake by beating the cold mascarpone with icing sugar, vanilla, and whipping cream until stiff peaks form. You’ll want a smooth and spreadable consistency.
-
Cover the sides and top of the cake with the mascarpone frosting. This step not only adds flavor but also makes your Medovik look irresistibly inviting.
Optional: Garnish each slice with a drizzle of honey for an extra sweet touch.
Exact quantities are listed in the recipe card below.
Make Ahead Options
These Russian Honey Cake Medovik layers are perfect for busy meal prep! You can prepare the dough up to 24 hours in advance; simply follow the steps up until shaping the dough, then wrap it tightly in plastic wrap to refrigerate. Additionally, you can whip up the filling and frosting the day before and store them in airtight containers in the fridge for up to 3 days. This allows all the flavors to meld beautifully! When ready to assemble, just roll out the dough, bake the layers, and layer them with the chilled filling and frosting. Your Medovik will still be just as delicious, bringing sweet joy with minimal effort on the day of serving!
Russian Honey Cake Medovik Variations
Feel free to put your own spin on this delightful cake, making it uniquely yours with these exciting twists!
-
Gluten-Free: Substitute all-purpose flour with a gluten-free flour blend to make it suitable for gluten-sensitive eaters. Just ensure the blend has a binding agent for the best texture!
-
Nutty Delight: Add finely chopped walnuts or hazelnuts to the cream filling to introduce a wonderful crunch and rich flavor. The nutty essence beautifully complements the honey.
-
Spicy Kick: Mix in a dash of cinnamon or ginger to the dough for a warm, spicy note. These spices harmonize perfectly with the sweetness of the honey, creating a comforting embrace of flavors.
-
Fruit Fusion: Layer in fresh berries such as raspberries or strawberries between the cake layers for a burst of freshness. The tartness will balance the sweet cream, making each slice a refreshing delight.
-
Chocolate Lovers: Incorporate cocoa powder into the dough for a chocolate twist. This adds a decadent richness, transforming your Medovik into a luxurious chocolate cake experience.
-
Vegan Version: Replace eggs with flax eggs and use plant-based creams and butter for a completely vegan cake. The essence of honey can be swapped with agave syrup to keep that sweetness intact!
-
Citrus Zing: Add a teaspoon of lemon or orange zest to the cream filling for a refreshing citrus lift. This bright note will invigorate the dessert, making it even more enjoyable!
-
Mini Medovik: For a fun twist, create mini Medovik by using a muffin tin to bake smaller layers. They make for adorable single-serving delights, perfect for gatherings or parties!
Each variation allows for creativity, inviting you to explore various tastes and textures—so don’t hesitate to experiment and make it your own!
What to Serve with Russian Honey Cake Medovik?
This delightful honey cake pairs beautifully with a variety of sides that elevate your dessert experience.
-
Fresh Berries: The tartness of raspberries or strawberries cuts through the sweetness, adding a refreshing contrast. Consider a berry compote drizzled alongside for a touch of indulgence.
-
Vanilla Ice Cream: A scoop of creamy vanilla ice cream is a classic complement that enhances the honey flavors while providing a cool, soothing texture.
-
Herbal Tea: Pairing your Medovik with a fragrant herbal tea like chamomile or mint can provide a warm beverage element that balances the richness of the cake.
-
Whipped Cream: Light, sweet whipped cream dolloped on the side brings extra creaminess that complements the cake’s layers beautifully.
-
Honey Drizzle: A simple drizzle of high-quality honey can amplify the cake’s flavors while creating a sweet finish. It adds an elegant touch that’s hard to resist.
-
Chocolate Ganache: For a little decadence, serve it with a small side of velvety chocolate ganache. The bittersweet notes contrast wonderfully with the honey cake’s sweetness.
-
Almond Biscotti: Crunchy almond biscotti can be a delightful crunchy dipper for each bite, adding a nutty, satisfying texture.
-
Sparkling Water With Lime: A glass of sparkling water with a twist of lime refreshes the palate after each rich bite, steering clear of heavy sodas.
Expert Tips for Russian Honey Cake Medovik
-
Monitor Baking Time: Keep an eye on the layers as they bake for 4-5 minutes. Overbaking can lead to dryness, ruining the cake’s soft texture.
-
Avoid Scrambled Eggs: When adding the egg mixture to the warm ingredients, stir continuously to prevent scrambling. This ensures a smooth and creamy base for the dough.
-
Use Room Temperature Ingredients: Make sure your butter and eggs are at room temperature for better mixing. This helps create a beautifully cohesive dough for your Russian Honey Cake Medovik.
-
Cool Before Rolling: Allow the dough to cool a couple of minutes before kneading. This makes it easier to handle and roll out into perfect circles.
-
And Don’t Forget: Always flavor your cream fillings and frostings with fresh vanilla. It elevates the taste and adds a lovely aroma that complements the honey perfectly!
How to Store and Freeze Russian Honey Cake Medovik
Fridge: Store your Medovik in an airtight container in the fridge for up to 3 days. This helps the flavors continue to meld, enhancing its delightful taste.
Freezer: To freeze, wrap the cake tightly in plastic wrap and then in foil. It can last for up to 2 months in the freezer. Thaw overnight in the fridge before enjoying.
Reheating: If you prefer it warm, gently reheat individual slices in the microwave for about 10-15 seconds. This will revive the cake’s soft texture without compromising its flavor.
Serving: Allow the cake to come to room temperature after freezing for the best texture and taste before serving your beloved Russian Honey Cake Medovik.
Russian Honey Cake Medovik Recipe FAQs
How do I select the best honey for Russian Honey Cake Medovik?
Absolutely! When choosing honey, opt for a high-quality, raw honey that is rich in flavor. Look for varieties that are floral and fragrant, as they will infuse your cake with a deeper sweetness. Avoid overly processed honey, as it might lack the complex notes that enhance the cake.
How should I store leftover Russian Honey Cake Medovik?
To keep your Medovik fresh, store it in an airtight container in the fridge for up to 3 days. This helps the flavors to meld even further, making the cake even more delectable. If you notice the layers are drying out, a small piece of bread can be added to the container to help retain moisture.
Can I freeze Russian Honey Cake Medovik?
Absolutely! To freeze the cake, carefully wrap it in plastic wrap, followed by a layer of aluminum foil. This will protect it from freezer burn. You can keep it in the freezer for up to 2 months. When you’re ready to enjoy, simply thaw it overnight in the fridge, and voilà—your cake will be ready to serve!
What if my cake layers are too dry or burnt?
No worries! If your cake layers are too dry, try reducing the baking time next time; they only need 4-5 minutes in the oven. If they accidentally get burnt, I recommend trimming the edges with a sharp knife before layering them with cream. The cream filling can also help to mask any dryness, making each bite more enjoyable.
Is Russian Honey Cake Medovik safe for those with nut allergies?
Very! This recipe for Medovik does not include any nuts, making it generally safe for those with nut allergies. However, always double-check your ingredients, especially for items like vanilla extract or cream products, as some brands might process them in facilities that handle nuts. Enjoying homemade treats should be safe and delightful!

Deliciously Decadent Russian Honey Cake Medovik Recipe
Ingredients
Equipment
Method
- Preheat your oven to 400°F (200°C) and line two baking trays with parchment paper.
- Melt together butter, granulated sugar, and honey in a bowl over a double boiler.
- Beat the eggs and vanilla in a separate bowl. Gradually pour this mixture into the double boiler.
- Combine baking soda, salt, and 2 cups of flour into the warm mixture, mixing for a few minutes.
- Remove from heat and add the last cup of flour; mix until well combined.
- Cool the dough for a couple of minutes, then knead until it forms a smooth ball.
- Divide the dough into 8 equal parts and cover them with a kitchen towel.
- Roll out each part into a thin circle, slightly larger than 7 inches.
- Bake each layer for 4-5 minutes, keeping a close eye to prevent burning.
- Cut out circles while the layers are still hot.
- Beat together the creme fraiche, double cream, icing sugar, and vanilla until doubled in volume.
- Frost the cake by beating the cold mascarpone with icing sugar, vanilla, and whipping cream until stiff peaks form.
- Cover the sides and top of the cake with the mascarpone frosting.
- Optional: Garnish each slice with a drizzle of honey for an extra sweet touch.


