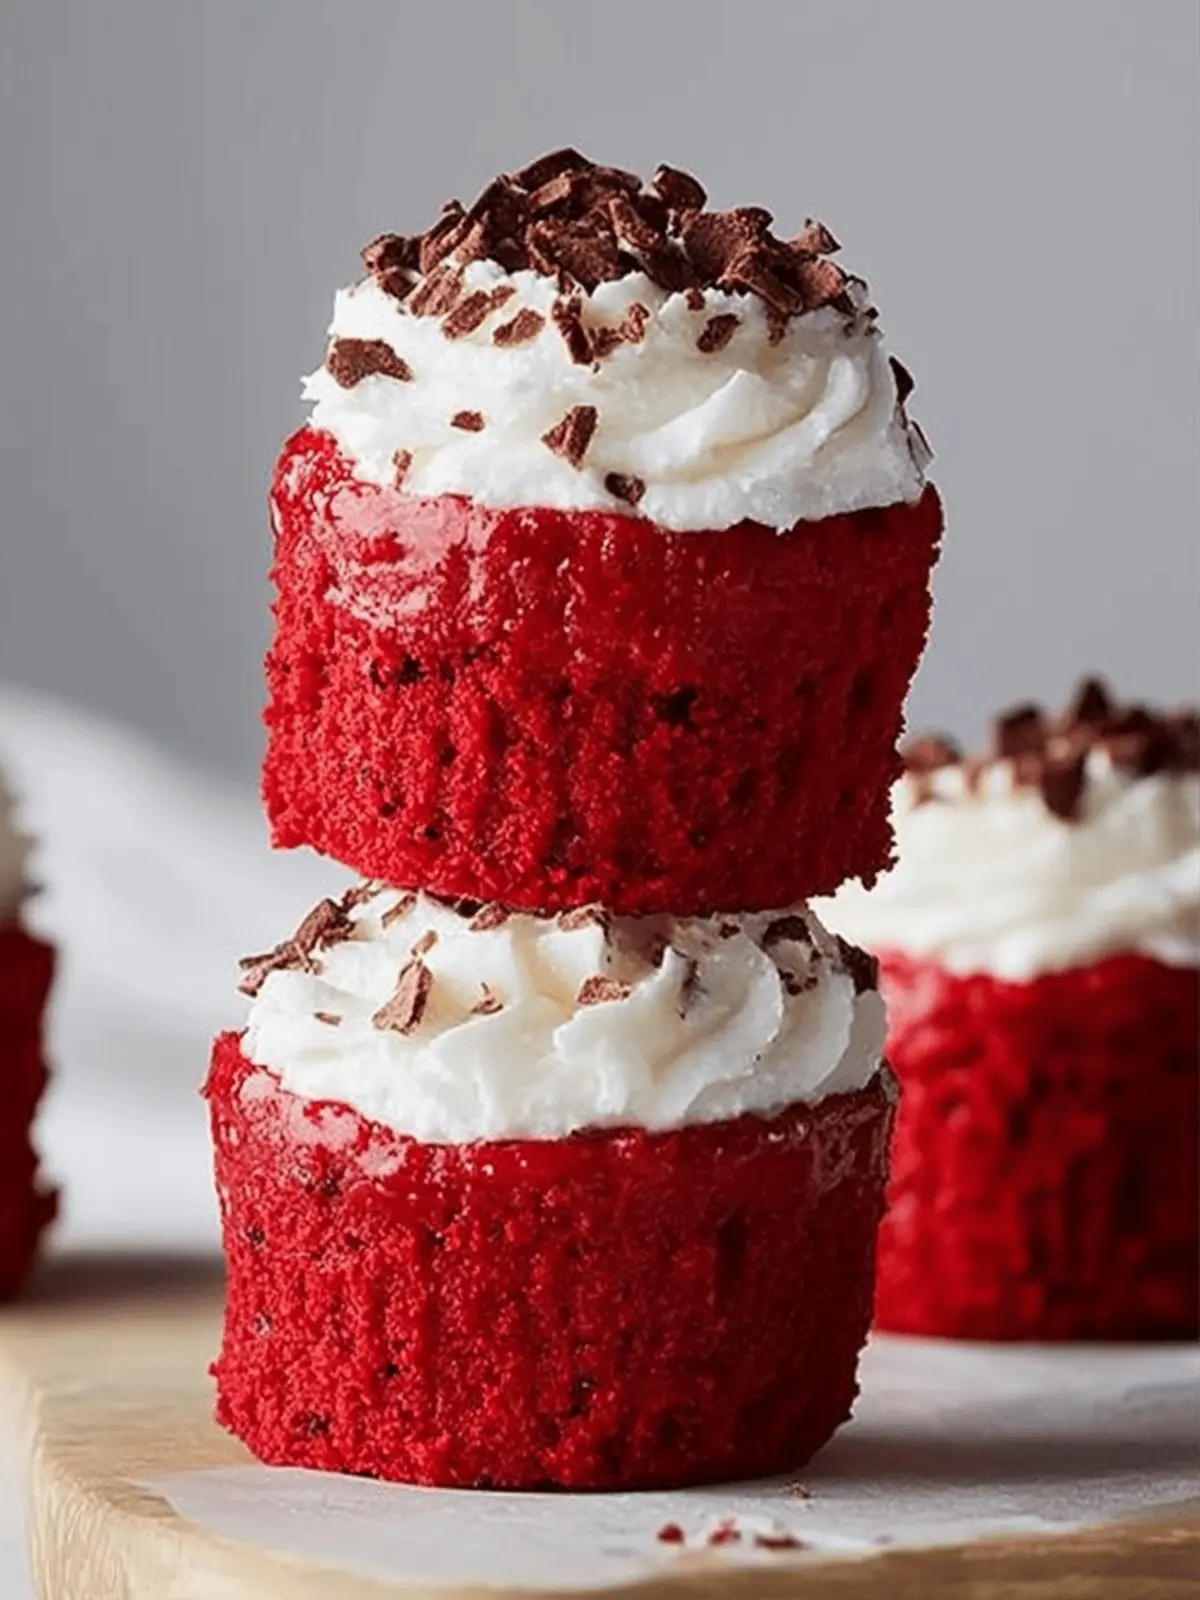
The moment I unwrapped a luscious red velvet cake, my kitchen was enveloped in a rich, buttery aroma that whispered promise and indulgence. It was an ordinary day, but something about that velvety sweetness urged me to transform it into miniature delights! Enter my Mini Red Velvet Cheesecakes, the perfect treat to brighten your afternoon or impress at gatherings with friends.
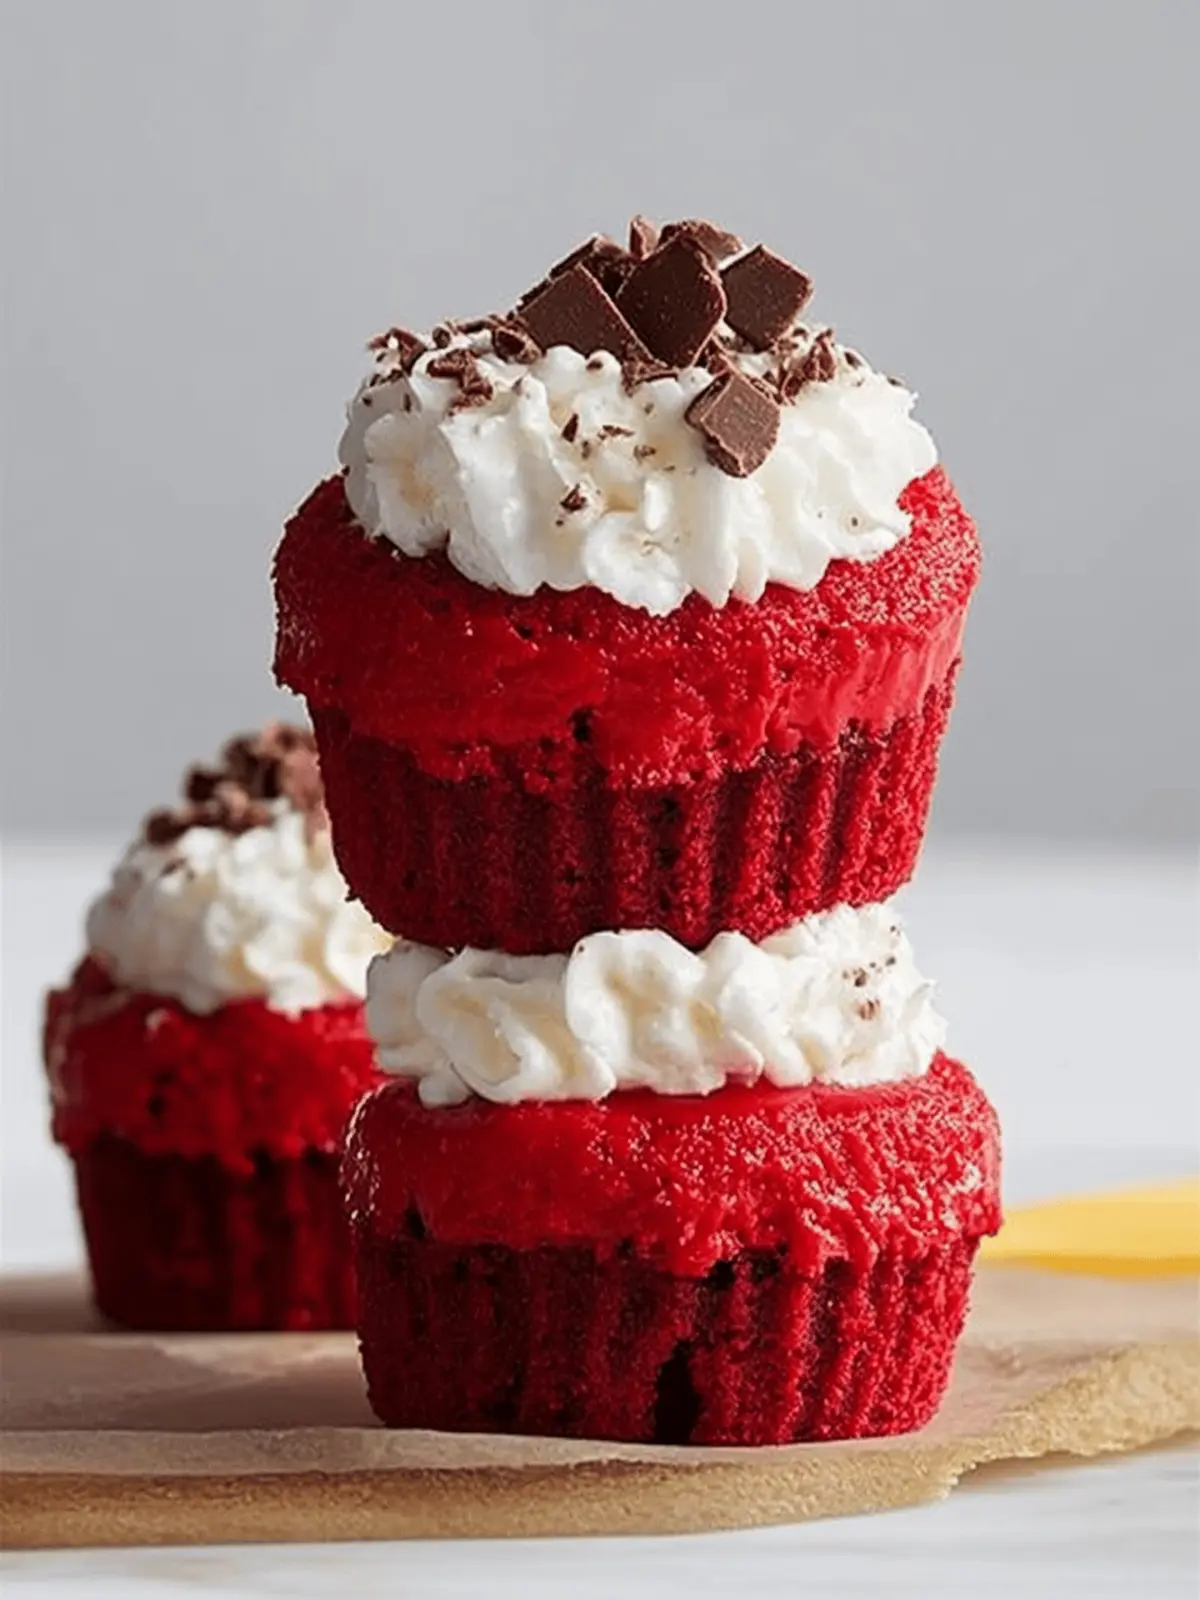
These bite-sized wonders capture the classic flavor of red velvet, flawlessly balanced with a creamy cheesecake filling that’s both rich and satisfying. The crumbly crust of chocolate wafers adds a delightful crunch, while the silky topping of whipped cream cheese crowns each cheesecake, making them irresistibly decadent.
With ease of prep and an eye-catching presentation, you’ll delight in their playful elegance without the fuss. So roll up your sleeves and let’s dive into this delicious adventure, where baked goodness meets homemade simplicity—your taste buds will thank you!
Why choose Mini Red Velvet Cheesecakes?
Irresistible flavor: The combination of rich red velvet cake and creamy cheesecake creates a divine experience for your taste buds.
Easy preparation: With straightforward steps, these mini desserts will come together effortlessly, perfect for home bakers of all skill levels.
Stunning presentation: Each cheesecake is visually captivating, making them a showstopper at any gathering or celebration.
Versatile serving: Ideal for parties, holidays, or cozy nights in, these bite-sized treats satisfy both cravings and aesthetics.
Time-saving delight: Bake and cool in just over an hour, ensuring you spend less time in the kitchen and more time enjoying with loved ones.
Crowd-pleaser: Everyone loves mini desserts, and these will quickly become a favorite among guests of all ages!
Mini Red Velvet Cheesecakes Ingredients
• Gather these goodies to create heavenly mini cheesecakes!
For the Crust
- Chocolate wafer cookie crumbs – these provide a delightful crunch that complements the creamy filling.
- Unsalted butter – melted to bind the crumbs together and add richness.
- Light brown sugar – offers a hint of caramel flavor to the crust.
- Kosher salt – a pinch enhances the overall sweetness and balances flavors.
- Nonstick cooking spray – ensures easy removal of the cheesecakes from the molds.
For the Cheesecake Filling
- Full-fat cream cheese – at room temperature for a smooth and creamy texture.
- Granulated sugar – adds sweetness to the cheesecake filling.
- Buttermilk powder – creates a subtle tang reminiscent of traditional red velvet cake.
- Vanilla extract – infuses a warm, inviting flavor.
- Kosher salt – balances the sweetness and enhances flavors.
- Large eggs and yolks – room temperature for better incorporation into the filling.
- Heavy cream – adds richness and helps create a luscious texture.
- Dutch-process cocoa – deepens the chocolate flavor in the cheesecake.
- Red food coloring – the star ingredient that gives red velvet its iconic hue.
For the Whipped Topping
- Cream cheese – at room temperature, for a light and fluffy topping.
- Confectioners’ sugar – sweetens the whipped cream for a smooth finish.
- Heavy cream – whipped to create the perfect texture for topping.
- Vanilla extract – a touch to enhance the flavor of the whipped cream.
- Chocolate curls – for garnish that adds elegance and visual appeal.
Now you have all the ingredients ready to create these delightful Mini Red Velvet Cheesecakes that will impress everyone at your next gathering!
How to Make Mini Red Velvet Cheesecakes
-
Preheat your oven: Set it to 325°F, creating a warm environment for baking those delightful cheesecakes.
-
Mix the crust: Combine chocolate wafer cookie crumbs, melted butter, light brown sugar, and a pinch of kosher salt in a bowl until the mixture is sandy. Spray six 3-inch round mini-cheesecake molds with nonstick cooking spray.
-
Form the crust: Portion out 2 tablespoons of the crumb mixture into each mold and press it down firmly to create a solid base.
-
Bake the crust: Place the molds in the oven and bake for 8 minutes. Allow them to cool while you prepare the filling.
-
Prepare the water bath: Place a cake pan filled with 1 inch of hot water on the lowest rack of your oven. This helps maintain moisture and prevents cracks in the cheesecakes.
-
Mix the filling: In the bowl of your stand mixer, whip the cream cheese until smooth, about 1 minute.
-
Add sweeteners: Gradually add granulated sugar, buttermilk powder, vanilla extract, and kosher salt. Blend on low speed for 1 minute.
-
Achieve smoothness: Scrape down the bowl and paddle. Blend for another 1 to 2 minutes until the mixture is completely smooth.
-
Incorporate eggs: Whisk together the large eggs and yolks in a separate bowl until smooth. Add to the cream cheese mixture in three parts, allowing each addition to combine fully.
-
Warm and mix chocolate cream: Microwave heavy cream until steaming, about 1 minute. Whisk in Dutch-process cocoa and red food coloring to create a smooth chocolate mixture.
-
Combine mixtures: With the mixer on low speed, add the chocolate cream mixture to the cream cheese filling, mixing just until combined.
-
Fill the molds: Evenly divide the cheesecake custard between the 12 molds, filling each about 1/4 inch from the top.
-
Bake gently: Move the cheesecakes to the center rack and lower the oven temperature to 300°F. Bake for 42 to 48 minutes, until puffed and slightly wobbly, reaching an internal temperature of 160°F.
-
Cool in the oven: Turn off the heat and leave the cheesecakes to cool in the oven for 25 minutes to help them settle.
-
Prepare the topping: Whip cream cheese and confectioners’ sugar in your stand mixer until smooth and light, about 3 to 5 minutes.
-
Finish the topping: Add heavy cream and vanilla extract, mixing on low until smooth. Increase to medium-high speed and whip until medium peaks form.
-
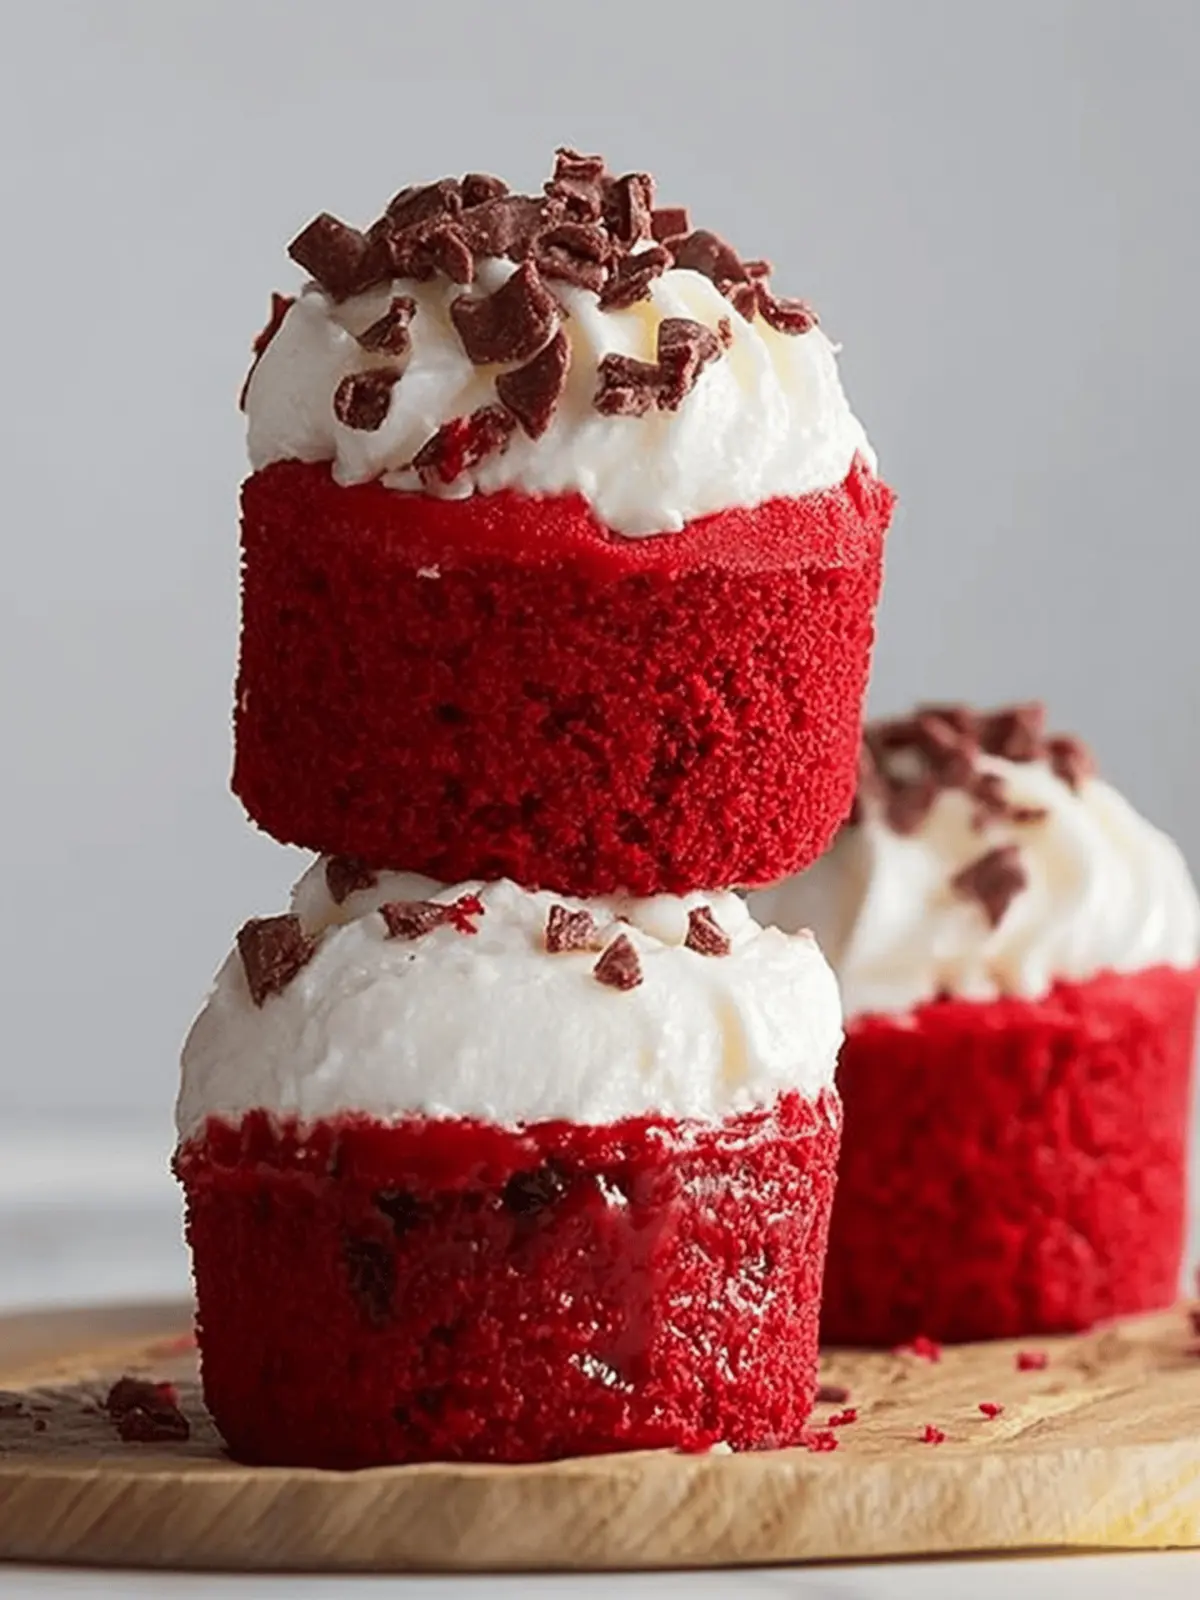
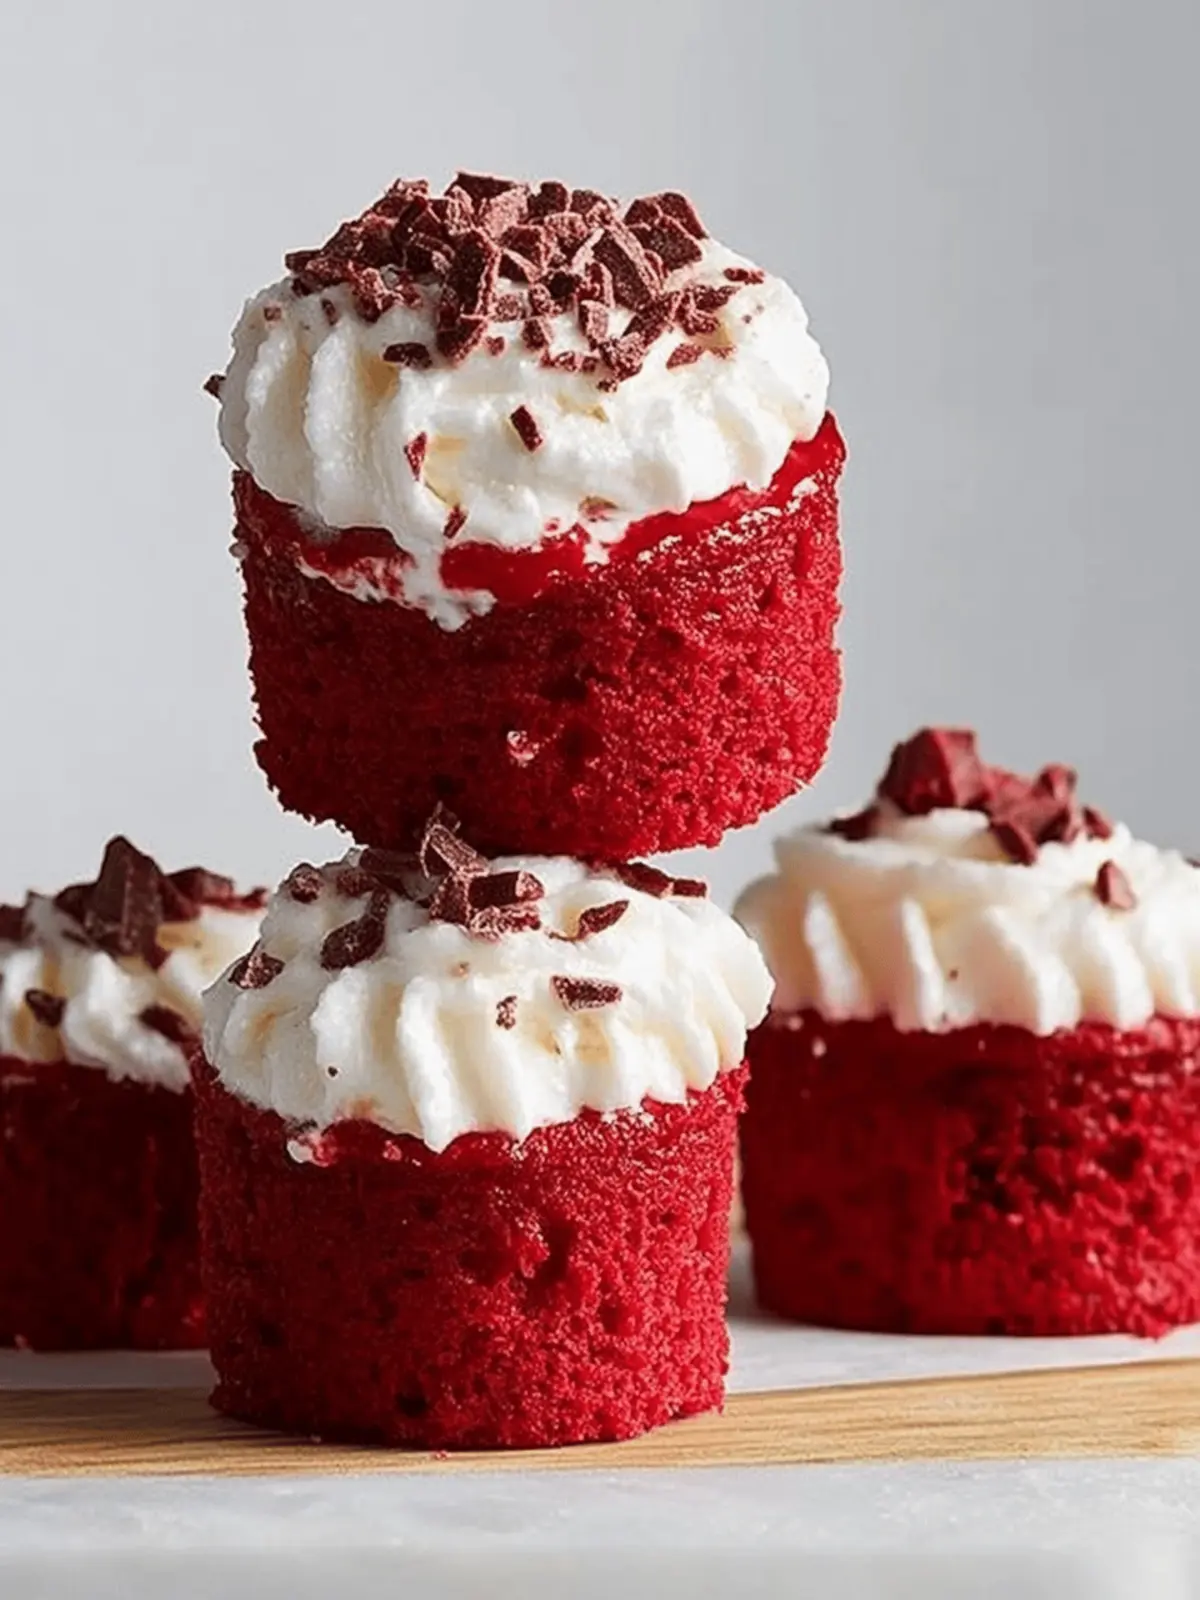
Decorate: Top each cheesecake with a generous dollop of whipped cream cheese and sprinkle with chocolate curls for a finishing touch.
Optional: Add a few sprigs of fresh mint for a pop of color!
Exact quantities are listed in the recipe card below.
What to Serve with Mini Red Velvet Cheesecakes?
Create a delightful dining experience by pairing these creamy desserts with a few thoughtfully chosen accompaniments that enhance their rich flavors.
-
Fresh Berries: Juicy strawberries or raspberries add a refreshing burst of tartness that beautifully contrasts the sweetness of the cheesecakes. The bright colors also enhance the visual appeal, making your dessert table pop!
-
Coffee or Espresso: A warm cup of coffee or a shot of espresso complements the deep flavors of red velvet, while the caffeine kick adds a perfect touch for a gathering. Many find the combination irresistible—the smoothness of the cheesecake blends perfectly with the aromatic brew.
-
Chocolate Ganache: A drizzle of silky chocolate ganache brings an indulgent touch, elevating the mini cheesecakes to decadent heights. The richness of the chocolate pairs harmoniously with the creaminess of the cheesecake, creating an enticing flavor duo.
-
Vanilla Ice Cream: A scoop of velvety vanilla ice cream beside the cheesecakes provides a pleasant temperature contrast and a delightful creaminess. As it melts, it creates a luscious sauce that coats each bite in sweetness, inviting everyone to indulge a little more.
-
Red Wine: A light-bodied red wine, like Pinot Noir, offers a fruity note that balances the cheesecakes and enhances the overall experience. Sip it leisurely as you savor the complex layers of flavor in the desserts.
-
Mint Sprigs: Garnishing each cheesecake with fresh mint adds a pop of color and a refreshing aroma. The minty freshness contrasted against the rich flavors creates a delightful sensory experience for your guests.
Expert Tips for Mini Red Velvet Cheesecakes
-
Room Temperature Ingredients: Ensure all dairy ingredients, especially cream cheese and eggs, are at room temperature for a smoother consistency and better mixing.
-
Don’t Overmix: After adding eggs to the cheesecake filling, mix just until combined. Overmixing can introduce air that leads to cracks during baking.
-
Water Bath Care: Ensure the water bath is properly set up to maintain moisture during baking. This helps keep the texture creamy and prevents cracks in your mini red velvet cheesecakes.
-
Cool Gradually: Allow the cheesecakes to cool in the oven with the door ajar. This gradual cooling helps them settle without cracking.
-
Top Wisely: When decorating with whipped cream, use a piping bag for neatness. Adding chocolate curls right before serving maintains their crispness.
-
Serving Suggestion: For a fun twist, top with fresh berries or a drizzle of raspberry sauce to complement the flavors of the mini red velvet cheesecakes!
Mini Red Velvet Cheesecake Variations
Feel free to mix things up and add your personal touch to these delightful treats!
-
Gluten-Free: Swap chocolate wafer cookies with gluten-free cookie crumbs for a safe alternative that’s just as tasty.
-
Nutty Crunch: Add 1/4 cup of finely chopped nuts (like pecans or walnuts) to the crust for an extra layer of texture and flavor.
-
Cheesecake Swirl: For a fun twist, swirl in some of your favorite fruit preserves or melted chocolate into the filling before baking for a unique taste experience.
-
Dairy-Free: Replace cream cheese with a vegan cream cheese alternative and use coconut cream for the topping—deliciously dairy-free!
-
Spicy Kick: Add a dash of cayenne pepper to the cheesecakes for a surprising heat that complements the sweetness beautifully.
-
Caramel Delight: Drizzle caramel sauce on top before adding chocolate curls for a richness that takes these mini cheesecakes to the next level.
-
Seasonal Flavors: Incorporate pumpkin spice or cinnamon into the filling during fall for a seasonal adaptation that’s sure to delight.
-
Berry Bliss: Top with fresh strawberries or raspberries for a refreshing contrast—perfect for summer gatherings!
Each variation offers an exciting new way to savor these mini red velvet cheesecakes. Enjoy exploring the flavors!
How to Store and Freeze Mini Red Velvet Cheesecakes
Room Temperature: These mini cheesecakes are best enjoyed fresh but can sit at room temperature for up to 2 hours if necessary; avoid leaving them out longer to maintain quality.
Fridge: Store your Mini Red Velvet Cheesecakes in an airtight container in the fridge for up to 3 days. This keeps them fresh and ready to enjoy whenever you want a sweet treat.
Freezer: They can also be frozen for up to 2 months. Wrap each cheesecake tightly in plastic wrap and then place in a freezer-safe container. Thaw in the fridge overnight before serving.
Reheating: If you prefer warm cheesecakes, gently reheat them in a preheated oven at 300°F for about 10 minutes. Enjoy the delightful texture of these mini red velvet cheesecakes!
Make Ahead Options
These Mini Red Velvet Cheesecakes are an excellent choice for busy home cooks looking to save time! You can prepare the crust up to 24 hours in advance by mixing the chocolate wafer cookie crumbs, melted butter, light brown sugar, and salt, then pressing them into the molds before refrigerating. The cheesecake filling can also be made a day ahead; simply prepare it, divide it among the molds, and cover tightly with plastic wrap before refrigerating. When you’re ready to serve, bake the cheesecakes directly from the fridge, allowing for extra time if they’re cold. This way, you’ll enjoy just as delicious, creamy, and decadent results while simplifying your meal planning!
Mini Red Velvet Cheesecakes Recipe FAQs
How do I choose the right chocolate wafer cookies for the crust?
Absolutely! Look for high-quality chocolate wafer cookies that are rich and flavorful. You want cookies that aren’t too soft or crumbly to ensure a nice, sturdy crust. A quick taste test can help you decide; if they have a strong chocolate flavor without being overly sweet, you’re on the right track!
How should I store leftover Mini Red Velvet Cheesecakes?
Very straightforward! For optimal freshness, place your mini cheesecakes in an airtight container and refrigerate them. They’ll last for up to 3 days. Just make sure they’re cooled completely before sealing them up to avoid condensation that could affect the texture.
Can I freeze Mini Red Velvet Cheesecakes, and how?
Absolutely, these little delights freeze beautifully! Wrap each cheesecake individually in plastic wrap, then place them in a freezer-safe container or a resealable freezer bag. They can be frozen for up to 2 months. When you’re ready to enjoy them, simply thaw them overnight in the fridge. This helps retain their creamy texture!
Why do my cheesecakes have cracks after baking?
Ah, the classic cheesecake dilemma! Cracks usually occur from overmixing, which incorporates air into the filling, or letting them cool too quickly. Be sure to mix the eggs in just until combined. Additionally, using a water bath helps maintain moisture while baking, which minimizes the chance of cracks. Gradual cooling—by leaving them in the oven with the door ajar—also makes a significant difference.
Are Mini Red Velvet Cheesecakes suitable for those with allergies?
Great question! These cheesecakes contain dairy and eggs, so they are not suitable for individuals with dairy or egg allergies. However, you can experiment with dairy-free cream cheese and egg replacements like applesauce or flaxseed for a vegan option. Just note that the texture and flavor may differ slightly. Always check your ingredients for cross-contamination if allergies are a concern.
What can I use if I don’t have buttermilk powder?
No problem! If you don’t have buttermilk powder, you can make a quick substitute by mixing 1 tablespoon of white vinegar or lemon juice with 1 cup of regular milk. Let it sit for about 5 minutes until it curdles. This will mimic the tangy flavor buttermilk adds to your cheesecakes!
Deliciously Decadent Mini Red Velvet Cheesecakes to Impress
Ingredients
Equipment
Method
- Preheat your oven to 325°F.
- Combine chocolate wafer cookie crumbs, melted butter, light brown sugar, and kosher salt in a bowl until sandy. Spray molds with nonstick cooking spray.
- Press 2 tablespoons of the crumb mixture into each mold to form the crust.
- Bake the crust for 8 minutes and allow to cool.
- Prepare a water bath by placing a cake pan filled with hot water on the lowest rack of the oven.
- In a stand mixer, whip cream cheese until smooth for about 1 minute.
- Gradually add granulated sugar, buttermilk powder, vanilla extract, and kosher salt; blend on low.
- Blend for 1 to 2 minutes until completely smooth.
- Whisk large eggs and yolks in a bowl. Gradually add to the cream cheese mixture in three parts.
- Microwave heavy cream until steaming, then whisk in cocoa and red food coloring.
- Add the chocolate cream mixture to the cheesecake filling and mix just until combined.
- Evenly divide the filling between the molds, filling each about 1/4 inch from the top.
- Bake at 300°F for 42 to 48 minutes until puffed and slightly wobbly, aiming for an internal temperature of 160°F.
- Turn off the oven and let the cheesecakes cool inside for 25 minutes.
- Whip cream cheese and confectioners' sugar in the stand mixer until smooth, about 3 to 5 minutes.
- Add heavy cream and vanilla to the mixture and whip until medium peaks form.
- Top each cheesecake with whipped cream cheese and sprinkle with chocolate curls.

