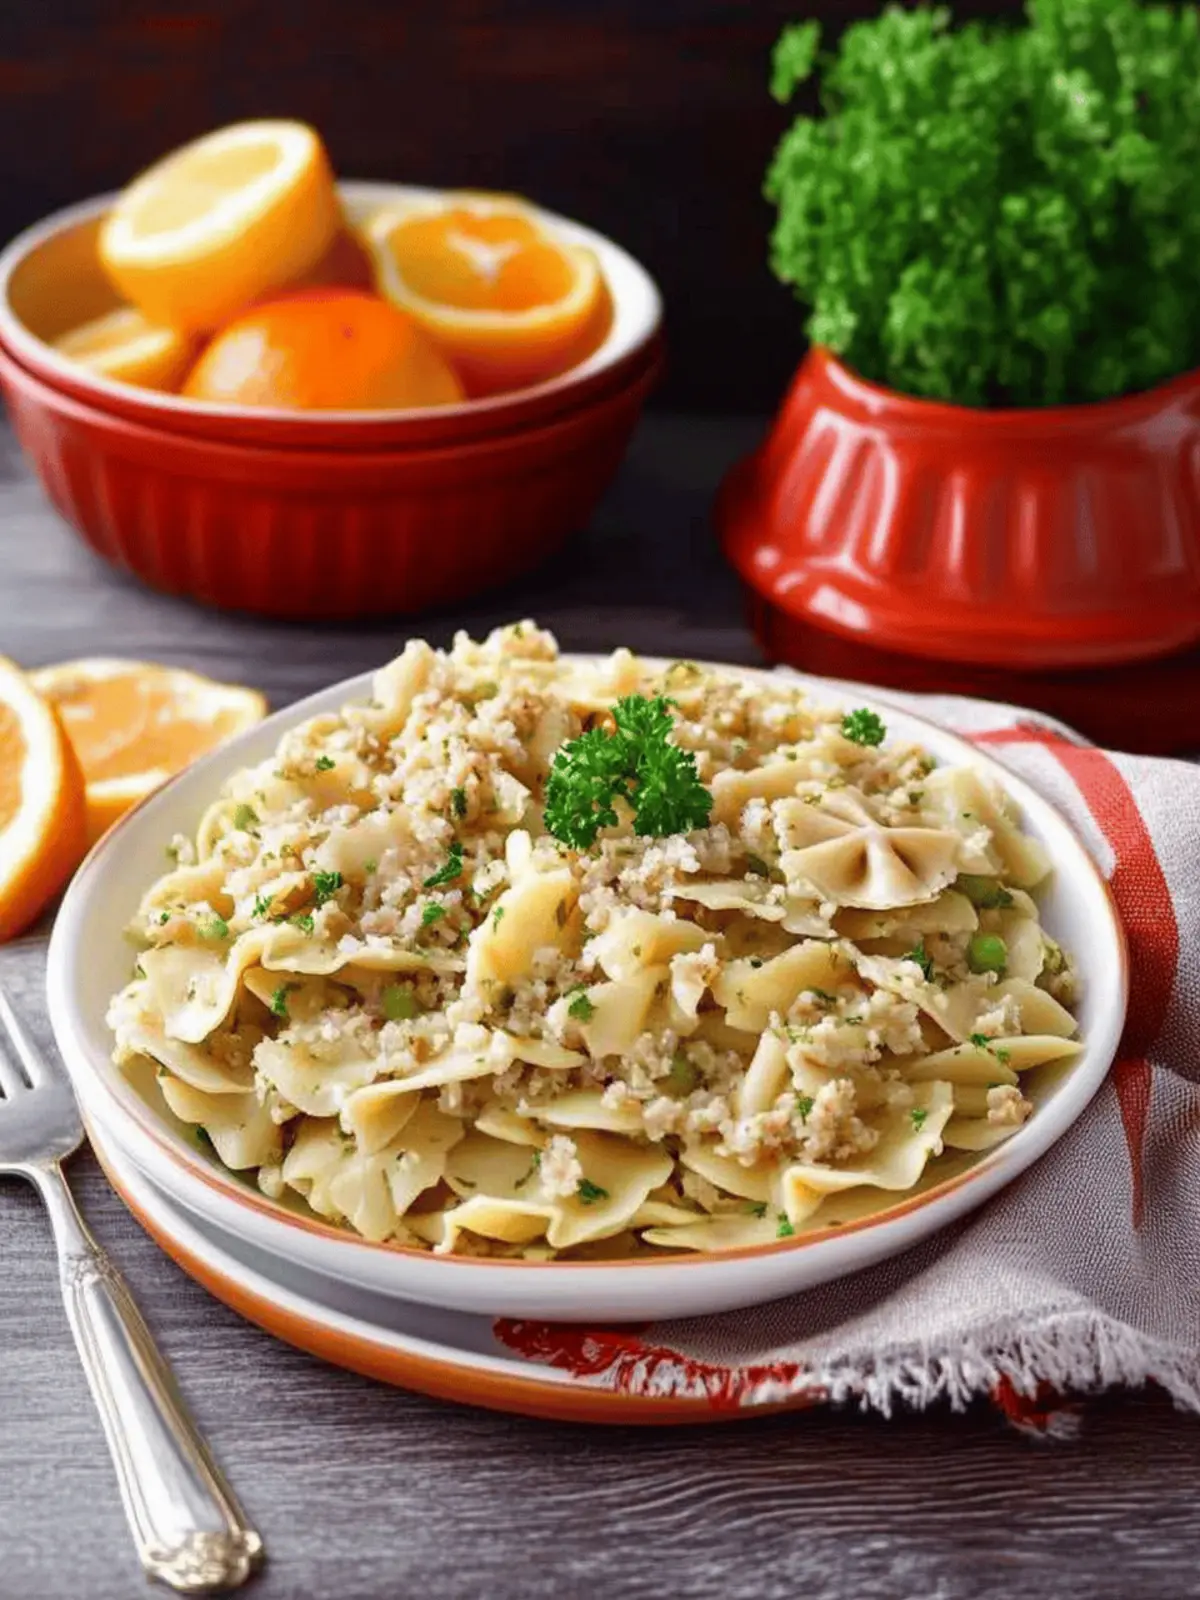
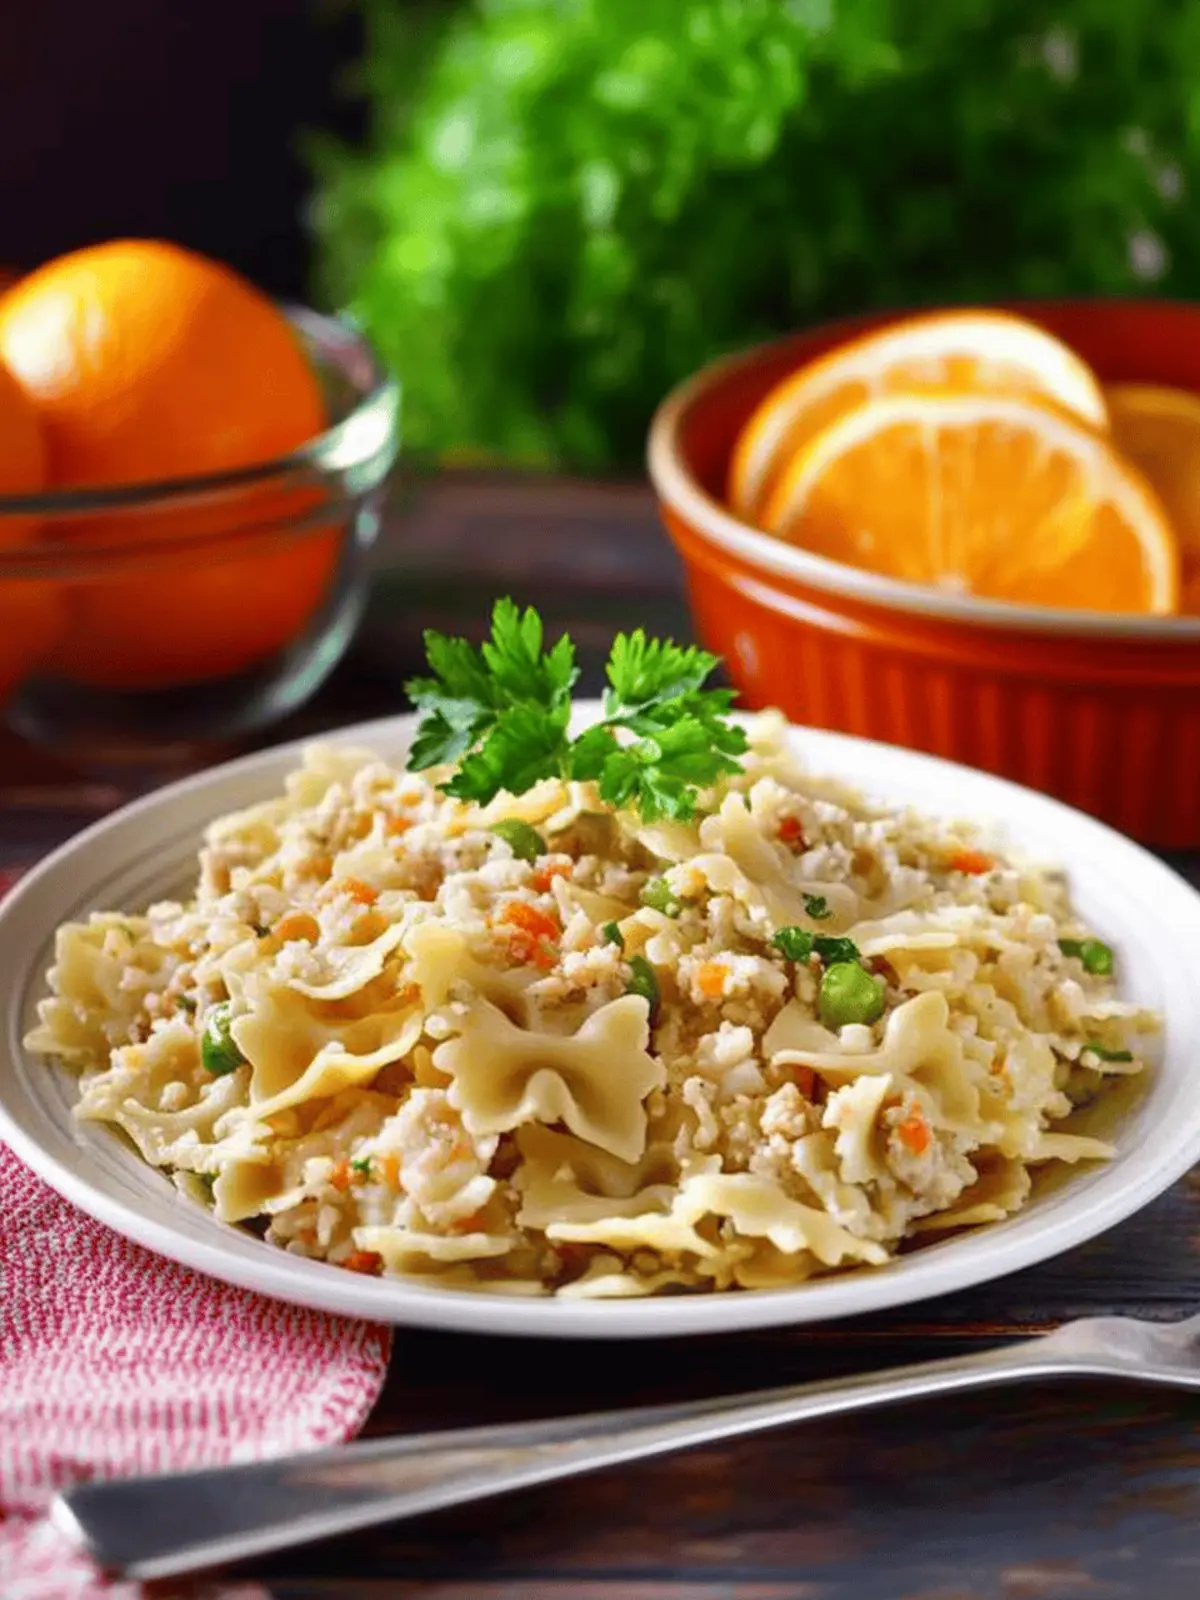
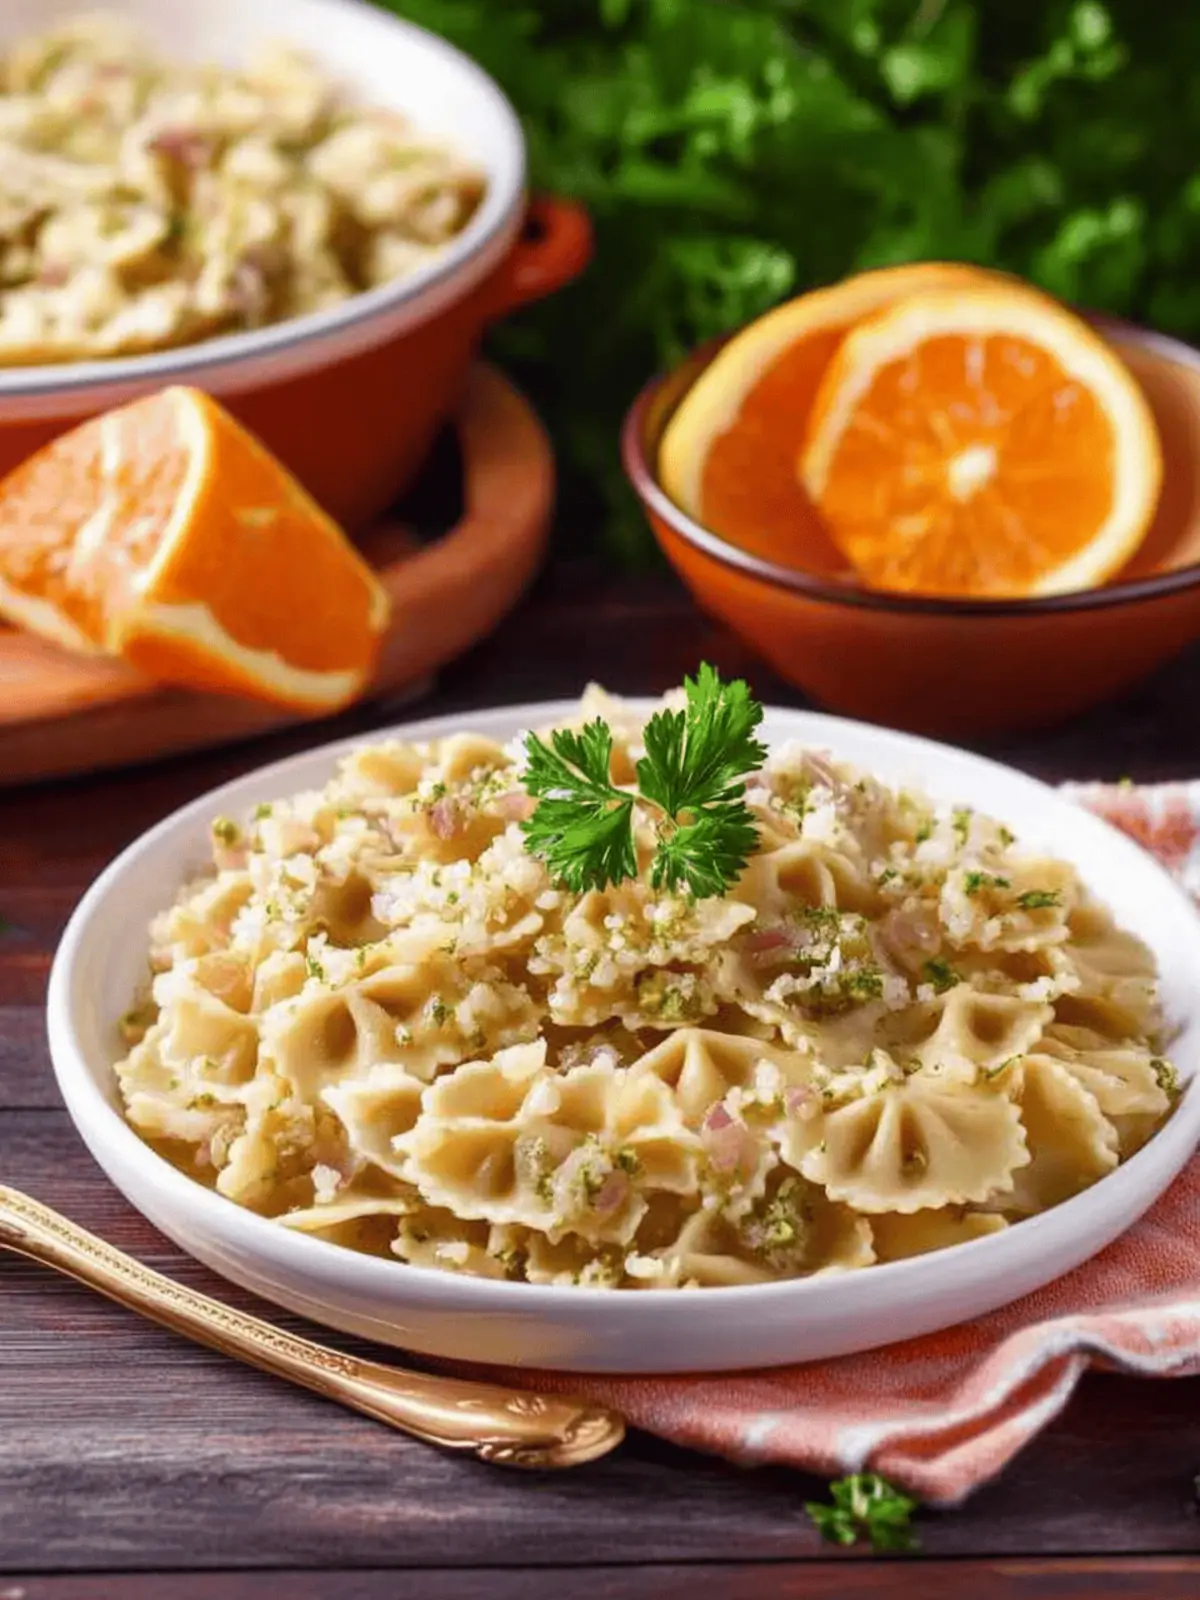
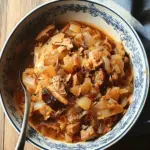
There’s something undeniably comforting about a dish that brings family recipes to the forefront of our kitchens. Kasha Varnishkes, or as I affectionately call it, Kasha and Bows, is one of those remarkable meals that tells a story with every bite. I stumbled upon this delightful combination while searching for a wholesome dinner that could please both my nostalgia-loving heart and my hunger for something new.
Imagine the earthy aroma of toasted kasha mingling with the sweetness of caramelized onions – it transports me to my grandmother’s cozy kitchen, where laughter and love were ingredients just as essential as the pasta. This dish is not only a warm hug for the soul, but it also excels at being easy to whip up, making it a perfect choice for busy weeknights or a relaxed Sunday gathering. So, if you’re tired of fast food distractions and want a meal that fills your home with flavor and warmth, let’s dive into this satisfying recipe together.
Why is Kasha Varnishkes so beloved?
Heartwarming Tradition: Kasha Varnishkes combines the rich flavors of kasha and delicate bowtie pasta, evoking cherished family memories.
Quick Preparation: With a cook time of just 45 minutes, this dish fits perfectly into your busy schedule.
Versatile Dish: It’s an excellent choice for both cozy weeknights and festive gatherings, pleasing everyone at the table.
Nutty, Robust Flavor: Toasted kasha paired with caramelized onions creates a flavor profile that’s both comforting and satisfying.
Simplicity: Easy-to-follow instructions mean you’ll whip up this delightful meal without fuss, making it a hit for both novice and seasoned cooks alike.
Kasha Varnishkes Ingredients
For the Kasha
• Large egg – a beaten egg helps to coat the kasha and gives it a delightful texture.
• Uncooked kasha – this is the star ingredient for your Kasha Varnishkes, providing a nutty flavor.
• Schmaltz, butter, or olive oil – choose your favorite fat for sautéing and adding richness.
For the Pasta
• Bowtie pasta – the shape of the pasta adds a fun texture and makes it visually appealing.
For the Onions
• Chopped onions – caramelized onions lend a sweetness that beautifully balances the nutty kasha.
Seasoning & Garnish
• Salt and pepper – essential for enhancing flavors; adjust to your taste!
• Fresh parsley (optional) – a sprinkle of parsley brightens the dish and adds a pop of color.
With these simple ingredients, you’re just a few steps away from creating a comforting dish of Kasha Varnishkes that’s sure to please the whole family!
How to Make Kasha Varnishkes
-
Preheat your oven to 325°F. In a small bowl, whisk together the kasha, beaten egg, ¼ tsp salt, and a dash of black pepper, ensuring each grain is well coated.
-
Spread the kasha mixture evenly into a small oven-safe nonstick skillet. Place it in the preheated oven and let it toast for 15-20 minutes until it’s fully dried through.
-
Cook the onions by heating 2 tbsp of schmaltz, butter, or olive oil in a large skillet over medium heat. Fry the chopped onions for about 15-20 minutes, stirring often, until they become tender and caramelized to a golden brown.
-
Boil 3 cups of water with ¼ tsp salt in a medium saucepan for the kasha. At the same time, bring about 8 cups of salted water to a boil in another pot for the bowtie pasta.
-
Remove the toasted kasha from the oven, then carefully break it apart with a fork to separate the grains.
-
Combine the kasha with the boiling water in the medium saucepan. Stir, cover the pot, and then reduce the heat to simmer for about 15 minutes until the water is fully absorbed and the kasha is fluffy.
-
Mix the cooked kasha with the caramelized onions and oil, then pour this mixture over the cooked bowtie pasta. Add the remaining 3 tbsp of your chosen fat to the pasta for added richness.
-
Season the dish generously with salt and pepper, mixing everything together until well combined. Serve it hot and garnish with chopped fresh parsley if you like.
Optional: A sprinkle of toasted nuts can add an extra crunch!
Exact quantities are listed in the recipe card below.
What to Serve with Kasha Varnishkes?
To elevate your dinner and create a delightful culinary experience, consider these exquisite pairings that complement this hearty dish.
-
Steamed Broccoli: A vibrant green serving of steamed broccoli adds a fresh, crunchy contrast to the warm, nutty flavors of Kasha Varnishkes. The subtle bitterness of broccoli balances the sweetness of caramelized onions beautifully.
-
Garlic Bread: Golden, buttery garlic bread is always a hit at the dinner table. Its crispy texture and aromatic flavor make it a perfect dipping companion for your Kasha, adding warmth to each bite.
-
Simple Green Salad: A salad of mixed greens, cherry tomatoes, and cucumber with a light vinaigrette offers a refreshing balance to the hearty kasha. The brightness of the salad helps cleanse the palate between bites.
-
Roasted Root Vegetables: A medley of roasted carrots, beets, and potatoes offers sweetness and earthy flavors that complement Kasha Varnishkes well. The caramelized edges enhance the dish’s comforting feel.
-
Crispy Fried Eggs: Top your plate with a crispy fried egg for a delightful breakfast-for-dinner twist. The runny yolk adds richness, creating a luscious sauce over the Kasha.
-
Applesauce: A side of homemade applesauce brings a touch of sweetness and acidity, making it a lovely contrast to the nutty kasha. Each spoonful rekindles those cozy home-cooked meal memories.
-
Chardonnay: A chilled glass of Chardonnay harmonizes beautifully with the dish’s flavors, offering a crisp, fruity complement to the earthy kasha. Its acidity lifts the dish without overpowering it.
-
Chocolate Cake: For a sweet finish, a slice of rich chocolate cake provides a delightful end to your meal. The contrast between the creamy dessert and the nutty kasha rounds out the evening perfectly.
Make Ahead Options
These Kasha Varnishkes are an excellent choice for those who love to meal prep! You can prepare the toasted kasha and caramelized onions up to 3 days in advance and store them in airtight containers in the refrigerator. To maintain their quality, ensure the kasha is completely cooled before sealing. When you’re ready to enjoy, simply reheat the kasha and onions in a skillet, then cook the bowtie pasta fresh. Combine everything, season, and serve—your comforting dish will still taste just as delicious and satisfying. This method not only saves you time on busy weeknights but also ensures you have a hearty, homemade meal ready to go!
Kasha Varnishkes Serving Suggestions
There’s something magical about a meal when it’s perfectly paired with all the right side dishes. Let’s explore some wonderful accompaniments!
-
Sautéed Greens: Serve with sautéed kale or spinach for a burst of color and nutrients. The earthy flavors complement the dish beautifully.
-
Garlic Bread: A slice of crispy garlic bread on the side adds a satisfying crunch. It helps to soak up those delicious flavors!
-
Roasted Vegetables: Roasted carrots, zucchini, or bell peppers add a lovely pop of sweetness. Plus, their vibrant colors will make your plate even more appetizing!
-
Pickled Beets: The tangy tartness of pickled beets balances the nuttiness of the kasha. Their vibrant hue will brighten your table too!
-
Creamy Greek Yogurt: A dollop of yogurt adds creaminess and a refreshing contrast to the hearty kasha. It’s like a little surprise with each bite!
-
Chicken or Sausage: For some protein, consider serving with grilled chicken or sausages. Their savory flavor will elevate your meal experience.
-
Fresh Salad: A light salad with a zesty vinaigrette adds brightness. Crisp greens will enhance the comfort of this cozy dish while bringing a refreshing crunch.
-
Bubbly Sparkling Drink: Don’t forget a bubbly drink to cleanse the palate! It adds a celebratory touch to this comforting home-cooked meal.
With these delightful options, you’re sure to create a well-rounded meal that keeps everyone coming back for more! Enjoy your culinary adventure!
How to Store and Freeze Kasha Varnishkes
Fridge: Store leftover Kasha Varnishkes in an airtight container for up to 3 days to maintain freshness.
Freezer: For longer storage, freeze the dish in a freezer-safe container for up to 3 months. Thaw overnight in the refrigerator before reheating.
Reheating: Reheat in the microwave or on the stovetop over low heat, adding a splash of water or broth to restore moisture and prevent drying out.
Keeping Flavorful: To maintain the dish’s delightful nutty flavor, avoid freezing components separately.
Expert Tips for Kasha Varnishkes
-
Perfectly Toasted Kasha: Toast the kasha until it’s golden to enhance the nutty flavor. Over-toasting can lead to a bitter taste, so keep an eye on it!
-
Onion Caramelization: Cook your onions low and slow for that sweet, caramelized flavor. Rushing the process can result in burnt onions.
-
Water Measurement: Use precise water ratios for the kasha; too much water can turn it mushy. Aim for a 1:2 ratio of kasha to water for the best texture.
-
Pasta Timing: Cook the bowtie pasta just until al dente. Overcooking can lead to a soggy texture, especially when mixed with the kasha.
-
Season Generously: Don’t shy away from seasoning. Salt and pepper throughout the cooking process enhance the flavors of your Kasha Varnishkes significantly!
Kasha Varnishkes Recipe FAQs
What are the best indicators for selecting ripe kasha?
Kasha should be uniform in color and free from dark spots or any signs of mold. When purchasing, opt for packages that are sealed and stored away from direct sunlight to ensure freshness.
How do I properly store leftover Kasha Varnishkes?
Store any leftover Kasha Varnishkes in an airtight container and keep it in the fridge for up to 3 days. Make sure to let it cool completely before sealing to avoid condensation, which can make it soggy.
Can I freeze Kasha Varnishkes for later use?
Absolutely! To freeze Kasha Varnishkes, place it in a freezer-safe container and seal tightly, making sure to expel as much air as possible. This will keep it fresh for up to 3 months. When you’re ready to enjoy it again, thaw it overnight in the refrigerator.
What should I do if my kasha turns mushy?
If you find that your kasha has turned out mushy, it may be due to too much water during cooking. For next time, be sure to follow a 1:2 ratio of kasha to water. If mushiness occurs, you can try to spread the kasha in a single layer on a baking sheet and bake it for a few more minutes at 350°F to dry it out.
Are there any dietary considerations for Kasha Varnishkes?
For those with gluten allergies, you can substitute bowtie pasta with gluten-free pasta. Additionally, if you’re cooking for pets or those with specific allergies, always check the labels of your ingredients, especially for allergens like wheat or egg.
How do I ensure my onions are perfectly caramelized?
To achieve beautifully caramelized onions, cook them slowly over medium to medium-low heat, stirring frequently. It’s important to allow them around 15-20 minutes to develop that rich, golden color. If you find they’re browning too quickly, lower the heat and add a splash of water to deglaze the pan, as it will add flavor and moisture to your dish!
These tips will help you create delicious Kasha Varnishkes while addressing your biggest cooking queries. Happy cooking!
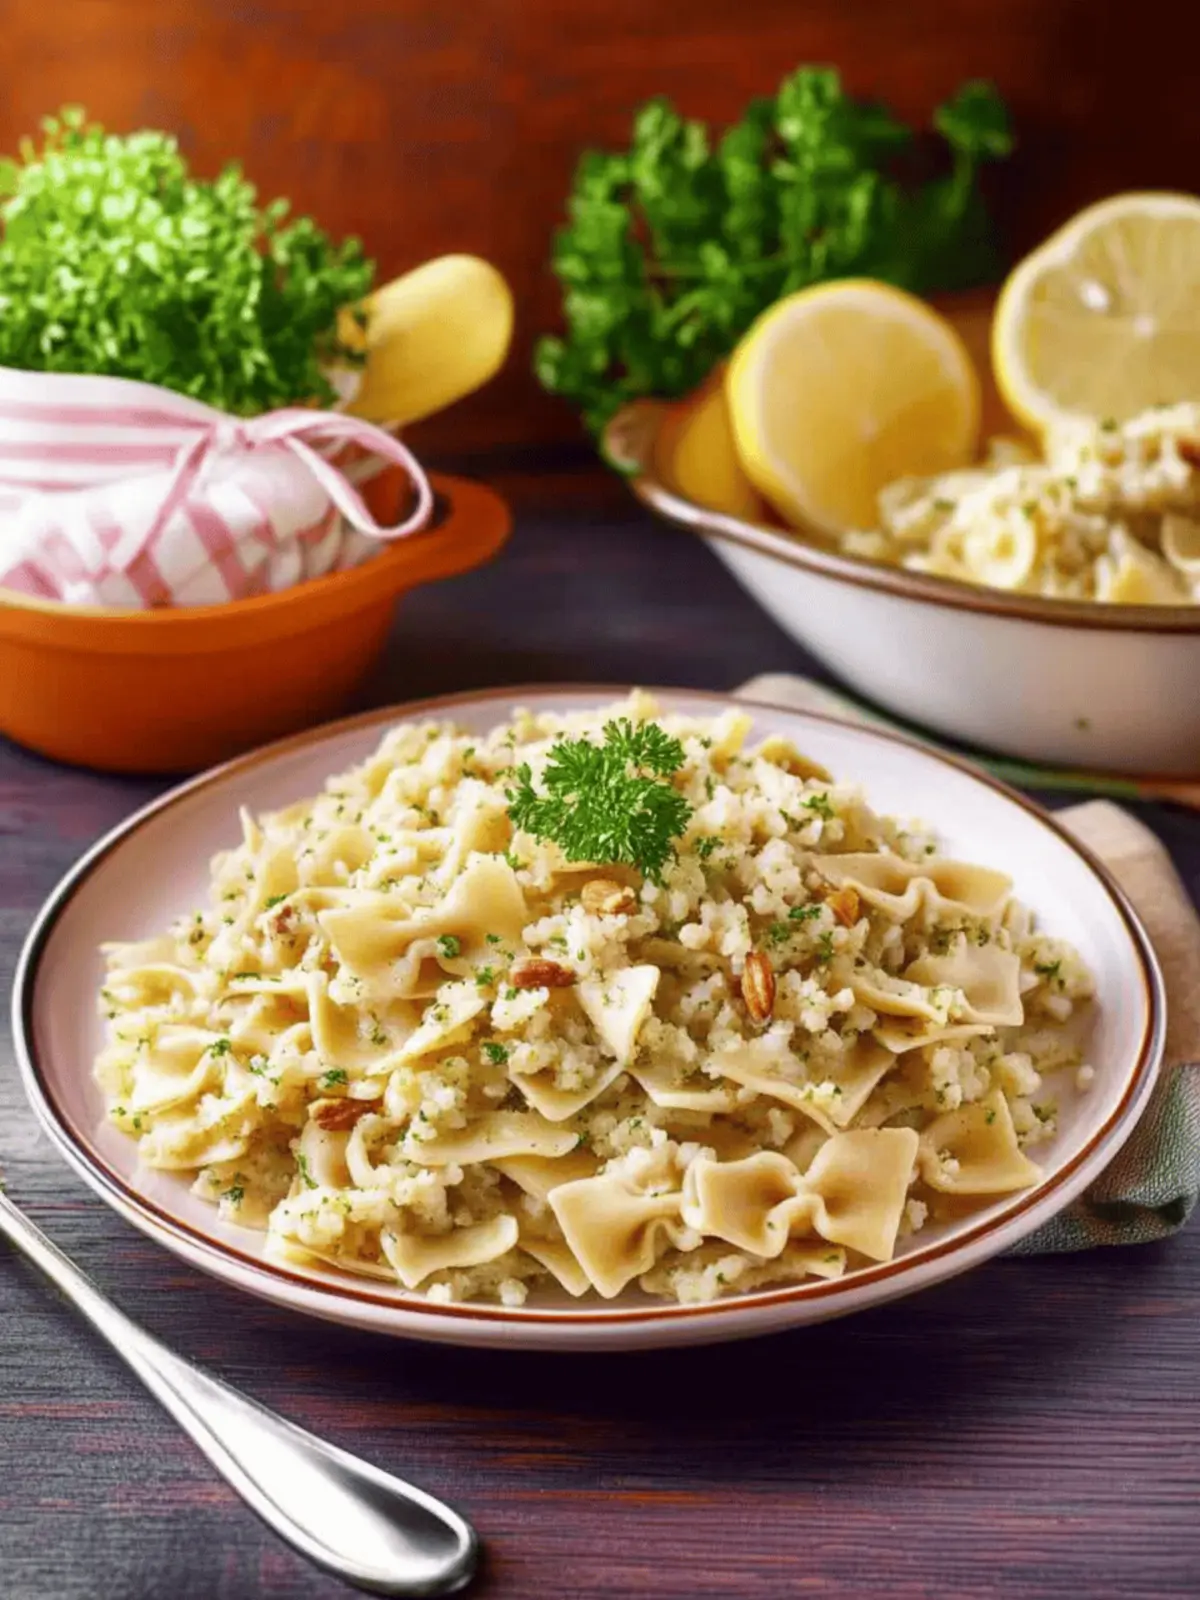
Kasha Varnishkes – Kasha and Bows for Comforting Home Cooking
Ingredients
Equipment
Method
- Preheat your oven to 325°F. In a small bowl, whisk together the kasha, beaten egg, ¼ tsp salt, and a dash of black pepper, ensuring each grain is well coated.
- Spread the kasha mixture evenly into a small oven-safe nonstick skillet. Place it in the preheated oven and let it toast for 15-20 minutes until it’s fully dried through.
- Cook the onions by heating 2 tbsp of schmaltz, butter, or olive oil in a large skillet over medium heat. Fry the chopped onions for about 15-20 minutes, stirring often, until they become tender and caramelized to a golden brown.
- Boil 3 cups of water with ¼ tsp salt in a medium saucepan for the kasha. At the same time, bring about 8 cups of salted water to a boil in another pot for the bowtie pasta.
- Remove the toasted kasha from the oven, then carefully break it apart with a fork to separate the grains.
- Combine the kasha with the boiling water in the medium saucepan. Stir, cover the pot, and then reduce the heat to simmer for about 15 minutes until the water is fully absorbed and the kasha is fluffy.
- Mix the cooked kasha with the caramelized onions and oil, then pour this mixture over the cooked bowtie pasta. Add the remaining 3 tbsp of your chosen fat to the pasta for added richness.
- Season the dish generously with salt and pepper, mixing everything together until well combined. Serve it hot and garnish with chopped fresh parsley if you like.

