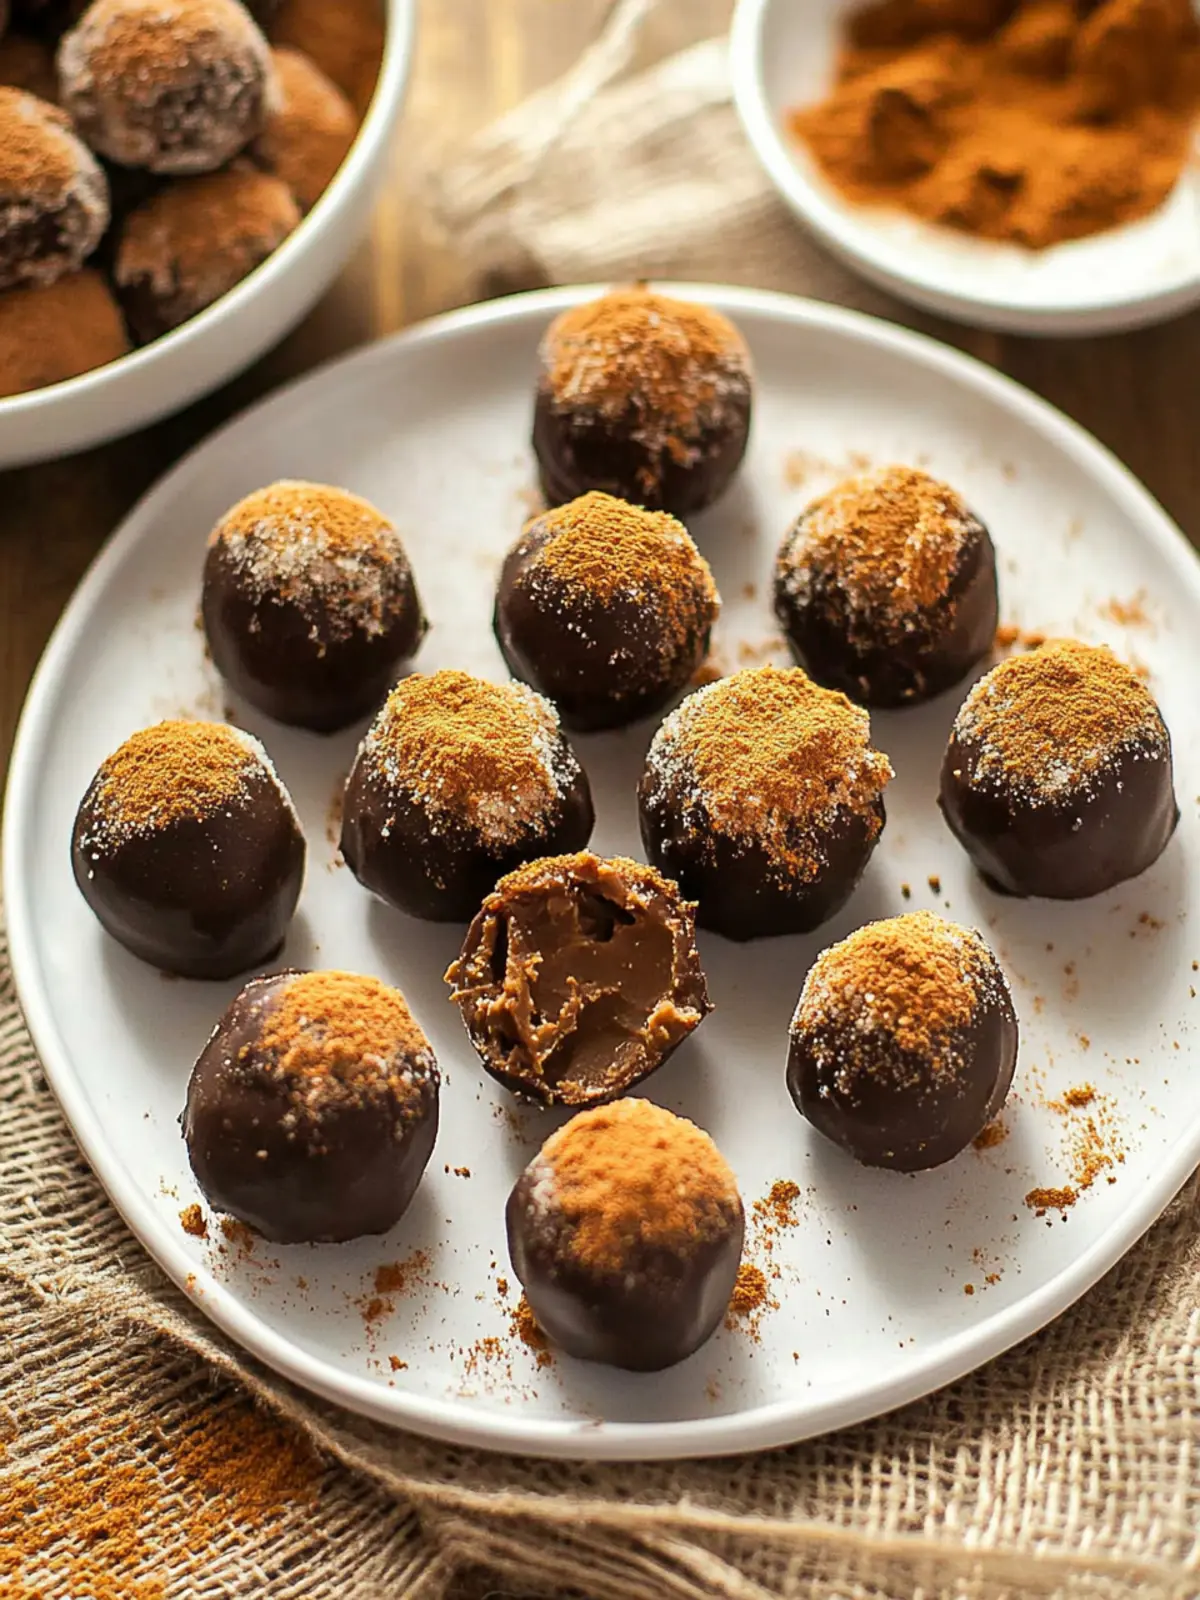
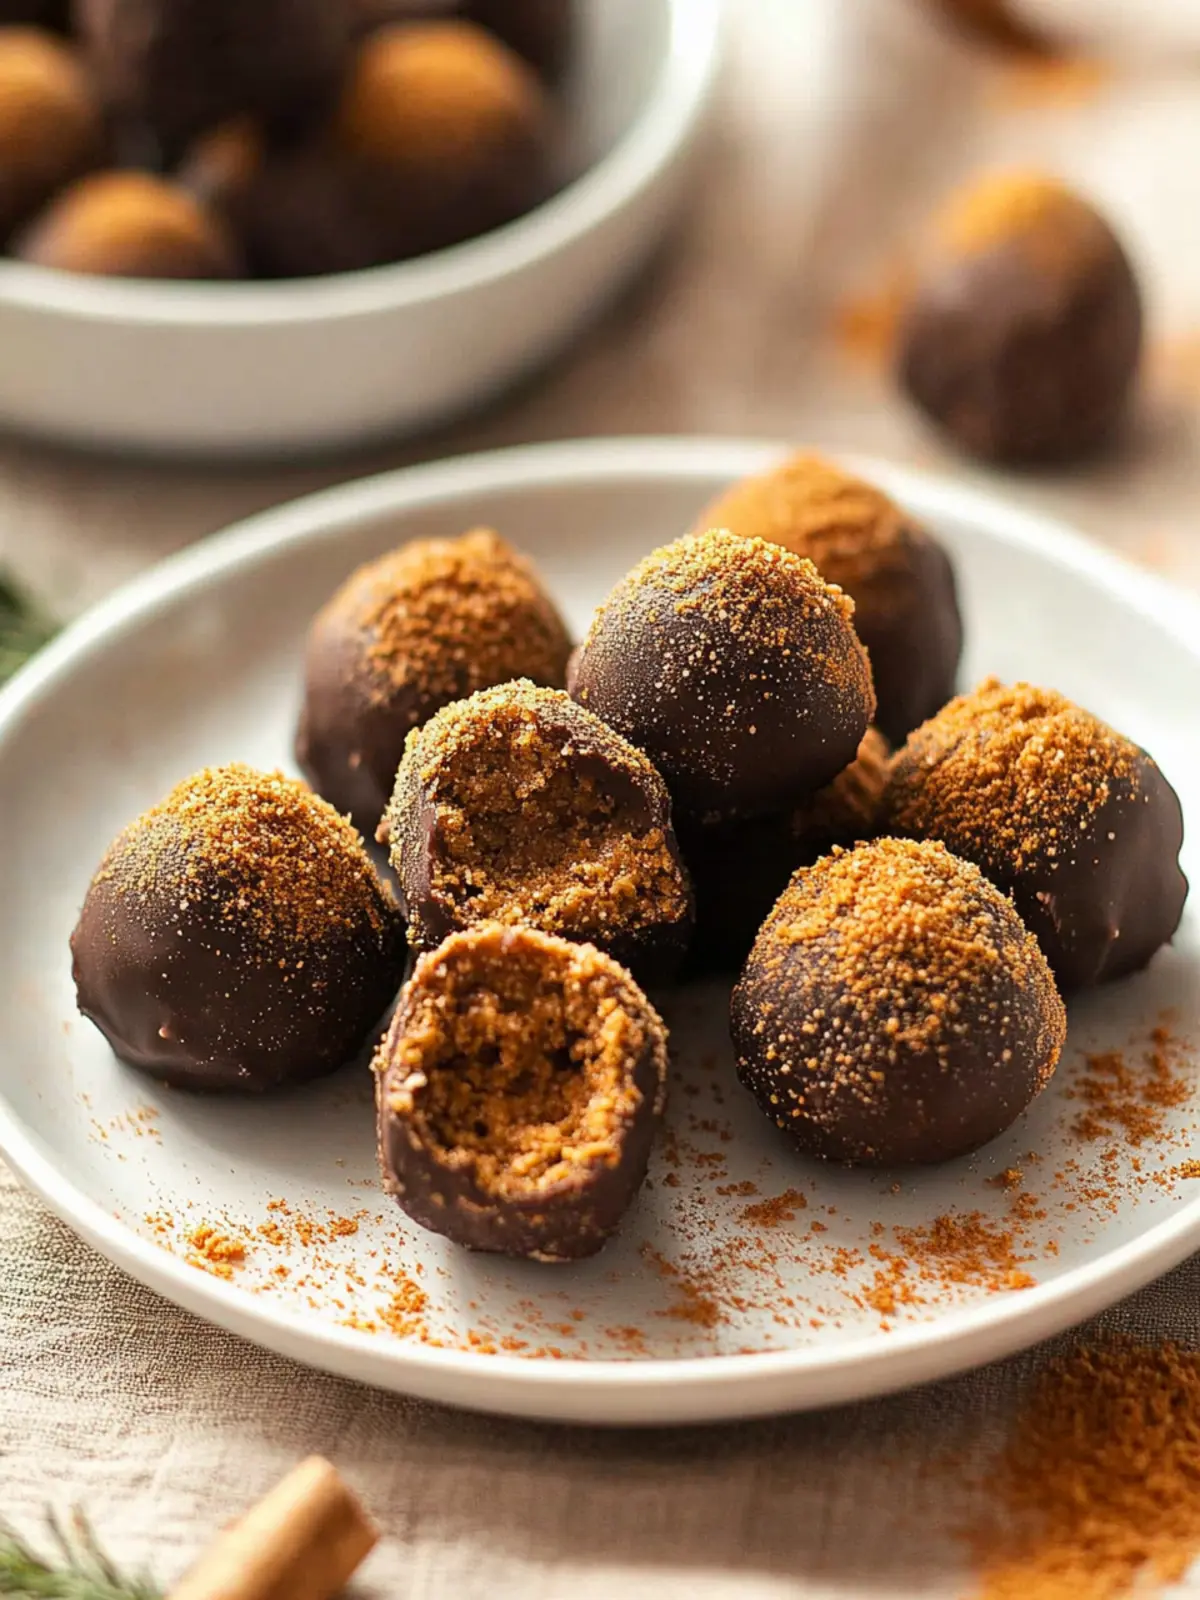
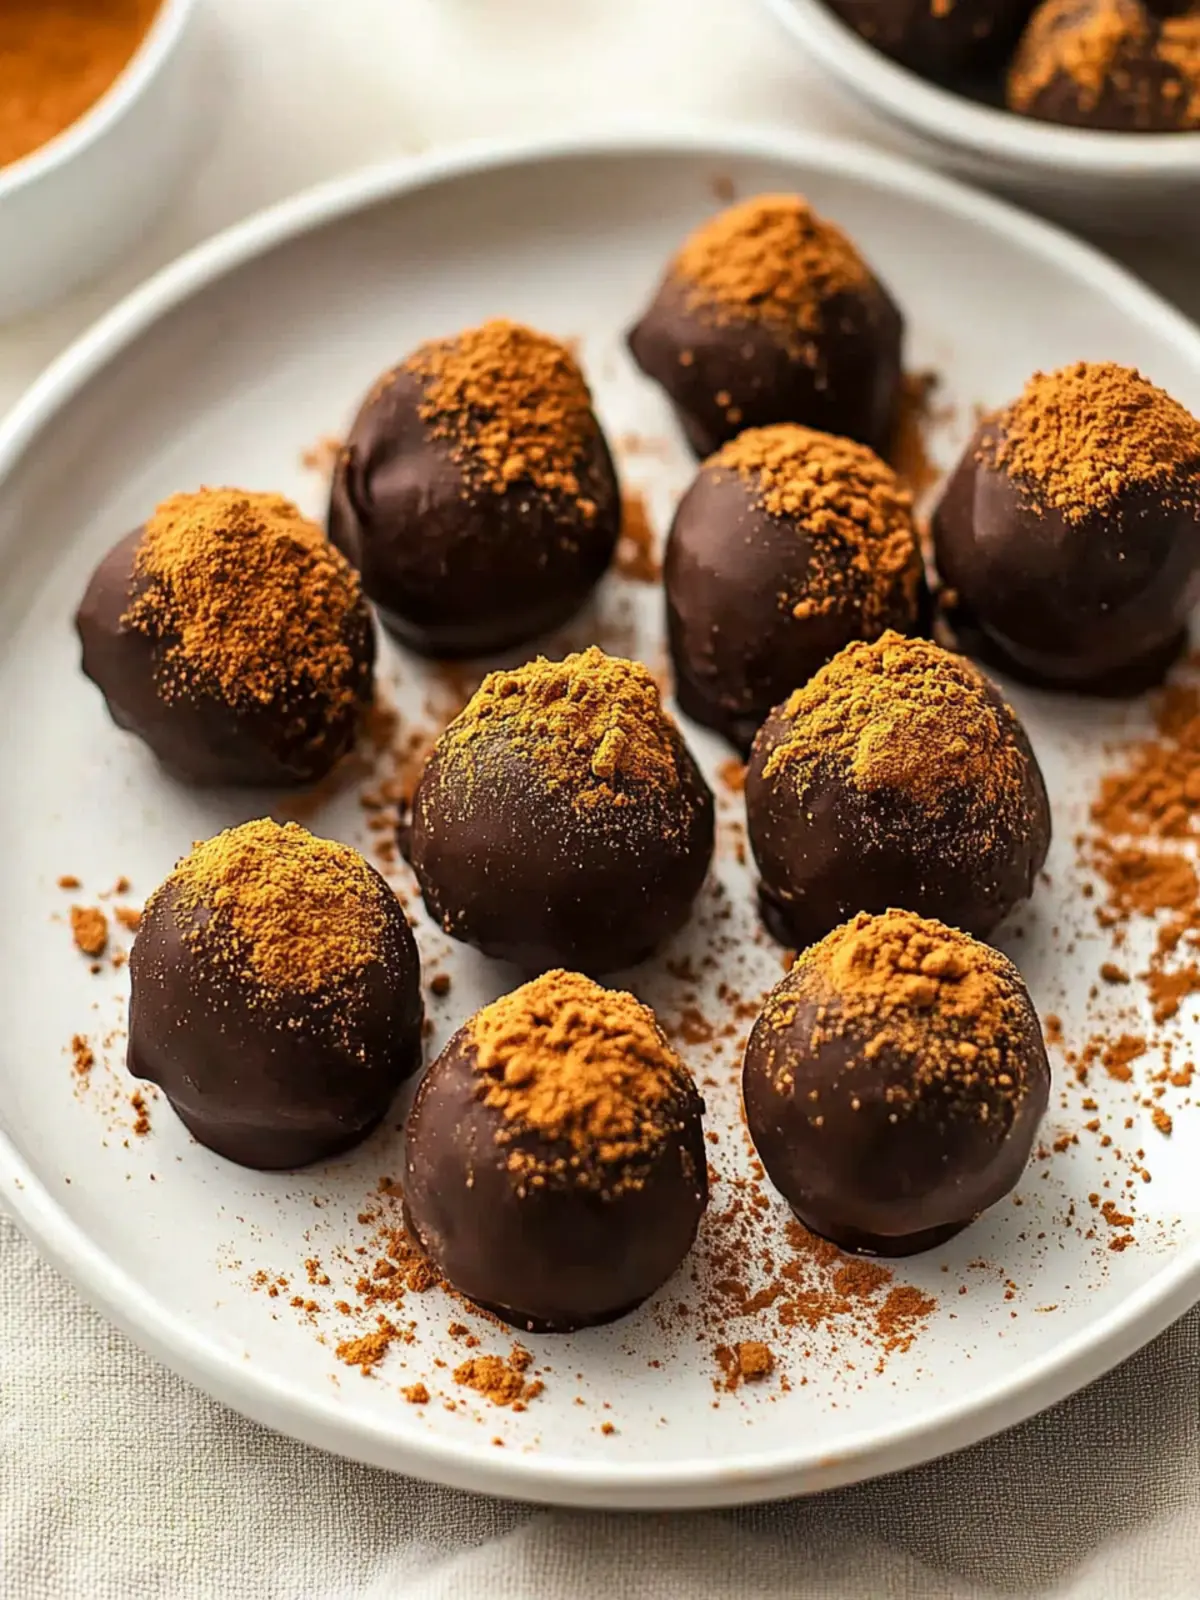
The moment I took my first bite of a gingersnap cookie, I was transported to a cozy holiday kitchen, wrapped in the warmth of cinnamon and molasses. Fast forward to today, and I’m here to share a delightful twist on that nostalgic flavor: Gingersnap Truffles! These little bites of heaven are deceptively simple to make, yet they carry all the essence of the classic cookies we know and love.
Imagine a luscious cream cheese center wrapped in a silky coat of melting chocolate, sprinkled with just the right hint of gingersnap crumbs. They’re perfect for gatherings, cozy evenings at home, or simply as a sweet treat to beat the fast-food blues. Whether you’re a seasoned chef or just someone trying to create something special in the kitchen, these truffles are bound to impress without the fuss. Let’s get started on this unforgettable journey of taste and comfort!
Why Gingerbread Truffles Will Become Your Favorite?
Deliciously Unique: These Gingerbread Truffles combine the familiar warmth of gingersnap cookies with a creamy surprise, ensuring every bite is exquisite.
Effortless Indulgence: With a simple process involving minimal ingredients, anyone can whip these up at home, impressing family and friends alike.
Festive Flavor: The harmonious blend of cinnamon and chocolate makes them an ideal treat for the holiday season, evoking feelings of nostalgia.
Versatile Treat: Perfect for dessert tables, gifting, or an afternoon snack, these truffles suit any occasion.
Crowd-Pleasing Appeal: Their delightful taste and stunning presentation will have everyone asking for the recipe!
Gingerbread Truffles Ingredients
For the Truffle Mixture
• Gingersnap cookies – crush them into fine crumbs for the perfect base.
• Cream cheese – ensures a rich and creamy center that balances the spices.
• Cinnamon – adds warmth and depth, enhancing the ginger flavors.
For the Coating
• Melting chocolate – provides a luscious, glossy finish; choose dark or milk chocolate based on your preference.
These Gingerbread Truffles combine simple ingredients to create a sweet indulgence that will enchant everyone at your table!
How to Make Gingerbread Truffles
-
Crush the Cookies: In a food processor, pulse the gingersnap cookies until they resemble fine crumbs. Pour these into a mixing bowl, keeping about 1/4 cup aside for later use.
-
Mix Ingredients: Add the softened cream cheese and cinnamon to the bowl. Blend everything together using a hand mixer until fully combined and creamy, creating a luscious filling.
-
Shape the Truffles: Carefully form the mixture into approximately 24 small balls. Place them on a plate and refrigerate for about an hour, allowing them to firm up.
-
Melt the Chocolate: In a microwave-safe bowl, melt the chocolate at 50% power, stirring frequently. It should become smooth and creamy, so watch closely to avoid burning.
-
Dip the Truffles: Gently dip each chilled gingerbread ball into the melted chocolate, ensuring they are fully coated. Allow excess chocolate to drip off before placing them on parchment paper. Sprinkle with the reserved gingersnap crumbs for added texture.
-
Set the Coating: Place the chocolate-coated truffles in the refrigerator or freezer for a short period until the chocolate is completely set.
-
Store Properly: Keep your truffles in an airtight container, either in the refrigerator or freezer, so they stay fresh and delicious.
Optional: Drizzle with white chocolate for an elegant touch!
Exact quantities are listed in the recipe card below.
Expert Tips for Gingerbread Truffles
-
Perfectly Chilled: Ensure your truffle mixture is thoroughly chilled for easy shaping. If it’s too soft, it will be difficult to form into balls.
-
Avoid Over-Melting: When melting the chocolate, do so in small increments and at 50% power to prevent burning. Stir frequently for a creamy finish.
-
Coat with Care: Dip the truffles gently into the melted chocolate to avoid creating thin spots. Shake off excess chocolate to keep them from being too heavy.
-
Texture Boost: For added crunch, grind some nuts or use crushed gingersnap crumbs for decoration. This enhances the overall experience of your Gingerbread Truffles.
-
Storage Secrets: Keep truffles in an airtight container in the refrigerator to maintain their freshness. They can also be frozen for longer storage.
How to Store and Freeze Gingerbread Truffles
Fridge: Store your Gingerbread Truffles in an airtight container in the refrigerator for up to 1 week, ensuring they stay fresh and delightful.
Freezer: For longer storage, freeze the truffles in an airtight container for up to 3 months. Just make sure to separate layers with parchment paper to prevent sticking.
Reheating: When ready to enjoy from the freezer, let them thaw in the refrigerator overnight for the best texture and flavor.
Room Temperature: If serving at a gathering, allow them to sit at room temperature for 15 minutes before serving to enhance their creamy center.
Gingerbread Truffles Variations
Customize your Gingerbread Truffles to create unique flavors that will excite your taste buds and impress your loved ones!
-
Nutty Twist: Add 1/2 cup of finely chopped nuts like pecans or walnuts to the truffle mixture for a delicious crunch. The added texture complements the creamy center beautifully.
-
Spicy Kick: Incorporate a pinch of cayenne pepper or chili powder to infuse a delightful warmth. This unexpected zing will keep everyone guessing!
-
Vegan Delight: Swap the cream cheese for vegan cream cheese and use dairy-free chocolate. You’ll create a rich treat that every guest can enjoy!
-
Coconut Flair: Mix shredded coconut into the truffle mixture for an exotic twist. The coconut adds a chewy texture that contrasts beautifully with the silky chocolate coating.
-
Pumpkin Spice: Stir in 1/4 cup of pumpkin puree and a teaspoon of pumpkin pie spice for a seasonal flavor that’s perfect for the holidays. These truffles will evoke all the feels of autumn!
-
Lemon Zest: Brighten your truffles by adding 1 tablespoon of lemon zest to the mixture. The citrus will cut through the sweetness nicely and introduce a refreshing twist.
-
Chocolate Surprise: Instead of using a single type of chocolate, create a swirl effect by mixing dark and white chocolate coatings. Visually stunning and delicious!
-
Dipped in Dreams: Consider rolling finished truffles in crushed candy canes or espresso powder after dipping to take them to the next level. These simple additions provide a pop of flavor and visual appeal.
What to Serve with Gingerbread Truffles?
Elevate your dessert experience with delightful accompaniments that enhance the warmth of gingerbread flavors.
-
Hot Cocoa: A rich and creamy mug of hot cocoa pairs wonderfully, its sweetness balancing the spices of the truffles. A perfect winter drink!
-
Spiced Coffee: The bold, spiced notes in a warm cup of coffee harmonize with ginger, making it an ideal partner for these treats.
-
Vanilla Ice Cream: Creamy vanilla ice cream creates a delightful contrast, soothing the spice and enriching each decadent bite.
-
Pumpkin Pie: The flavors of pumpkin pie resonate beautifully with gingersnap, creating a cozy Thanksgiving-style vibe any day of the year.
-
Caramel Sauce: Drizzling warm caramel sauce over your truffles adds a decadent sweetness that takes them over the top.
-
Fruit Platter: Fresh fruits such as pears or apples provide a refreshing and juicy bite, cutting through the richness of the chocolate.
For an unforgettable experience, consider serving your Gingerbread Truffles alongside any of these delightful pairings. Each one beautifully complements the lovely holiday flavors you’ve crafted!
Make Ahead Options
These Gingerbread Truffles are perfect for busy home cooks looking to streamline their meal prep! You can prepare the truffle mixture up to 24 hours in advance; simply shape the truffles and refrigerate them until you’re ready to dip them in chocolate. When you’re ready to finish, melt the chocolate and dip the chilled truffles, ensuring to sprinkle the reserved gingersnap crumbs on top before the chocolate sets. For optimal quality, store any made truffles in an airtight container in the refrigerator for up to 3 days or in the freezer for longer enjoyment. This way, you can have sweet delights ready when cravings strike, without the last-minute rush!
Gingerbread Truffles Recipe FAQs
How do I choose the right gingersnap cookies?
When selecting gingersnap cookies for your Gingerbread Truffles, look for cookies that are fresh and crisp with a good balance of spice and sweetness. If you’re feeling adventurous, you can even make your own from scratch to control the flavors and texture!
What is the best way to store gingerbread truffles?
Absolutely! Store your Gingerbread Truffles in an airtight container in the refrigerator for up to 1 week. If you prefer a longer storage option, you can keep them in the freezer for up to 3 months. Just be sure to use parchment paper between layers to prevent them from sticking together.
Can I freeze the gingerbread truffles? How?
Yes, you can freeze your Gingerbread Truffles! After they are fully set, place them in a single layer in a freezer-safe airtight container, using parchment paper between layers if needed. They can be frozen for up to 3 months. When you’re ready to enjoy, simply transfer them to the refrigerator for several hours or overnight to thaw gently.
What should I do if the truffle mixture is too soft?
If your Gingerbread Truffles mixture is too soft to shape, don’t worry! Just chill the mixture in the refrigerator for 30 minutes to an hour, which will help it firm up. If you need more immediate results, you can add a little more crushed gingersnap cookies until it reaches a workable consistency.
Are gingerbread truffles safe for dogs?
It’s best to keep these Gingerbread Truffles away from dogs. The ingredients, especially chocolate and some spices, can be harmful to pets. Always ensure any treats you share with your furry friends are safe and designed specifically for them.
Can I customize the coating for gingerbread truffles?
Very! While melting chocolate is delightful, you can also coat your Gingerbread Truffles in chopped nuts, sprinkles, or even a drizzle of white chocolate for a beautiful contrast. Have fun experimenting with different flavors and textures to make them your own!

Irresistible Gingerbread Truffles that Will Delight Everyone
Ingredients
Equipment
Method
- Crush the cookies in a food processor until fine crumbs. Set aside 1/4 cup for later use.
- In a mixing bowl, combine cream cheese and cinnamon. Blend until creamy using a hand mixer.
- Form the mixture into approximately 24 small balls and refrigerate for about 1 hour.
- Melt the chocolate in a microwave-safe bowl at 50% power, stirring frequently until smooth.
- Dip each truffle in melted chocolate, allowing excess to drip off, then sprinkle with reserved gingersnap crumbs.
- Place dipped truffles in the refrigerator or freezer until the chocolate is set.
- Store truffles in an airtight container in the fridge or freezer to maintain freshness.


