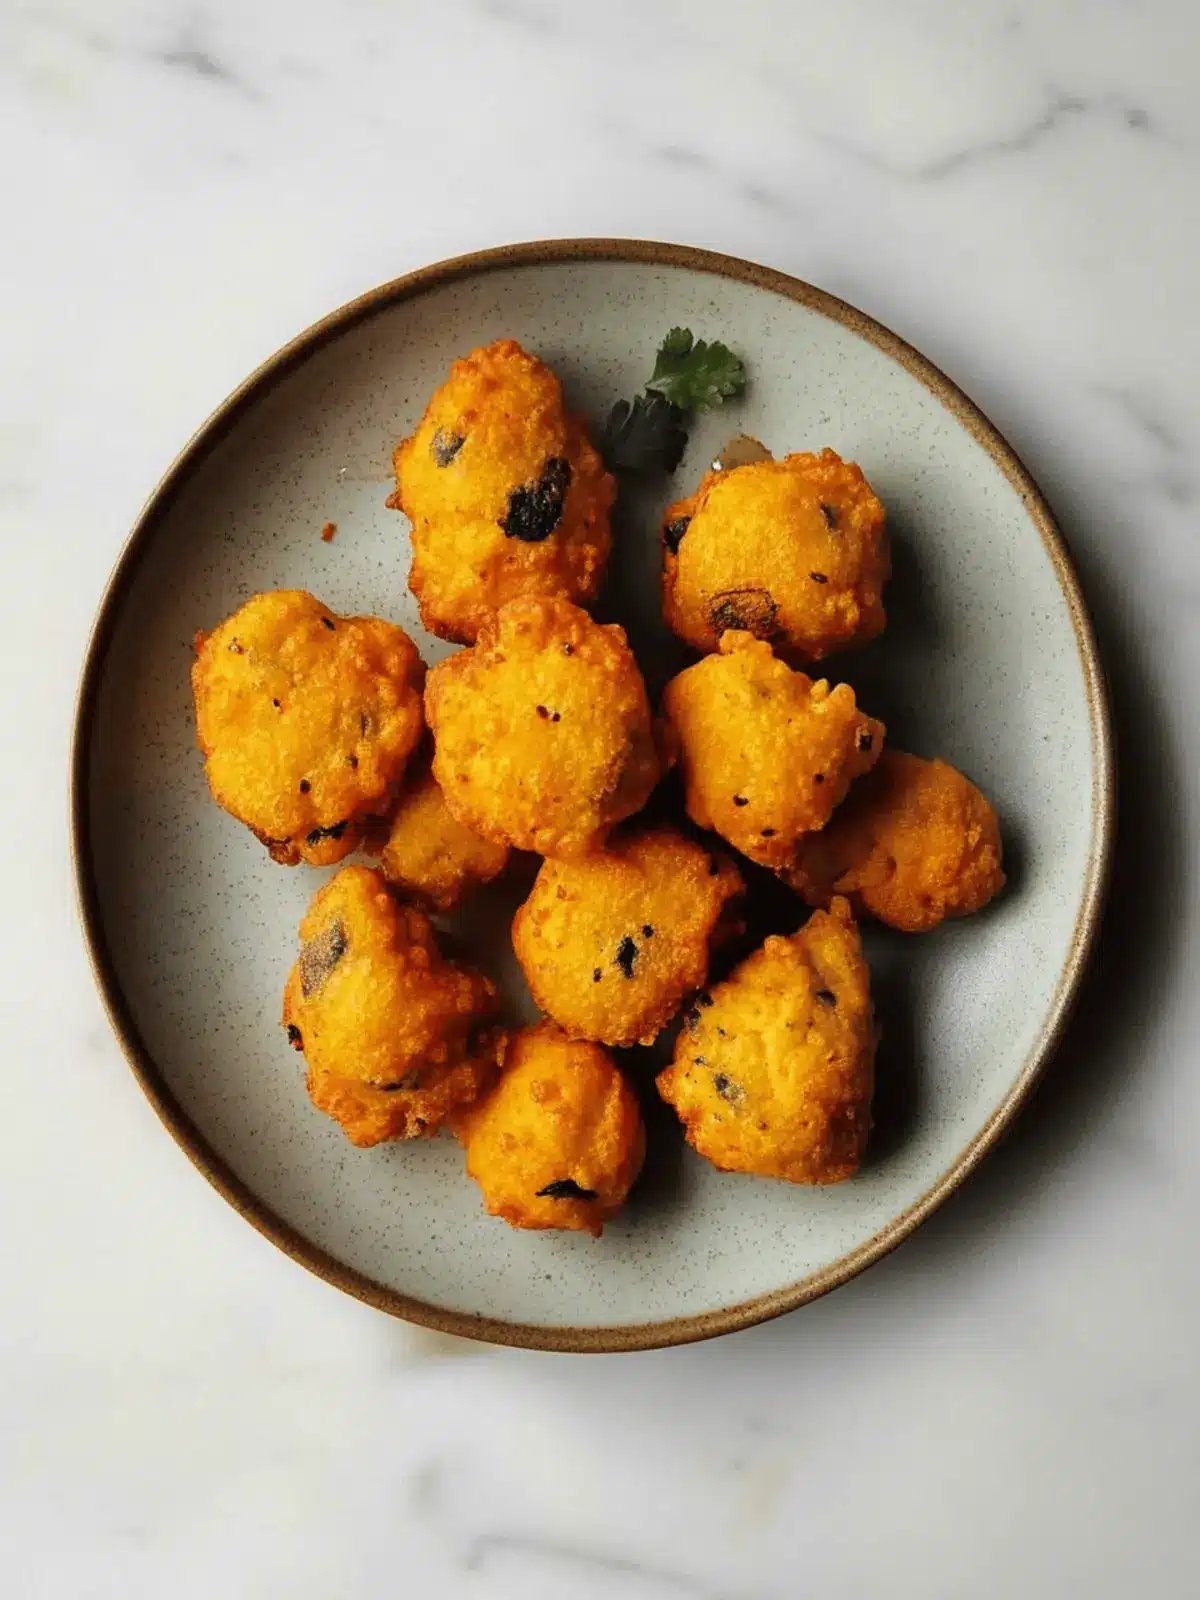
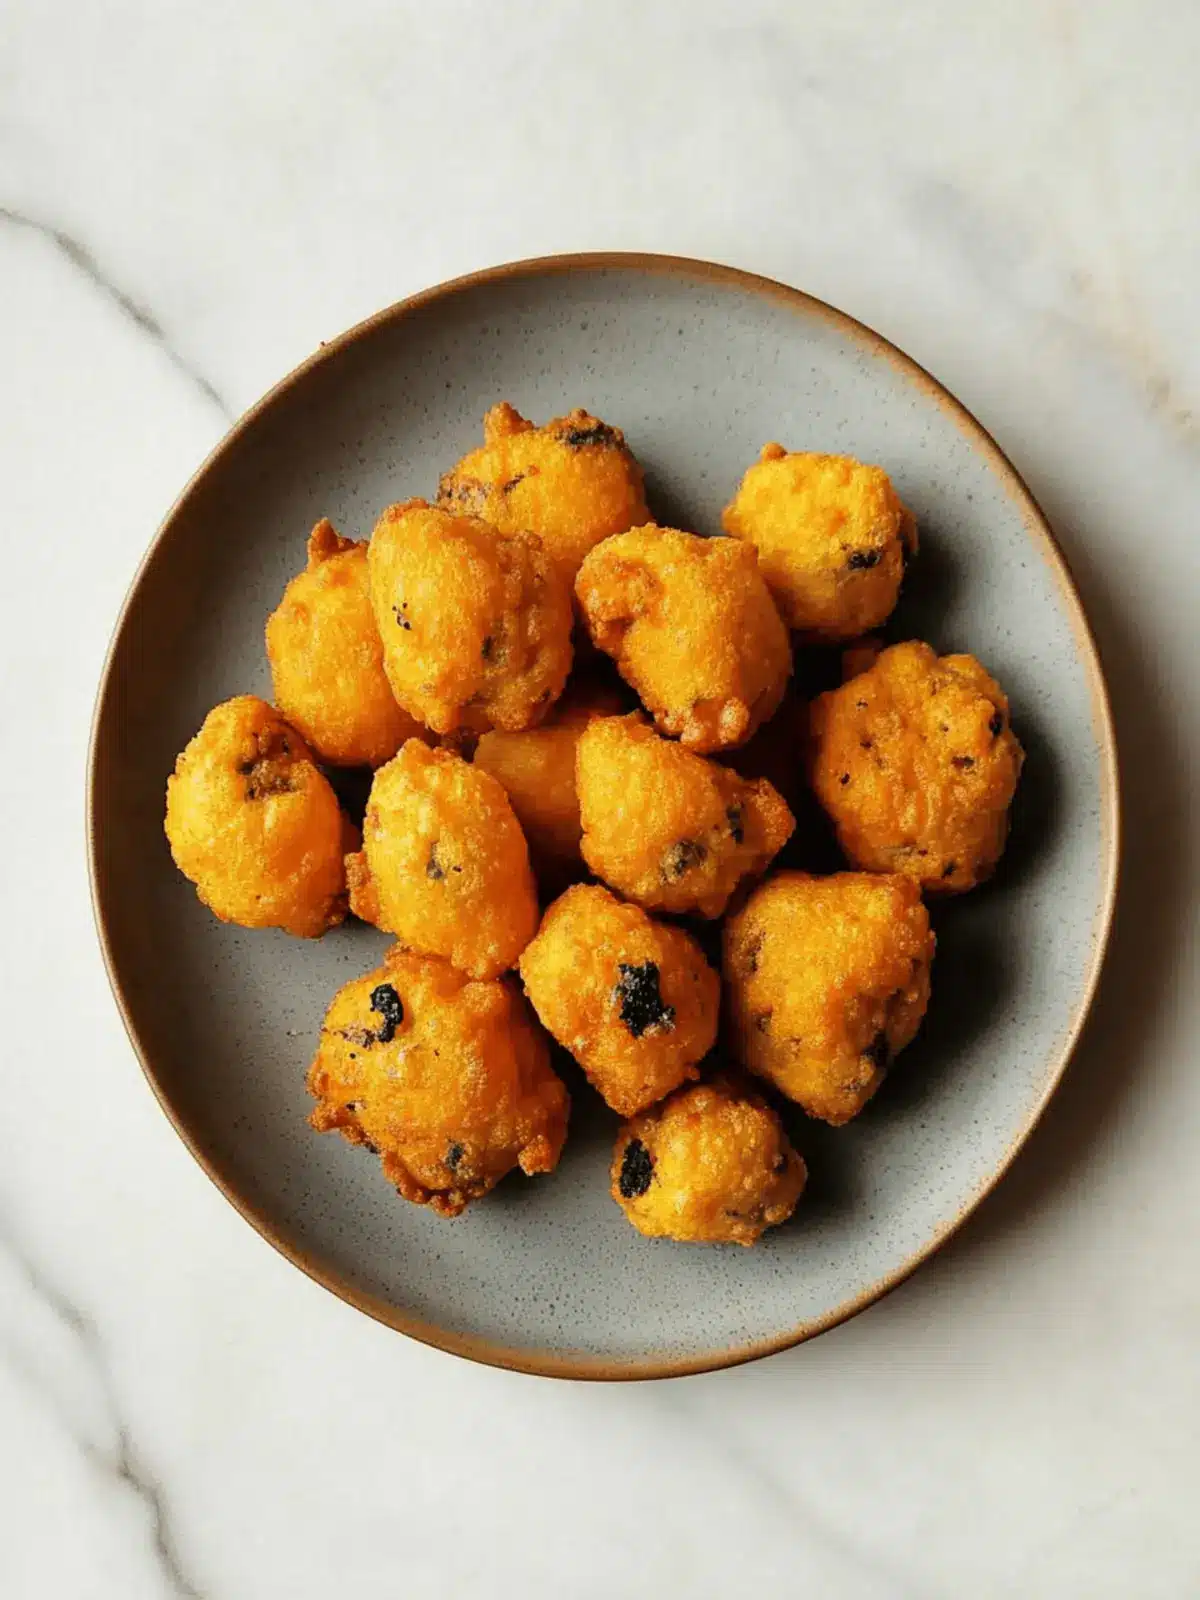
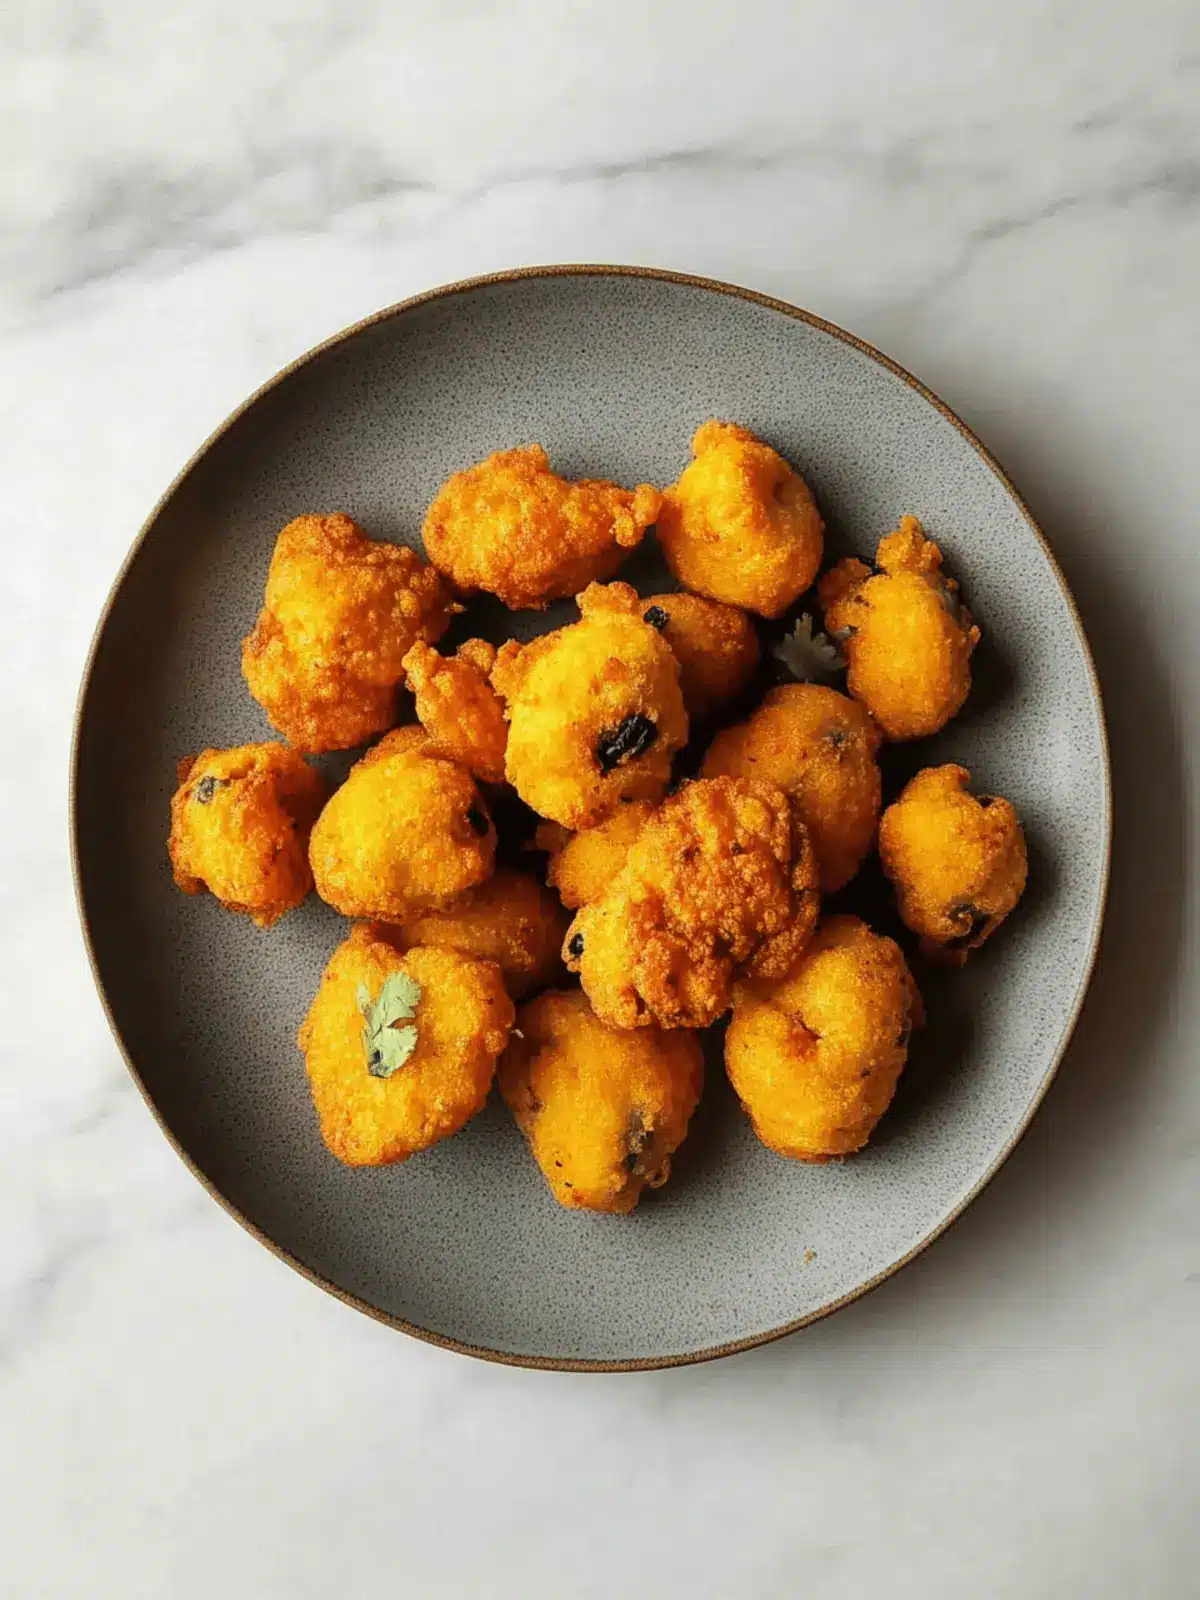
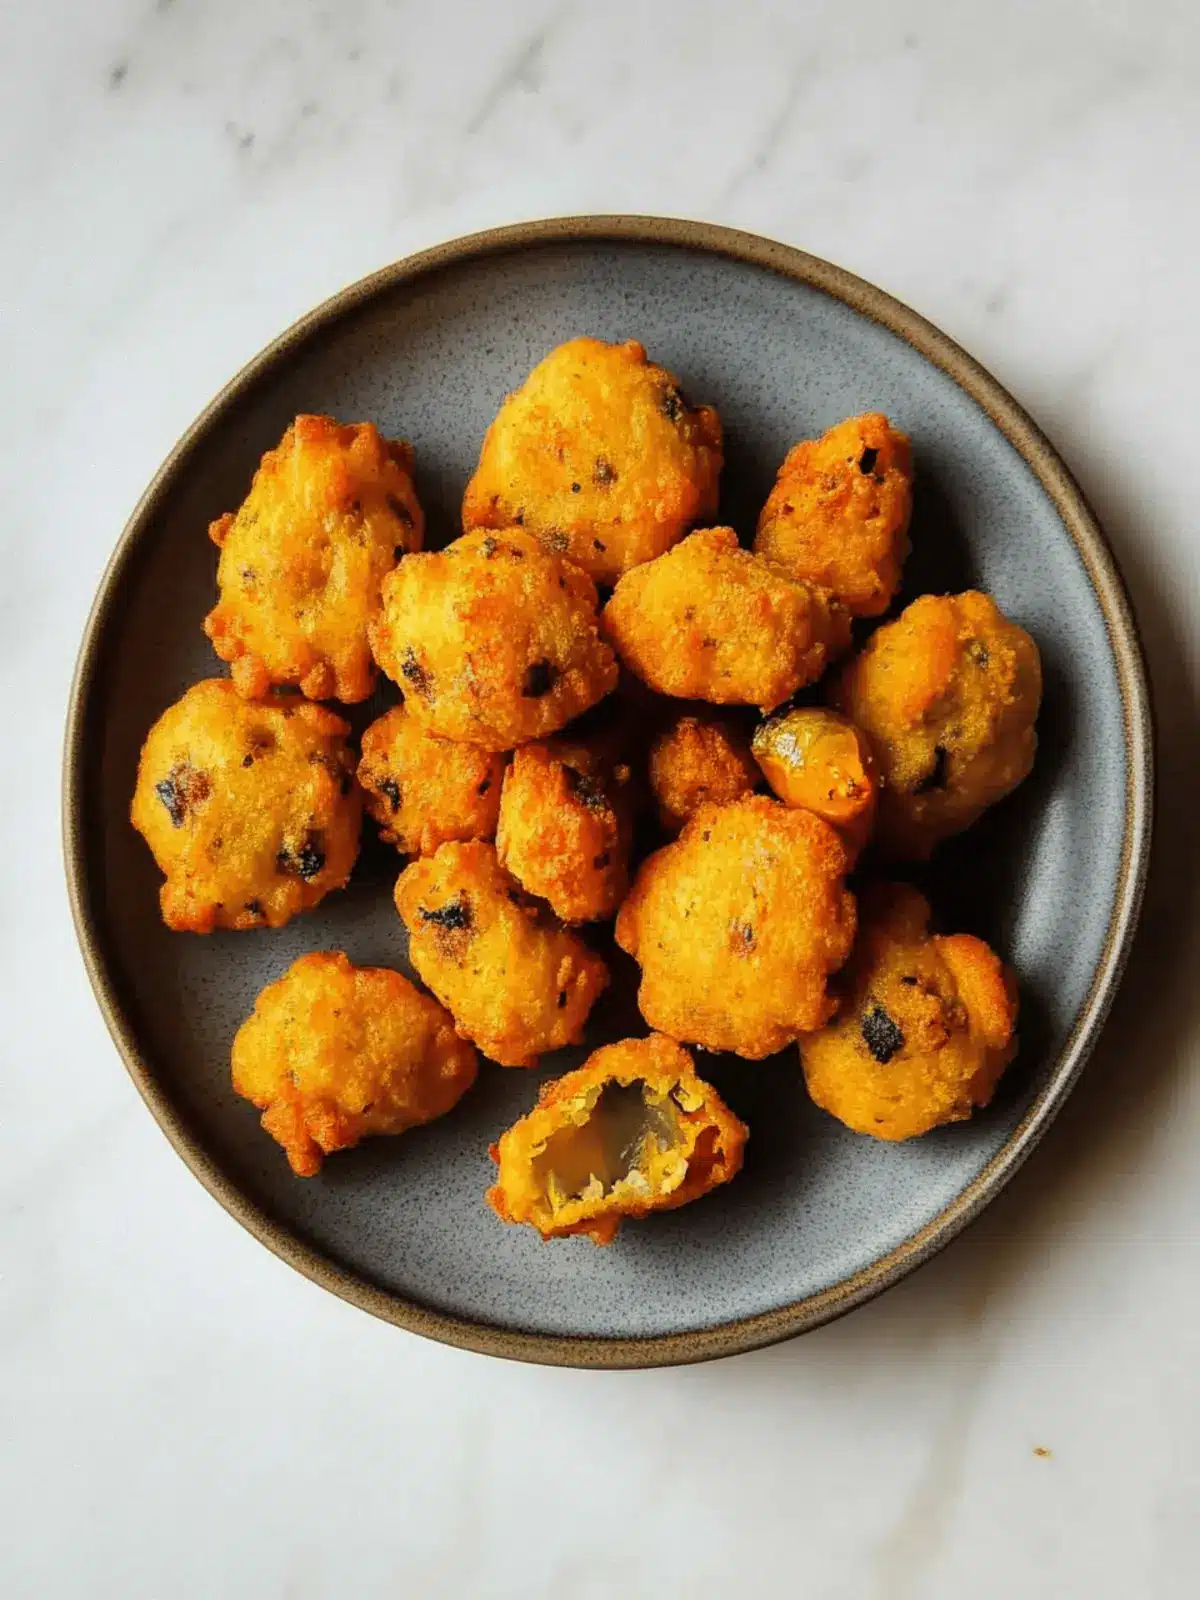
When the craving for something crispy and flavorful hits, I often find myself reminiscing about the delightful bite of Gato Pima. These Mauritian deep-fried chili cakes are more than just snacks; they evoke a sense of nostalgia from gatherings with friends and family, where laughter is abundant and aromas fill the air.
The brilliant yellow split peas take center stage, complemented by a fragrant medley of spices and fresh herbs. Picture the invigorating kick of green chilies dancing with the earthiness of cumin, creating a flavor profile that’s both exciting and comfortingly familiar.
Whether you enjoy them as an appetizer, a snack, or tucked into a warm baguette, Gato Pima offers versatility that truly captivates. And the best part? They are surprisingly easy to whip up, making them perfect for any occasion. So, put on your apron, and let’s dive into the delicious world of these charming little cakes that promise to elevate your homemade culinary adventures!
Why is Gato Pima a Must-Try Recipe?
Delicious, Gato Pima is a culinary experience you won’t want to miss!
- Easy Preparation: With just a few simple steps, you’ll have these flavorful treats ready in no time.
- Flavor-Packed: Each bite is bursting with the bold taste of green chilies, fresh herbs, and warm spices.
- Versatile Delight: Enjoy them on their own, or as a delightful addition to a meal in a sandwich or salad.
- Crowd-Pleasing: These crispy bites are perfect for gatherings, sure to impress friends and family alike!
- Nutritious Appeal: Made with protein-rich yellow split peas, these cakes are both satisfying and wholesome.
Indulge in this remarkable recipe that brings tradition and flavor to your dining table!
Gato Pima Ingredients
Get ready to create these delicious Mauritian deep-fried chili cakes!
For the Gato Pima Mixture
- 250 g yellow split peas – the star ingredient that provides a nutty flavor and texture.
- 2 green chillies, finely chopped – these add a spicy kick to your Gato Pima.
- 2 tbsp spring onions, finely chopped – for a hint of freshness and crunch in each bite.
- 2 tbsp coriander, finely chopped – this herb brings a vibrant flavor that complements the spices.
- 1 brown onion, diced – caramelizes beautifully and adds sweetness to the mix.
- ¼ tsp baking powder – helps create that light, airy texture when frying.
- 1 tsp cumin, ground – warming spice that enhances the overall flavor profile.
- 1 pinch salt – a simple but essential ingredient to elevate all the flavors.
- rice bran oil, for frying – perfect for frying as it has a high smoke point and mild flavor.
Gather these ingredients and prepare to enjoy the delightful taste of Gato Pima!
How to Make Gato Pima
-
Soak the yellow split peas in cold water for at least 3 hours. This crucial step helps soften the peas, making them easier to mash and ensuring a smoother texture for your Gato Pima.
-
Drain the split peas well, then blend them until they resemble large grains of sand. Achieving this texture is key to the perfect consistency that will hold together during frying.
-
Mix in the green chillies, spring onion, coriander, diced brown onion, baking powder, and ground cumin with the mashed split peas. Season with a pinch of salt to enhance the flavors. Make sure everything is combined thoroughly!
-
Form small balls from the mixture, gently flattening them. This shaping will help the Gato Pima cook evenly and create a delightful crispy texture.
-
Heat the rice bran oil in a pan over medium-low heat. Once the oil is shimmering and you see small bubbles, carefully add the Gato Pima, ensuring not to overcrowd the pan.
-
Fry the Gato Pima, carefully flipping them when the outside is a beautiful golden-brown color. This usually takes about 3-4 minutes on each side; keep an eye on them!
-
Remove the Gato Pima from the oil and let them drain on a paper towel-lined plate. This step is vital to reduce excess oil and keep them crispy.
-
Serve your Gato Pima hot, either as a delectable snack or nestled in a buttered baguette for a satisfying meal.
Optional: Serve with a refreshing yogurt dip for a delightful contrast.
Exact quantities are listed in the recipe card below.

Gato Pima Variations
Feel free to explore these delightful twists on your Gato Pima recipe!
-
Spicy Twist: Add a teaspoon of chili powder or cayenne pepper for an extra kick. Spice lovers will appreciate the added heat!
-
Cheesy Addition: Incorporate crumbled feta or cheddar cheese into the mix for a creamy burst of flavor. The melted goodness takes these cakes to the next level!
-
Herb Infusion: Experiment with fresh herbs like parsley or thyme for a different flavor profile. A touch of greenery can elevate the taste and make your Gato Pima pop!
-
Vegan Option: Skip the baking powder and use a flaxseed egg (1 tbsp ground flaxseed + 3 tbsp water) as a binder. This keeps the recipe plant-based while maintaining great texture.
-
Sweet Potato Surprise: Add mashed sweet potato to the mix for a beautiful color and a hint of natural sweetness. This offers a delightful contrast to the spices!
-
Crispy Coating: Roll the formed balls in breadcrumbs before frying for an added crunch. The extra layer creates a delightful texture that’s simply irresistible.
-
Zesty Flavor: A dash of lemon zest can brighten up the flavors within your Gato Pima. It brings a refreshing twist that perfectly complements the spices.
-
Gluten-Free: For a gluten-free alternative, ensure your breadcrumbs are certified gluten-free or skip them altogether for a naturally delightful cake!
With these variations, your Gato Pima will never get dull—experience the creativity and joy of making it your own!
Make Ahead Options
These Gato Pima are perfect for busy home cooks who love to meal prep! You can easily prepare the Gato Pima mixture up to 24 hours in advance. Simply follow the first three steps: soak and blend the yellow split peas, then mix in the green chilies, spring onion, coriander, brown onion, baking powder, and cumin. Store the mixture in an airtight container in the refrigerator to preserve freshness. When you’re ready to enjoy, shape the mixture into balls and fry them as directed. By prepping ahead, you’ll have delicious, homemade Gato Pima ready with minimal effort, ensuring they’re just as delightful as when made fresh!
Expert Tips for Gato Pima
-
Soaking Time Matters: Ensure you soak the yellow split peas for at least 3 hours. This step softens them, ensuring a creamy texture in your Gato Pima.
-
Consistency Check: When blending the split peas, aim for a coarse texture resembling large grains of sand. Too smooth, and they won’t hold shape while frying.
-
Watch the Oil Temperature: Heat the rice bran oil slowly. If it’s too hot, the outside will burn while the inside remains raw. Look for small bubbles before adding the Gato Pima.
-
Perfect Frying: Fry in small batches to maintain the oil temperature, which helps achieve that golden-brown color and crispy texture everyone loves.
-
Serve Immediately: Gato Pima is best enjoyed hot and fresh. If you need to wait, place them in a warm oven to keep crispy without getting soggy.
Elevate your dish with these helpful tips for making perfect Gato Pima every time!
What to Serve with Gato Pima?
To truly savor your Gato Pima experience, complement these spicy chili cakes with delightful side dishes that elevate your meal even further.
-
Coconut Rice: The subtle sweetness of coconut rice perfectly balances the spice of Gato Pima, creating a harmonious plate.
-
Fresh Mango Salad: A refreshing mango salad adds a burst of tropical sweetness and acidity that cuts through the richness of the fried cakes. The crunch from the veggies creates a delightful contrast.
-
Spicy Yogurt Dip: A cool, creamy yogurt dip with a hint of spice enhances the flavor of Gato Pima while providing a refreshing element. This pairing is great for dipping!
-
Roasted Vegetables: Seasoned roasted vegetables contribute a lovely earthy flavor, making your meal more colorful and nutritious. They also bring a satisfying crunch to the table.
-
Chickpea Salad: A protein-packed chickpea salad, with fresh herbs and a zesty dressing, is a light addition that complements the heartiness of Gato Pima beautifully.
-
Mint Tea: An aromatic mint tea serves as a perfect beverage to accompany your meal, cleansing the palate and enhancing the whole dining experience.
-
Cucumber Raita: This cooling yogurt-based condiment offers a refreshing contrast to the heat of the Gato Pima, inviting you to enjoy more of that spicy goodness.
Each of these pairings contributes its own unique flavor and texture, making your meal a celebration of taste and warmth!
How to Store and Freeze Gato Pima
Room Temperature: Gato Pima is best enjoyed fresh, but you can store them at room temperature for up to 2 hours after frying. Keep them covered to maintain warmth and crispness.
Fridge: If you have leftovers, refrigerate Gato Pima in an airtight container for up to 3 days. When ready to enjoy, reheat in an oven or air fryer to restore their texture.
Freezer: For longer storage, freeze uncooked Gato Pima balls on a baking sheet, then transfer to a freezer-safe bag. They can be stored for up to 2 months. Fry them directly from frozen without thawing!
Reheating: To reheat, consider using an oven preheated to 180°C (350°F) for about 10 minutes, or fry them again in hot oil for a few minutes to achieve that delightful crispness.

Gato Pima (Mauritian Deep-Fried Chilli Cakes) Recipe FAQs
What type of yellow split peas should I use?
Absolutely! Look for yellow split peas that are clean, bright in color, and free from any dark spots or debris. Fresh split peas should have a smooth texture and firm feel. Avoid any bags that look dusty or have broken peas, as this may indicate age or poor quality.
How long can I store cooked Gato Pima in the fridge?
You can safely store your cooked Gato Pima in an airtight container in the fridge for up to 3 days. To maintain their crispy texture when reheating, I often pop them in the oven or air fryer instead of the microwave. This way, they’ll retain that delicious crunch!
Can I freeze Gato Pima and how?
Yes, you can definitely freeze Gato Pima! To freeze, shape the uncooked cakes into balls, then place them on a baking sheet lined with parchment paper. Freeze them for about 1-2 hours until fully frozen, then transfer them to a freezer-safe bag. They can be stored for up to 3 months. Fry them straight from frozen without thawing, just add a few extra minutes to the cooking time.
What if my Gato Pima mixture won’t hold together?
No worries! If your mixture is too crumbly and won’t hold together, try adding a little water, one tablespoon at a time, until it reaches the right consistency. Alternatively, you can blend it more to achieve a smoother texture, but be careful not to overdo it! The ideal consistency should be slightly coarse yet pliable enough to form into balls.
Are Gato Pima suitable for those with allergies?
It largely depends on individual dietary restrictions! Gato Pima is vegetarian and gluten-free as long as you keep the ingredients pure. However, if you or your loved ones have specific food allergies, such as to legumes or certain spices, please double-check the ingredients for any potential allergens. Always consult a doctor for personalized dietary advice.
How can I ensure my Gato Pima are crispy when fried?
The oil’s temperature is crucial for achieving that perfect crispy exterior. Heat the rice bran oil gently, and look for small bubbles forming before adding the Gato Pima. Fry in small batches to maintain the oil’s temperature, which helps create that beautiful golden-brown color. Always place them on a paper towel-lined plate to absorb excess oil for a finishing touch!

Irresistible Gato Pima: Crispy Mauritian Chilli Cakes Recipe
Ingredients
Equipment
Method
- Soak the yellow split peas in cold water for at least 3 hours.
- Drain the split peas well, then blend them until they resemble large grains of sand.
- Mix in the green chillies, spring onion, coriander, diced brown onion, baking powder, and ground cumin with the mashed split peas. Season with a pinch of salt.
- Form small balls from the mixture, gently flattening them.
- Heat the rice bran oil in a pan over medium-low heat. Once shimmering, carefully add the Gato Pima.
- Fry the Gato Pima for about 3-4 minutes on each side until golden-brown.
- Remove the Gato Pima from the oil and let them drain on a paper towel-lined plate.
- Serve your Gato Pima hot, either as a snack or in a buttered baguette.


