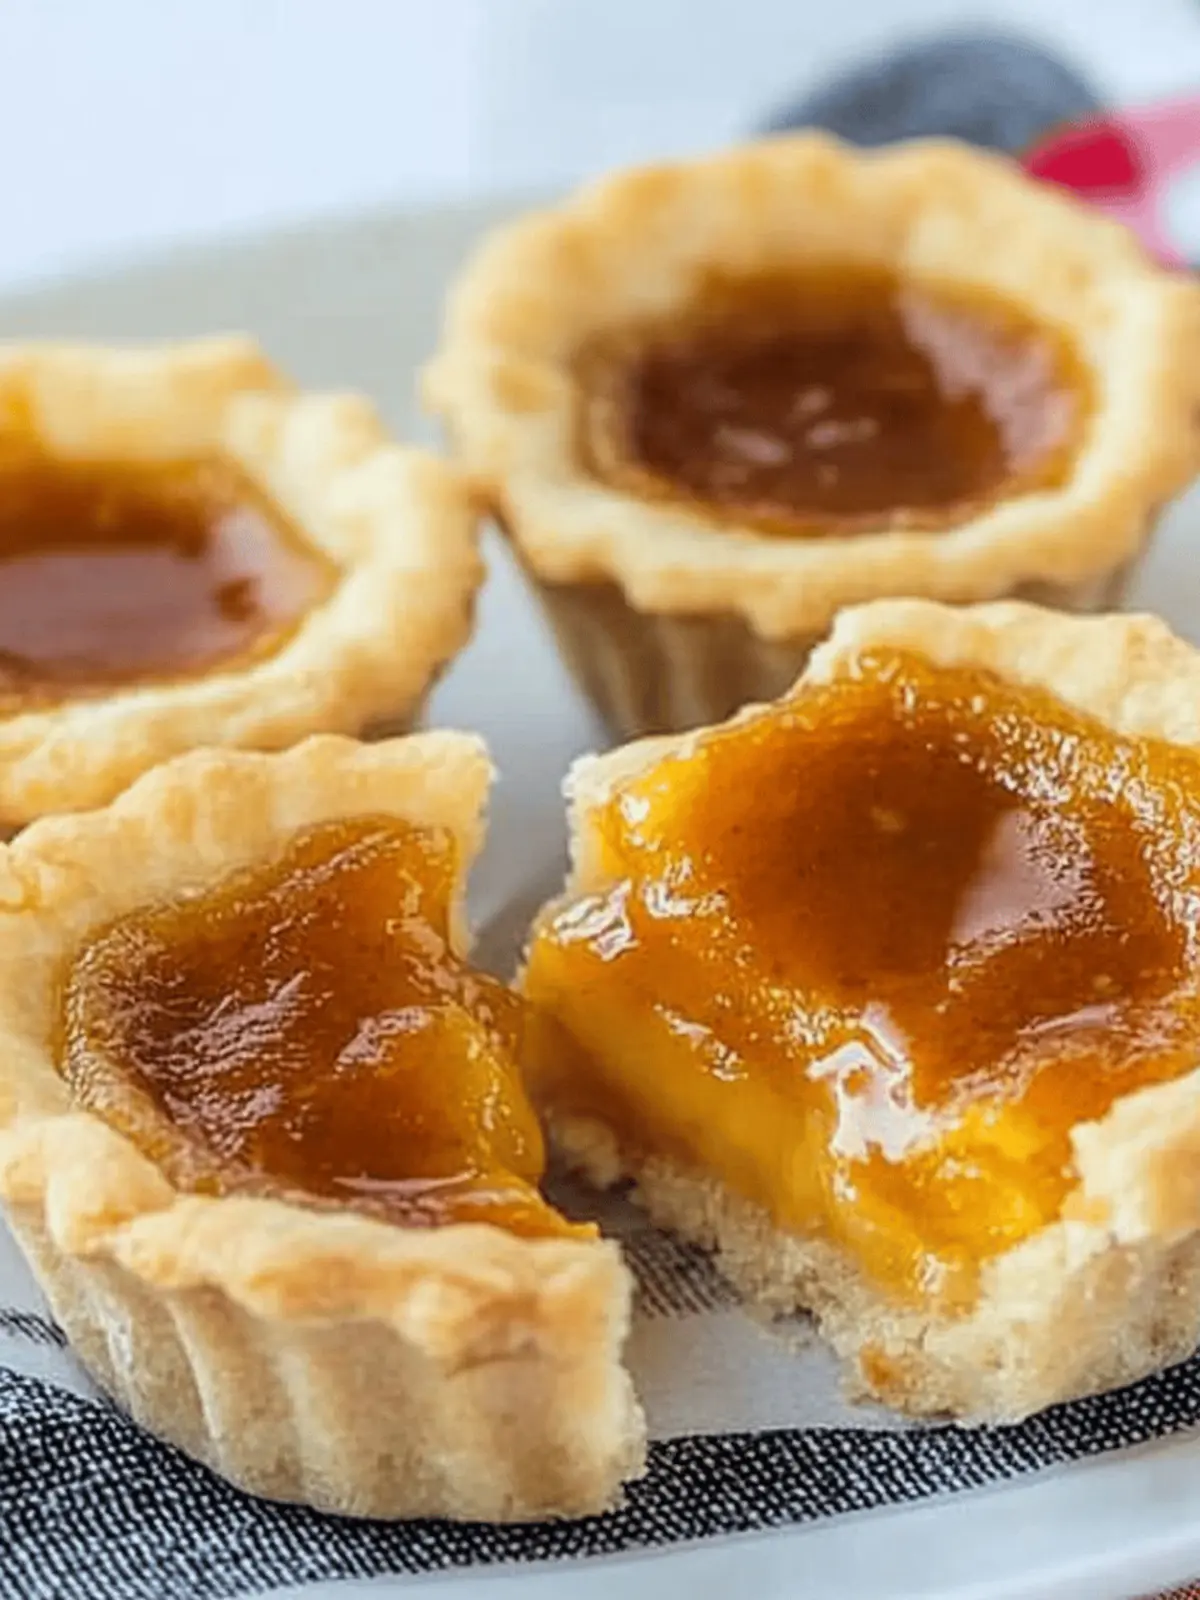
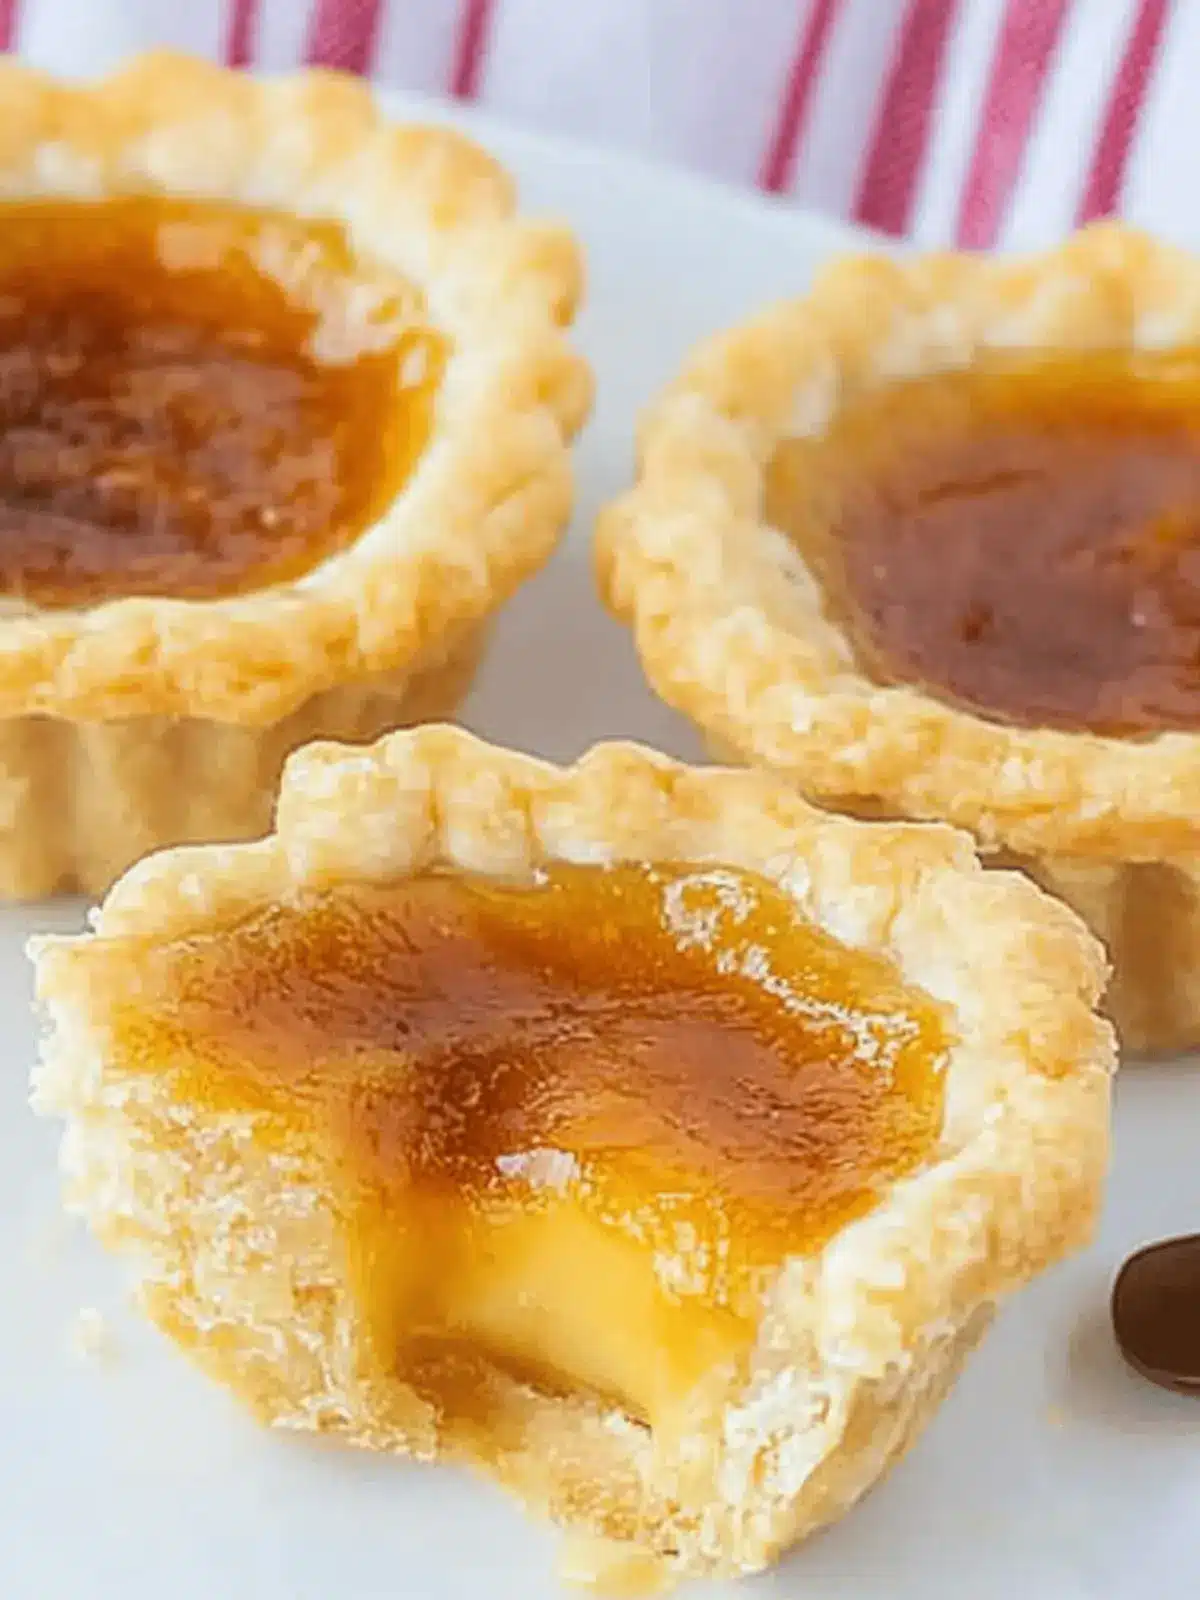
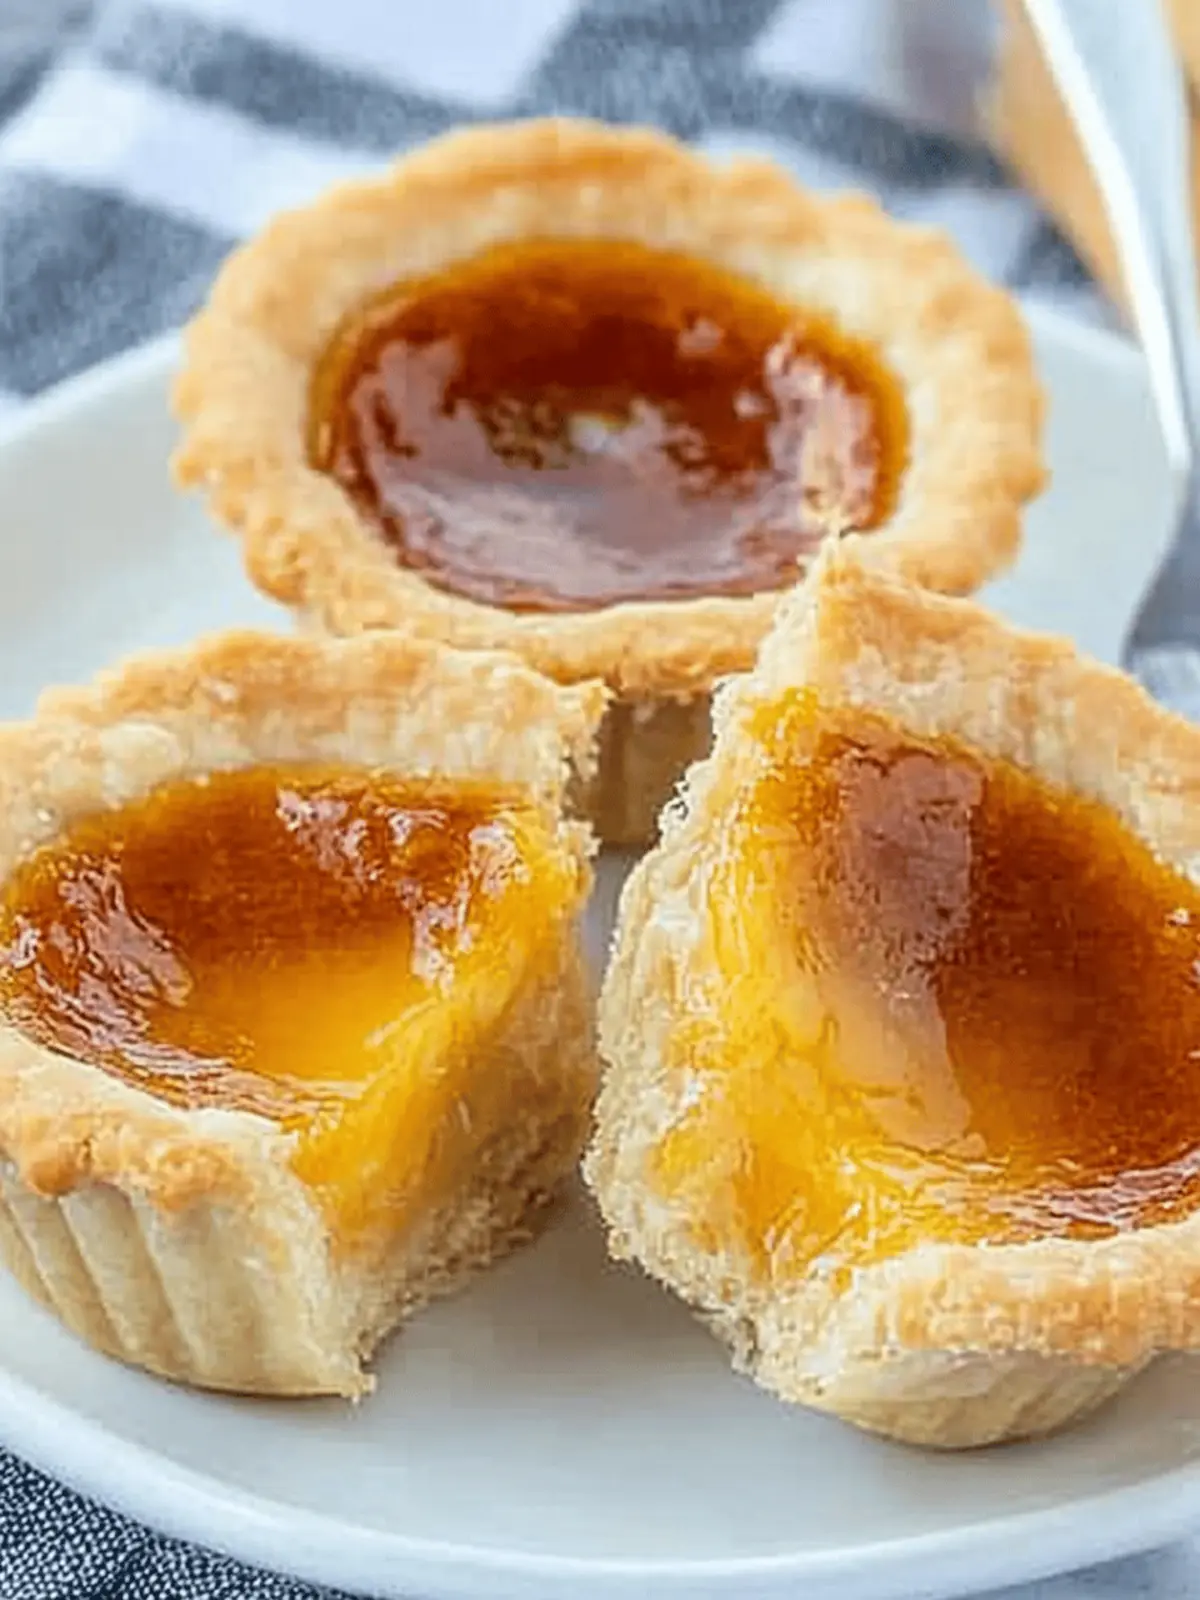
The moment you take that first bite of a Canadian Butter Tart, the rich sweetness envelops your senses, and you can’t help but smile. I discovered this delightful treat while exploring the heart of Canada during a chilly winter getaway, where locals raved about their favorite dessert. The combination of a flaky pastry filled with gooey goodness is simply irresistible!
What I love most about these tarts is their versatility; whether you prefer them filled with juicy raisins or just ooey-gooey syrup, they never fail to satisfy. Plus, they’re surprisingly easy to whip up in your kitchen, so even if you feel like grabbing takeout, these buttery delights offer a delicious homemade alternative that will impress your family and friends. With just a handful of ingredients, you’ll have a crowd-pleasing dessert in no time. So, let’s roll up our sleeves and dive into this classic Canadian recipe that brings warmth and joy to every gathering!
Why are Canadian Butter Tarts so special?
Deliciously unique: Each bite offers a sweet, gooey filling that’s a fantastic contrast to the flaky crust.
Flexible fillings: Customize with raisins, nuts, or even chocolate for a twist on tradition.
Quick preparation: Whip up these tarts in under an hour, making them perfect for last-minute gatherings.
Crowd-pleasing treat: Everyone loves them, making these buttery delights a hit at any event.
Comfort food bliss: Ideal for a cozy night in or celebrating special moments with family and friends.
Transform your kitchen into a delightful haven with these mouthwatering Canadian Butter Tarts!
Canadian Butter Tarts Ingredients
• Get ready to create the perfect buttery treat!
For the Pastry
- Flour – 2 ¼ cups, vital for a flaky texture!
- Brown sugar – 1 tbsp, adds a hint of sweetness to the crust.
- Salt – ½ tsp, enhances all the flavors beautifully.
- Shortening – 1/2 cup, very cold and cut in cubes to keep the crust flaky.
- Butter – 1/2 cup, very cold and cut in cubes; ensure the best taste and texture!
- Ice water – 6 tbsp, approximately; helps bind the dough without overworking it.
For the Filling
- Brown sugar – 1/2 cup, lightly packed for that sweet, gooey interior.
- Corn syrup – 1/2 cup, provides that signature sticky sweetness to the filling.
- Butter – 1/4 cup, melted; contributes to the luscious texture.
- Egg – 1, essential for binding the filling together.
- Vanilla extract – 1 tsp, adds warmth and depth to the flavor.
- Salt – 1/4 tsp, just a pinch to round out the sweetness.
- Raisins – ½ cup (optional), for those who enjoy a chewy, fruity twist in their tarts.
Get ready to wow your friends and family with these delightful Canadian Butter Tarts!
How to Make Canadian Butter Tarts
-
Pulse the dough: In a food processor, combine the cold cubed butter, shortening, flour, brown sugar, and salt. Pulse until the mixture resembles pea-sized crumbs, ensuring a flaky crust that melts in your mouth.
-
Incorporate the water: Sprinkle ice water over the crumb mixture. Gently toss with a fork until the dough just comes together; avoid overworking it for the best texture.
-
Chill the dough: Shape the dough into two rounds about an inch thick. Wrap them in plastic wrap and let them rest in the fridge for about 30 minutes to firm up and enhance the flavor.
-
Roll and cut: On a lightly floured surface, roll out the chilled dough. Use a 4-inch cutter to create rounds and fit them into muffin cups. Pop them back in the fridge or freezer while you prepare the filling.
-
Mix the filling: In a bowl, combine all filling ingredients except the raisins. Stir well to create a luscious, gooey mixture that’ll ooze flavor in every bite.
-
Add the raisins: If you like, sprinkle a layer of raisins at the bottom of each pastry-lined muffin cup. This adds a sweet chewiness that complements the rich filling.
-
Fill the tarts: Carefully pour the syrup mixture into each cup, filling them about 2/3 full. Leave some space for the filling to puff up as it bakes.
-
Bake: Place your muffin tins on the bottom shelf of the oven, and bake at 425°F for 12 to 15 minutes. Look for a bubbly filling that’s set but not burnt on top!
-
Cool and serve: Allow the tarts to cool completely on a wire rack. Once cooled, carefully remove them from their pans, and get ready to enjoy!
Optional: Drizzle with a bit of maple syrup for an extra touch of Canadian charm.
Exact quantities are listed in the recipe card below.
Expert Tips for Perfect Canadian Butter Tarts
-
Quality Ingredients: Using very cold butter and shortening ensures a flaky crust. Don’t skip this step for optimal texture!
-
Avoid Overworking: When incorporating the ice water, mix just until combined. Overworking the dough can lead to tough pastries.
-
Fill Carefully: Fill each pastry shell about 2/3 full to prevent overflow during baking. This ensures that you achieve that signature gooey filling without mess.
-
Watch the Bake Time: Keep an eye on the tarts as they bake. Look for a bubbly filling that’s set; burnt edges can ruin all your hard work!
-
Cooling is Key: Let the tarts cool completely on a wire rack before removing them from the pans. This helps them hold their shape perfectly while enhancing the flavors.
What to Serve with Canadian Butter Tarts?
Indulging in the sweet, gooey goodness of these divine treats is just the beginning of a delightful meal experience.
-
Fresh Fruit Salad: A light assortment of berries and citrus provides a refreshing contrast to the buttery tarts, cleansing the palate with each bite.
-
Vanilla Ice Cream: The creamy richness pairs beautifully with the warm tarts, creating a heavenly meld of flavors that will have everyone asking for seconds.
-
Whipped Cream: A dollop of freshly whipped cream adds a light, airy texture that enhances the tart’s sweetness.
-
Coffee or Tea: A warm cup of coffee or tea complements the dessert’s rich flavors, making your dessert experience cozy and comforting.
-
Maple Syrup Drizzle: A hint of maple syrup enhances the Canadian spirit while adding an extra layer of sweetness that’s simply irresistible.
-
Chocolates or Truffles: A small selection of dark chocolates provides a decadent choice for those who crave a richer taste to accompany their tarts.
-
Chocolate Fondue: For a fun, interactive dessert, provide a chocolate fondue pot. Dip fruits or tarts for a unique twist that’s sure to impress!
Serving these alongside your Canadian Butter Tarts allows you to create a balanced and memorable sweet spread that everyone will enjoy!
How to Store and Freeze Canadian Butter Tarts
Fridge: Store baked butter tarts in an airtight container in the fridge for up to 3 days to maintain freshness and flavor.
Freezer: Wrap unbaked tarts tightly in plastic wrap and foil, then freeze for up to 3 months. Thaw in the fridge before baking.
Reheating: To reheat baked Canadian Butter Tarts, place them in a preheated oven at 350°F for about 10 minutes, ensuring they’re warmed through without losing their delightful texture.
Room Temperature: For the best taste right after baking, enjoy them fresh at room temperature for up to 2 hours before considering refrigeration.
Canadian Butter Tarts Variations & Substitutions
Feel free to personalize your butter tarts for a truly unique treat that excites your taste buds!
-
Nutty Delight: Replace half of the raisins with chopped pecans or walnuts for an added crunch. The nutty flavor beautifully complements the sweet filling.
-
Chocolate Lovers: Stir in chocolate chips or chunks instead of raisins for a decadent twist. Just imagine biting into gooey chocolate mixed with the buttery goodness!
-
Maple Syrup Switch: Swap corn syrup for maple syrup to infuse a rich, earthy flavor that’s oh-so-Canadian. Your tarts will taste like a sweet forest in the fall!
-
Coconut Cream: Add flaked coconut to the filling for a tropical flair. This unexpected twist adds texture and a hint of sweetness, elevating your tarts to new heights.
-
Spiced Up: Mix in a dash of cinnamon and nutmeg for a warm, spiced flavor. It’s a lovely way to give your tarts a cozy, inviting aroma.
-
Berry Boost: Top the filling with fresh or frozen berries for a fruity kick. The tartness of berries balances the sweetness beautifully, making your tarts pop with color and flavor.
-
Vegan Version: Use plant-based butter and a flax egg to create vegan butter tarts. They’ll be just as delicious and perfect for those on a dairy-free diet.
-
Savory Surprise: Incorporate a pinch of sea salt on top of the filling before baking for a delightful sweet-salty contrast. This little touch will take your dessert to an extraordinary level!
Make Ahead Options
These Canadian Butter Tarts are perfect for meal prep enthusiasts! You can prepare the pastry dough up to 24 hours in advance by shaping it into rounds, wrapping it in plastic wrap, and refrigerating. The dough can even be frozen for up to 3 months; just thaw overnight in the fridge before using. You can also mix the filling ingredients ahead of time and store them in an airtight container in the fridge for up to 3 days. When you’re ready to bake, simply roll out the chilled dough, fill them with the prepped filling, and bake for fresh, ooey-gooey tarts that taste just as delicious as when made from scratch!
Canadian Butter Tarts Recipe FAQs
What type of flour should I use for Canadian Butter Tarts?
Absolutely! All-purpose flour works wonderfully for these tarts, giving you the perfect balance of structure and flakiness. Just make sure to measure it correctly for the best results!
How do I know if my filling is set when baking?
Very good question! Look for a bubbly filling that has slightly puffed up but is still a little quivery in the center. It should not be burnt on top; instead, it should have a gorgeous golden hue.
What’s the best way to store leftover butter tarts?
I recommend storing your baked butter tarts in an airtight container in the fridge for up to 3 days. They will stay moist and flavorful this way, ready for you whenever that sweet craving strikes!
Can I freeze Canadian Butter Tarts? How do I do it?
Absolutely, freezing is a great way to preserve them! To freeze unbaked tarts, wrap them tightly in plastic wrap and aluminum foil, then place them in the freezer for up to 3 months. When you’re ready to enjoy, simply thaw them in the fridge overnight before baking. Bake as per instructions, and they’ll come out just as delicious as fresh!
Are Canadian Butter Tarts pet-friendly?
No, these tarts aren’t safe for pets, especially due to the sugar and butter content. Always keep them out of reach from your furry friends to avoid any health risks.
What if I forget to chill my dough? Will it still work?
Not to worry! Chilling helps maintain flakiness, but if you forget, your tarts can still come out tasty. Just handle the dough as little as possible to avoid overworking it. If the dough is too soft, give it a quick chill in the fridge while you prepare your filling. Good luck!
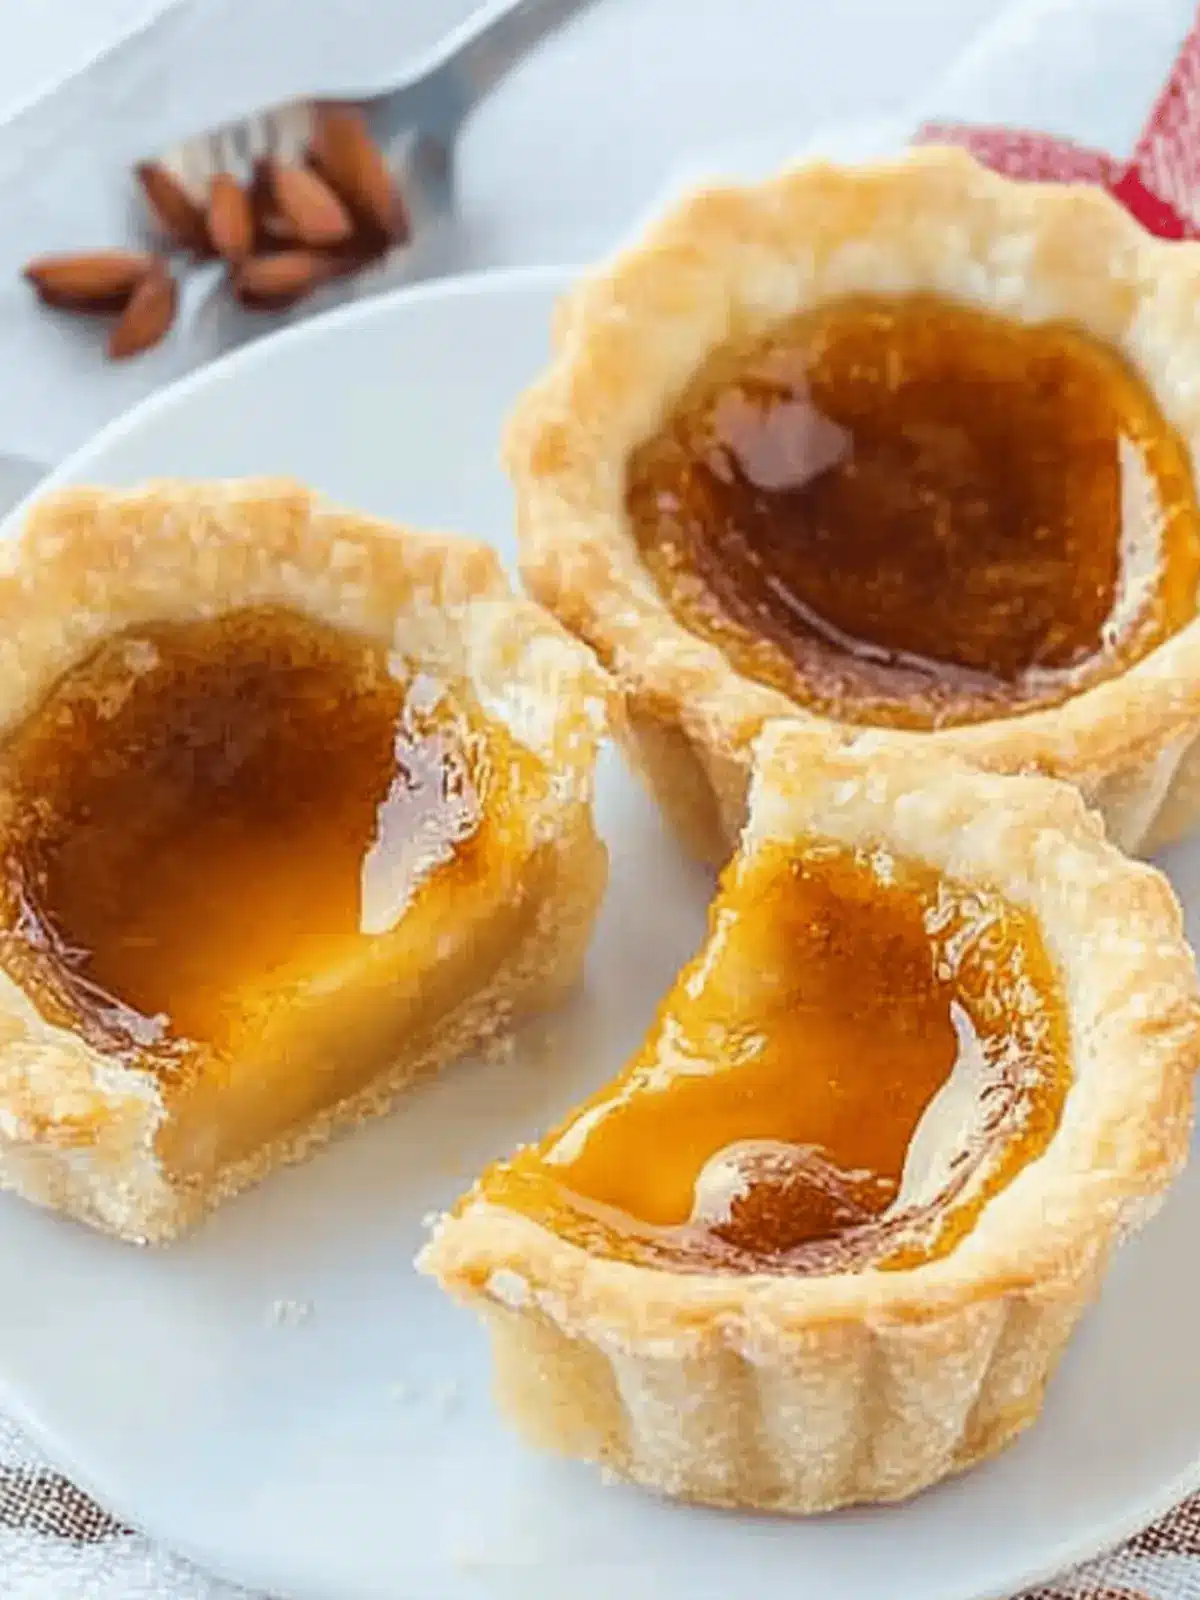
Irresistible Canadian Butter Tarts That Melt in Your Mouth
Ingredients
Equipment
Method
- In a food processor, combine the cold cubed butter, shortening, flour, brown sugar, and salt. Pulse until the mixture resembles pea-sized crumbs, ensuring a flaky crust that melts in your mouth.
- Sprinkle ice water over the crumb mixture. Gently toss with a fork until the dough just comes together; avoid overworking it for the best texture.
- Shape the dough into two rounds about an inch thick. Wrap them in plastic wrap and let them rest in the fridge for about 30 minutes to firm up and enhance the flavor.
- On a lightly floured surface, roll out the chilled dough. Use a 4-inch cutter to create rounds and fit them into muffin cups. Pop them back in the fridge or freezer while you prepare the filling.
- In a bowl, combine all filling ingredients except the raisins. Stir well to create a luscious, gooey mixture that’ll ooze flavor in every bite.
- If you like, sprinkle a layer of raisins at the bottom of each pastry-lined muffin cup. This adds a sweet chewiness that complements the rich filling.
- Carefully pour the syrup mixture into each cup, filling them about 2/3 full. Leave some space for the filling to puff up as it bakes.
- Place your muffin tins on the bottom shelf of the oven, and bake at 425°F for 12 to 15 minutes. Look for a bubbly filling that’s set but not burnt on top!
- Allow the tarts to cool completely on a wire rack. Once cooled, carefully remove them from their pans, and get ready to enjoy!

