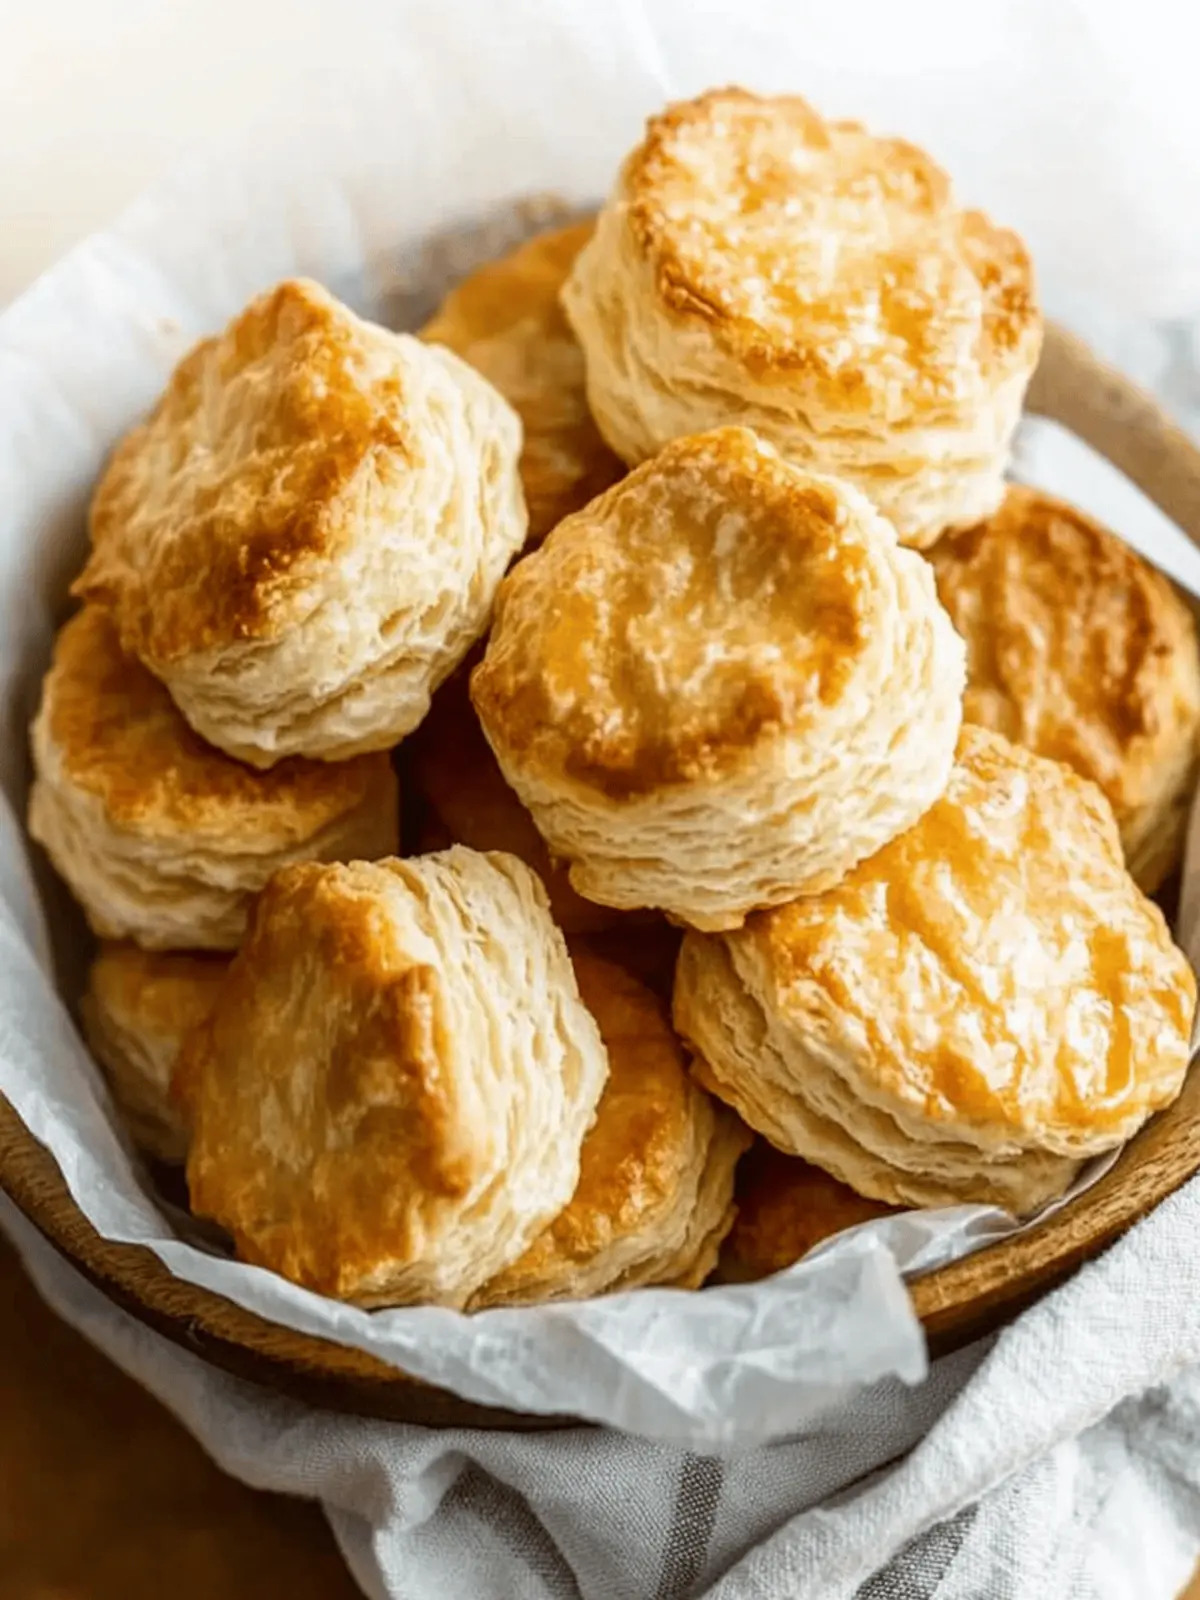
There’s something truly heartwarming about the smell of freshly baked Buttermilk Biscuits wafting through the kitchen. The moment you pull them from the oven, golden brown and fluffy, it’s impossible not to feel a wave of nostalgia wash over you. These biscuits are a staple in my home, turning every breakfast into a celebration, and they’ve even stolen the spotlight at casual dinners with friends.
One of the best parts? They’re remarkably simple to whip up! You can have them on the table in just 20 minutes, making them perfect for both busy mornings and last-minute gatherings. Plus, the addition of cold buttermilk adds a tangy richness that elevates every bite. Whether you enjoy them slathered with butter, drizzled with honey, or simply on their own, these Buttermilk Biscuits are bound to become a beloved recipe in your household. Join me as we dive into this deliciously easy journey of making biscuits that are sure to please everyone at your table!
Why will you love these Buttermilk Biscuits?
Irresistible Aroma: The moment these biscuits bake, your kitchen fills with a warm, buttery scent that’s simply irresistible.
Quick and Easy: With just a few simple steps, you’ll have homemade biscuits ready in just 20 minutes, perfect for any occasion.
Fluffy and Tender: Thanks to the buttermilk, each bite is airy and moist, offering that melt-in-your-mouth experience everyone craves.
Versatile Delight: Enjoy them for breakfast, as a side with dinner, or even as a snack. They pair beautifully with sweet or savory toppings!
Crowd-Pleaser: Whether it’s a family brunch or a fun gathering, these biscuits are guaranteed to impress your guests and leave them asking for the recipe.
Buttermilk Biscuit Ingredients
• Here’s everything you need to create those heavenly Buttermilk Biscuits!
For the Biscuit Dough
- All-purpose flour – This forms the base of your biscuits, giving them structure and a tender crumb.
- Aluminum-free baking powder – This helps the biscuits rise, ensuring they come out light and fluffy.
- Salt – Just a touch enhances the flavors and balances the sweetness of the honey.
- Honey – Adds a hint of sweetness and helps to achieve a beautiful golden crust.
- Very cold butter – Incorporating cold butter creates flaky layers, which is key for that melt-in-your-mouth texture.
- Cold buttermilk – The star of our recipe, it adds richness and gives these biscuits their signature taste and tenderness.
For the Topping
- Honey – A drizzle over the top adds sweetness and makes your biscuits even more irresistible.
- Butter – Brushing melted butter on the biscuits gives them a luscious finish and extra moisture.
How to Make Buttermilk Biscuits
-
Preheat Oven: Start by preheating your oven to 425°F. This high temperature gives your biscuits that perfect golden-brown crust.
-
Mix Dry Ingredients: In a large mixing bowl, add 2 ½ cups of flour, 2 tablespoons of baking powder, and 1 teaspoon of salt. Stir everything well until fully combined.
-
Add Butter: Cut ½ cup of very cold butter into small cubes. Toss it into the bowl, then use a pastry cutter (or a fork) to blend it in until you achieve coarse crumbs.
-
Incorporate Wet Ingredients: Make a well in the center of your dry mixture. Pour in 1 cup + 3 tablespoons of cold buttermilk and 2 teaspoons of honey. Gently stir with a silicone spatula until just mixed; avoid overmixing to keep your biscuits tender!
-
Shape the Dough: Turn the dough out onto a floured surface, forming a rectangle about 9 inches long.
-
Fold the Dough: Fold the left side of the rectangle into the center, then repeat with the right side. Rotate the dough so it’s horizontal and gently flatten it again. Repeat this folding process two more times to create layers.
-
Form the Final Shape: Flatten your dough into a rectangle about 10 x 7 inches and 1 inch thick for uniform baking.
-
Cut Out Biscuits: Using a 3-inch cookie cutter, cut out 6 biscuit circles. Avoid twisting the cutter while cutting, as this can hinder rising. Keep the biscuits in the fridge while you continue cutting.
-
Re-roll and Cut More: Roll out any leftover dough until it’s 1 inch thick and cut 2 more biscuits to reach a total of about 8.
-
Prepare for Baking: Butter a 10-inch cast iron skillet and arrange the biscuits inside, ensuring they’re close but not touching.
-
Bake Biscuits: Bake in your preheated oven for 15 minutes, or until the tops are beautifully golden brown.
-
Add Topping: While your biscuits are warm, mix 2 tablespoons of honey with 1 tablespoon of melted butter. Brush this sweet mixture over the warm biscuits for extra flavor. If you like a darker finish, bake for an additional 5 minutes at 450°F.
-
Store Leftovers: Once cooled, store your biscuits in an airtight container or refrigerate for up to 5 days. You can also freeze any leftovers for a quick treat later!
Optional: Serve with extra butter or jam for a delightful twist.
Exact quantities are listed in the recipe card below.
Make Ahead Options
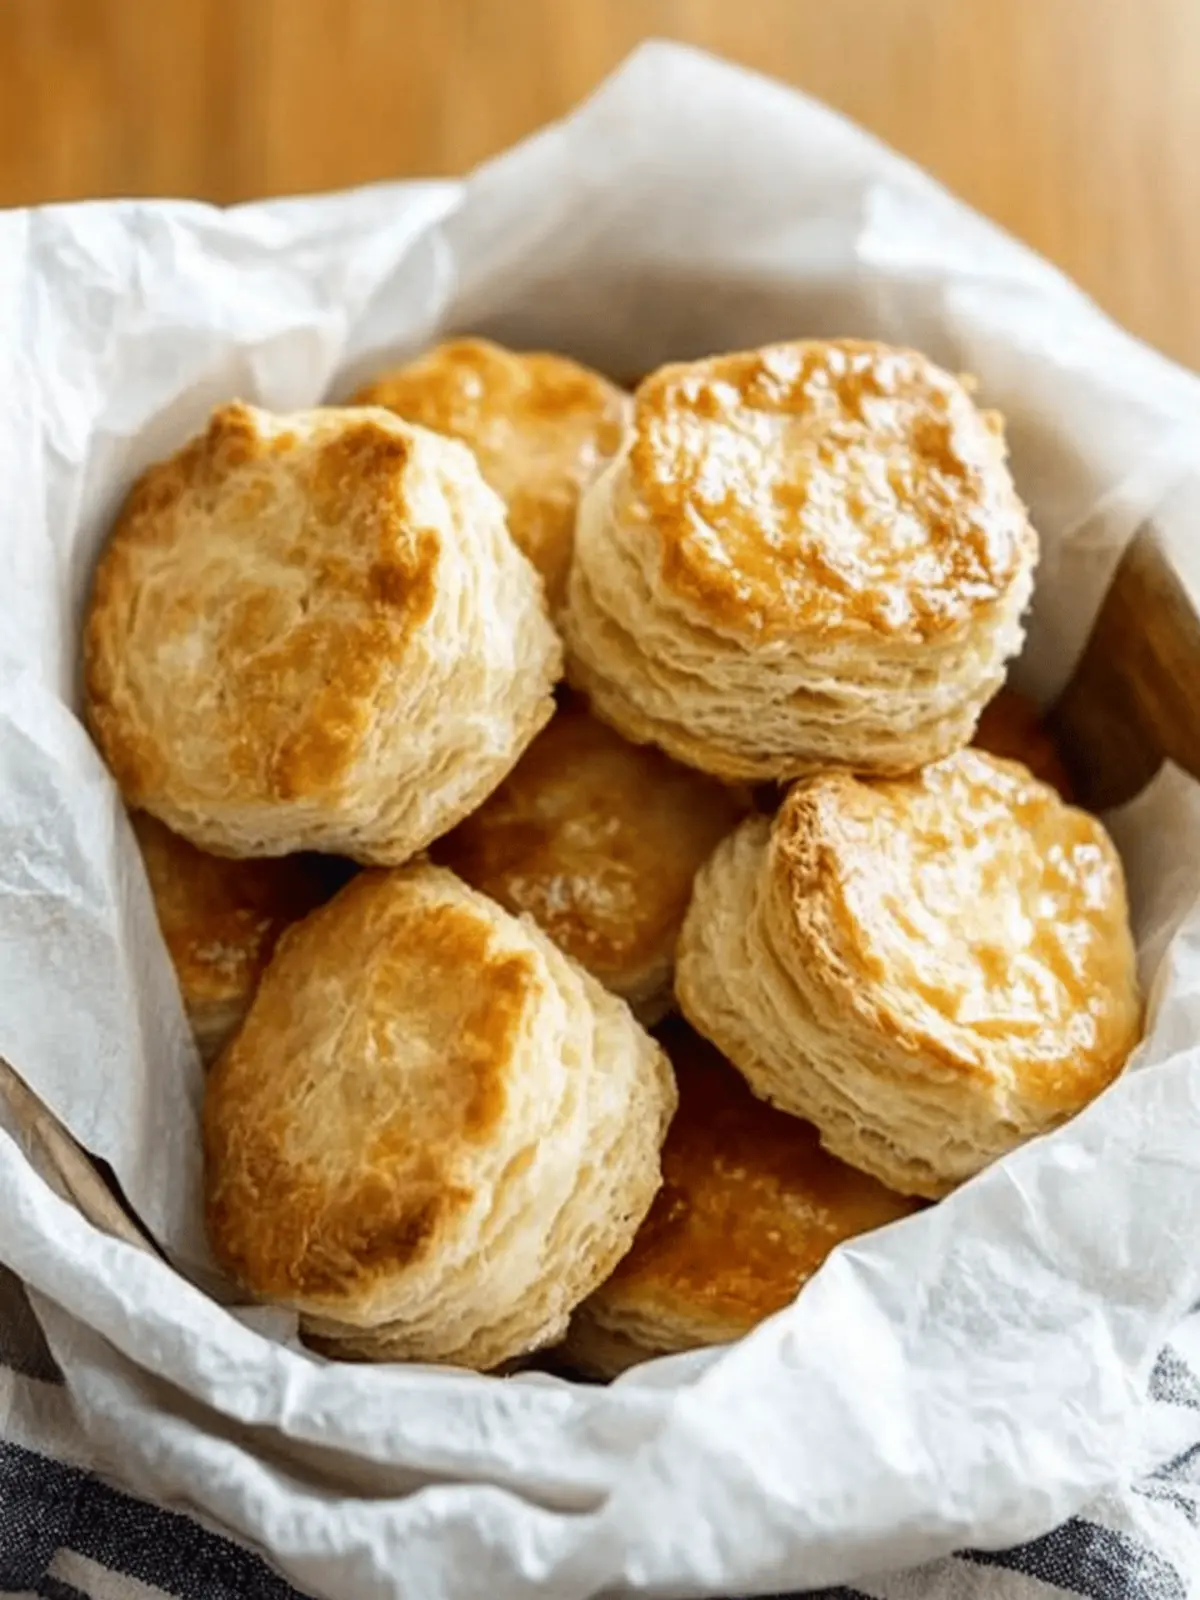
These Buttermilk Biscuits are perfect for busy home cooks looking to simplify meal prep! You can make the biscuit dough and refrigerate it for up to 24 hours before baking, which helps maintain their fluffy texture. Simply prepare the dough through step 8, then wrap it tightly in plastic wrap and store it in the fridge. When you’re ready to enjoy them, preheat your oven, cut the biscuits, and bake as directed—this guarantees they’ll be just as delicious as freshly made. For longer storage, you can freeze the cut biscuits for up to 3 months; simply bake them straight from the freezer, adding an extra minute or two to the baking time!
How to Store and Freeze Buttermilk Biscuits
Room Temperature: Store leftovers in a cool, dry place in an airtight container for up to 3 days for the best texture and flavor.
Fridge: For longer freshness, keep your Buttermilk Biscuits in the refrigerator in an airtight container for up to 5 days. This keeps them soft and ready to enjoy anytime!
Freezer: Wrap individual biscuits tightly in plastic wrap and then in aluminum foil, or place them in a freezer-safe bag. Freeze for up to 3 months for optimal taste and freshness.
Reheating: To reheat, place frozen biscuits directly in a preheated oven at 350°F for about 10-15 minutes until warmed through. You’ll have fresh, buttery biscuits in no time!
Buttermilk Biscuits Variations
Feel free to experiment and make this dish your own with these delightful twists!
-
Whole Wheat: Substitute half the all-purpose flour with whole wheat flour for a nuttier flavor and added nutrition.
-
Herb-Infused: Add fresh herbs like rosemary or thyme into the dough to enhance the biscuit’s aroma and add a savory note.
-
Cheesy: Incorporate 1 cup of shredded cheese, like sharp cheddar, for a rich, savory upgrade that’s a hit at brunch!
-
Garlic Butter: Mix minced garlic into the melted butter for topping, creating a savory finish that will elevate each bite.
-
Sweet & Spicy: Sprinkle in some cinnamon or a pinch of cayenne pepper for a unique blend of sweet and heat that makes these biscuits unforgettable.
-
Vegan: Replace buttermilk with a mixture of almond milk and apple cider vinegar and use vegan butter for a delicious plant-based option.
-
Fruit-Filled: Fold in some diced apples or blueberries for a sweet twist that’s perfect for breakfast or as a delightful afternoon snack.
-
Crumbly Biscuit: For a texture twist, add 1/4 cup of cooked, crumbled bacon into the dough for a savory surprise in every bite!
What to Serve with Buttermilk Biscuits?
There’s nothing quite like a warm plate of homemade biscuits to elevate any meal, inviting smiles and memories around the table.
-
Creamy Gravy: A rich sausage or mushroom gravy complements the buttery biscuits beautifully, creating a comforting Southern classic. This pairing is all about indulgence; just thinking about it can make your taste buds tingle.
-
Savory Breakfast Casserole: Layered with eggs, cheese, and veggies, this hearty dish pairs well with the fluffiness of the biscuits, making for a delightful brunch spread.
-
Fresh Fruit Jam: Sweet and slightly tart, homemade or store-bought jams bring a burst of flavor to each biscuit. Spread a generous layer for a refreshing contrast to the rich, buttery texture.
-
Honey Butter: A blend of whipped honey and softened butter adds a delightful sweetness. Drizzle over your biscuits for a breakfast treat that feels indulgent yet comforting.
-
Scrambled Eggs: Fluffy, seasoned scrambled eggs make for a nourishing breakfast choice. Their light texture pairs well with the biscuits, creating a balanced and satisfying meal.
-
Chicken Salad: A refreshing chicken salad served on the side adds protein and coolness, making the meal more robust. Its crisp flavors create a pleasant contrast to the soft biscuits.
-
Hot Coffee or Tea: A warm cup of your favorite brew accompanies biscuits nicely, enhancing the comforting experience. Enjoy a cozy moment with every sip and bite.
-
Apple Crisp: For a sweet finish, serve with warm apple crisp. The cinnamon and caramel notes harmonize beautifully with the subtle sweetness of the biscuits, creating a perfect way to end a meal.
Expert Tips for Perfect Buttermilk Biscuits
-
Chill Your Ingredients: Keep the butter and buttermilk as cold as possible. This helps create tender, flaky layers and prevents the fat from melting too early.
-
Don’t Overmix: When combining the wet and dry ingredients, stir just until combined. Overmixing can lead to tough biscuits that lack the light, airy texture you want.
-
Cut Without Twisting: Use a sharp cookie cutter to cut the biscuits without twisting. Twisting seals the edges and inhibits rising, leading to flat biscuits instead of the fluffy Buttermilk Biscuits you desire.
-
Properly Size Biscuits: Aim for about 1 inch thickness when cutting the biscuits. This thickness ensures they bake through evenly while maintaining that desired fluffiness.
-
Space Them Right: Place the biscuits close together in a cast iron skillet or baking sheet. They rise better when they support each other during baking, yielding a soft and pillowy texture.
-
Add the Topping While Warm: Brush the honey and butter mixture on while the biscuits are still warm for better absorption and a more delightful flavor experience!
Buttermilk Biscuits Recipe FAQs
What is the best way to choose buttermilk?
Absolutely! When selecting buttermilk, look for a brand that is labeled as “cultured.” This will give you that tangy flavor and creamy texture. Always check the expiration date; fresher buttermilk means better biscuits. If you can’t find buttermilk, you can easily make a substitute by adding 1 tablespoon of lemon juice or vinegar to 1 cup of regular milk and letting it sit for about 5-10 minutes.
How should I store my leftover biscuits?
For sure! If you plan to eat your Buttermilk Biscuits within a few days, simply place them in an airtight container at room temperature for up to 3 days. To keep them even fresher, you can store them in the fridge for up to 5 days. Just be sure to separate layers with parchment paper to prevent sticking.
Can I freeze Buttermilk Biscuits?
Absolutely! To freeze your Buttermilk Biscuits, wrap each biscuit tightly in plastic wrap, then place them inside a freezer-safe bag. They can be stored in the freezer for up to 3 months. When you’re ready to enjoy them, just pop the frozen biscuits directly into a preheated oven at 350°F for about 10-15 minutes until they’re warmed through. You’ll be amazed at how fresh they taste!
What should I do if my biscuits turn out dense?
Very often, a dense biscuit can result from overmixing the dough or using warm ingredients. To avoid this, remember to mix the wet and dry ingredients just until combined. Also, keeping your butter and buttermilk cold is essential for fluffy biscuits. If you notice they’re dense, try to fold the dough fewer times next time, allowing for more layers to form.
Are these biscuits safe for my dog?
While the ingredients in these Buttermilk Biscuits are generally safe for dogs, honey and salt should be given in moderation. It’s best to skip any toppings if you want to share with your furry friend, as a plain biscuit without honey or butter is a healthier treat. Always consult your vet before introducing new foods to your pet’s diet.
What if my biscuits don’t rise?
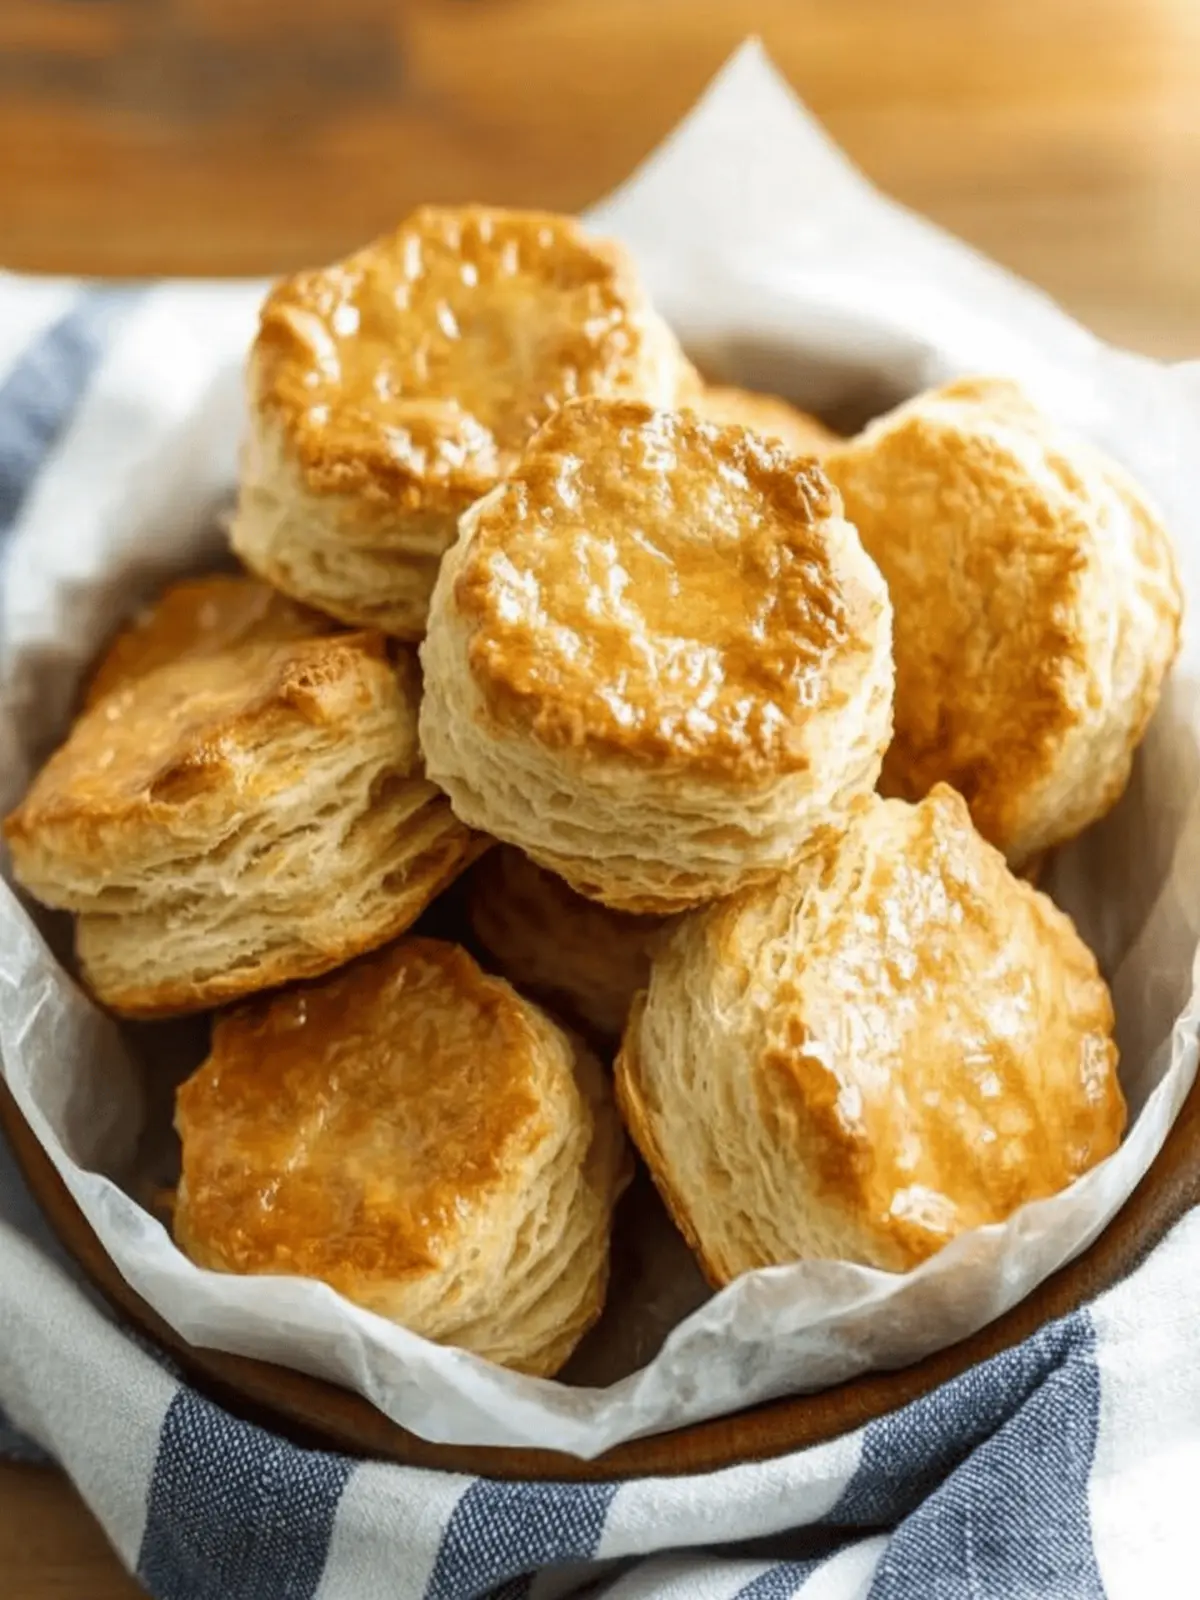
Oh no! If your biscuits don’t rise, it might be due to expired baking powder or overmixing the dough. Make sure your baking powder is fresh; it should bubble when combined with a liquid. Also, remember to cut the biscuits straight down without twisting the cutter to ensure they rise properly. Make these adjustments next time, and you’ll have fluffy, delightful Buttermilk Biscuits!
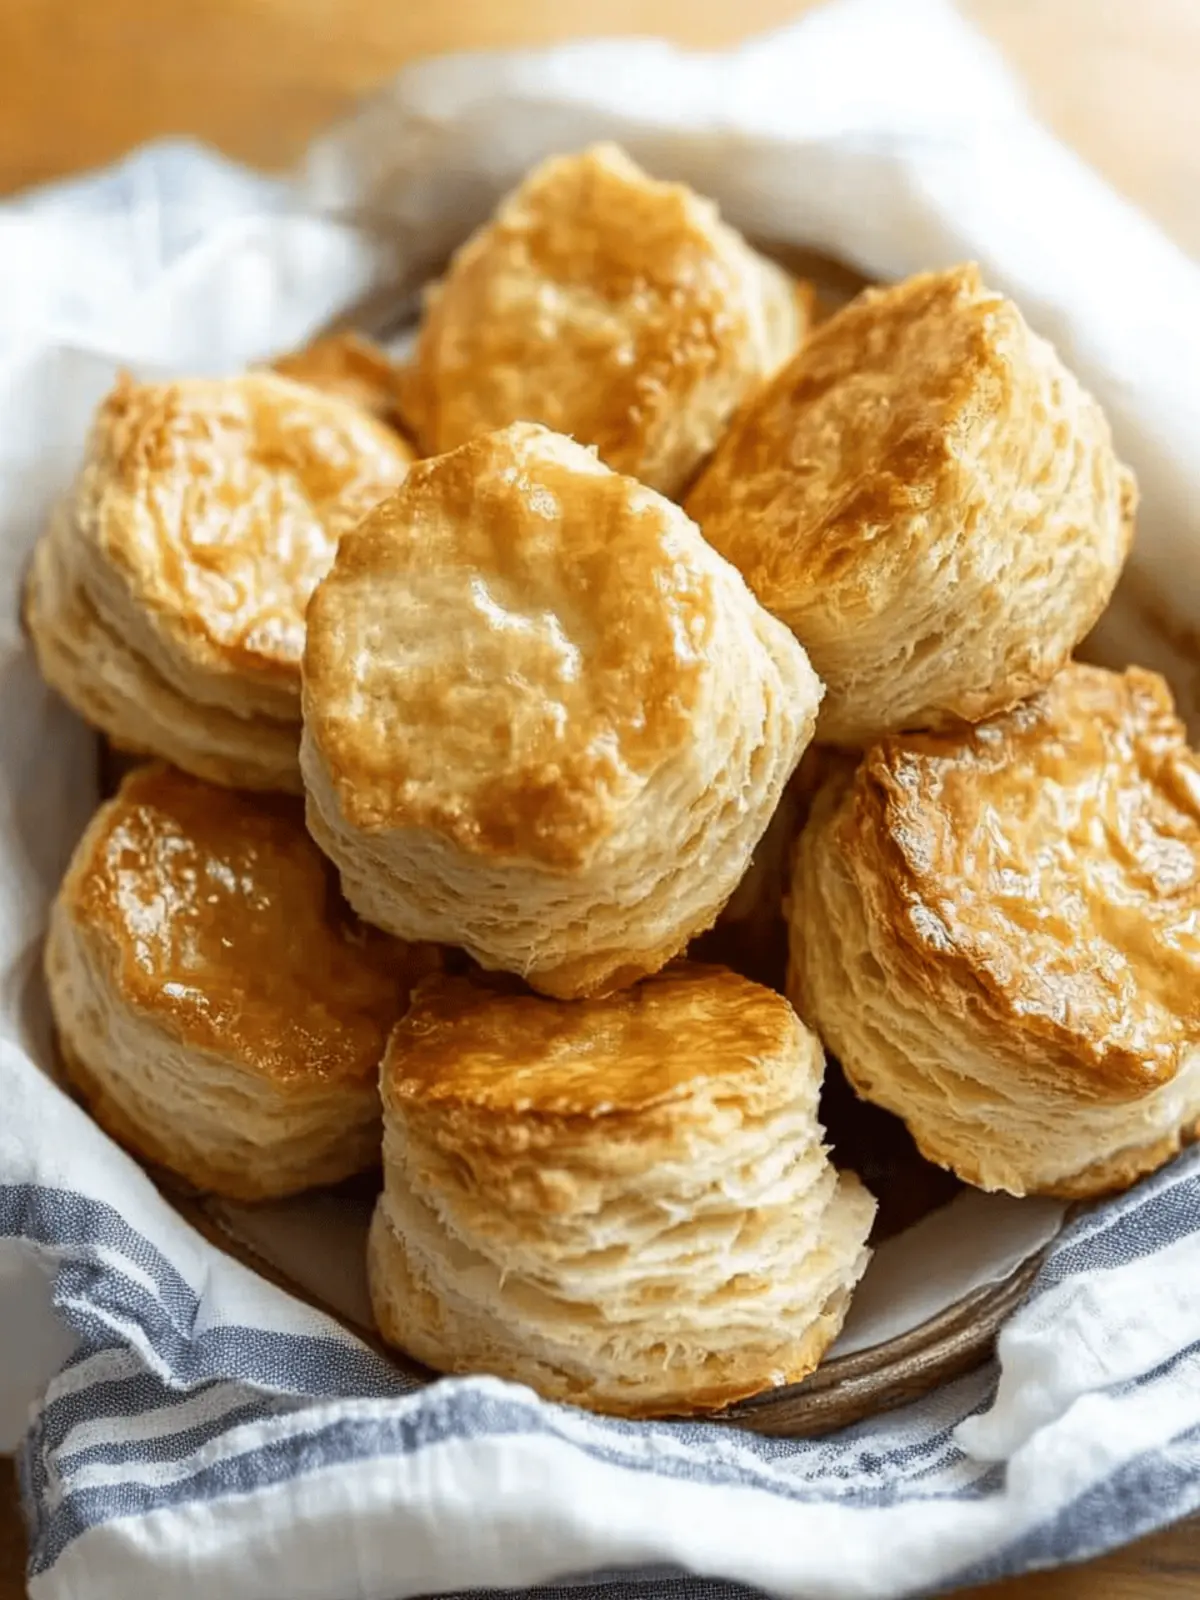
Heavenly Buttermilk Biscuits That Melt in Your Mouth
Ingredients
Equipment
Method
- Preheat your oven to 425°F.
- In a large mixing bowl, add flour, baking powder, and salt. Stir until combined.
- Cut butter into small cubes. Toss into the bowl and blend until coarse crumbs form.
- Make a well in the center and pour in cold buttermilk and honey. Stir gently until just mixed.
- Turn the dough onto a floured surface, forming a rectangle about 9 inches long.
- Fold the left side into the center, then the right side. Rotate and flatten again, repeating twice more.
- Flatten dough to about 10 x 7 inches and 1 inch thick.
- Using a 3-inch cookie cutter, cut out 6 biscuit circles.
- Re-roll leftover dough and cut 2 more biscuits for a total of about 8.
- Butter a 10-inch cast iron skillet and arrange biscuits inside.
- Bake for 15 minutes until golden brown.
- Mix honey with melted butter. Brush over warm biscuits.
- Store cooled biscuits in an airtight container.

