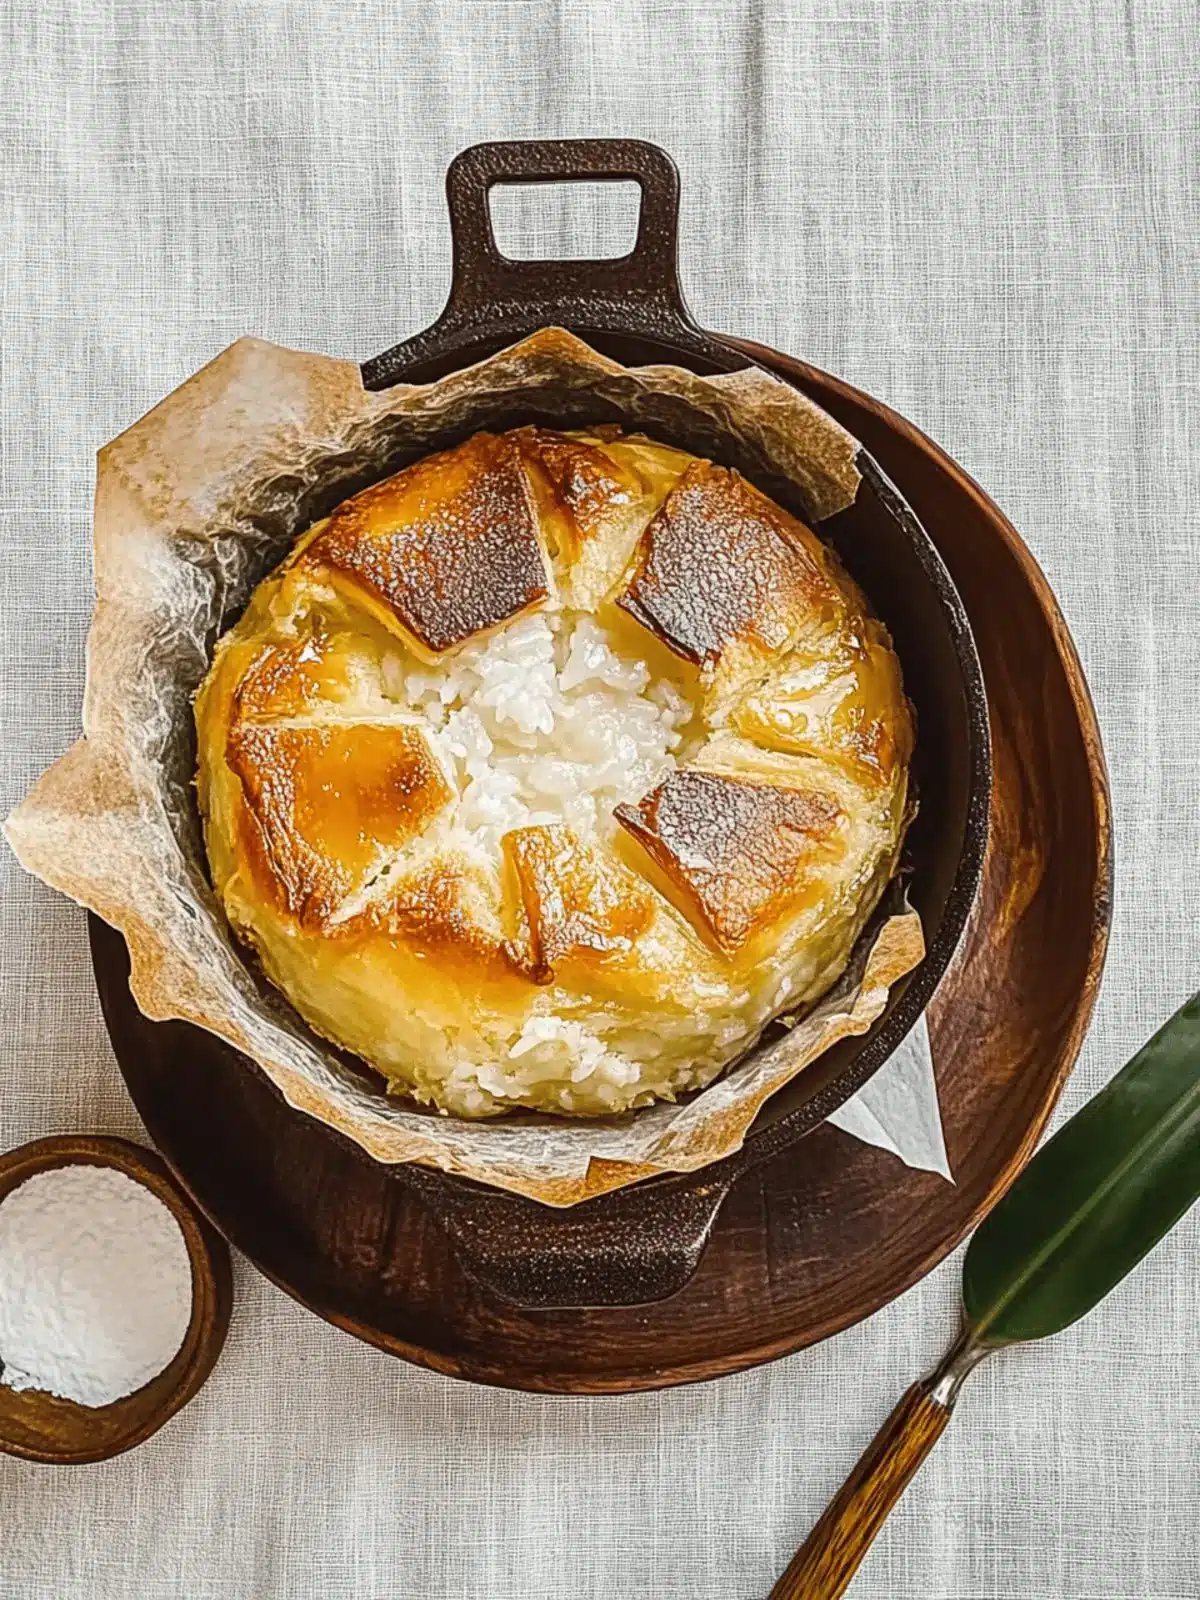
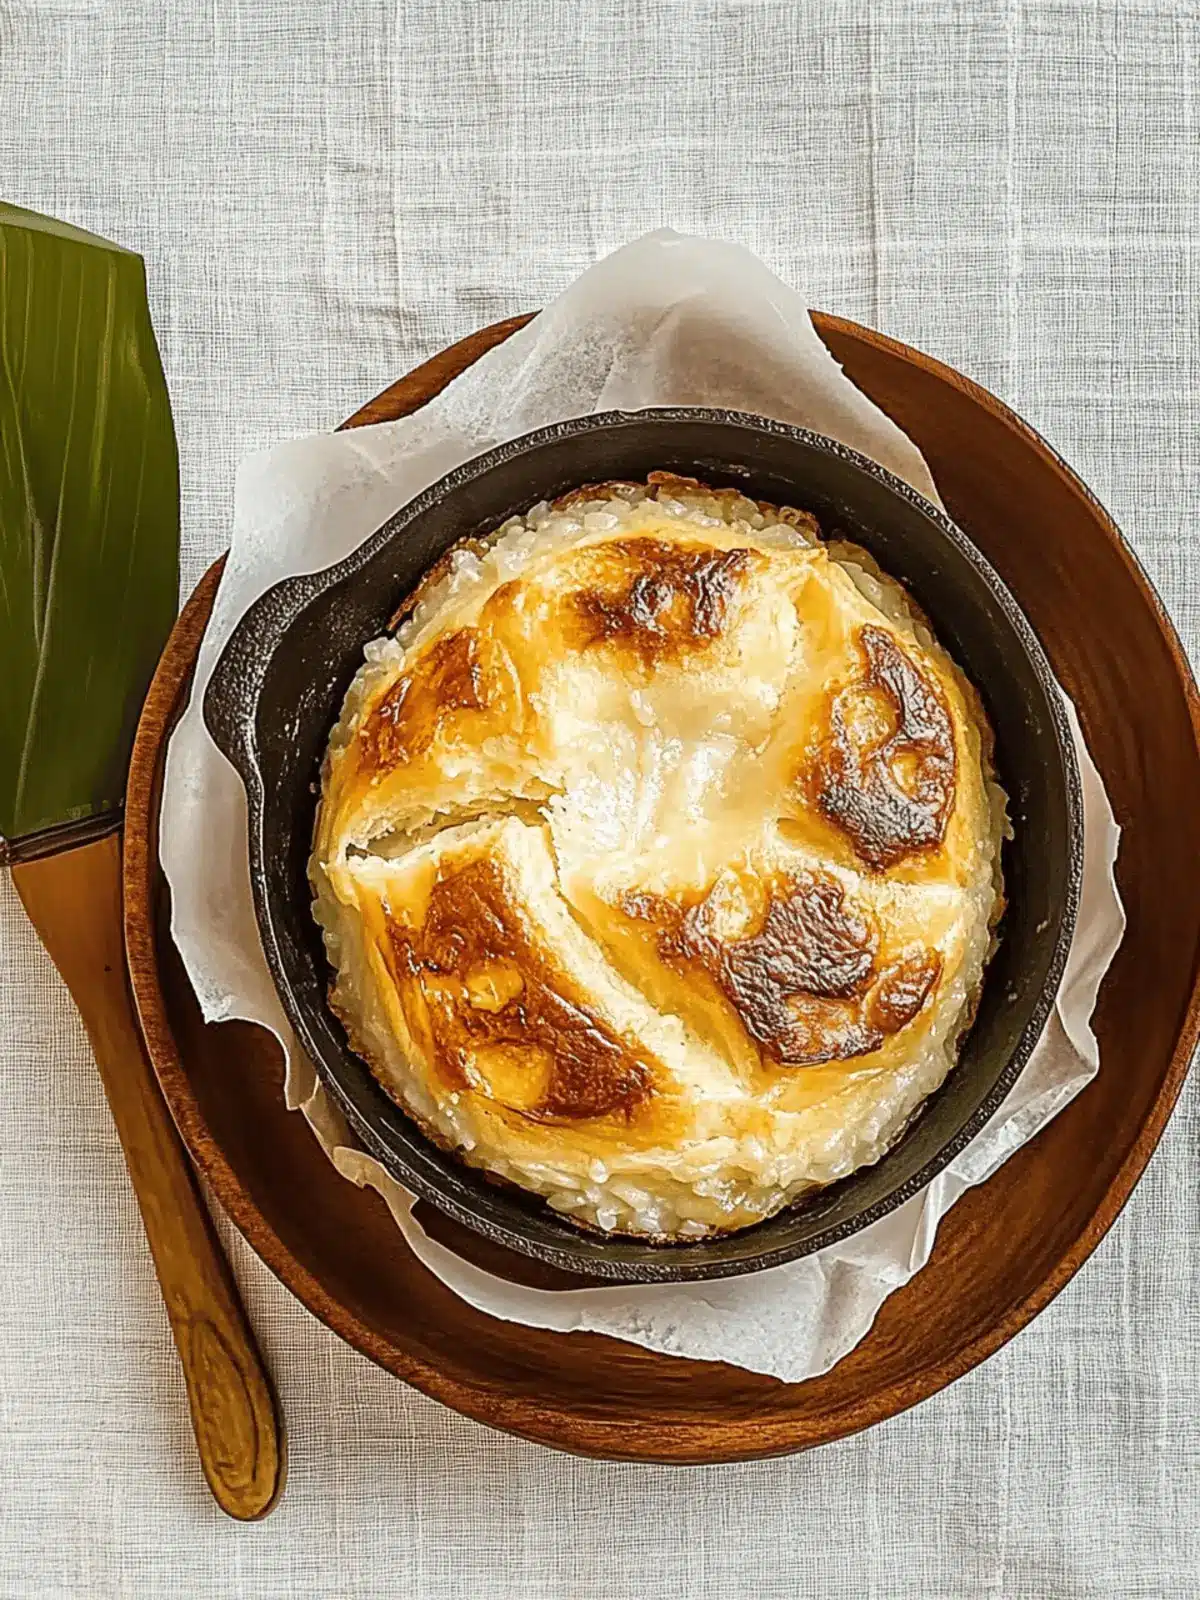
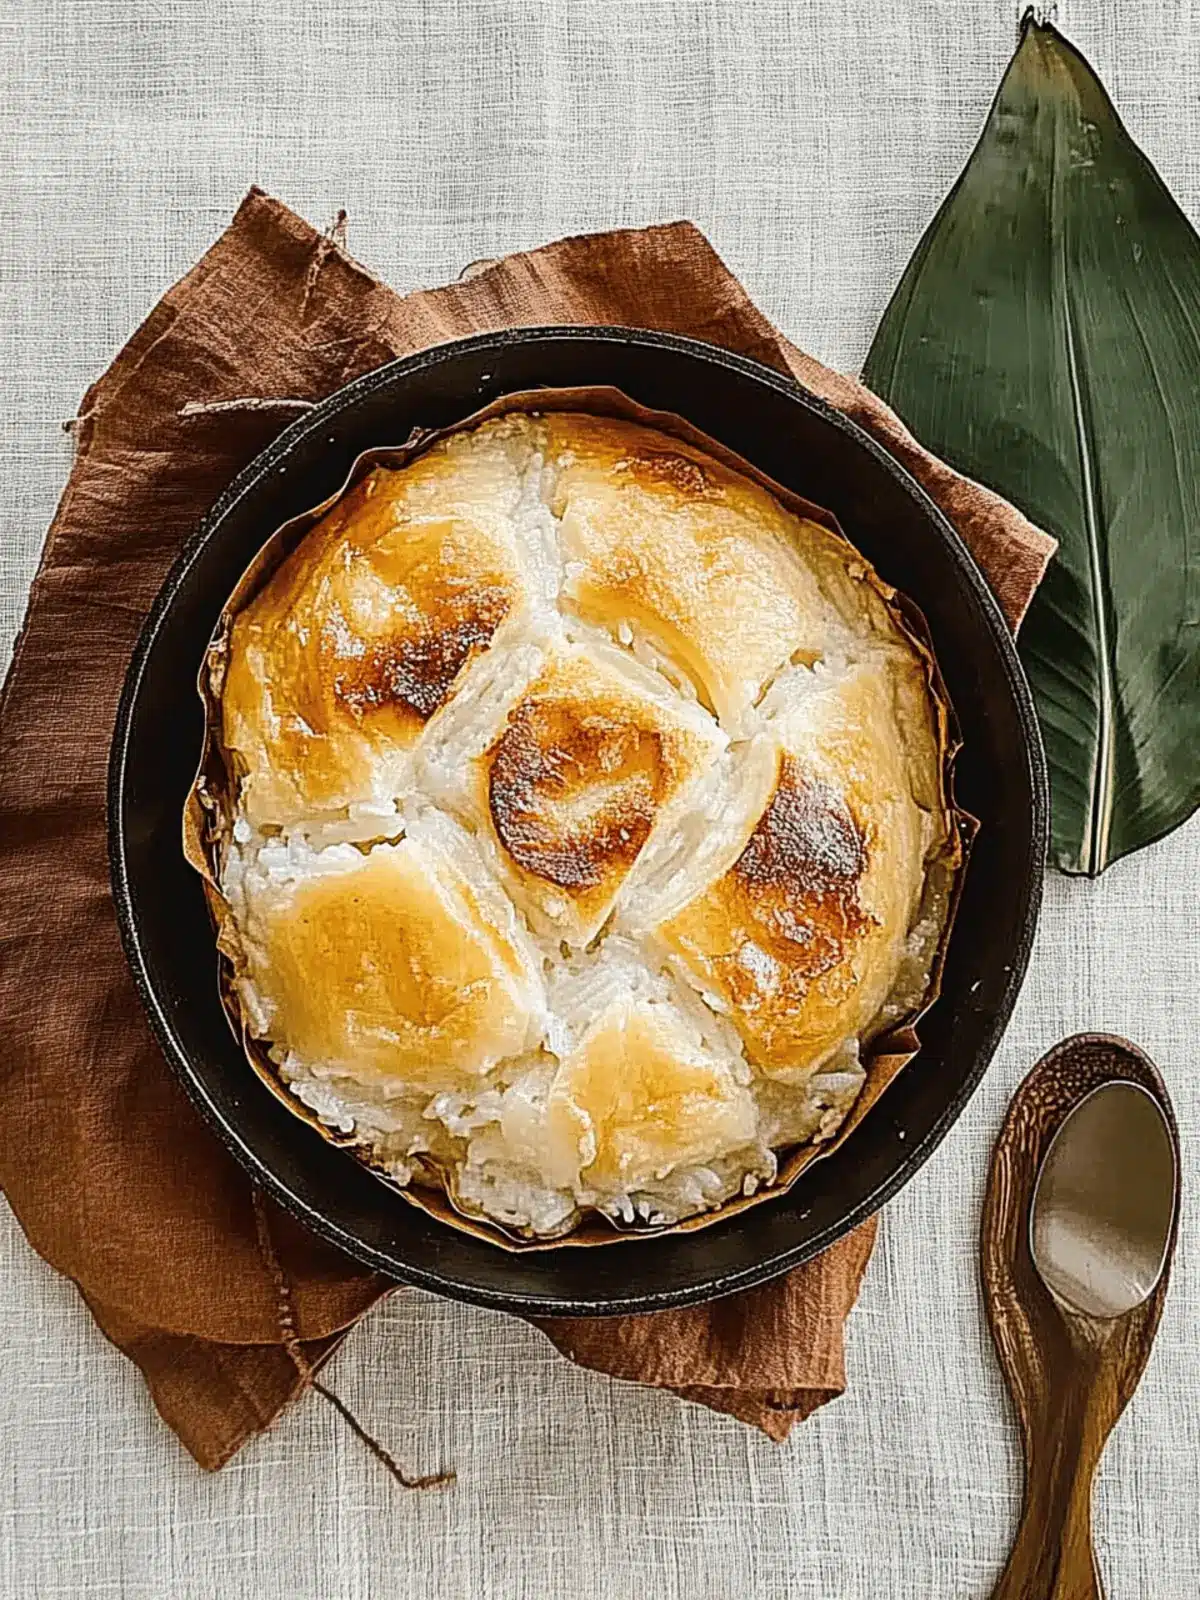
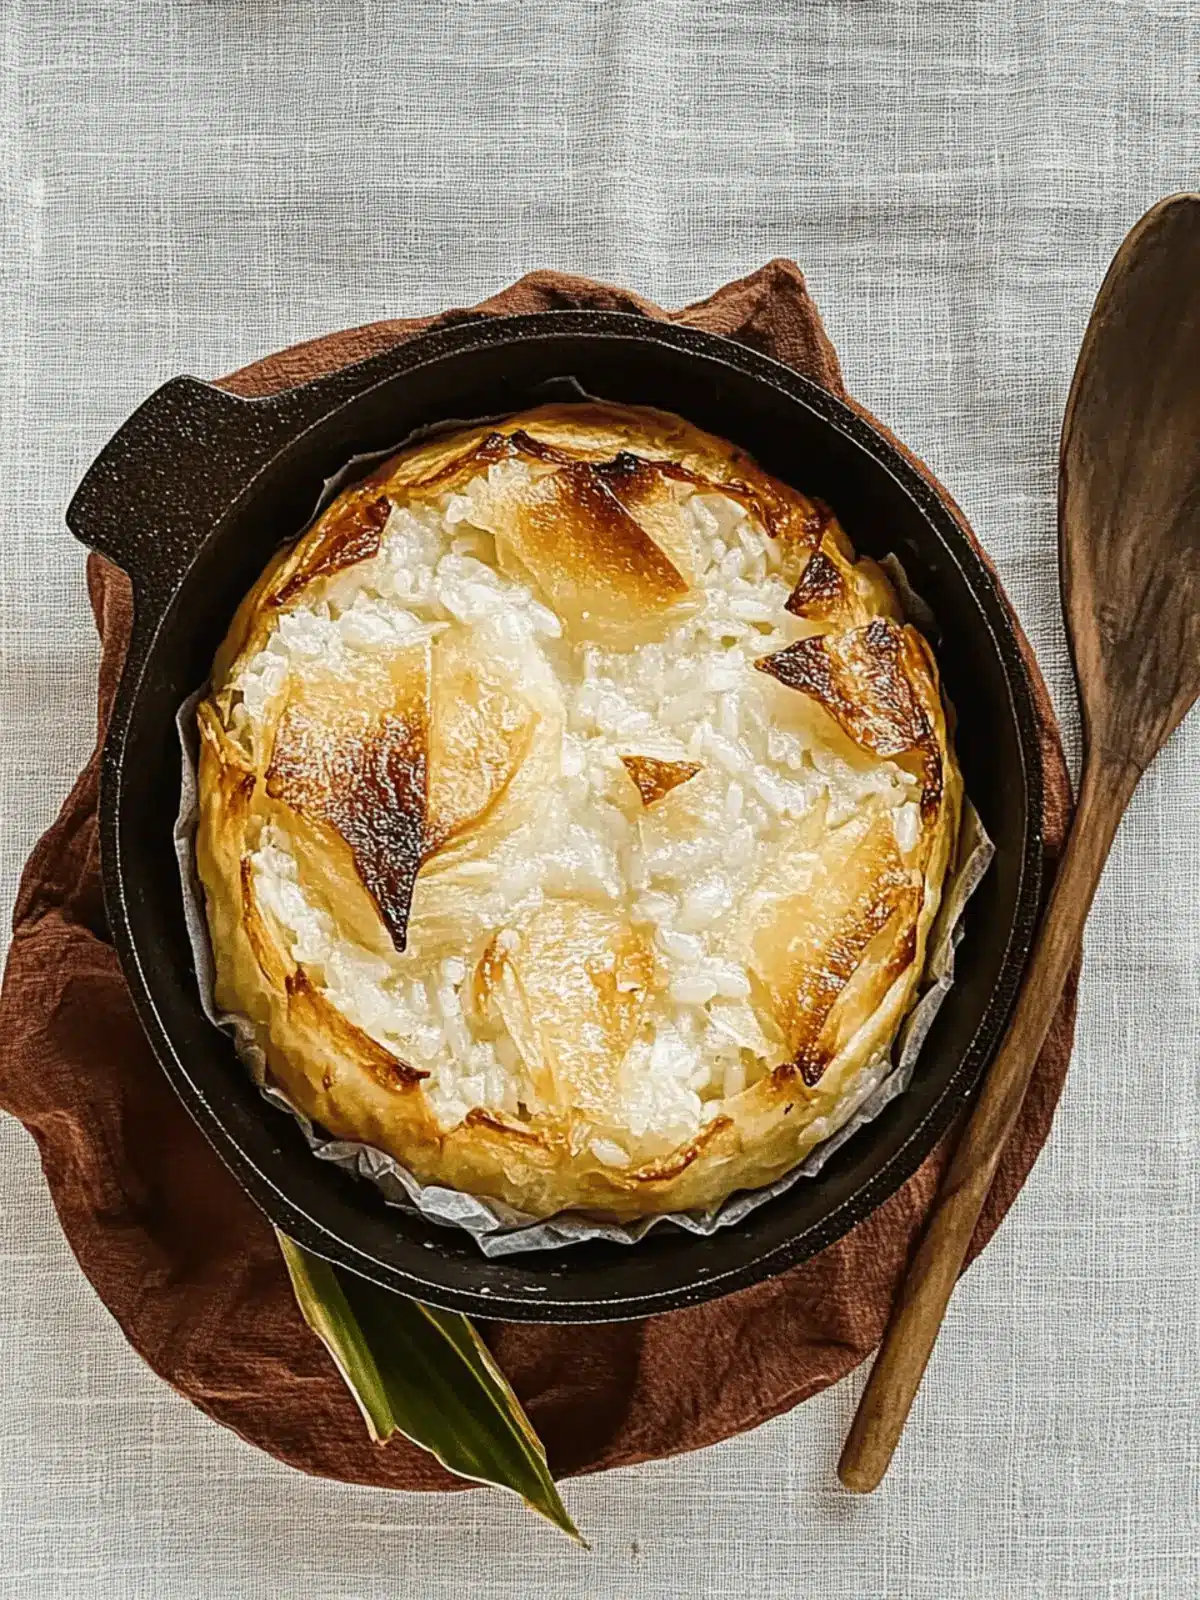
As the first hints of summer warmth begin to play upon my skin, I’m reminded of the sweetness and nostalgia that homemade desserts bring—especially the Filipino delicacy known as Bibingka. This coconut rice cake, with its unmistakable fragrance of vanilla and the comforting richness of coconut, never fails to transport me to my childhood holidays filled with laughter and love.
I recently found myself yearning for the unique flavors of this classic treat but wanted to reinvent it with a twist—enter Macapuno Coconut Cake! Imagine the elegant simplicity of Bibingka, elevated by the delightful, chewy texture of macapuno, a coconut delicacy that adds a luscious depth to every bite. The best part? With just a few ingredients and a sprinkle of sugar, you’ll whip up a dessert that not only impresses guests but also satisfies that nagging sweet tooth.
Whether you’re hosting a dinner party or simply indulging in a well-deserved treat after a long day, this recipe is your ticket to effortless success. Join me as we explore the beautiful union of flavors and textures in this Macapuno Coconut Cake—trust me, your taste buds will thank you!
Why is Bibingka a must-try dessert?
Unique taste: This Macapuno Coconut Cake captures the essence of traditional Bibingka while introducing the chewy texture of macapuno, making each slice an adventure for your palate.
Quick preparation: With minimal ingredients and fuss, you’ll have a delightful dessert ready in under 45 minutes.
Crowd-pleaser: Perfect for gatherings, this cake is sure to be a hit with family and friends. Everyone loves a soft, sweet treat!
Versatile serving: Serve it warm with a scoop of ice cream or enjoy it on its own; it’s delicious either way!
Nostalgic flavors: The fragrance of coconut and hint of vanilla evoke fond memories, sure to bring smiles all around.
Essential Bibingka Ingredients
For the Cake Base
• Unsalted butter – 2 ounces melted adds richness and moisture.
• White rice flour – 3 ounces provides a light, fluffy texture reminiscent of traditional bibingka.
• Sweet rice flour – 1 1/4 ounces (Mochiko preferred) ensures a chewy consistency that complements the macapuno.
• Baking powder – 1 1/2 teaspoons gives the cake its delightful lift during baking.
• Kosher salt – 1/8 teaspoon enhances the overall flavor balance.
For the Sweetness
• Sugar – 2 3/4 ounces sweetens the cake perfectly, plus some extra for sprinkling on top.
• Full-fat coconut milk – 3/4 cup introduces a rich coconut flavor, crucial for a delicious bibingka!
• Large egg – 1 adds structure and moisture to the cake.
For the Special Touch
• Macapuno – 3 ounces brings that chewy, delectable coconut goodness that elevates this dessert.
• Banana leaves (optional) – Using these not only adds an authentic fragrance but also gives a beautiful presentation.
Gather these ingredients, and you’re well on your way to creating a beautiful Macapuno Coconut Cake that echoes the charm of bibingka!
How to Make Macapuno Coconut Cake
-
Prepare the Oven: Start by adjusting your oven rack to the middle position and preheating it to 375°F (190°C). If you’re using banana leaves, rinse and pat them dry, then carefully hold each piece over a medium-high flame for about 15 seconds until they become soft and pliable.
-
Line the Pan: Lay the banana leaf pieces in an 8-inch pan to cover the bottom and sides. Brush those leaves with 1/2 ounce (1 tablespoon) of melted butter. If skipping the leaves, simply grease the pan with butter or a non-stick spray and line it with parchment.
-
Mix Dry Ingredients: In a medium bowl, whisk together the white rice flour, sweet rice flour, baking powder, and salt until they are well combined. This dry mixture creates the base for your cake.
-
Combine Wet Ingredients: In a large bowl, whisk together 1 ounce (2 tablespoons) of melted butter, sugar, coconut milk, and the egg until the sugar is dissolved. This liquid mixture will give your cake a rich flavor.
-
Combine Mixtures: Add the flour mixture to the wet ingredients, whisking until the batter is smooth. This step is crucial for an even texture.
-
Transfer to Pan: Using a flexible spatula, gently fold the batter once or twice from the bottom up. Then, scrape the mixture into the prepared pan, ensuring an even distribution.
-
Initial Baking: Bake the cake for about 10 minutes, or until the edges start to set. Then, remove it from the oven and evenly distribute the macapuno over the top.
-
Finish Baking: Return the pan to the oven and bake for an additional 12 minutes, until the cake is puffed, the edges are lightly browned, and a toothpick inserted in the center comes out with a few moist crumbs.
-
Broil for Perfection: Once baked, switch your oven to broil. Brush the top of the cake with the remaining melted butter and sprinkle with sugar. Broil for about 2 minutes, or until the top is golden brown and the macapuno is slightly caramelized.
-
Cool and Serve: Transfer the pan to a wire rack to cool for 10 minutes. Gently run a butter knife along the edges to loosen the cake, then invert it onto a wire rack. Remove the banana leaves or parchment and place the cake right side up on a serving platter. Serve it warm for best flavor!
Optional: Top with a scoop of ice cream for a delightful indulgence!
Exact quantities are listed in the recipe card below.
Make Ahead Options
These delightful Macapuno Coconut Cakes are perfect for meal prep enthusiasts! You can prepare the batter up to 24 hours in advance, storing it tightly covered in the refrigerator to maintain its freshness. Additionally, you can bake the cake and cool it completely; it can be kept in an airtight container for up to 3 days. To reheat, simply warm it in the oven at 350°F (175°C) for about 10 minutes until it regains its delightful texture. By prepping ahead, you’ll have a sweet treat ready for any occasion, ensuring it stays just as delicious as when freshly made!
Helpful Tricks for Macapuno Coconut Cake
Measure Accurately: Keep your measurements precise. A little too much flour can alter the texture, preventing your Macapuno Coconut Cake from being fluffy.
Use Fresh Macapuno: For the best flavor, source fresh macapuno. Its natural sweetness enhances your dessert and provides that unique chewiness.
Don’t Overmix: When combining wet and dry ingredients, mix just until smooth. Overmixing can lead to a dense cake rather than the light, airy texture you want in your bibingka.
Watch the Broiler: Keep a close eye while broiling; it can quickly go from golden brown to burnt. Just a couple of minutes is all it takes for perfection!
Serve Warm: For the best flavor experience, serve your cake warm. This will bring out the delightful aromas and flavors, making it extra inviting!
Bibingka Variations & Substitutions
Feel free to sprinkle your unique twist to this delightful cake and make it all your own!
-
Gluten-Free: Replace both rice flours with a gluten-free all-purpose flour blend to keep the texture light and airy.
-
Dairy-Free: Substitute unsalted butter with coconut oil or vegan butter, and use almond or soy milk instead of coconut milk for a vegan-friendly option.
-
Fruit-Added: Enhance sweetness by folding in diced mango or pineapple before baking, infusing tropical flavors into each slice.
-
Coconut Cream: Swap full-fat coconut milk with coconut cream for a richer, creamier texture and an extra coconut kick.
Indulge in a more decadent version with this addition.
-
Nutty Twist: Add toasted shredded coconut or chopped nuts like almonds or cashews on top before broiling for added crunch and flavor.
-
Spicy Heat: For spice lovers, mix in a pinch of cayenne or chili powder into the batter or sprinkle some on top before broiling to awaken your taste buds.
-
Chocolate Drizzle: Once cooled, drizzle melted dark chocolate over the top to marry the flavors beautifully, creating an indulgent finish.
-
Herb Infusion: Add a teaspoon of fresh grated ginger, or a sprinkling of shaved lime zest to brighten each bite, making your cake sing with zesty freshness!
What to Serve with Macapuno Coconut Cake?
Indulging in a slice of Macapuno Coconut Cake opens avenues for delightful pairings that create a memorable meal.
-
Tropical Fruit Salad: A mix of juicy mango, pineapple, and bananas elevates the tropical vibe, balancing the cake’s sweetness with fresh acidity.
-
Coconut Ice Cream: Creamy and cool, this dessert perfectly enhances the coconut flavors in the cake and provides a delightful contrast in temperature.
-
Espresso or Coffee: A strong, bold beverage adds depth to the dessert experience, cutting through the sweetness while complementing the cake’s rich flavors.
-
Whipped Cream: Light and airy, a dollop of vanilla-infused whipped cream adds a luxurious creaminess that enhances every forkful.
-
Guava Juice: Refreshing and fruity, guava juice offers a subtle sweetness that pairs beautifully with the coconut notes, making for a perfect tropical treat.
-
Cacao Nibs: Sprinkle these vibrant, crunchy morsels on top of your cake for added texture, creating an interesting contrast to the soft, chewy macapuno.
-
Pineapple Upside-Down Cake: If you have an indulgent spirit, serving this alongside creates a lovely coconut and tropical fruit theme, bringing rich flavors together.
-
Flavored Tea: A cup of ginger or hibiscus tea provides a warm, fragrant companion, adding a soothing touch to balance the richness of the cake.
-
Mango Sorbet: The bright, fruity flavor of mango sorbet not only cools but also enhances the cake’s sweet notes, creating a light citrus finish.
How to Store and Freeze Macapuno Coconut Cake
Room Temperature: Store leftovers at room temperature in an airtight container for up to 3 days. Ensure the container is well-sealed to keep the cake moist.
Fridge: If you need to keep it longer, refrigerate in an airtight container for up to 5 days. This will help maintain freshness while preventing it from drying out.
Freezer: To freeze, wrap individual slices tightly in plastic wrap, then place in a freezer bag. It can be frozen for up to 2 months. Thaw at room temperature before enjoying.
Reheating: For the best texture, reheat slices in the oven at 350°F (175°C) for about 10 minutes. Enjoy the delightful flavors of your macapuno coconut cake warm!
Macapuno Coconut Cake Recipe FAQs
What’s the best way to choose ripe macapuno?
Absolutely! When selecting macapuno, look for younger coconut varieties, which are typically softer and have a tender, chewy texture. Ensure that the coconut meat is creamy and has a light sweet taste. If you’re using canned macapuno, check the label for quality and freshness; you want it to be packed in syrup for the best flavor.
How long can I store leftovers, and what’s the best method?
You can store your Macapuno Coconut Cake at room temperature for about 3 days in an airtight container. If you want to extend its life, keep it in the fridge where it can last up to 5 days. Make sure the container is well-sealed to maintain moisture. For best results, serve warmed!
Can I freeze Macapuno Coconut Cake? If so, how?
Yes! To freeze your Macapuno Coconut Cake, slice it into individual portions. Wrap each slice tightly in plastic wrap to prevent freezer burn. Then, place the wrapped slices in a freezer-safe bag or container. It can remain delicious in the freezer for up to 2 months. When you’re ready to enjoy, simply thaw at room temperature and reheat in the oven at 350°F (175°C) for about 10 minutes to restore its delightful texture.
What should I do if my cake comes out too dense?
If your Macapuno Coconut Cake turns out dense, there are a couple of reasons that could have caused this. First, did you measure your ingredients accurately? Using too much flour or overmixing can lead to a heavier cake. For a fluffier texture, mix the wet and dry ingredients just until combined—you want to avoid gluten development. If you find your cake is still dense, consider reducing the flour slightly on your next attempt.
Are there any dietary considerations for this recipe?
Very! This Macapuno Coconut Cake contains eggs and gluten due to the rice flours used. If you have allergies to eggs, you can experiment with flaxseed meal or applesauce as a replacement. As for gluten, this recipe is primarily gluten-free when using certified gluten-free rice flour. Always check your brands to ensure they’re safe for your dietary needs. If serving to pets, it’s best to avoid sharing any sweet baked goods!
Can I make this cake ahead of time?
Absolutely! You can make the Macapuno Coconut Cake a day in advance. Just let it cool completely before storing it in an airtight container at room temperature. When you’re ready to serve, briefly warm it up in the oven for that fresh-baked taste. Enjoy the satisfaction of having a delicious dessert ready to impress your guests!

Irresistible Bibingka Filipino Rice Cake You Can Make at Home
Ingredients
Equipment
Method
- Adjust your oven rack to the middle position and preheat it to 375°F (190°C). If using banana leaves, rinse and dry them, then hold each piece over a medium-high flame for about 15 seconds until soft.
- Lay the banana leaves in an 8-inch pan to cover the bottom and sides. Brush with 1/2 ounce (1 tablespoon) of melted butter, or grease the pan with butter or non-stick spray if skipping the leaves.
- In a medium bowl, whisk together the white rice flour, sweet rice flour, baking powder, and salt until well combined.
- In a large bowl, whisk together 1 ounce (2 tablespoons) of melted butter, sugar, coconut milk, and the egg until the sugar is dissolved.
- Add the flour mixture to the wet ingredients, whisking until the batter is smooth.
- Gently fold the batter once or twice from the bottom up, then scrape the mixture into the prepared pan.
- Bake the cake for about 10 minutes, or until the edges start to set. Remove from the oven and evenly distribute the macapuno over the top.
- Return the pan to the oven and bake for an additional 12 minutes until the cake is puffed and lightly browned.
- Switch your oven to broil, brush the top of the cake with remaining melted butter, and sprinkle with sugar. Broil for about 2 minutes until golden brown.
- Transfer the pan to a wire rack to cool for 10 minutes. Run a butter knife along the edges to loosen the cake, invert onto a wire rack, and serve warm.


