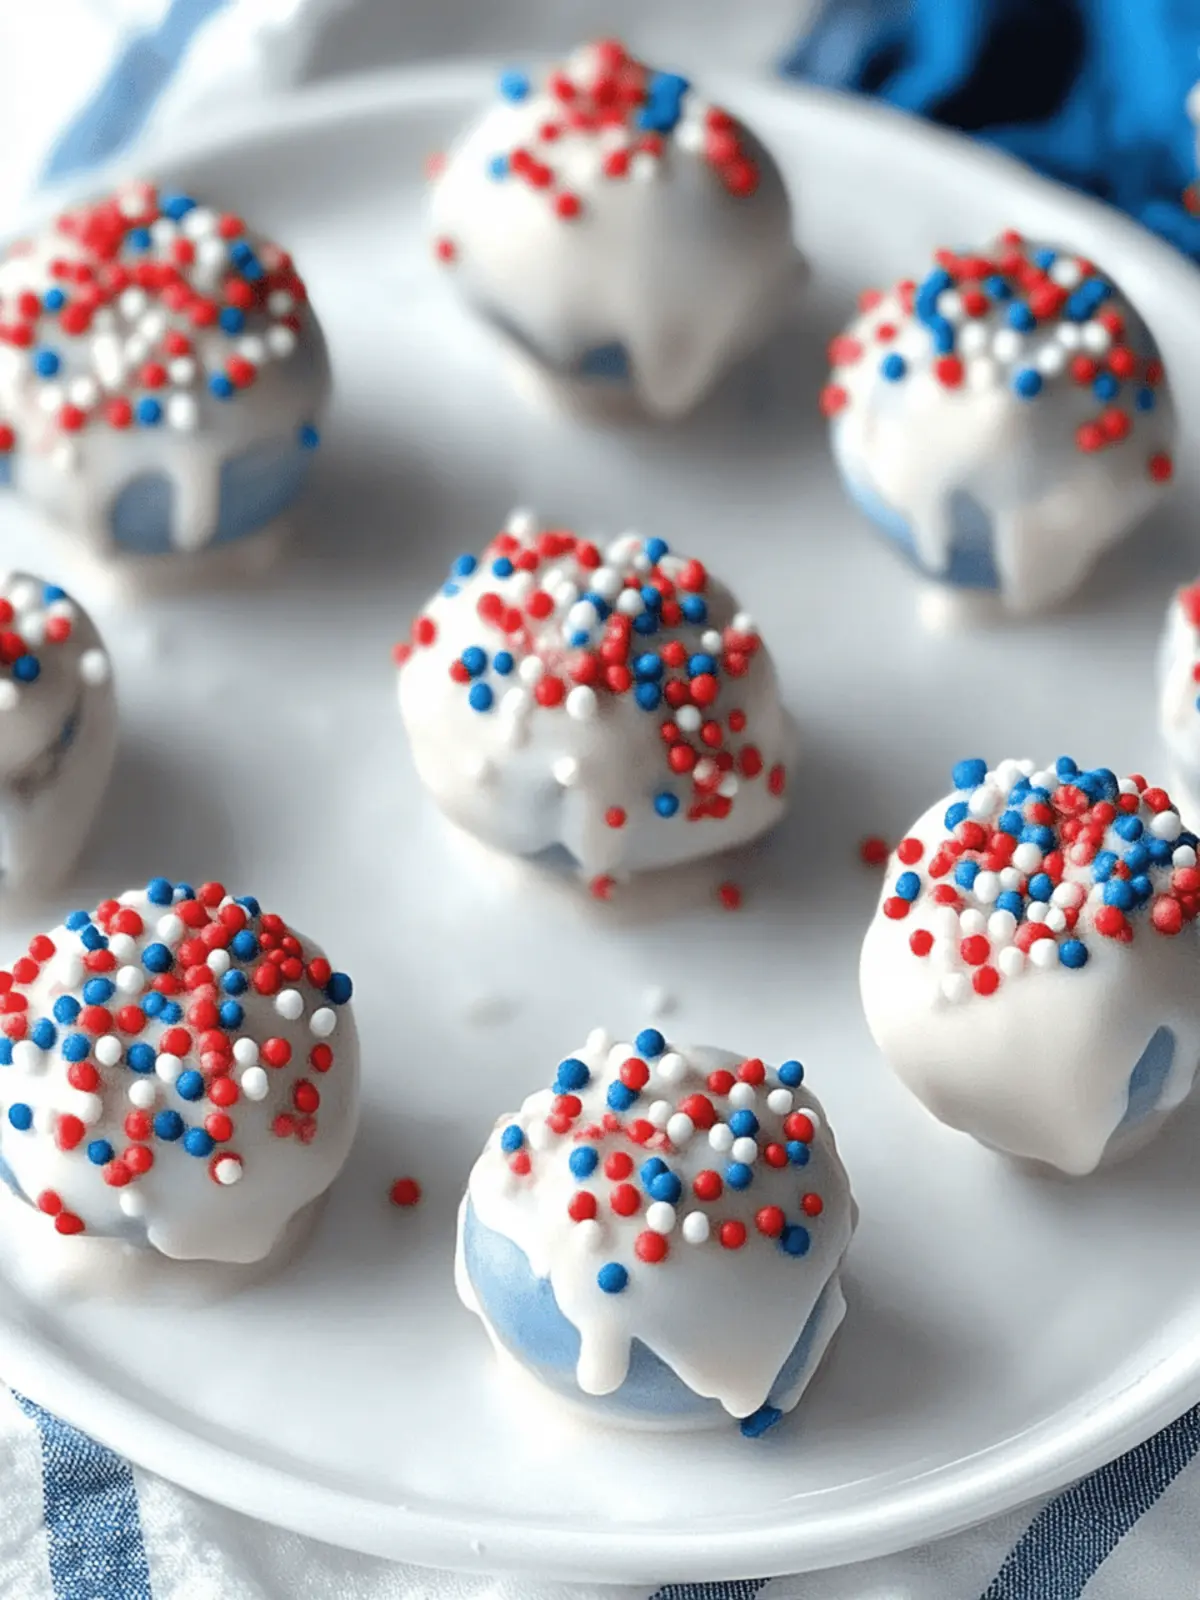
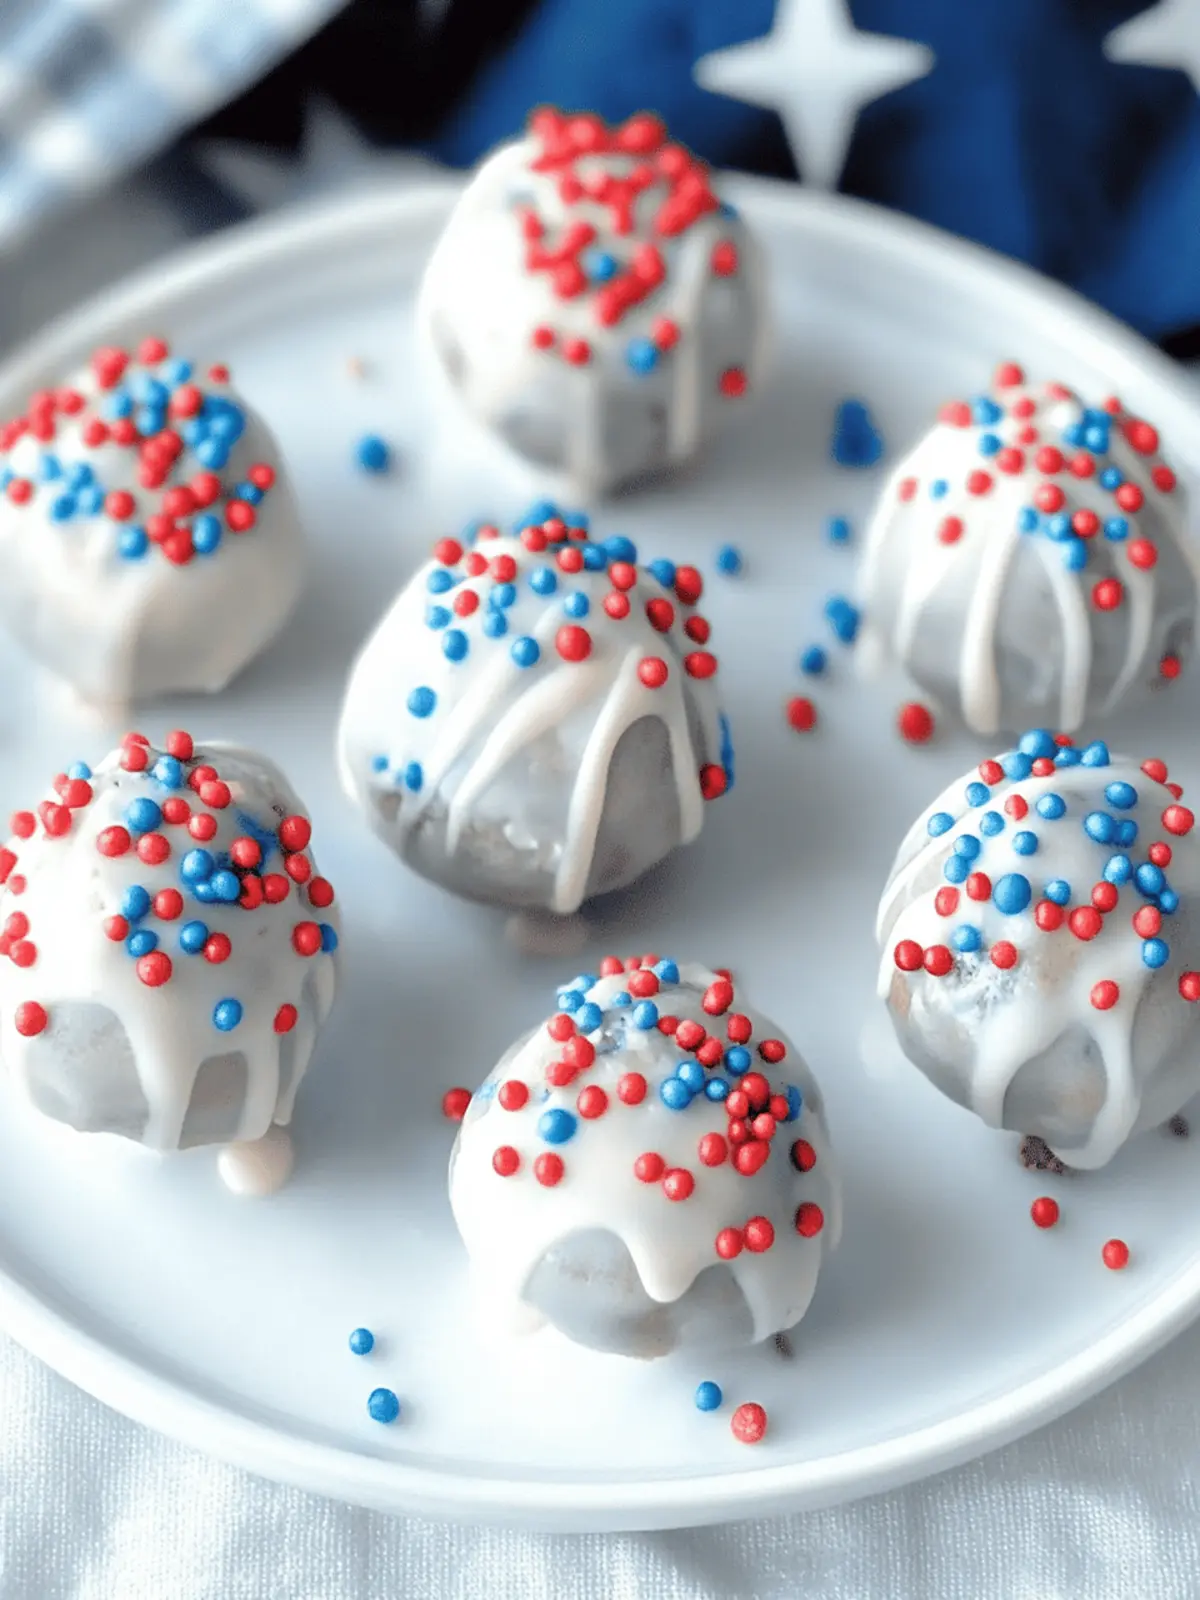
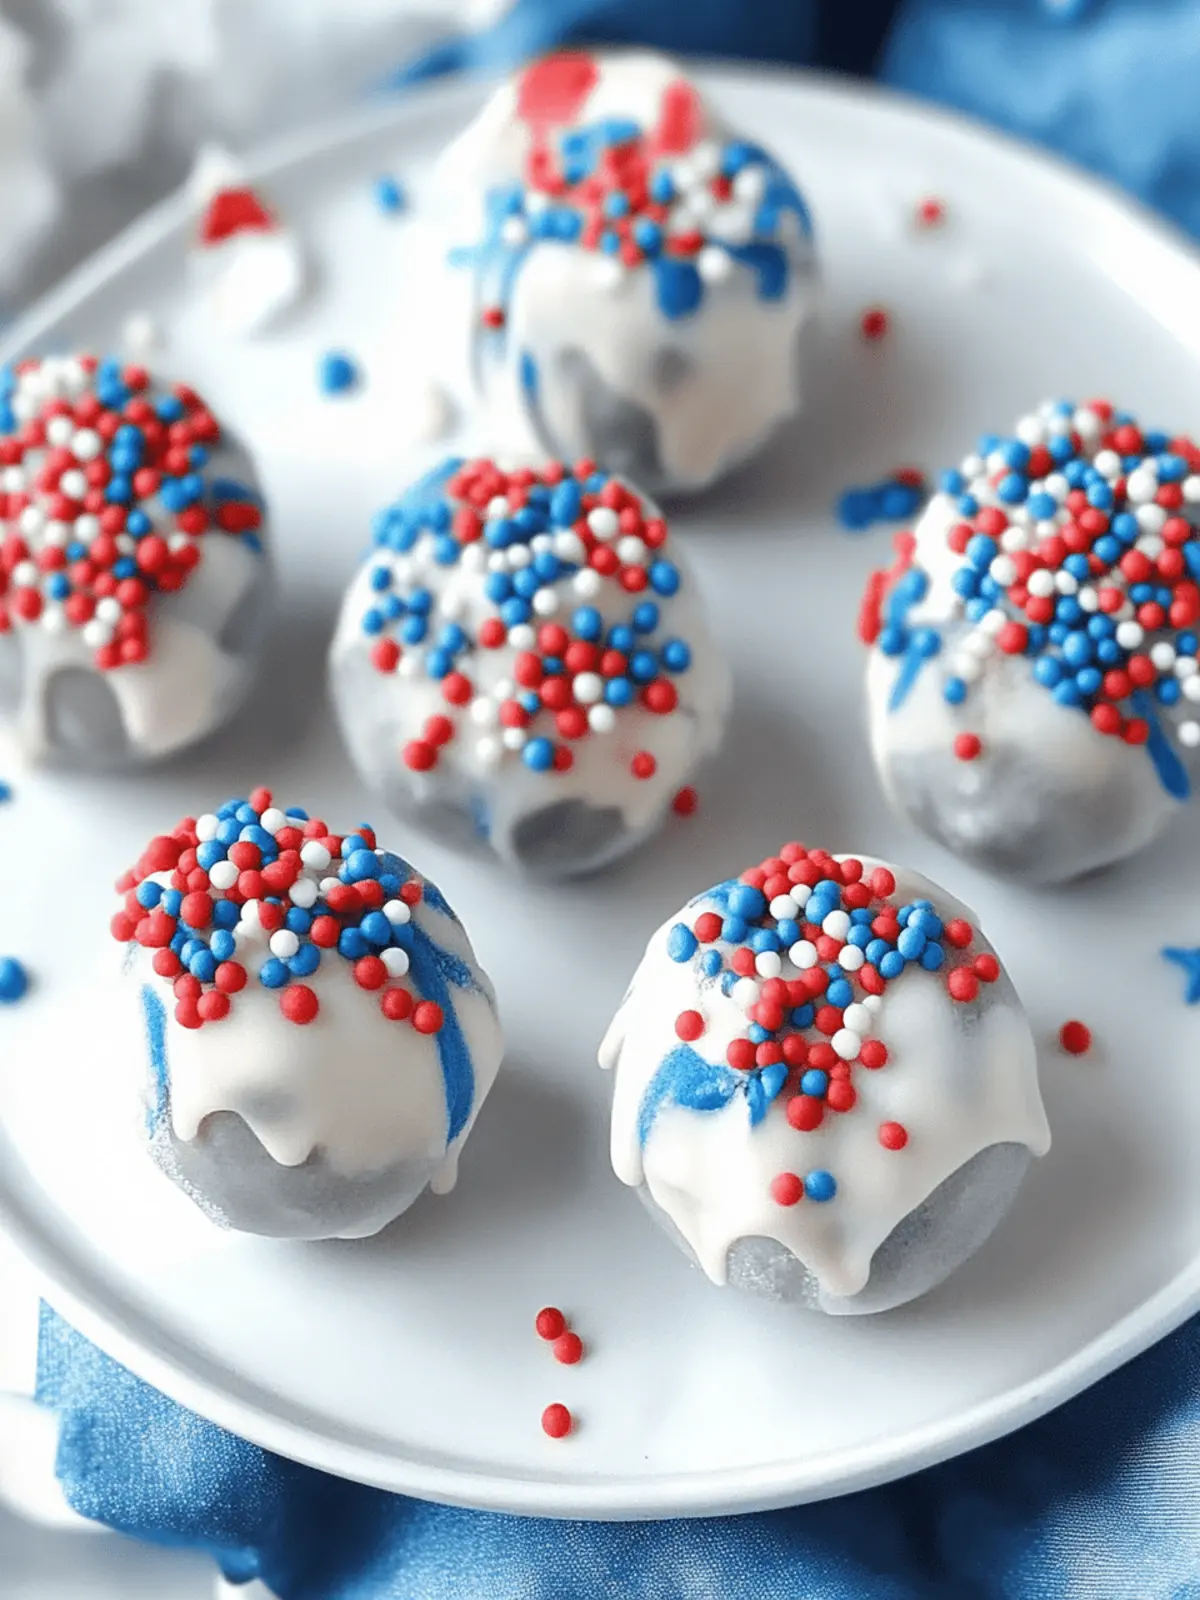
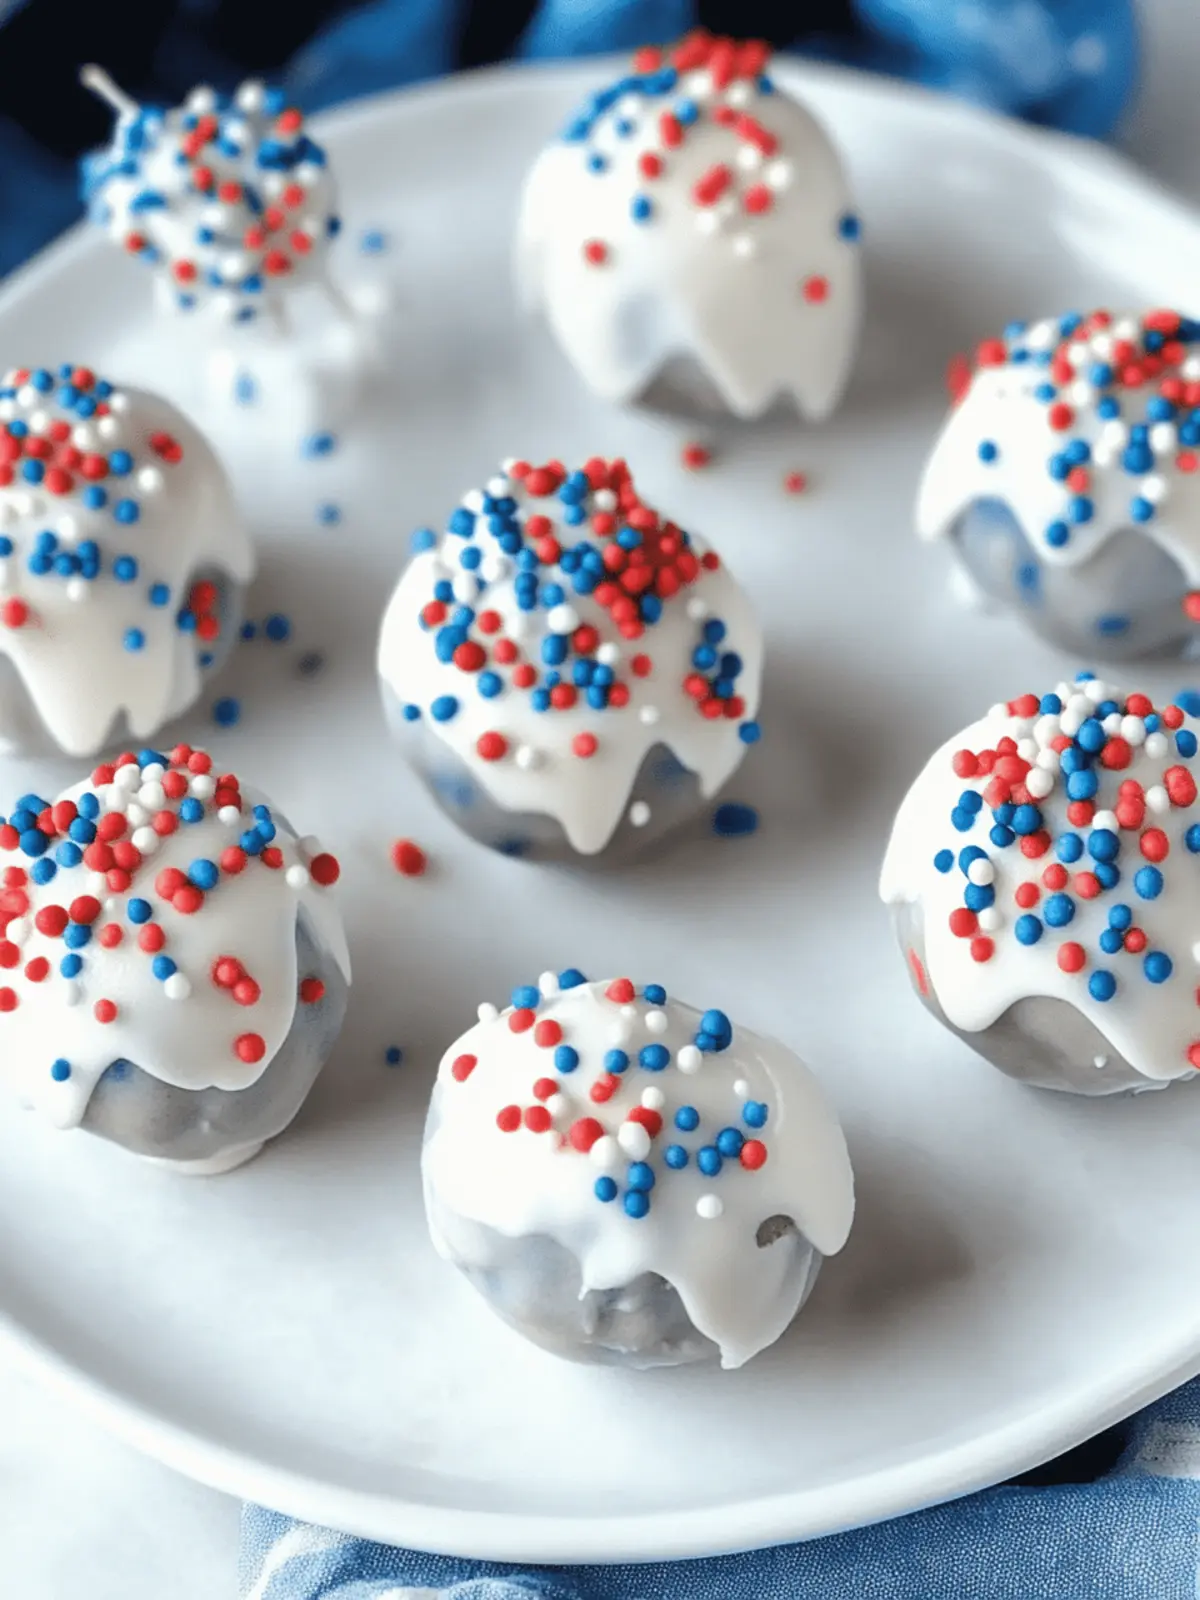
When summer’s warm glow graces our days, it’s the perfect time to gather with loved ones and celebrate the 4th of July in style! Last year, a friend brought over a batch of delightful cake pops, and I was immediately captivated by their vibrant colors and yummy flavors. Fast forward to now, and I can’t wait to share my own spin on this festive treat—introducing my 4th of July Cake Pops! Not only are they an explosion of sweet chocolate goodness, but they are also allergy-friendly, ensuring that everyone at your gathering can indulge with joy.
Whether you’re hosting a BBQ or simply enjoying a backyard bash, these cake pops are as much fun to make as they are to eat. With a light and chewy interior coated in rich chocolate and sprinkled with red, white, and blue, they capture the spirit of the holiday perfectly. Plus, they can be customized for gluten-free or dairy-free diets, making them a crowd-pleaser for every palate. Let’s dive into the deliciousness!
Why are 4th of July Cake Pops a Must-Make?
Festive Fun: Bursting with patriotic colors, these cake pops instantly elevate your summer celebrations.
Allergy-Friendly: Crafted to suit gluten-free and dairy-free diets, ensuring no one is left out of the fun.
Simple Steps: The straightforward method makes these cake pops a breeze to whip up, even for beginners!
Unique Flavors: Customize with various cake and frosting flavors; chocolate, vanilla, or even red velvet!
Party Hit: Their bite-sized nature and vibrant decorations make them a favorite for all ages at any gathering.
Get ready to impress guests and satisfy sweet cravings with these delightful treats!
4th of July Cake Pops Ingredients
Get Ready for Fun
Here’s everything you need to create these festive 4th of July Cake Pops—perfect for summer celebrations!
For the Cake Mixture
- Chocolate Cake Mix – The foundation for your pops; swap for a gluten-free mix for allergy-friendly options.
- Chocolate Chips – Adds delicious texture; choose allergy-friendly chips like Enjoy Life for a dairy-free treat.
- Chocolate Frosting – Helps bind the mixture together; opt for an allergy-friendly brand or make homemade.
For Coating and Decoration
- White Chocolate Chips – Perfect for dipping; use dairy-free chips to keep it allergy-friendly.
- Sprinkles – Add a festive touch; use red, white, and blue for a patriotic flair or rainbow sprinkles for versatility.
- Food Dye – Optional for enhancing colors; consider natural food dyes for a healthier twist.
These delectable 4th of July Cake Pops are sure to be a hit at your next celebration!
How to Make 4th of July Cake Pops
-
Bake the Cake: Start by following the package instructions for the chocolate cake mix. Remember to add in those delicious chocolate chips for an extra layer of flavor. Bake until a toothpick comes out clean, usually around 30 minutes at 350°F.
-
Crumble and Chill: Once the cake is completely cooled, crumble it into a large mixing bowl. Mix in your chocolate frosting until fully blended. Chill the mixture in the fridge for about 10 minutes to firm it up.
-
Shape the Pops: Roll the chilled mixture into 1-inch balls, placing each on a baking sheet lined with parchment paper. Chill again for about 1 hour until they are nice and firm.
-
Melt and Dip: While the pops chill, melt the white chocolate chips in a microwave-safe bowl in 20-second intervals until smooth. Dip each cake ball into the melted white chocolate to coat completely.
-
Decorate: While the coating is still wet, sprinkle half of the pops with festive red, white, and blue sprinkles. For the rest, drizzle a bit of colored white chocolate—a fun mixture made by adding food dye to melted white chocolate.
-
Optional: If you’d like to create actual cake pops, insert sticks into the coated cake balls before refrigerating. Let them set in the fridge for another hour.
Optional: Add an extra drizzle of melted chocolate on top for a delightful finishing touch.
Exact quantities are listed in the recipe card below.
Make Ahead Options
These delightful 4th of July Cake Pops are perfect for meal prep, allowing you to enjoy more time at your gathering! You can fully prepare the cake mixture and roll it into balls up to 24 hours in advance; simply place them in an airtight container in the fridge to maintain their freshness. Additionally, you can melt the white chocolate and store it separately in the refrigerator for up to 3 days. When you’re ready to serve, just dip the chilled cake balls in the melted white chocolate and decorate them with sprinkles. This makes it simple to whip up a festive treat without the last-minute rush, ensuring your cake pops are just as delicious as when freshly made!
Expert Tips for 4th of July Cake Pops
-
Cool Completely: Ensure your cake is completely cooled before crumbling. This prevents excess moisture from making your mixture too soggy.
-
Uniform Size: Use a cookie scoop to portion the cake balls evenly. This helps them bake uniformly and look great for presentation.
-
Work Quickly: After dipping your cake balls in chocolate, decorate them quickly before the chocolate sets, ensuring sprinkles stick well.
-
Quality Ingredients: Choose high-quality chocolate chips and sprinkles for maximum flavor and festive appeal in your 4th of July Cake Pops.
-
Be Mindful of Allergens: Always check labels when selecting ingredients to ensure they fit your allergy-friendly requirements, making your cake pops enjoyable for everyone.
4th of July Cake Pops Variations
Feel free to play around with these ideas to make your cake pops uniquely yours!
- Gluten-Free: Substitute the chocolate cake mix with a gluten-free mix for a safe option for those with sensitivities.
- Dairy-Free: Swap regular chocolate chips and white chocolate with dairy-free alternatives, ensuring everyone can enjoy them.
- Vanilla Twist: Use vanilla cake mix instead of chocolate for a lighter flavor that pairs beautifully with white chocolate coating.
- Red Velvet: Switch to red velvet cake mix for a vibrant alternative that adds a touch of elegance to your pops.
- Nutty Delight: Although allergen-friendly, add a handful of crushed nuts (if no allergies) for texture and a flavor boost!
- Fruity Fun: Incorporate a raspberry or strawberry puree into your frosting for a fruity surprise inside the cake pops.
- Spice It Up: Add a pinch of cinnamon or a dash of cayenne pepper to the cake mix for a subtle heat that surprises the palate.
- Sprinkle Variety: Change up the sprinkles by using chocolate jimmies or even edible glitter for a glamorous finish—perfect for festivals!
Your cake pops will not only shine with color but also burst with flavors that reflect your personal touch!
Storage Tips for 4th of July Cake Pops
Room Temperature: Keep uneaten cake pops at room temperature for up to 2 days, but store them in a cool, dry place away from direct sunlight.
Fridge: Store your 4th of July Cake Pops in an airtight container in the fridge for up to 5 days. This helps maintain their moisture and freshness.
Freezer: For longer storage, freeze the cake pops in a single layer on a baking sheet until firm, then transfer them to a freezer-safe bag for up to 3 months.
Reheating: If you prefer them soft, remove from the freezer, allow them to thaw in the fridge overnight, and enjoy at room temperature or briefly in the microwave for a warm treat!
What to Serve with 4th of July Cake Pops?
These delightful treats will surely steal the show, but a well-rounded meal makes for a perfect celebration.
- Grilled Veggie Platter: A colorful array of seasonal veggies adds freshness and balances the sweetness of the cake pops.
- BBQ Ribs: The smoky, savory flavor of tender ribs pairs deliciously with the sweetness of cake pops, creating a satisfying contrast.
- Potato Salad: Creamy, tangy potato salad complements the cake pops and is a classic summer side that everyone loves.
- Fruit Skewers: Bright, juicy fruits bring a splash of color and a refreshing contrast to the rich cake pops, enhancing your dessert table.
- Lemonade: A cool glass of homemade lemonade pairs perfectly, cutting through the sweetness while offering a zesty refreshment.
- Watermelon Salad: The natural sweetness and hydrating crunch from watermelon salad provide a refreshing side that pairs wonderfully with rich desserts.
- Chocolate Milkshakes: Indulge in thick, creamy milkshakes for drinkable decadence that ties in beautifully with the cake pops’ chocolatey goodness!
- Ice Cream Sundaes: Soft serve or scoops of your favorite ice cream can create delightful combinations with the cake pops, allowing for dessert creativity.
4th of July Cake Pops Recipe FAQs
What kind of cake mix should I use for 4th of July Cake Pops?
Absolutely! You can use any chocolate cake mix as the base for your cake pops. If you’re looking for a gluten-free option, substitute it with a gluten-free cake mix. I often recommend checking the label to make sure it meets your dietary needs!
How long can I store 4th of July Cake Pops?
You can keep your cake pops in an airtight container in the refrigerator for up to 5 days. Just be sure to separate layers with parchment paper to prevent sticking, and they’ll stay fresh and delicious throughout your celebrations!
Can I freeze 4th of July Cake Pops?
Very! To freeze, first place the cake pops on a baking sheet in a single layer and freeze until firm, about 1-2 hours. Then, transfer them to a freezer-safe bag, and they can last for up to 3 months! When you’re ready to enjoy, let them thaw in the fridge overnight.
What are some troubleshooting tips for making cake pops?
If your cake mixture appears too dry, try adding a little more frosting until it holds together without being overly sticky. Conversely, if it’s too wet, let the mixture chill longer to firm up before rolling into balls. And remember, cooled cake is essential for the right texture!
Are 4th of July Cake Pops safe for my dog?
While cake pops are delightful for us, they aren’t suitable for dogs due to the chocolate and sugar content. If you want to share a treat with your furry friend, try a dog-friendly cake recipe that’s specifically formulated for their digestive needs.
What if I don’t have white chocolate chips?
No problem! If you can’t find or prefer not to use white chocolate, consider using vanilla-flavored candy melts, almond bark, or even a dairy-free chocolate option. Simply melt and dip your pops the same way as you would with white chocolate for a delightful alternative!

4th of July Cake Pops: Fun, Allergy-Friendly Treats for All
Ingredients
Equipment
Method
- Bake the Cake: Follow package instructions for the chocolate cake mix, adding chocolate chips. Bake for about 30 minutes at 350°F, until a toothpick comes out clean.
- Crumble and Chill: Once cooled, crumble the cake into a large bowl and mix in chocolate frosting. Chill for about 10 minutes.
- Shape the Pops: Roll into 1-inch balls and place on a lined baking sheet. Chill for 1 hour.
- Melt and Dip: Melt white chocolate chips in a microwave-safe bowl in 20-second intervals. Dip each ball to coat.
- Decorate: Sprinkle half with red, white, and blue sprinkles; drizzle colored white chocolate on the others.
- Optional: Insert sticks for actual cake pops and refrigerate for 1 hour.


